![]()
![]()


|
|
This repo contains a series of Path Planning heuristic algorithms such as A*, Theta* and Lazy Theta*. The purpose of this repository is to provide som classes with a pure C++ implementation with the minimum dependencies, but at the same time, to provide ROS Integration to easily run these algorithms inside a ROS Network through some ROS Nodes.
Also take into account that the content of this repo is work-in-progress.
- Quick Start
- Available Algorithms
- Code Documentation
- Dependencies
- Building The package
- Running the demo ROS Node
- Test scripts
- Included Maps
- TODOs
-
Downlaod Heuristic Path Planners: You can either download the source code or install the latest debian
- Latest Release
- Clone the repo, install dependencies with rosdep and compile it with catkin
mkdir -p ~/catkin_ws/src
cd ~/catkin_ws/src
git clone https://github.com/robotics-upo/Heuristic_path_planners
cd ..
rosdep update && rosdep install --from-paths src/ -y -r
catkin_make- Launch a demo a request a path
- 2D Theta*: In one terminal:
roslaunch heuristic_planners planner2d_example.launch algorithm_name:=thetastarOpen another terminal and call an example start and goal request:
rosservice call /planner_ros_node/request_path "start:
  x: 1.5
  y: 0.5
  z: 0.0
goal:
  x: 1.0
  y: 3.0
z: 0.0" - 3D Lazy Theta*:
In one terminal:
roslaunch heuristic_planners planner.launch algorithm_name:=lazythetastarOpen another terminal and call an example start and goal request:
rosservice call /planner_ros_node/request_path "start:
  x: 20.0
  y: 20.0
  z: 1.0
goal:
  x: 40.0
  y: 40.0
z: 4.0" Currently there are 5 algorithms:
- A*
- Cost Aware A*: Variation of A* that also takes into account a costmap
- Theta*
- Lazy Theta*
- Cost Aware Lazy Theta*: Variaton of Lazy Theta* that also takes into account a costmap
Every algorithm is built has a shared library if you build the package without ROS and without DEBUG features. If you build with the ROS features you can easily test all the algorithms above in the 2D / 3D variations through the included example ROS node. Please refer to the section Running the demo ROS Node.
By default the CMake BUILD_DOC option is enabled so the doxygen documentation will be generated every time you run catkin_make. You can also read it Online
If you want to easily run it go to the Releases and download and install the desired debian package with:
sudo apt install ./ros-$ROS_DISTRO-heuristic_planners....debBut to compile everything you need a ROS Melodic/Noetic installation in Ubuntu 18.04/20.04. If you want to use only the algorithm libraries you need a compiler with C++17 support (Gcc 7 or newer).
To easily install the dependencies, download the source code onto your catkin workspace source folder, after that go to the catkin workspace root folder and run:
rosdep update && rosdep install --from-paths src/ -y -rMake sure you have sourced your devel/setup.bash in case you compile it or /opt/ros/$ROS_DISTRO/setup.bash in case you installed it.
The build system is CMake. By default CMakeLists.txt is configured to build the package with the ROS Features and nodes. The debug features such as step by step explored nodes publications are disabled by default. To enable/disable them you can play with the the CMake options at the beginning of the CMakeLists:
option(BUILD_DOC         "Build documentation   " ON)
option(BUILD_ROS_SUPPORT "Build with ROS Support" ON)
option(BUILD_DEBUG       "Build debug features  " ON)
For production uses and real tests you should set debug features to OFF, because it increases a lot the computation time because of the marker messages sending. Debians files on the Release tab are compiled only with the ROS Support, not with the debug features.
The algorithms can be used for 2D and 3D. 2D is a special case of the 3D world size configuration. The world size Z must be equal to the resolution of the map, and the start/goals coordinates should have a 0 z component. The main internal difference for the algorithms is the number of directions that can be used to explore the space, that is 8 in 2D and 26 in 3D.
Also, the header ROSInterfaces.hpp include two interfaces to load PointClouds and OccupancyGrid as maps, for the 3D and 2D cases.
To easily run the algorithms, some launch files are provided for ROS Nodes. Also 2D maps and 3D maps are provided
roslaunch heuristic_planners planner.launch algorithm_name:=lazythetastarroslaunch heuristic_planners planner2d_example.launch algorithm_name:=thetastarYou can pass some args to the launchs files such as:
- map: The .bt file path, by default the mbzirc challenge3
- algorithm_name: Can be "astar", "thetastar" or "lazythetastar" for the moment. At startup the node will echo the selected one to make you sure you are using the one you want.
- world_size_x: world x size in meters
- world_size_y: world y size in meters
- world_size_z: world z size in meters
- resolution: Resolution of the map in meters
- inflate_map: Boolean to inflate or not the map
- inflation_size: The inflation size (It's performed as an isotropic inflation in x,y,z). By default is the same as the resolution because it's recommended as minimum inflation to fill empty blocks between cells and avoid bad paths crosing walls etc.
- save_data: Boolean to enable data saving
- data_file_path: Path of the data file, by default $HOME/planning.txt. It saves algorithm name, start and goal coordinates, explored nodes, time etc.
In the 3D case, it will open an RViz window an load the default map mbzirc_challenge3 in the folder resources/3dmaps. First time you open a map the Grid3 class will compute the gridmap so you will need to wait a little bit before starting.
To request path you need to call the service /planner_ros_node/request_path filling the start and goal coordinates in meters(m).
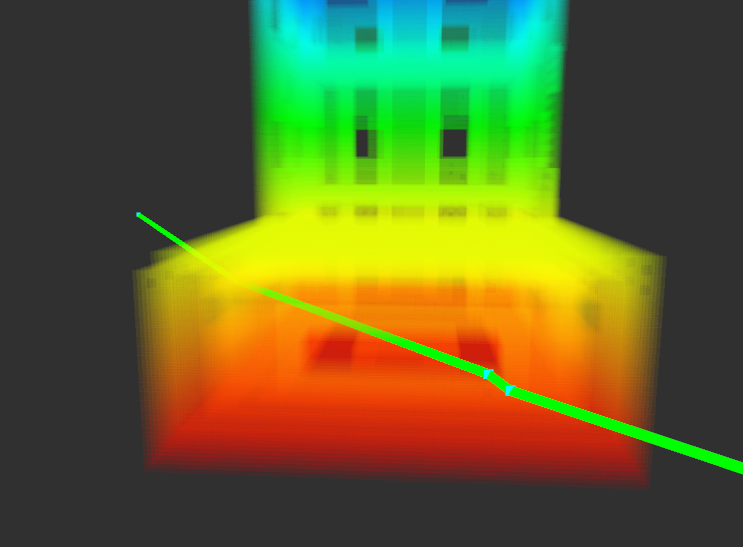
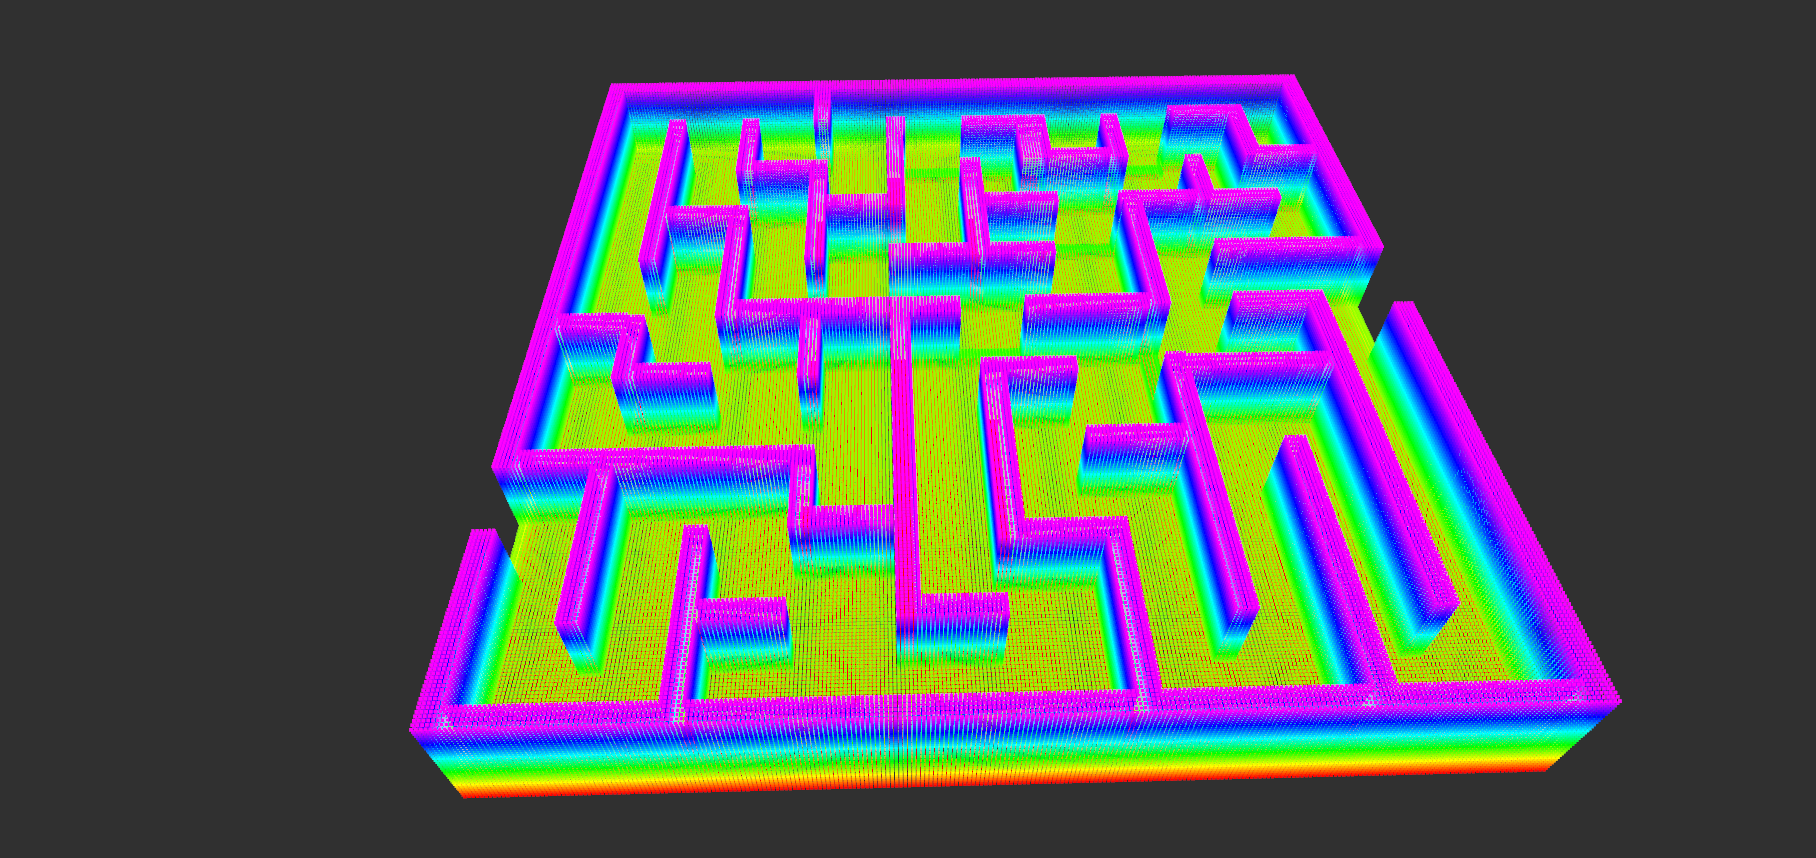
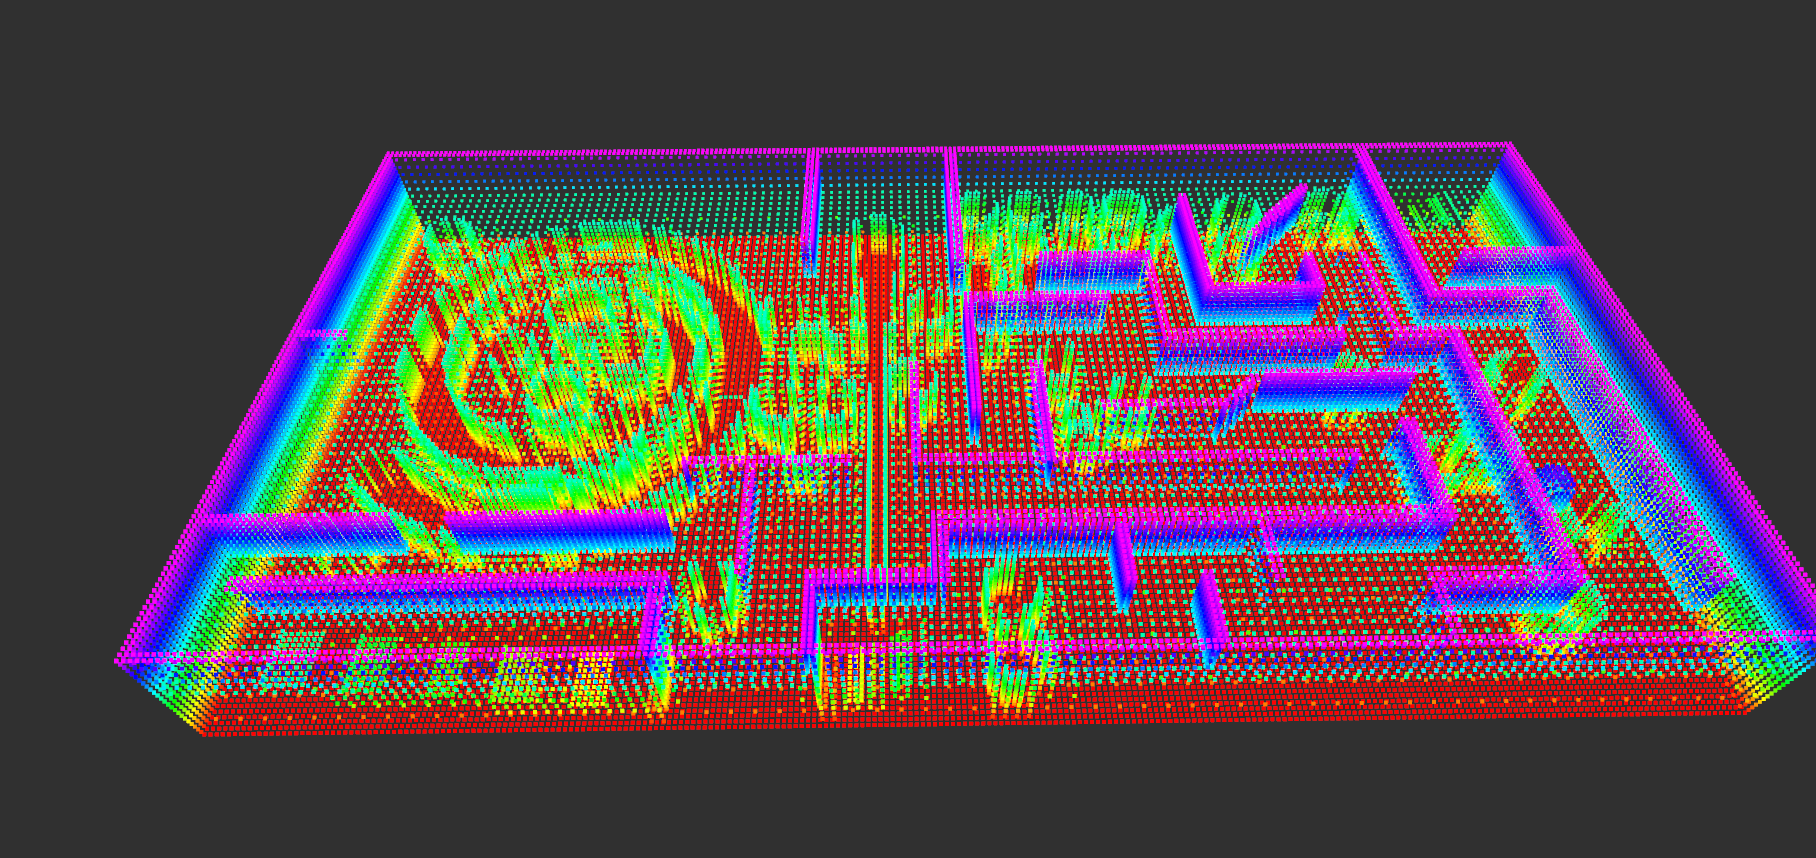
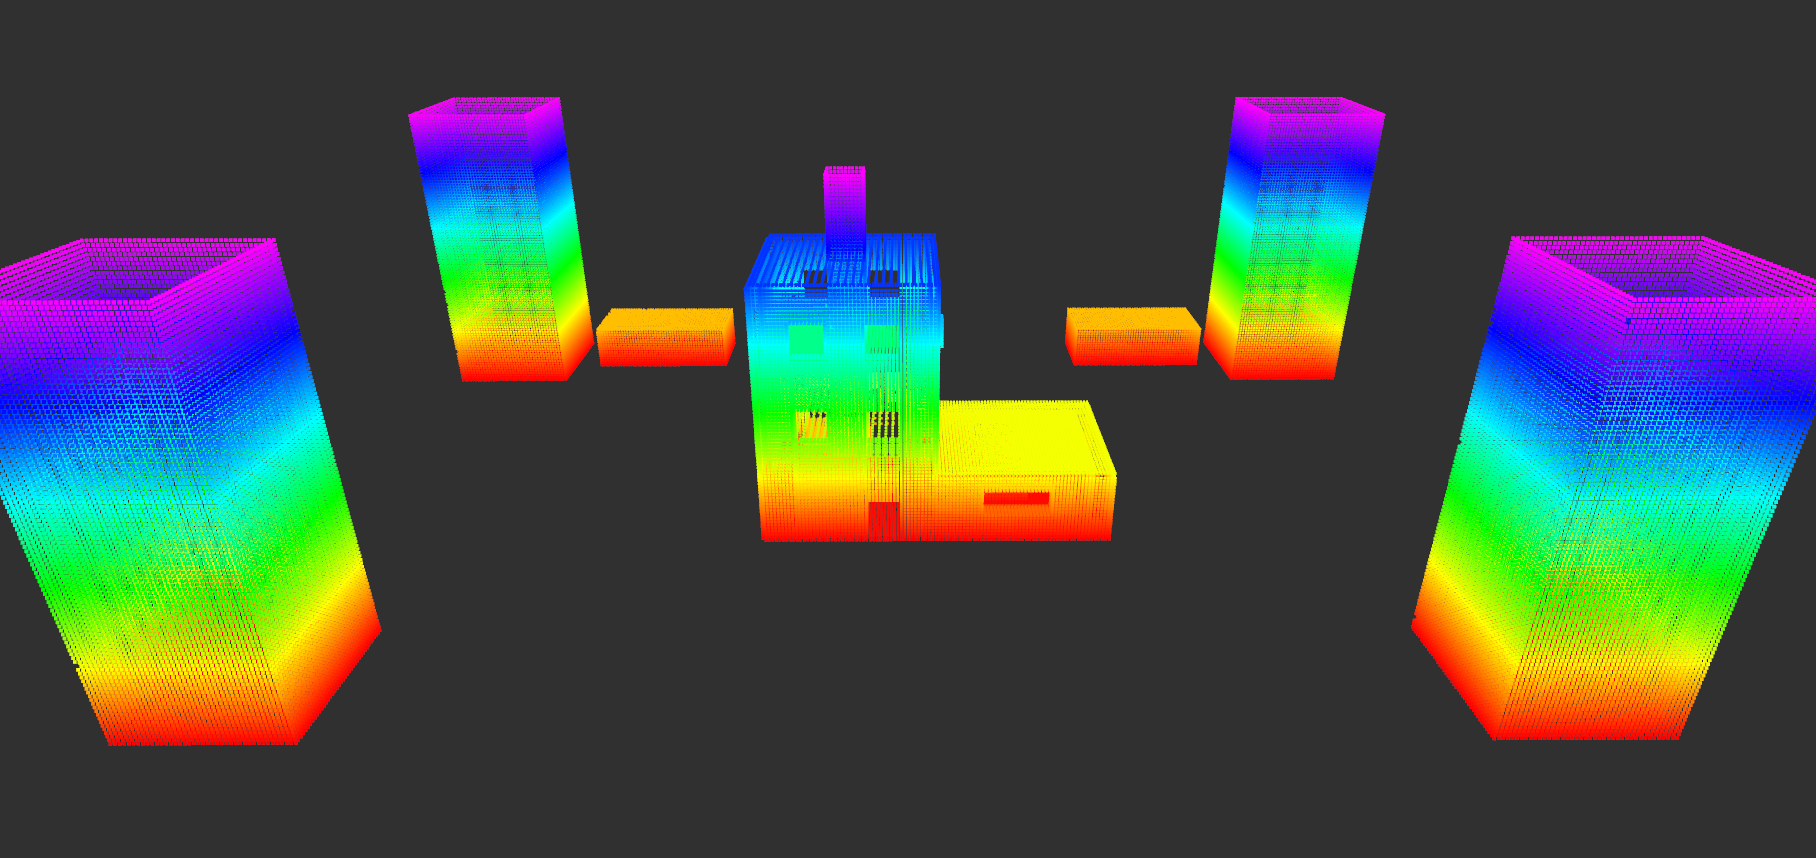
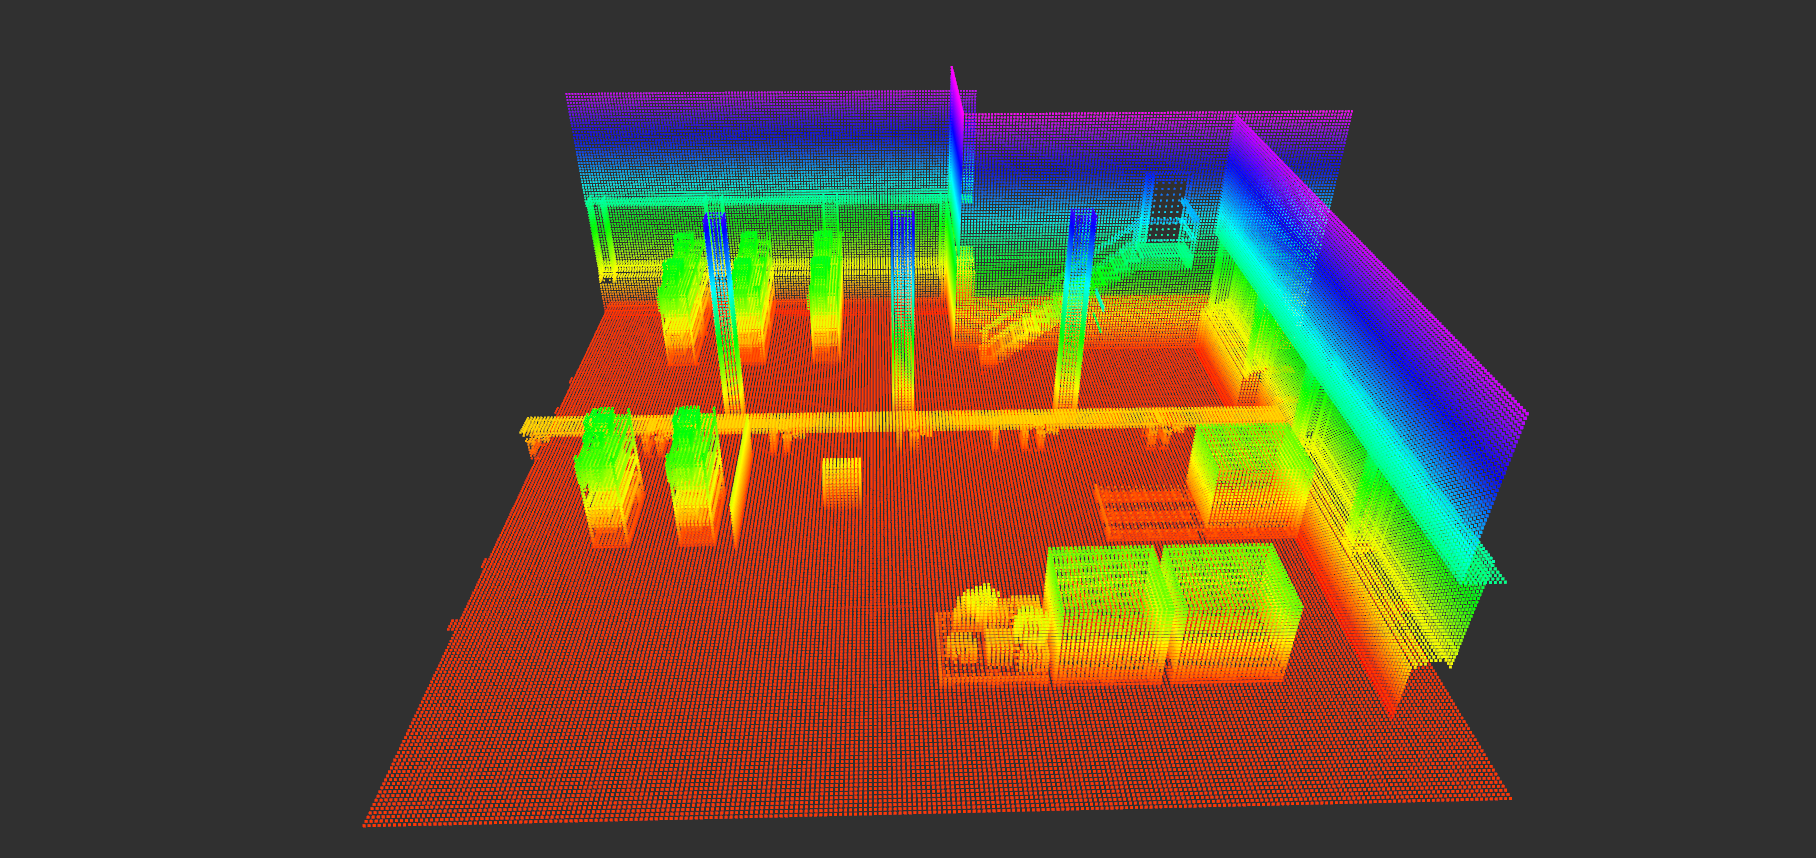
The repository includes some 3D and 2D maps for testing purposes. They can be found in the resources/3maps and resources/2dmaps folders.
The included maps are the following ones:
| 3D Octomaps | |
|---|---|
two_walls.bt
|
wall.bt

|
maze.bt
|
laberynth.bt
|
mbzirc.bt
|
manufacturing.bt
|
| 2D Maps |
|---|
test.pgm

|
The package also include pythons scripts to easily automatize test of ROS launch files with ranges of values of some parameters.
- Python 3.6 or higher
- matplotlib:
pip3 install matplotlib - numpy:
pip3 install numpy - ROS Melodic/Noetic
Right now there are several scripts
- test_algorithms.py: Test multiple algorithms with multiple parameters
- test_algorithms_compare.py : Test multiple algorithms with same parameters for comparison purposes and plot them in same plot
- compare_trajectories_rviz.py : Test N algorithms overlaying the trajectories in RVIZ
The general usage is the following:
usage: test_algorithms.py [-h] --launch {planner2d_example.launch,planner.launch}
                          [{planner2d_example.launch,planner.launch} ...] --algorithm
                          {astar,costastar,thetastar,lazythetastar,costlazythetastar}
                          [{astar,costastar,thetastar,lazythetastar,costlazythetastar} ...] --start-coords
                          START_COORDS START_COORDS START_COORDS --goal-coords GOAL_COORDS GOAL_COORDS
                          GOAL_COORDS [--cost-range COST_RANGE COST_RANGE COST_RANGE]
                          [--lof-value LOF_VALUE LOF_VALUE LOF_VALUE]

optional arguments:
  -h, --help            show this help message and exit
  --launch {planner2d_example.launch,planner.launch} [{planner2d_example.launch,planner.launch} ...]
                        name of the launch file
  --map-name            The name of the map with .bt or .pgm extension. This map should be under the resources/3dmaps or resources/2dmaps. 2d/3d option should
                        be configured in the launch
  --algorithm {astar,costastar,thetastar,lazythetastar,costlazythetastar} [{astar,costastar,thetastar,lazythetastar,costlazythetastar} ...] It can be a list
                        name of the algorithm
  --start-coords START_COORDS START_COORDS START_COORDS
                        start coordinates (x,y,z). Set z to 0 when testing with 2D
  --goal-coords GOAL_COORDS GOAL_COORDS GOAL_COORDS
                        goal coordinates (x,y,z). Set z to 0 when testing with 2D
  --cost-range COST_RANGE COST_RANGE COST_RANGE
                        cost range to evaluate. (min, max, step). To test only one value set COST COST+1 1
  --lof-value LOF_VALUE LOF_VALUE LOF_VALUE
                        Line of sight range to evaluate. (min, max, step). To test only one value set LOF_VALUE
                        LOF_VALUE+1 1
roscd heuristic_planners
./scripts/test_algorithms.py --launch planner.launch --map-name mbzirc_challenge3.bt --algorithm costastar --start-coords 20.0 20.0 3.0 --goal-coords 40.0 40.0 3.0 --cost-range 1 5 1 --lof-value 1 3 1 --plots total_cost path_length mean_distance_to_obstacleAnother example:
Run the launch planner.launch with algorithms costlazythetastar and lazythetastarsafetycost with the map mbzirc_challenge3.bt with start coords [20,20,3] and goal coords [40, 40, 3] with cost range between 1 and 20 with steps of 1 and line of sight range between 1 and 5 with an step of 1.
As it is configured right now, the script will create a multiple graphic visualization of the data with the resulting data for every algorithm with every line of sight i.e. DATA VS COST. They will be saved in the same folder the script is executed.
./test_algorithms.py --launch planner.launch --algorithm costlazythetastar lazythetastarsafetycost --map-name mbzirc_challenge3.bt --start-coords 20 20 3 --goal-coords 40 40 3 --cost-range 1 20 1 --lof-value 1 5 1 --plots total_cost1 total_cost2 path_length mean_distance_to_obstacleTo plot in the same figure multiple algorithms:
/scripts/test_algorithms_compare.py --launch planner_example.launch --map-name mbzirc_challenge3.bt --algorithm costastar astarsafetycost --start-coords 20.0 20.0 4.0 --goal-coords 40.0 40.0 3.0 --cost-range 1 5 1 --lof-value 1 3 1 --plots total_cost1 total_cost2 g_cost1 g_cost2 c_cost h_costFor that purpose you can use the script compare_trajectories_rviz.py :
roscd heuristic_planners/scripts
./compare_trajectories_rviz.py --launch planner.launch --algorithm astar costastar astarsafetycost thetastar costhetastar thetastarsafetycost lazythetastar lazythetastarsafetycost costlazythetastar --map-name mbzirc_challenge3.bt --start-coords 20 20 3 --goal-coords 40 40 3 --cost-value 1 --lof-value 1
For the script to finish you should press some key with in the running terminal.
Example command to generate 5 random maps with obstacle density from 0.1 to 0.5 and size 120x120 pixels:
roscd heuristic_planners/script
for i in {1..5}; do obs=$(echo "$i/10" | bc -l); echo "$obs"; ./generate2d_random_map.py --name random0_"$i" --size 120 120 --obstacles "$obs"; done- Clean grid3d.hpp class
- Add comments to generate proper Doxygen docs
- Fix autogeneration of docs
- Add optimized heuristics
- Add python interfaces
- Fix algorithm include hierarchy. Currently you need to
#includethe parents of the algorithm to use. If you want to use Theta* you need also to include the A* header - Integrate unit tests branch. Not sure if go ahead with Catch2 or use gtest
- Add move base planner plugin
- Integrate voronoi
- Migrate Pointers to Smart Pointers
See also the issues tab.