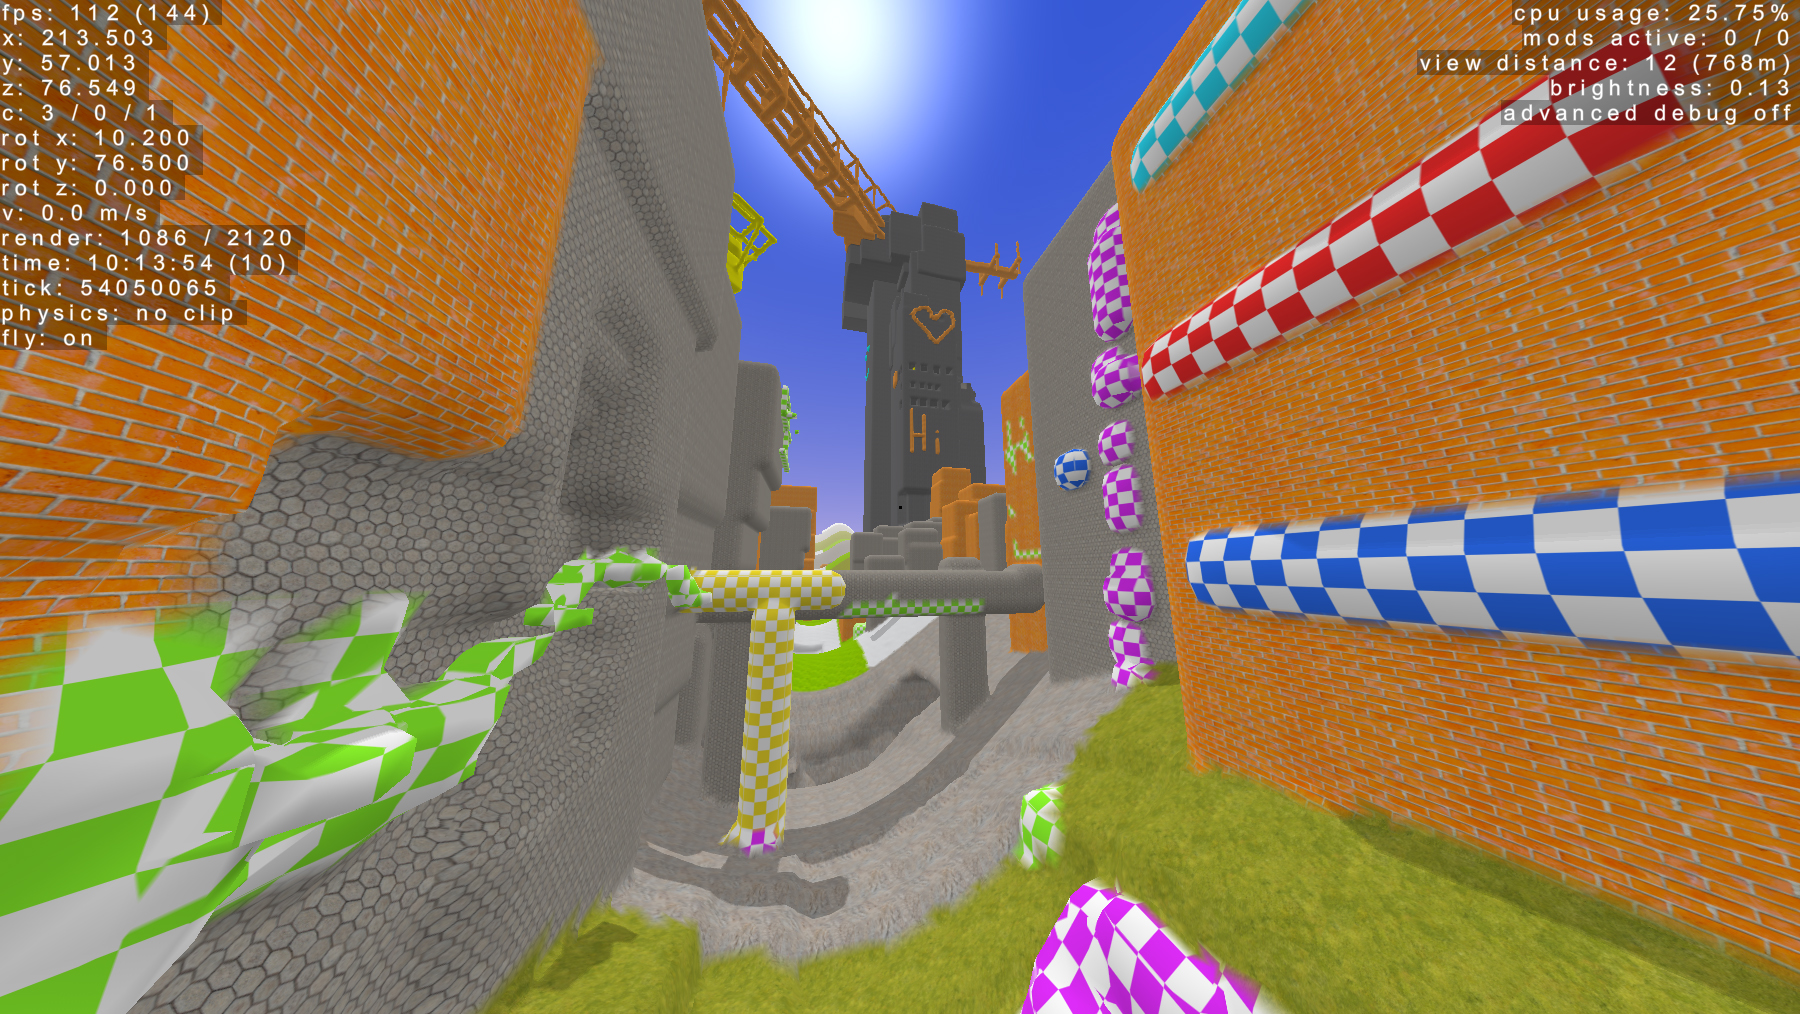
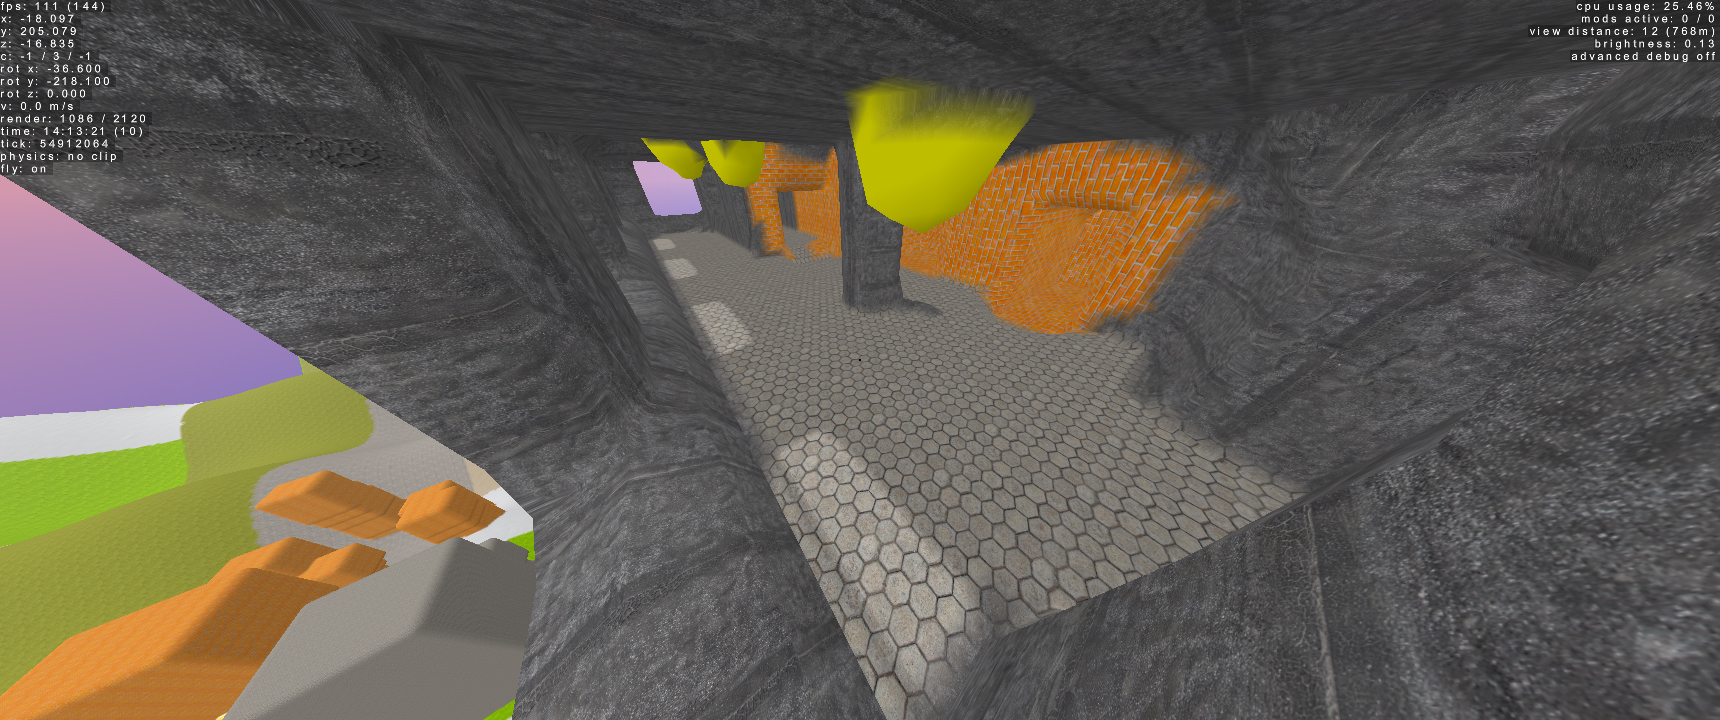
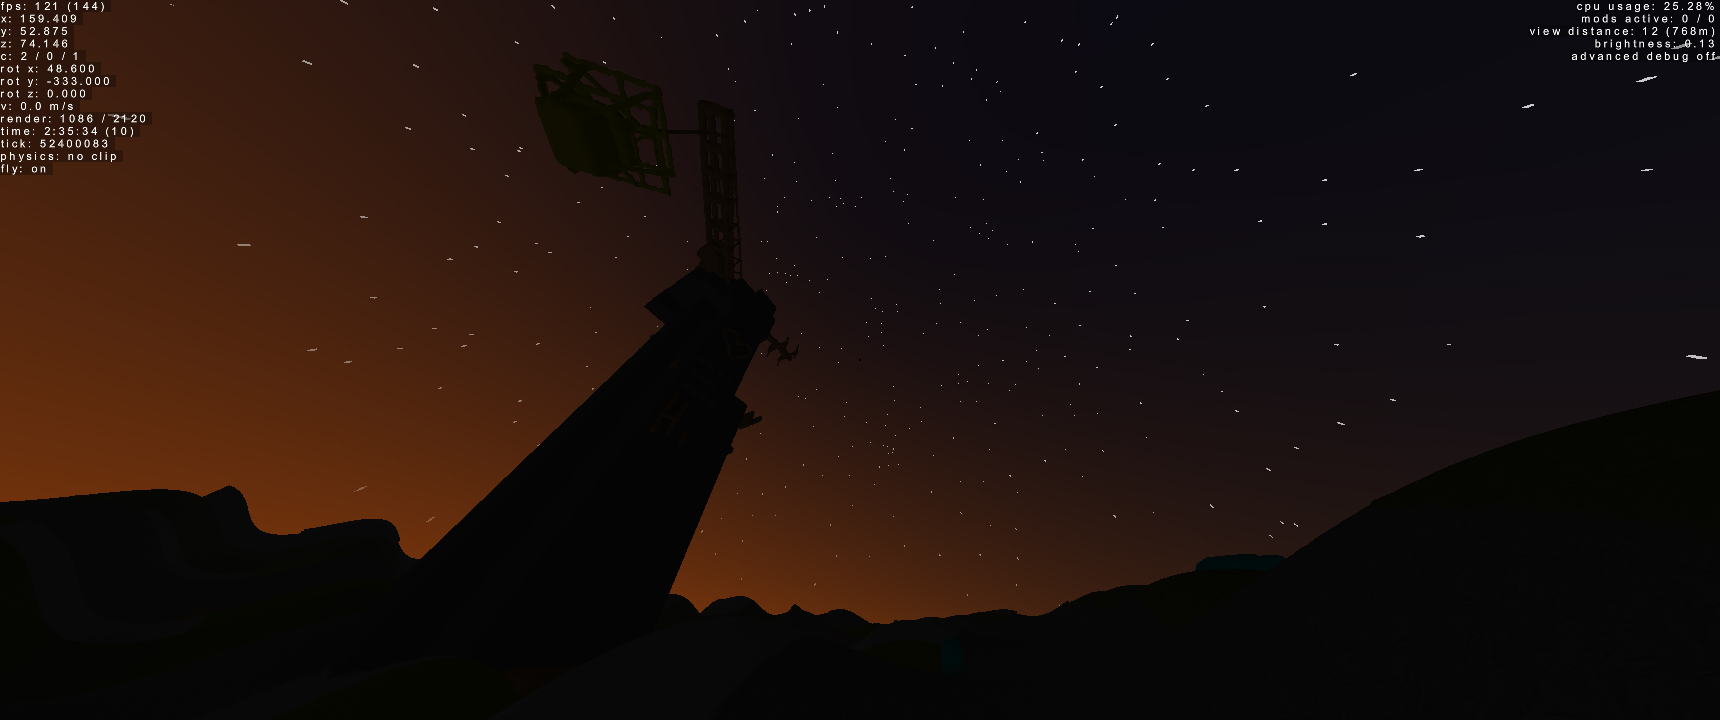
Welcome to Auravyx! Build whatever you can imagine with friends or on your own in this smooth voxel based sandbox. Easily moddable too!
Extract .zip anywhere you'd like and run the Auravyx.exe
There may also be a version with two .exe files. One will run with the console and one will run without it.
Settings can be changed in settings.txt.
| Setting | Description | Value Type | Default Value |
|---|---|---|---|
| view-distance | Radius of chunks loaded around player. Restricted by size of currently loaded world. Also determines amount of fog. |
int |
8 |
| brightness | Changes the brightness of the overall world. Lower values will make anything not under direct sunlight harder to see. | float |
1.0 |
| load-mods | If true, the game will attempt to load enabled mods. | bool |
true |
| fps | Sets default FPS target. Can also be changed with commands in-game. | int |
144 |
| vsync | If enabled, reduces screen tearing and caps FPS at 60. Don't use with adaptive screen refresh rates. | bool |
false |
| ups | Number of general updates per second, 60 is recommended | int |
60 |
| physics-ups | Number of physics updates per second. Higher numbers significantly affect FPS. | int |
10 |
| host | true will host a multiplayer session from the game's window, allowing you to play and others to connect. false will attempt to connect to the given IP and port. |
bool |
true |
| ip | If host is false, game will try to connect to this IP address. |
string |
127.0.0.1 |
| port | If host is false, game will try to connect to server on this port. |
short |
54000 |
| username | Determines your visible name to other players in server chat. | string |
SWAGman |
Controls can be changed in controls.txt
Lorem ipsum dolor sit amet, consectetur adipiscing elit, sed do eiusmod tempor incididunt ut labore et dolore magna aliqua. Ut enim ad minim veniam,
Lorem ipsum dolor sit amet, consectetur adipiscing elit, sed do eiusmod tempor incididunt ut labore et dolore magna aliqua. Ut enim ad minim veniam,
Controls can be changed from controls.txt
| Input | Description |
|---|---|
W |
Move forward |
A |
Move left |
S |
Move back |
D |
Move right |
E |
Double speed |
Left Shift |
Move down |
Space |
Move up / jump |
Left Click |
Add material to crosshair location (build) |
Right Click |
Remove material from crosshair location (destroy) |
Mouse Button 4 |
Zoom in camera |
T |
Chat. To use commands start message with / |
Enter |
Send current chat message or command |
Escape |
If chatting, exits chat and returns to game discarding current message. If not chatting, will tab out of game. |
R |
Enable wireframe |
+ |
Increase game time |
- |
Decrease game time |
F1 |
Takes a screenshot and saves in screenshots folder |
F3 |
View extra debug info |
F5 |
View chunk metrics |
Lorem ipsum dolor sit amet, consectetur adipiscing elit, sed do eiusmod tempor incididunt ut labore et dolore magna aliqua. Ut enim ad minim veniam,
Lorem ipsum dolor sit amet, consectetur adipiscing elit, sed do eiusmod tempor incididunt ut labore et dolore magna aliqua. Ut enim ad minim veniam,
Lorem ipsum dolor sit amet, consectetur adipiscing elit, sed do eiusmod tempor incididunt ut labore et dolore magna aliqua. Ut enim ad minim veniam,
The following tutorial will show how to create a custom mod in Visual Studio on Windows. A proper Linux version should come soon but key concepts should be largely the same.
Setting up project
- Open Visual Studio and create new empty project.
- Add
Auravyx.libandAuravyxLib.libfromMods\Librariesto your project's directory. - Right click on your project in solution view and click
Properties. - In
Properties -> Generalset Configuration Type to library. - In
Properties -> Linker -> Additional DependenciesaddAuravyx.libandAuravyxLib.lib. - Press Apply and close window.
- Right click on your project and click
Add -> Classand create a class with your mod's name.
Next we will create a basic mod that print to console, draw a string on the screen and play an audio track.
MyMod.h
#include "Modify/Mod.h"

class MyMod : public Mod
{
public:

    MyMod();
    ~MyMod();

    //Entry point of your mod
    int start();

    ///// OPTIONAL FUNCTIONS ////

    //Use load() for loading async assets. This will be slightly faster than start().
    int load();

    //Use unload() to define what happens when mod is unloaded from game or when game is shutdown.
    int unload();

    //Use stop() to define what happens when mod is disabled but still loaded in memory.
    int stop();

};
MyMod.cpp
#include "pch.h"
#include "TestMod.h"
#include <stdio.h>
#include "Graphics/GFX.h"
#include "Utilities/Assets.h"
#include "Audio/Sound.h"

MOD_DEFINE MyMod MOD

void myFunction()
{
    GFX::getOverlay()->drawString("Hello world!", 100, 100, 50, 1, 0, 0, 1);
}
int MyMod::start()
{
    std::cout << "My mod loaded! :)\n";
    Sound mySound;
    mySound.play(Assets::getAssets()->getAudio("song"));
    Renderer::getRenderer()->addRenderFunction(myFunction);
    return 0;
}
Now lets compile into a shared library .dll file.
Make sure your mod is set to Release and x64 and then run it.
If all is well, you should get a message thats says "Windows can't run DLL files" which means it worked!
If you go in MyMod\x64\Release you will now see MyMod.dll, this is your mod!
Now its time to test your new mod in game.
- Create a new folder, call it
MyMod. - Inside, copy and paste your
MyMod.dll. - Optional step Custom configuration file.
- Now move your new mod folder into
Auravyx\Mods\Enabled. - Run Auravyx and test out your new mod!
If you want to disable a mod, just move it into the disabled folder.
A configuration file is a human readable .conf file which allows you to give tags to your mod, some of which will be used by the game to know things like version, name, author, etc. All tags are treated as strings.
Here is an example:
MyMod.conf
#This is a commented line
mod-name=The very best mod there is!
mod-version=1.0.0
game-version=1.0.0| Tag | Description |
|---|---|
| mod-name | Visible mod name which should be displayed in game. |
| mod-version | The version of your mod. |
| game-version | Recommended game version which your mod runs on. If the game version is higher, it will warn player about unexpected behaviour. |
| author | Mod author |
Connecting to a server on the other side of the globe is just as easy as connecting to your own local server.
Since the current version of the server runs only on Windows, hosting must be done on Windows. Don't worry, a Linux version will come soon. I was able to get it running on a AWS Windows Server 2016 server. I did have to allow some port usuage since it was disabled by default, but I was able to connect.
A C++ implementation of my Java Smooth Voxels, fully destructable voxel sandbox with multiplayer, also a lot quicker too. Still in development. Runs on Windows, unconfirmed if it can run on Linux/Mac (though it should be able to)
Current version has a few things disabled (chunk streaming, force noclip, multiplayer disabled). Some features are being reimplemented to be handled server-side.
Most up-to-date version: See Releases
How to play: Extract lastest release zip folder and run the .exe, if this fails make sure anti-virus are ignoring it (Windows Defender may try to auto-delete)
->Since chunk streaming is disabled, I included a small (2gb) world, which loads on startup. There are some snowy mountains in the distance, a tunnel at spawn and a brick pillar coming out of the ground.
Visit my site if you want to chat: www.jasonaddison.dev
/fps [integer] Sets max fps
/fov [double] Sets field of view
/speed [double] Sets speed multiplier
/save Saves currently running world to disk (if chunk streaming is off)
/noclip Toggles terrain/object collision
All sessions opperate on a server, even singleplayer, this allows you to play via lan or host on a server. If you want to host a seperate game from a server, run ServerHost.exe. This will give you a complete server operating experience, allowing you to view connected players and ping as well as a log of chat and commands.
To disable self hosting, change the line in Settings.txt "host=true" to "host=false" and the IP to the server's IP.
Port 54000 should work on most computers. If port binding fails, try another (make sure to change settings.txt and server's port)


