Gatemate RISC-V Tutorial
Description
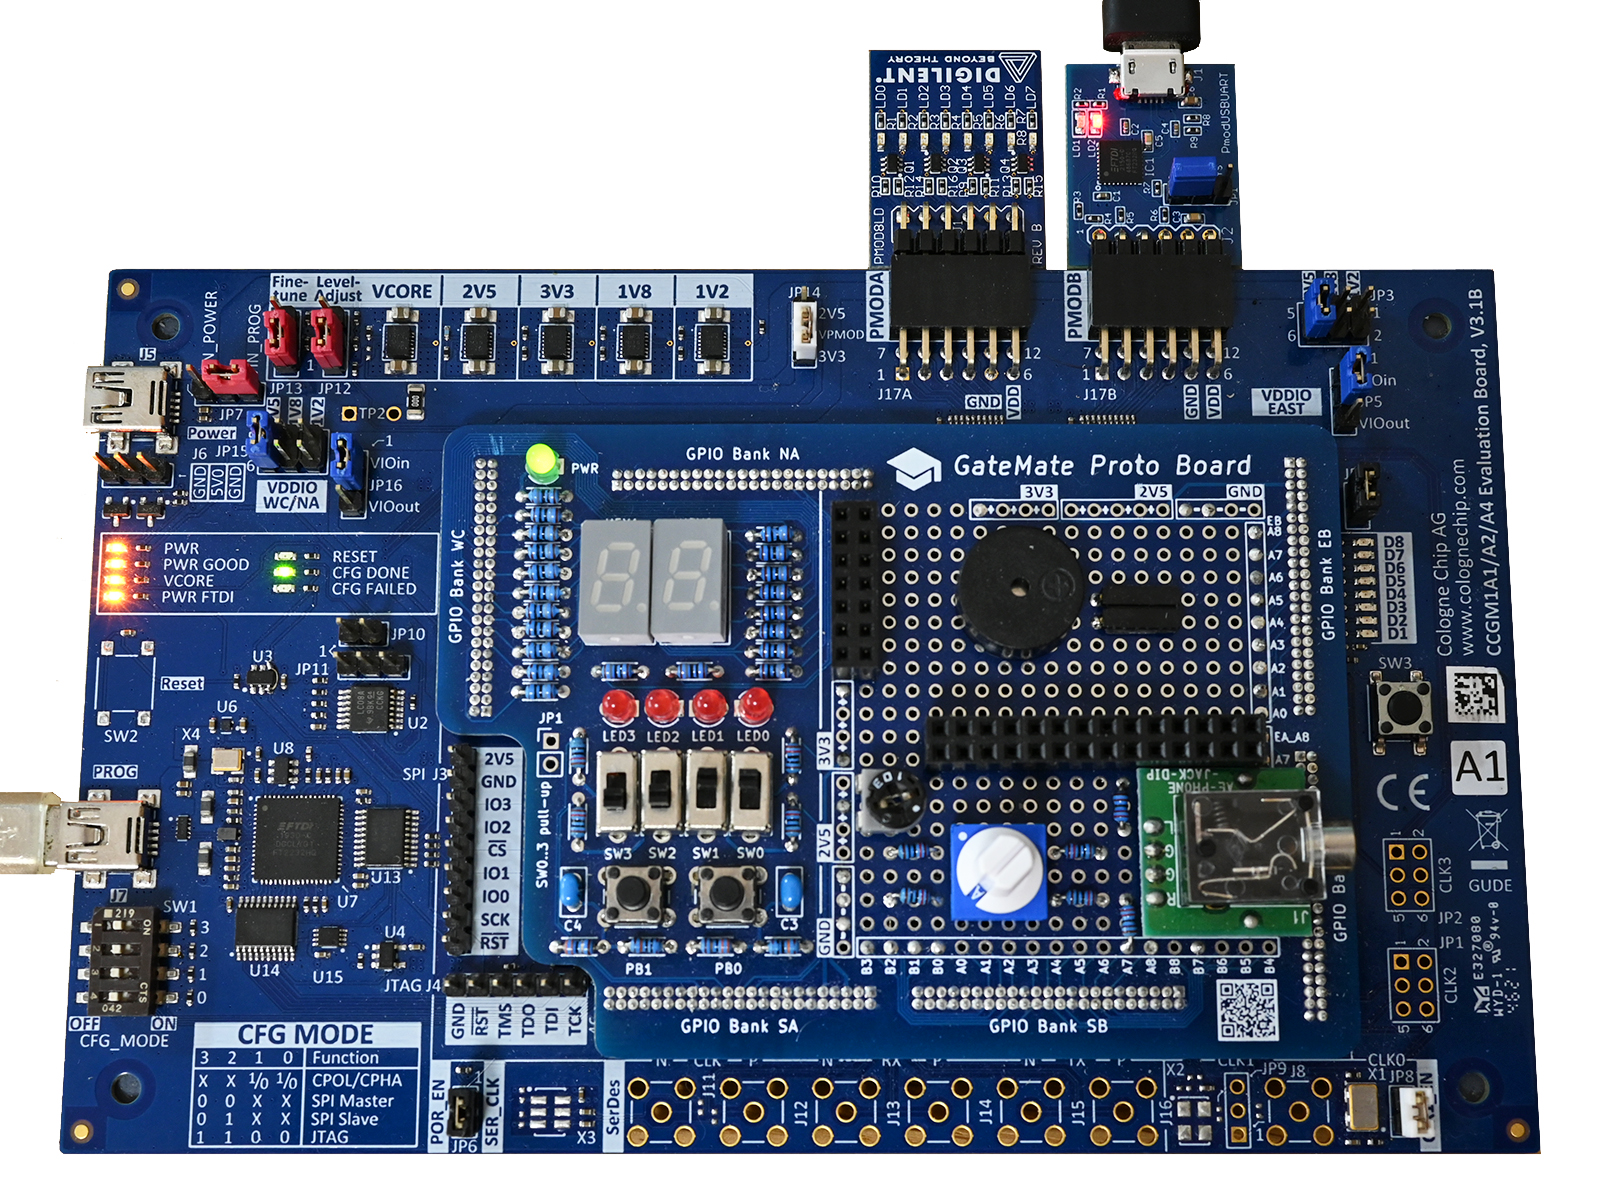
This repository contains the Verilog project folders for the popular FPGA tutorial "From Blinker to RISCV" by BrunoLevy. The original tutorial has been adapted for the Gatemate E1 FPGA evaluation board made by Cologne Chip. It describes a step-by-step implementation of the FemtoRV softcore CPU, which is a minimalistic RISC-V CPU design written in Verilog.
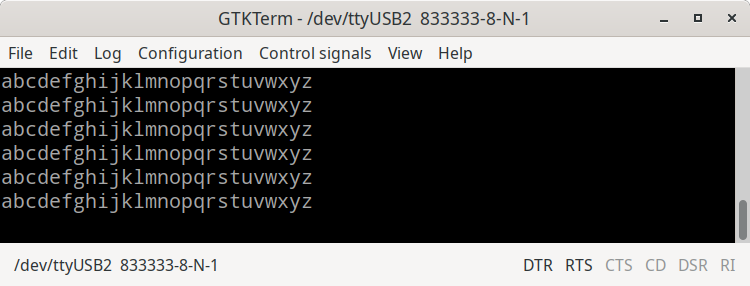
Most of the tutorial steps require only a pushbutton and a set of LEDs, they can be easily completed using the Gatemate E1 evaluation board "stand-alone". Only later exercises interface with additional hardware that need extra connectivity. For example, the UART serial output introduced in step17 can be achieved with Digilents PMOD USBUART.
This tutorial adoption puts the Gatemate E1 on par with popular FPGA trainer boards that include the Digilent ARTY/CMOD-A7, Lattice ECP5-EVN/IceStick, Radiona ULX3S, or the 1Bitsquared IceBreaker.
Enjoy!
Tutorial Steps
Prerequisites
- Prerequisites 1 Getting FGPA build Tools
- Gatemate E1 board
- Cologne Chip toolchain
- iVerilog
- Verilator
Basic Verilog Code Blocks
- Step01 First blinky - Toolchain and Hardware Verification
- Step02 Clock Division and Delay Control (Gearbox)
- Step03 Block RAM - Using BRAM for loading bit patterns
RISC-V CPU Implementation Steps
- Step04 RISC-V CPU - Instruction Decoder
- Step05 RISC-V CPU - Register Bank and State Machine
- Step06 RISC-V CPU - Arithmetic Logic Unit (ALU)
- Step07 RISC-V CPU - Assembly Program in Verilog
- Step08 RISC-V CPU - Add JAL and JALR Jump Instructions
- Step09 RISC-V CPU - Add Branch Instructions
- Step10 RISC-V CPU - Add LUI and AUIPC Instructions
- Step11 RISC-V CPU - Separate Memory and CPU modules
- Step12 RISC-V CPU - LUT Space Optimizations
- Step13 RISC-V CPU - Subroutines v1 (Gearbox to PLL)
- Step14 RISC-V CPU - PLL and subroutines v2 (ABI and pseudo-instructions)
- Step15 RISC-V CPU - Add LOAD Instructions
- Step16 RISC-V CPU - Add STORE Instructions
- Step17 RISC-V CPU - Add Memory-mapping and UART output
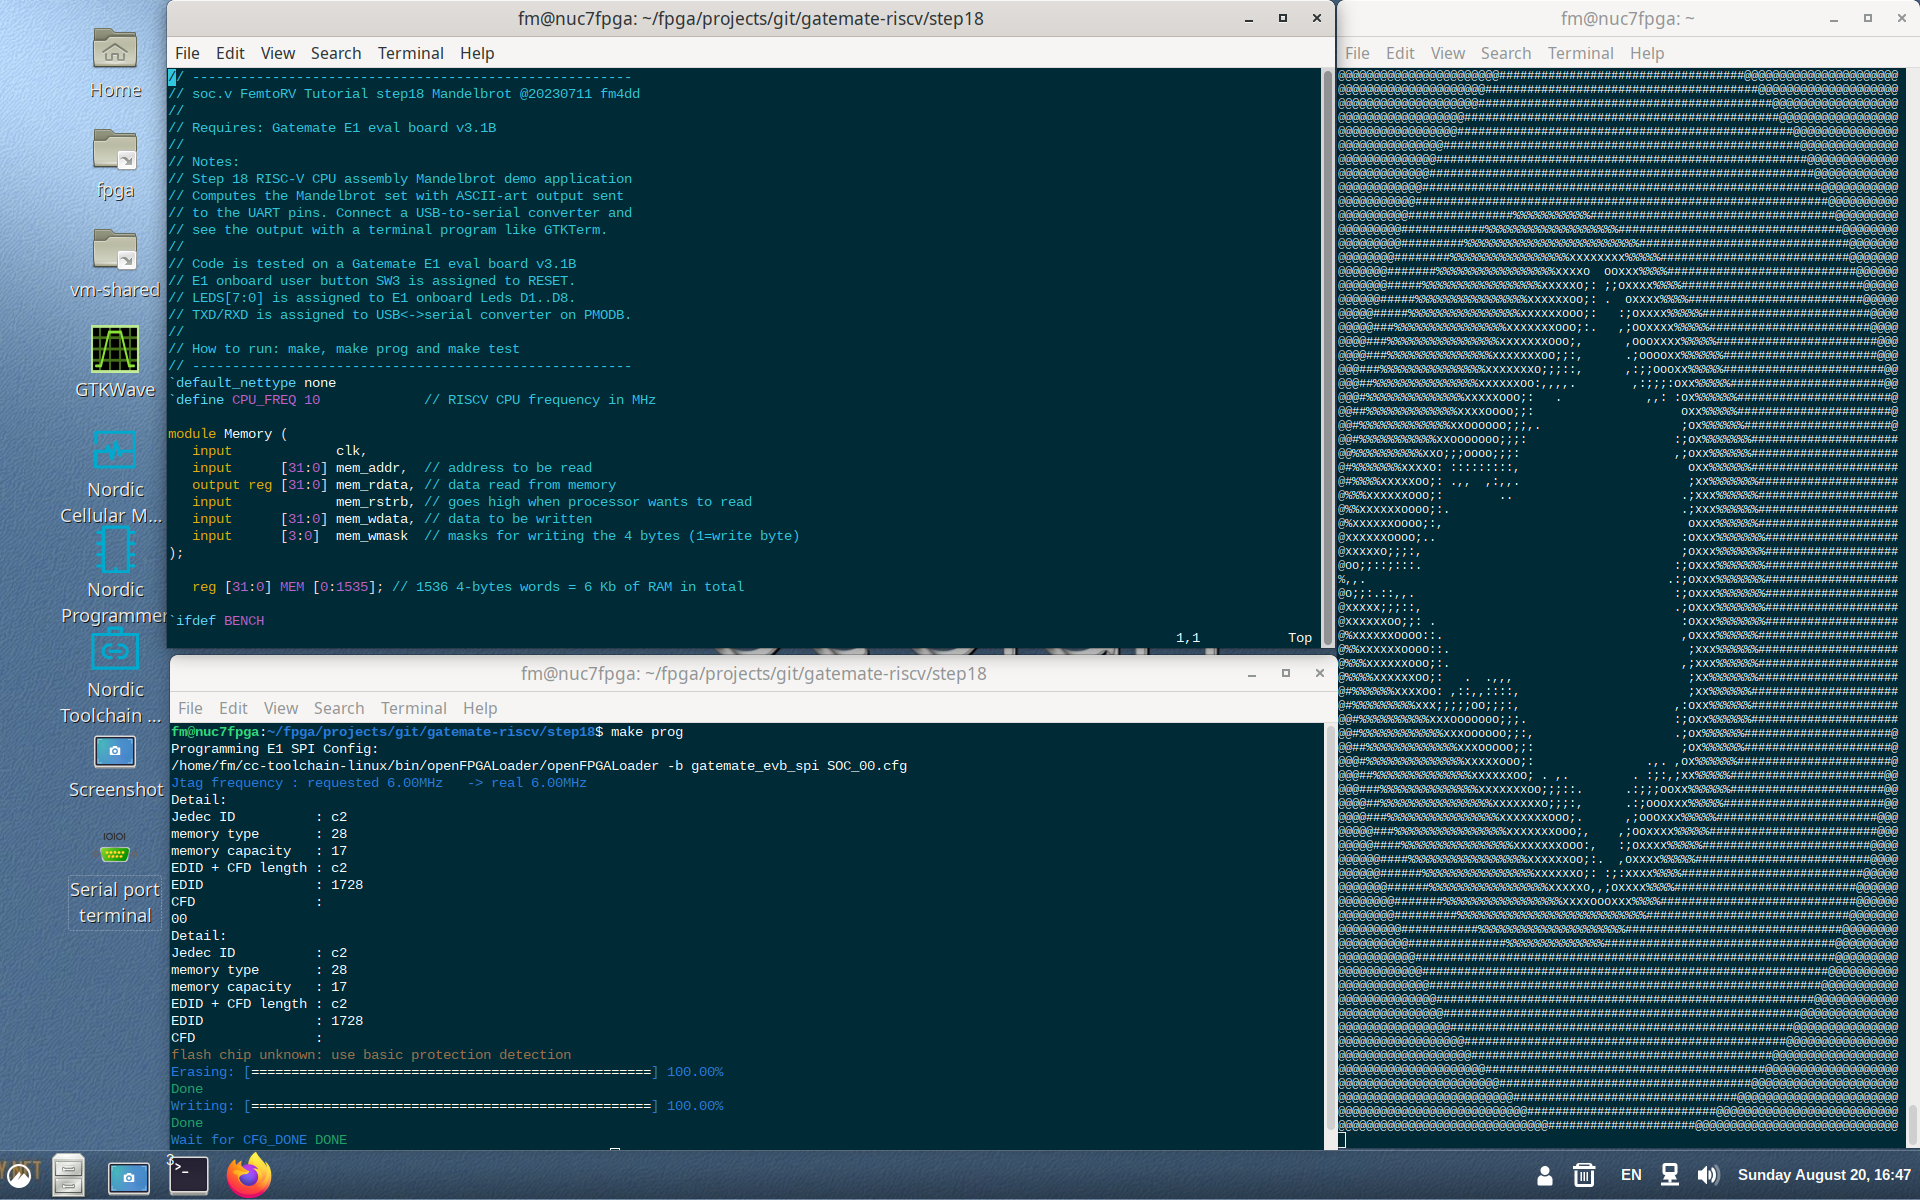
- Step18 RISC-V CPU - Computing the Mandelbrot set
- Step19 RISC-V CPU - Faster Simulation with Verilator
Prerequisites
- Prerequisites 2 Getting RISC-V build Tools
- RISC-V toolchain (gcc compiler and tools to generate RISC-V binaries)
- firmware_words (generates a hexadecimal machine code file for use with VERILOG's $readmemh())
RISC-V CPU Apps in Assembly and C
- Step20 RISC-V CPU - Run Assembly Programs from BRAM
- Step21 RISC-V CPU - Run 'C' Programs from BRAM
- Step22 RISC-V CPU - Run 'C' Program Data from SPI Flash Memory
- Step23 RISC-V CPU - Run 'C' Programs from SPI Flash Memory
- Step24 RISC-V CPU - 'C' Program Reset and Flash Storage Improvements
Next Steps / Further Reading
Bruno Levy created the sequel tutorial "Episode II" that improves the RISC-V CPU design into a pipelined CPU. This requires a FPGA with at least 128kB BRAM. The DS1001 datasheet for Gatemate's CCGM1A1 FPGA specifies 1,310,720 bits (163KB) BRAM, organized in 32 SRAM blocks that are configurable either as 20Kbit or 40Kbit blocks. This sounds promising ...
Almost all content is Copyright (c) 2020-2021, Bruno Levy All rights reserved. (License) Small adoption changes fall under the same license.
Tokyo, August 2023


