Table of Contents
This library is based on the original Servo Oscillator code by Juan Gonzalez-Gomez (Obijuan), which is part of his ArduSnake project (on Github).
Since the Servo Oscillator is so handy in other applications, I have split it off into it's own library, made a number of changes to make it easier for me, and hopefully others, to understand and use, and added an extensive interactive example to show all functionality.
At it's base, this library allows for a servo to oscillate at a given angle (amplitude) around a center point.
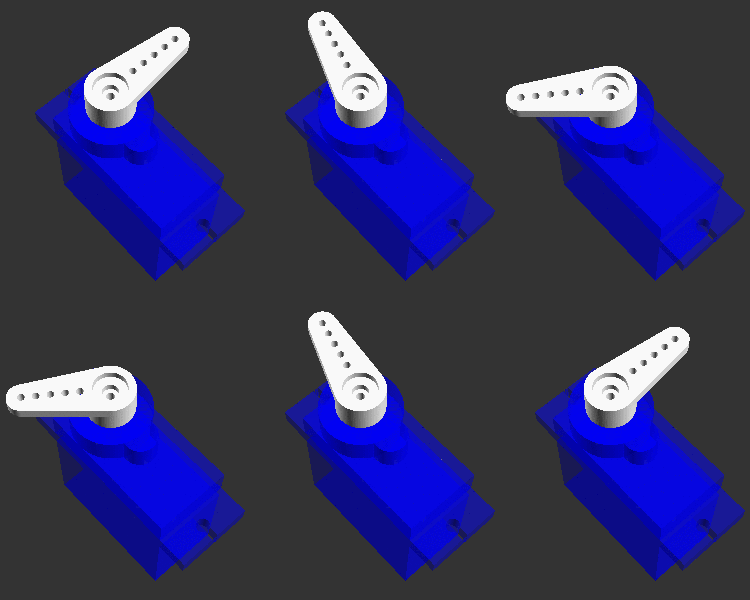
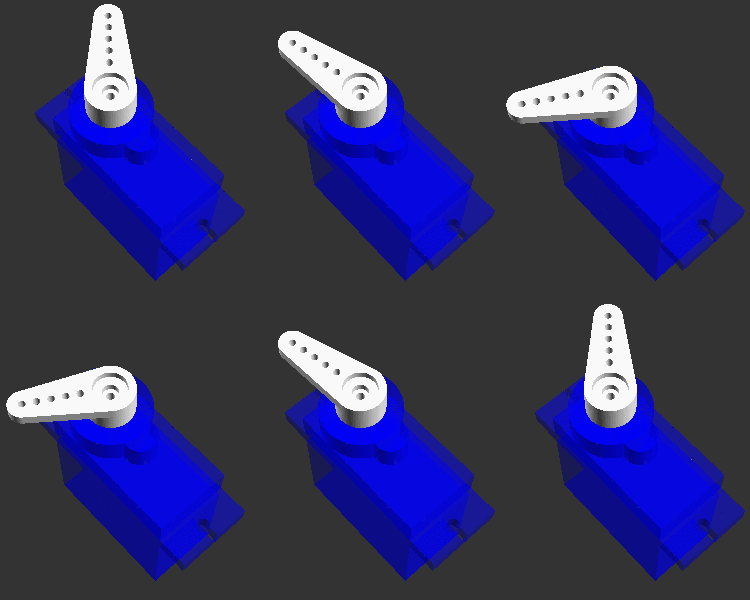
Here is an animation of 2 example oscillating servos:
| Ampl: 90°, Offset: 0° | Ampl: 60°, Offset: 20° |
|---|---|
 Example 1 |
 Example 2 |
Example 1:
This one runs at an amplitude of 90° and offset of 0°. One period is 4*90° = 360°
Example 2:
This one has an amplitude of 60° and an offset of 20°. One period is 4*60° = 240°
Some of the main features:
- Run as many servos as available digital pins.
- Servos can be attached and detached at run time.
- Servos can be stopped and started - when stopped, it continues to keep the cycle position in the background (as long as the update() method is called). This is useful on a multi servo walker robot that has a specific gait where the synchronization of all servos will be kept even if one or more are stopped and then started again later for some reason.
- The amplitude, center offset, speed (period), trim correction and starting phase can be controlled for each servo.
- Oscillation: Continues rotation of the servo from one end to the opposite around the central offset. The full oscillation angle possible is 180° (servo dependant) which is virtually mapped from -90° to +90° with 0° being the center of oscillation.
- Offset: This is the offset from 0° to set as the center of oscillation and can be positive or negative. Note that any offset added, reduces the 180° arc of movement by the offset amount.
- Trim: Some servos do not have a level of precision and setting the offset to 0° for example, does not leave the horn exactly center. The trim can be used to adjust this position in 1° increments, positive or negative - in future, the granularity of this adjustment may be made smaller to allow fractions of a degree.
- Amplitude: This is the degrees of movement to travel from the offset in both positive and negative direction. With an offset of 0°, the max amplitude is 90° which will result in a full oscillation arc of 180° (-90° to +90°). Note that the amplitude can be greater than 90°, but the underlying servo library or the servo itself will ignore angles outside it's range. In this case, then the movement reaches the max servo position, it would stop, the oscillation calculation would continue with further invalid angles sent to the serve until the oscillation max is reached and movement direction changes. Only once the angle comes back into range, will the servo start moving back toward the offset position.
- Period: The amount of time in milliseconds, that one full oscillation cycle takes. Note that one full cycle is 4 * the amplitude.
- Phase: This is the position within the cycle where the movement starts. This is mostly useful when there are two or more servos, oscillating at the same time with the same amplitude and period, but one or more needs to start at a different positions within the cycle if they are all started together.
With a servo connected to pin 2 of an arduino, the code below will cause that servo to more or less operate as example 2 above.
#include <ServoOsc.h>

ServoOsc osc1;

void setup() {
    osc1.setAmplitude(60);
    osc1.setOffset(20);
    osc1.setPeriod(2000);
    osc1.attach(2);
}

void main() {
    osc1.update();
    delay(10);
}ServoOsc(p, a, o, ph, trim, pn, atch)
where:
- p: period in milliseconds. Default: 2000
- a: amplitude in degrees. Default: 45
- o: offset in degrees. Default: 0
- ph: start phase in degrees. Default: 0
- trim: trim correction in degrees: Default: 0
- pn: pin to attach servo to. Default: -1 (detached)
- atch: auto attach to pn if valid pin. Default: false
Examples:
#include <ServoOsc.h>

// Instantiate a global instance using the default
ServoOsc osc1;

// Instantiate a global instance, setting parameters, but NOT attaching
ServoOsc osc2(1000, 90, 0, 0, 0, 5, false);

// Create a pointer to an instance to be instantiated later
ServoOsc *osc3;

void setup() {
    // Instantiate osc3 - this sets all parameters and also automatically
    // attaches to pin 3 - .
    osc3 = new ServoOsc(1500, 45, 10, 0, 0, 3, true);

    // Attach osc1 and osc2
    osc1.attach(4);
    osc2.attach();  // Pin already set, just attach
}
A note about attaching the servo before setup() runs: Don't do this!
When passing in the pin when instantiating a class instance, the underlying
Servo.attach() will automatically be called. When attaching a servo before the
setup() function is called, it is more than likely that the servo will not
work as expected - see this link for more details:
https://stackoverflow.com/a/27784648
For this reason the osc1 and ocs2 instances must be attached in setup(),
although all their other parameters may have been set at the point of
instantiation.
The osc3 pointer is declared outisde of setup(), but the complete
instantiation, including setting the pin, which causes automatic servo
attachment, happens inside setup(). This servo would immediatly oscillate at
the given parameters as soon as it is instatiated in setup().
- setPeriod(period): Set the period. Takes immediate effect on running servo.
- setOffset(offset): Set the offset. Takes immediate effect on running servo.
- setAmplitude(ampl): Set the amplitude. Takes immediate effect on running servo.
- setPhase(phase): Set the phase. Takes immediate effect on running servo.
- setTrim(trim): Set the trim. Takes immediate effect on running servo.
- setPin(pin, [attach: true/false]): Sets the servo pin and optionally also attaches the servo. Default is to not attach. Returns false if setting the pin or attaching failed, true otherwise.
- setReverse(true/false): Reverse/mirror the oscillation angle or unreverse/unmirror. Takes immediate effect on running servo.
- setCycles(cycles): Can be used to run the oscillator for a specific number of cycles (one cycle is 360°) or cycle parts.
- uint16_t getPeriod(): Returns the current period.
- uint8_t getAmplitude(): Returns the current amplitude.
- int8_t getOffset(): Returns the current offset.
- float getPhase(): Returns the starting phase in radians.
- float getPhaseStop(): Returns the phase value of when the current cycle
will stop if the number of cycles to run was limited through a call to
setCycles(). One cycle is 360° which is 2π x amplitude Radians. When calculating a run cycle, the number of radians for the cycle is calculated and added to thecurrPhasephase counter. This phase counter is updated regularly to the new phase from which the servo angle is calculated for the next fraction of the complete cycle. - int8_t getTrim(): Returns the current trim angle.
- uint8_t getPin(): Returns the pin attached to. Returns 0 for detached.
- bool getReverse(): Returns true if reverse is active, false otherwise.
- float getPhaseInc(): Returns the calculated phase increment that gets
added to
phaseon every position update. This is is radians. - float getCurrPhase(): Returns the current phase in radians.
- bool isAttached(): Returns true if currently attached, false otherwise.
- bool isStopped(): Returns true if currently stopped, false otherwise.
- update(): Must be called regularly to update the oscillation position.
- stop(): Stops the servo moving, but continues to update the angle (if update() is still called) to keep the phase.
- start(): Restarts a stopped servo. Note that it quickly seek to the correct phase position on restart and then continue normal oscillation from there.
- attach([pin]): Attached to the servo, optionally providing the pin to use
if not already set, and if not already attached. Returns
falseif the pin is invalid or already attached,trueotherwise. - detach([reset]): Detaches an attached servo, optionally resetting/deleting
the associated pin. Return
falseif not attached,trueotherwise. - positionServo(angle, withTrim=true): Positions the servo at any angle, optionally taking the current trim angle into account. This will move an attached servo even if the servo is currently in the stopped state. Although it does not make much sense using it on a running servo, it can be done.
- resetToStart(): Resets the servo to it's start position at offset, taking trim, and phase into account. If attached, it will move the servo even if it is in the stopped state, and will also reset the current position if it has been running. If not attached, parameters will still be set.