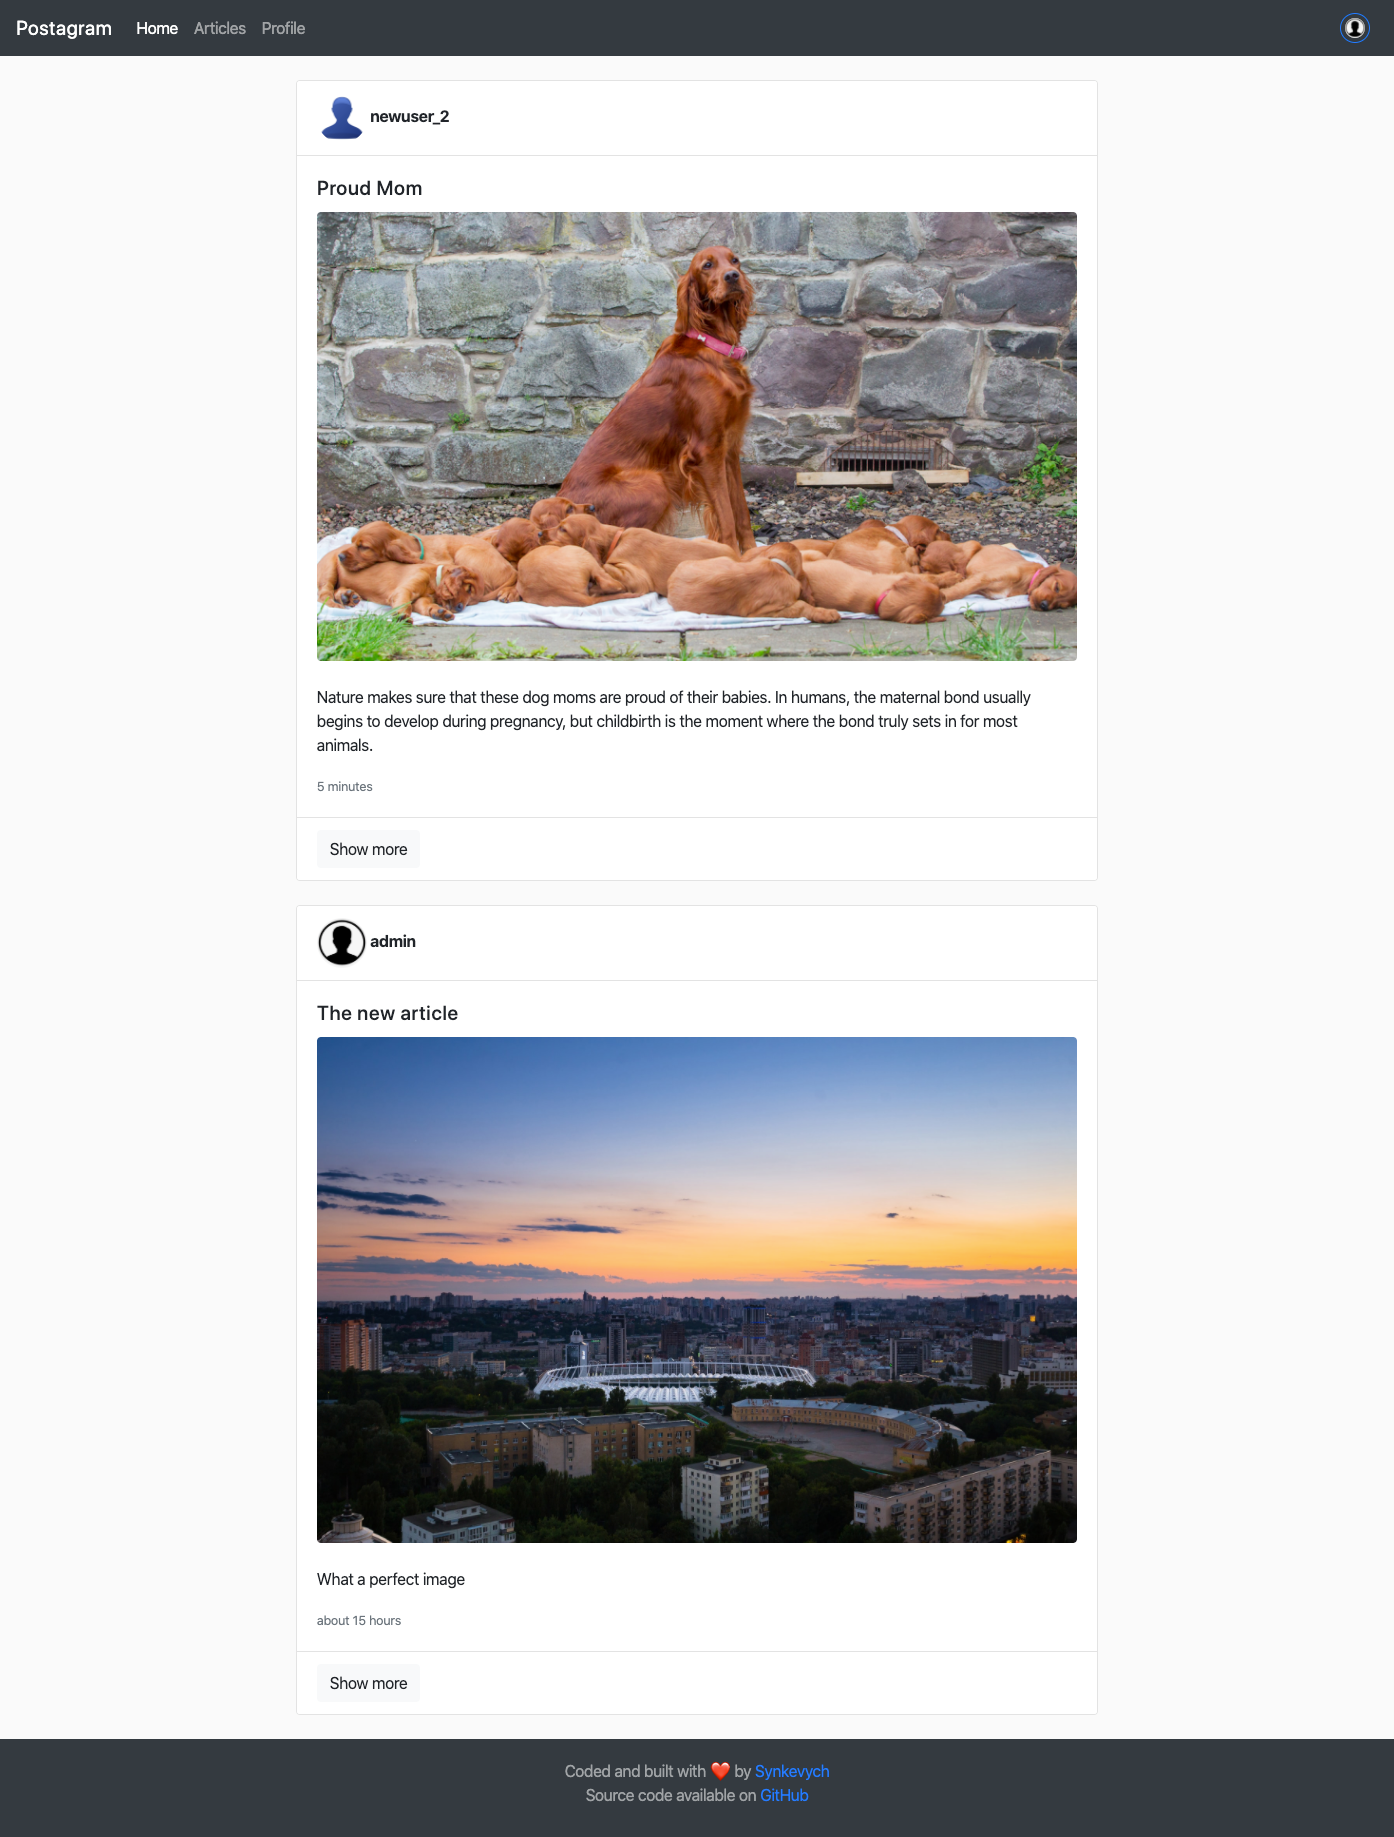
Yay! This project deployed on Heroku
Ruby version: 2.7.0
To prettify Ruby text inside Sublime:
highlight all code and type Ctrl + Shift + H / Alt + Shift + F in VSCode
After the merge it's save to delete the branch: $ git branch -d branch1
git checkout -f undoing changes
rails new myapp --database=postgresql
https://github.com/tulios/json-viewer
https://developers.themoviedb.org/3/movies
https://github.com/DavidAnson/vscode-markdownlint
cloudinary to save photo for free Active Record
How to use rake db
-
Configuration
rails generate controller Comments
rails g controller user new create -
Database creation
rails generate model Article title:string text:tile -
Database initialization
rails db:migrate- создание таблиц в базе данных
rails db:migrate RAILS_ENV=development
rake db:setup
Додавання нових полів в існуючу таблицю:
rails generate migration add_role_user role:string
Для додавання foreing_key в таблицю articles через миграцию треба використовувати міграцію: add_reference :articles, :user, foreign_key: true
Після цього можна виконати автоматичне заповнення таблиці вик. файл seeds.rb
rails db:seeds - запускає на виконання файл db/seeds.rb, дозволяє додавати в базу даних нові полями з файлу
rake db:reset db:migrate видалення даних та створення таблиць заново
-
How to run the test suite
rails d controller welcome- remove controller and all included filerails generate model Post title:string content:text
rails destroy model Post title:string content:text -
Services (job queues, cache servers, search engines, etc.)
-
Deployment instructions
heroku apps: destroy app1- destroy your app at the heroku
heroku git:remote -a app2- change the app from app1 to app2
heroku run rake db:migrate
rails server -> linux
ruby bin\rails server -> windows
rails s -> short
rails generate controller Welcome index
the controller located app/controllers/welcome_controller.rb
the view app/view/welcome/index.html.erb
Troubleshooting:
rails webpacker
install yarn
npm install yarn -g
bundler install > after updating some gems
git restore -s postgres -- .\README.md
sudo gem install bundler
brew install gcc
rvm install ruby@2.6.5
rvm install ruby-2.6.5
rvm use 2.6.5 --default
Install Heroku:
install heroku from web site for windows
heroku login
heroku create
git push heroku master
rename gem 'sqlite3' to gem 'pg'
run: bundler install
rails db:create ails d migration remove_from_user_avatar_link - remove migrations bundle exec rails webpacker:install
heroku pg:reset DATABASE --confirm YOUR_APP_NAME heroku run rake db:setup heroku run rake db:migrateheroku restartafter runningpg:reset
heroku open heroku run rails console heroku apps:errors heroku logs
The type is contained within the title and can be one of these types:
feat: a new feature
fix: a bug fix
docs: changes to documentation
style: formatting, missing semi colons, etc; no code change
refactor: refactoring production code
test: adding tests, refactoring test; no production code change
chore: updating build tasks, package manager configs, etc; no production code change
The model Comment generator generate 4 files:
Create model for command: rails generate model Comment commenter:string body:text article:references
| File | Purpose |
|---|---|
| db/migrate/_create_comments.rb | to create the comment table |
| app/models/comment.rb | The comment model |
| test/models/comment_test.rb | Testing harness for the comment model |
| test/fixtures/comments.yml | Sample comments for use in testing |
Run migration: rails db:migrate. They create all new tables and columns.
rake db:migrate - checks which missing migrations still need to be applied to the database without caring about the previouse ones.
id, created_at, updated_at was created by default for each ActiveRecord model.
rails generate migration AddPartNumberToProducts part_number:string:index generate migration
To generate a model you can use following field types:
- binary binary large object
- boolean true or false
- date to store a date
- datetime to store a date including a time
- float for storing a floating point number
- integer for storing an integer
- decimal for storing a decimal number
- string a sequence of any characters (255) characters
- text as a string but considerably bigger (65536) characters
Routing and Controllers
-
form_with отправляет формы с использованием Ajax, тем самым не осуществляя редирект всей страницы.
-
:article - определяющий объект для формы
-
:url опция которая используется если нужно вести по специальному url
-
plain: ключ который принимает метод render
-
params - метод, это объект, представляющий параметры (или поля), приходящие от формы. принимающий
- Create account
- Add gem
gem 'cloudinary'to Gemfile - Copy
cloudinary.ymlwith sitting from cloudinary site to the config folder - Create migration, you need add to User model string column avatar
  def change
        add_column :users, :avatar, :string
end- Run migration
rake db:migrate - Add to User model new string
attribute :avatar, default: 'https://res.cloudinary.com/demo/image/upload/d_avatar.png/non_existing_id.png'- Change your User controller
 def create_new_img(new_img)
    new_img_url = Cloudinary::Uploader.upload( new_img )
 end

def create
  @user = User.create!( user_param)

  if !params[:user][:avatar].nil?
    new_img_url =  create_new_img(params[:user][:avatar])
    @user.update(:avatar => new_img_url['url'] )
  end

  @user.save
end- Add to form image
<li>
  <%= form.label :avatar %>
  <%= form.file_field :avatar %>
</li>- Render your image at the form
<% if !@article.image.nil? then %>
  <div class="card-img mb-2">
    <%= image_tag @article.image, class: 'rounded img-fluid' %>
  </div>
<% end %>gem 'will_paginate' self.per_page = 5 -> to article model
articles.all.order("created_at DESC").paginate(page: params[:page], per_page: 5)to the index method in controller<%= will_paginate @article, list_classes: %w(pagination justify-content-end) %>1to the html page
Remove column directly from database
ALTER TABLE users
DROP COLUMN reset_password_sent_at;Set them to the seting page from you heroku page like this:
CLOUDINARY_URL cloudinary://937675854665996:sM_5iluwmdHeCiF1it-----
 config.action_mailer.raise_delivery_errors = true
  config.action_mailer.delivery_method = :test
  host = 'localhost:3000'
  config.action_mailer.default_url_options = { host: host }
  ActionMailer::Base.smtp_settings = {
  :port           => 587,
  :address        => 'smtp.mailgun.org',
  :domain         => ENV['MAILGUN_SMTP_DOMAIN'],
  :authentication => :plain,
  :user_name      => ENV['MAILGUN_SMTP_LOGIN'],
  :password       => ENV['MAILGUN_SMTP_PASSWORD'],
  }
ActionMailer::Base.delivery_method = :smtpTo set an environment variable on macOS, open aterminal window. If you are setting the environmentvariable to run jobs from the command line, use thefollowing command:
open bash_profile vim ~/.bash_profile
