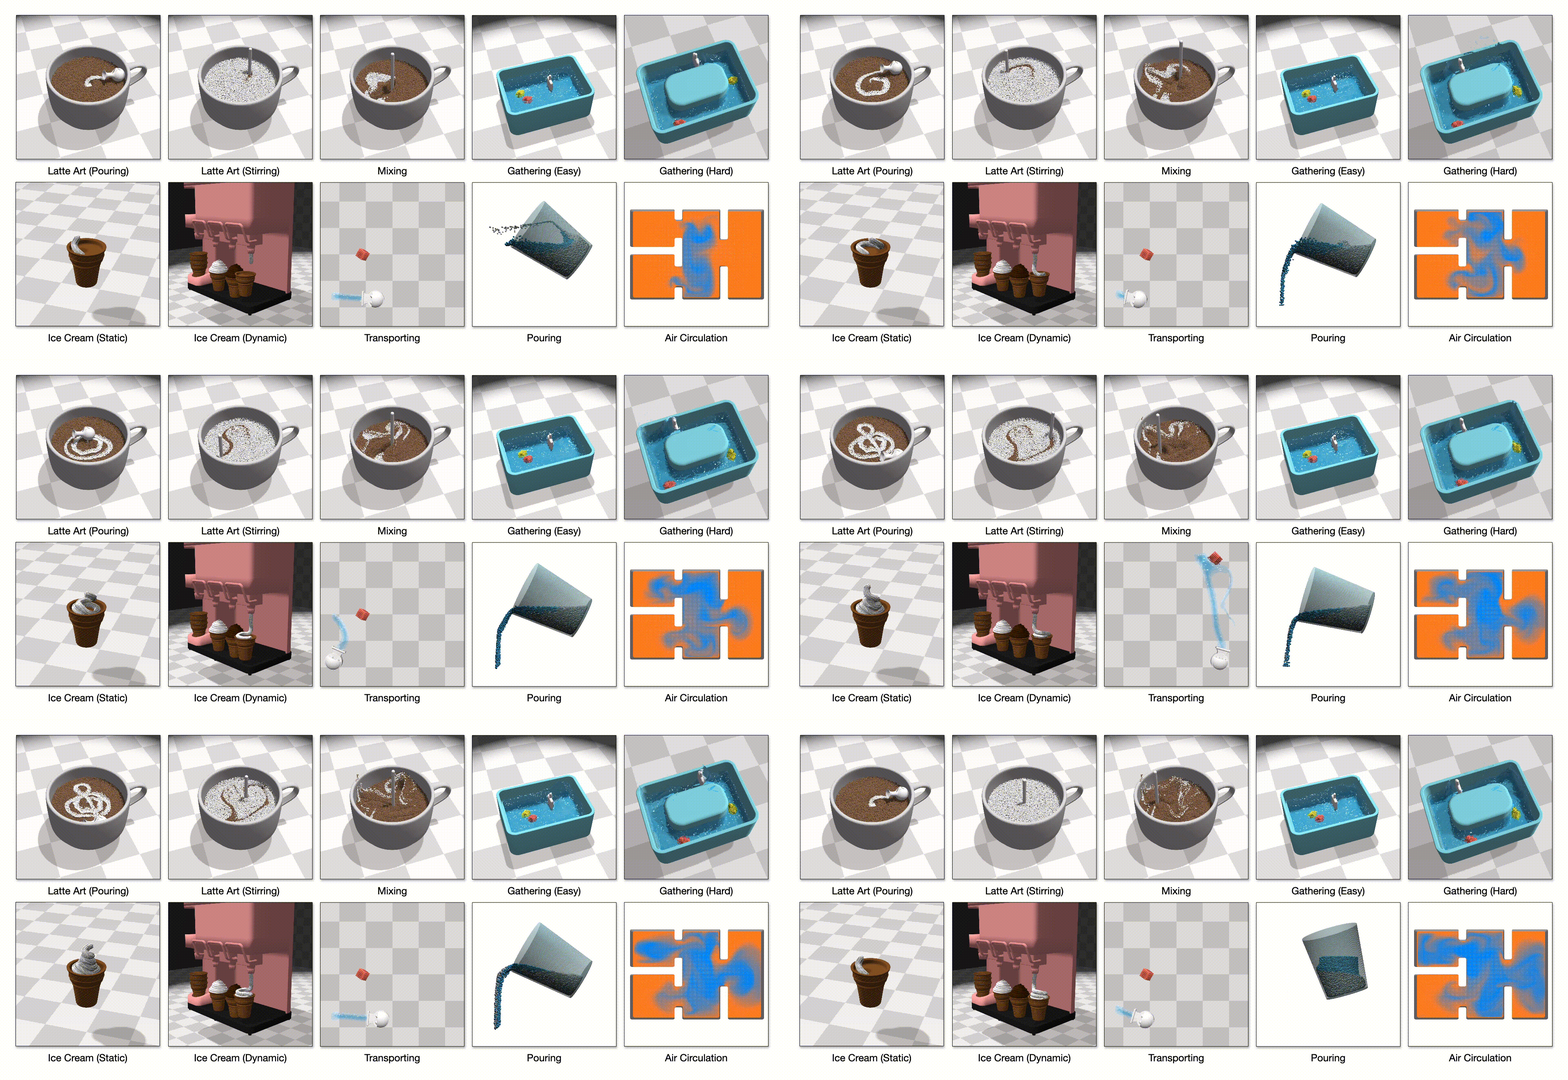
This is the official repo of the paper:
FluidLab: A Differentiable Environment for Benchmarking Complex Fluid Manipulation
Zhou Xian, Bo Zhu, Zhenjia Xu, Hsiao-Yu Tung, Antonio Torralba, Katerina Fragkiadaki, Chuang Gan
ICLR 2023 (Spotlight)
This codebase contains the following:
- FluidEngine, a multi-material fully-differentiable physics engine, supporting liquids, solids, and gasesous fluid simulation.
- FluidLab, a set of standardized complex (robotic) fluid manipulation tasks powered by FluidEngine.
Clone git repo.
git clone https://github.com/zhouxian/FluidLab.git
We recommend working with a conda environment.
cd FluidLab/
conda env create -f environment.yml
conda activate fluidlab
If installing from this yaml file doesn't work, manual installation missing packages should also work.
Finally, install FluidLab.
pip install -e .
FluidLab comes with two different rendering choices: GGUIRenderer and GLRenderer.
GGUIRenderer (fluidlab/fluidengine/renderers/ggui_renderer.py) is based on Taichi's own UI system: GGUI.
GGUIRenderer is fast and the recommended way for quick visualization and prototyping.
GLRenderer (fluidlab/fluidengine/renderers/ggui_renderer.py) is an OpenGL-based GPU-acelerated rendering pipeline. It produces much better visual effects.
GLRenderer is slower than GGUIRenderer: while the rendering itself is pretty fast, the major bottleneck occurs in GPU-CPU-GPU data transfer from simulation to the renderer. We are currently working on addressing this.
Part of GLRenderer is modified from Nvidia FleX’s rendering pipeline. We enhanced it with various features tailored to FluidLab's use, including particle-level colorization, headless rendering, dynamic object loading, volume rendering for smoke field, etc. We also provided a set of python APIs to dynamically update the scene configuration from within Python. The renderer supports rendering materials as either particles or fluids.
GLRenderer is developped in C++ and needs to be compiled first. Sadly, compiling only works with cuda 9.2, but we provided a docker file to make it easy.
First, install docker-ce and nvidia-docker following the official steps:
- https://docs.docker.com/engine/install/ubuntu/
- https://docs.nvidia.com/datacenter/cloud-native/container-toolkit/install-guide.html#docker
Compile GLRenderer using our provided docker file. (Assuming you are using anaconda3)
sudo docker build -t fluidlab-glrenderer fluidlab/fluidengine/renderers/gl_renderer_src

# make sure you replace {username} with your own
sudo docker run \
  -v ${PWD}/fluidlab/fluidengine/renderers/gl_renderer_src:/workspace \
  -v /home/{username}/anaconda3:/home/{username}/anaconda3 \
  --gpus all \
  -e DISPLAY=$DISPLAY \
  -e QT_X11_NO_MITSHM=1 \
  -it fluidlab-glrenderer:latest bash

. /home/{username}/anaconda3/bin/activate fluidlab
. prepare.sh
. compile.sh
If you see the following console output, the compilation is successful, and you are free to exit the docker environment.
[100%] Linking CXX shared module flex_renderer.cpython-37m-x86_64-linux-gnu.so
[100%] Built target flex_renderer
Let's start with the Latte Art (Pouring) task as a concrete example. First, we need to generate a goal pattern. We provided a hard-coded sinewave pattern by default:
python fluidlab/run.py --cfg_file configs/exp_latteart.yaml --record
A GUI window pops up and visualizes the pattern generation process. After this, the generated goal pattern will be saved as fluidlab/assets/targets/LatteArt-v0.pkl.
The above command uses GGUIRenderer by default. If you want to switch to GLRenderer, simply append --renderer_type GL at the end:
python fluidlab/run.py --cfg_file configs/exp_latteart.yaml --record --renderer_type GL
Instead of using the hard-coded sinewave pattern, you can also generate the goal by controlling the agent using you mouse (and keyboard in other examples), simply by appending --user_input. It is recommended to switch back to GGUIRenderer in this case because speed matters for interactive control:
python fluidlab/run.py --cfg_file configs/exp_latteart.yaml --record --renderer_type GGUI --user_input
Now you can use your mouse to control the pitcher and generate a goal pattern you want.
Once a target is generated, you can replay it:
python fluidlab/run.py --cfg_file configs/exp_latteart.yaml --replay_target
Now that we have the goal, we will optimize a trajectory using gradients provided by the differentiable simulation.
python fluidlab/run.py --cfg_file configs/exp_latteart.yaml --exp_name exp_latteart
Optimized trajectories will be saved under logs/policies/{exp_name}.
python fluidlab/run.py --cfg_file configs/exp_latteart.yaml --replay_policy --path logs/policies/exp_latteart/0100.pkl
If you would like to use GLRenderer for liquid, remember to modify the opacity value of the corresponding material in macro.py. For example, the last element in COLOR[WATER] should be set to 0.0.


