The goals / steps of this project are the following:
Training / Calibration
- Download the simulator and take data in "Training Mode"
- Test out the functions in the Jupyter Notebook provided
- Add functions to detect obstacles and samples of interest (golden rocks)
- Fill in the
process_image()function with the appropriate image processing steps (perspective transform, color threshold etc.) to get from raw images to a map. Theoutput_imageyou create in this step should demonstrate that your mapping pipeline works. - Use
moviepyto process the images in your saved dataset with theprocess_image()function. Include the video you produce as part of your submission.
Autonomous Navigation / Mapping
- Fill in the
perception_step()function within theperception.pyscript with the appropriate image processing functions to create a map and updateRover()data (similar to what you did withprocess_image()in the notebook). - Fill in the
decision_step()function within thedecision.pyscript with conditional statements that take into consideration the outputs of theperception_step()in deciding how to issue throttle, brake and steering commands. - Iterate on your perception and decision function until your rover does a reasonable (need to define metric) job of navigating and mapping.
Rubric Points
Here I will consider the rubric points individually and describe how I addressed each point in my implementation.
1. Provide a Writeup / README that includes all the rubric points and how you addressed each one. You can submit your writeup as markdown or pdf.
You're reading it!
1. Run the functions provided in the notebook on test images (first with the test data provided, next on data you have recorded). Add/modify functions to allow for color selection of obstacles and rock samples.
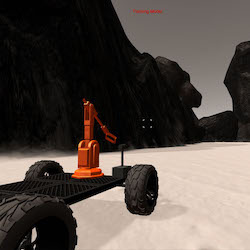
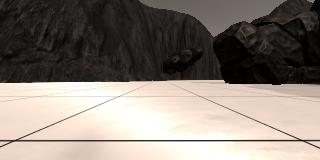
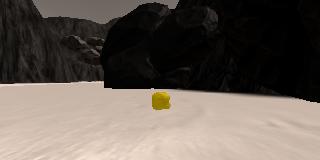
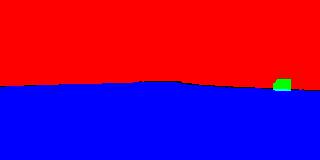
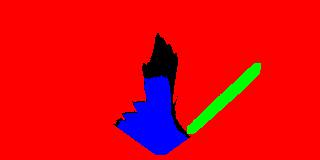
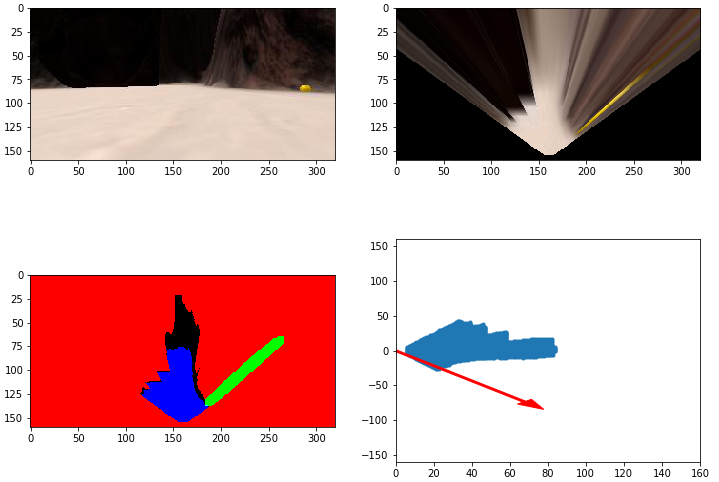
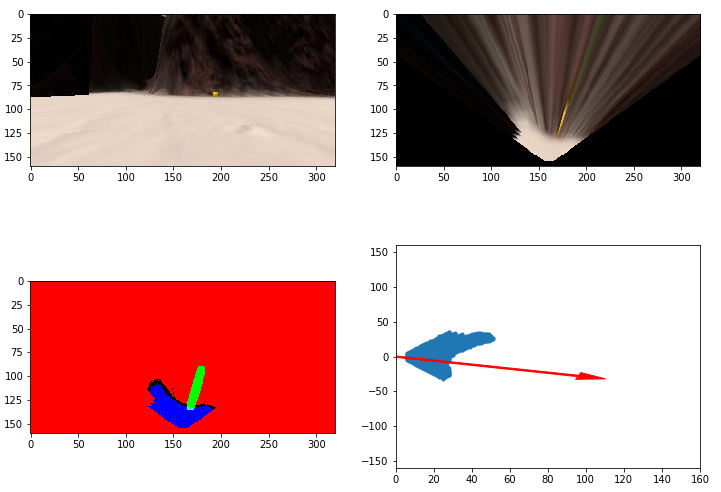
Here are some example images from the simulator.
So we have image data coming in from the camera mounted on the front of the rover and the perception step is to process this image data such that we could make navigation decisions based on it. The idea here is to figure out the areas where the rover can be driven safely, where the rock samples are in the map and the obstacles.
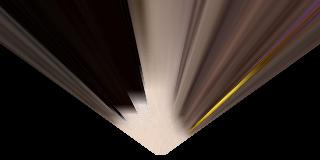
A perspective transform is of help here in providing a top down view of the rover. It has to be provided with source and destination points to find a transform matrix which can then be applied to rover front facing camera images and get back top down view. This can be thought of a map (code in the Perspective Transform section of the notebook).
The navigable terrain appears lighter throughout the map and the obstacles darker, therefore it's straight forward thresholding to seperate terrain from obstacles. However, thresholding rock samples require some experimentation with rock colors. I used this method added with some hit and trial for yellow color thresholding (code in the Color Thresholding section of the notebook). Also dilated the rock samples as it helps making decisions later.
After that we need a couple transformations from image space to rover centric space where rover camera is at (x=0, y=0). Convert rover coordinates to polar coordinates to decide the most navigable terrain direction. The possible navigable direction has been decided on rock sample detection priority, i.e. if any rock sample is found in the current image, the angle chosen is based on rock pixels and not terrain pixels (code in Coordinate Transformation section of the notebook).
1. Populate the process_image() function with the appropriate analysis steps to map pixels identifying navigable terrain, obstacles and rock samples into a worldmap. Run process_image() on your test data using the moviepy functions provided to create video output of your result.
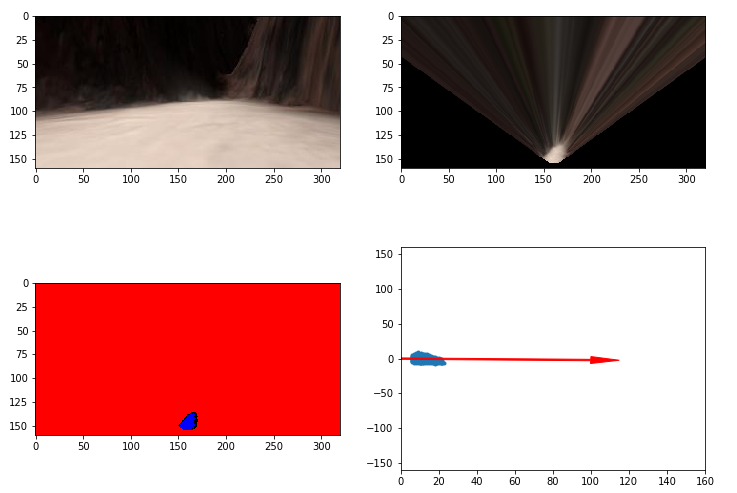
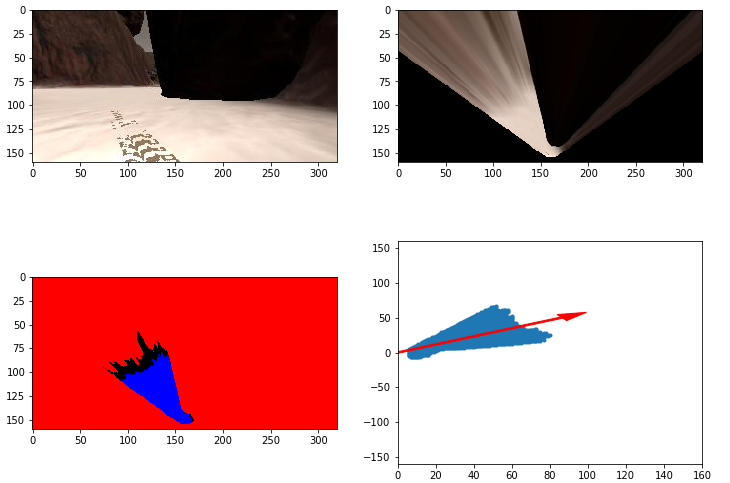
The process_image() function is just a collection of all the methods defined above with. It also takes the ground truth map and populates it with our detections of terrain, obstacles and rocks. It further stiches together various percetion steps into a single image and adds texts. It creates a pipeline as follows:
- Performs perspective transform to the input image.
- Applies color thresholding to warped image.
- Transforms thresholded terrain, rocks and obstacles pixels to rover centric coordinates.
- Converts rover centric coordinates to world coordinates by rotation, translation and scaling (code in Coordinate Transformation section of the notebook).
- Updates worldmap with the found terrain, rocks and obstacles.
- Creates a bigger empty image and populates it with original image in top left, warped image in top right, thresholded image in bottom left and updated world map in the right bottom.
- Adds associated text using cv2.putText() function.
(code in the Write a function to process stored images section of the notebook).
Moviepy is then used to make a video after applying the process_image() function on the stored data (test_mapping.mp4 video added in the output folder).
1. Fill in the perception_step() (at the bottom of the perception.py script) and decision_step() (in decision.py) functions in the autonomous mapping scripts and an explanation is provided in the writeup of how and why these functions were modified as they were.
The color_thresh() function in the perception.py is the same as in the notebook. The perspect_transform() function now adds a mask of ones same as the warped image only to help identify map in rover's field of view and not behind it. This gives cleaner presentation while navigating.
The perception_step() adds a couple of things now:
-
Instead of directly mapping every terrain, rocks and obstacles detections, it first checks if the roll and pitch angles are in specified range. This way, only those detections are mapped where rover is most stable and perspective transform is valid. This was the key point for increased fedility.
-
Then it needs to update Rover.nav_dists and Rover.nav_angles. As soon as we start getting image data, we start detecting the terrain, rocks and obstacles. Whenever any rock is detected, the Rover.nav_dists and Rover.nav_angles are updated with rock pixels so the rover may move towards rock and ignore navigable terrain for now. This way, we make sure rover prioritizes moving towards rocks.
-
Rover.stop_forward is been set lower when rocks are detected because rock sample are smaller in size and end up having lesser pixel wise area. This would be used in the decision making step as when can rover accelerate. Rover.go_forward is used when rover is in the stop mode and can be the same for both cases.
decision.py has a state machine comprising of forward, stop and reverse states. When we have valid image data from the rover the states work as follows:
-
forward state checks if there is a significant number of navigable terrain pixels by checking Rover.nav_dists with Rover.stop_forward. Both Rover.nav_dists and Rover.stop_forward are updated with each frame by the perception.py. It then applies throttle according the the maximum velocity limit. It applies steering as the average angle of all the angles in the Rover.nav_angles updated by perception. Based on whether the perception has detected rocks or not, rover drives accordingly. It also applies brakes if the rover is near a rock sample. In the forward mode, if the rover has some +ve throttle and its velocity is near to zero across number of incoming frames, say 75, it means rover is stuck, therefore a transition to reverse state is made. Now if there are not enough pixels infront of the rover, neither rock nor terrain, it has reached some boundary and has to go to stop state.
-
When rover doesn;t see enough space to drive infront of it, it goes to stop state. Here, it stops itself completely and rotates unless finds enough navigable space. As soon as it sees enough space, it changes it's state to forward again.
-
reverse state happens when rover is originally in forward mode but not moving even with throttle. It therefore applies a -ve throttle to some extent and applies the opposite of the mean angle detections (just like how we do when reversing). It can therefore recover itself when stuck alongside walls etc. As soon as it reaches a specified -ve velocity, it jumps to stop state.
2. Launching in autonomous mode your rover can navigate and map autonomously. Explain your results and how you might improve them in your writeup.
Using these simpler methods, rover can autonomously navigate most of the map with around 65-70% fidelity. It would only occasionally miss some part of the map. The rover also successfully locates and picks all samples. Although, it might occasionally miss picking up one in it's first attempt. Driving it slower will have increased mapped% and fidelity.
Note: Simulator settings (Resolution: 640 x 480 Graphics: Good FPS: 18)
Here I'll talk about the approach I took, what techniques I used, what worked and why, where the pipeline might fail and how I might improve it if I were going to pursue this project further.
Prioritizing navigation towards rocks and stopping near them helped sample collection. Adding a reverse state did a good overall job getting stuck rover out of places. A method for predicting rover's trajectory based on current position and angle is required to avoid it traversing the areas it has been before. If there aren't enough color difference between terrain, rocks and obstacles, the problem is folds harder and these methods would completely fail.
