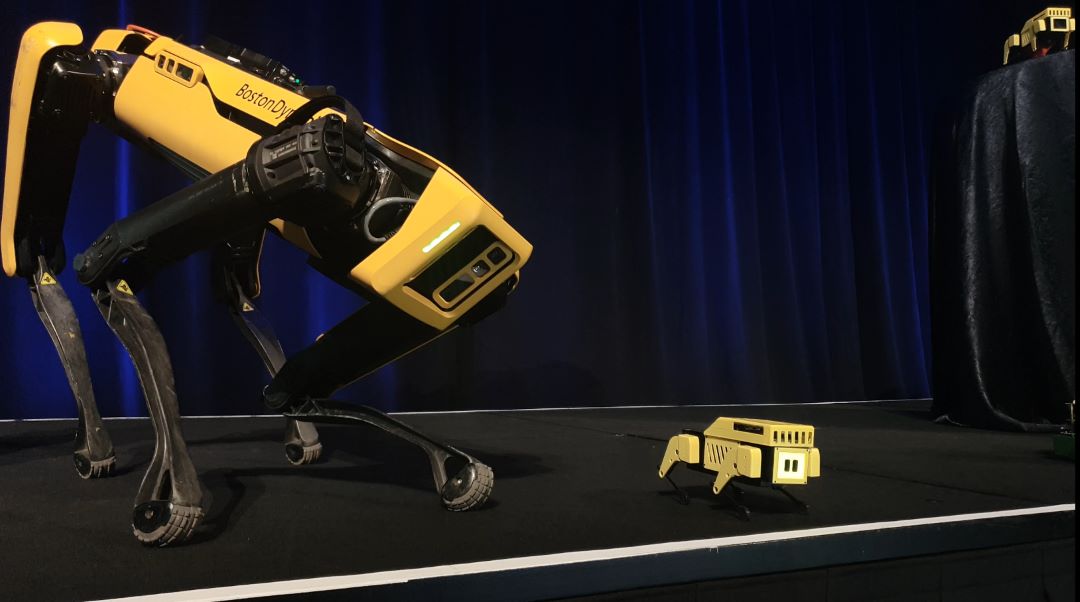
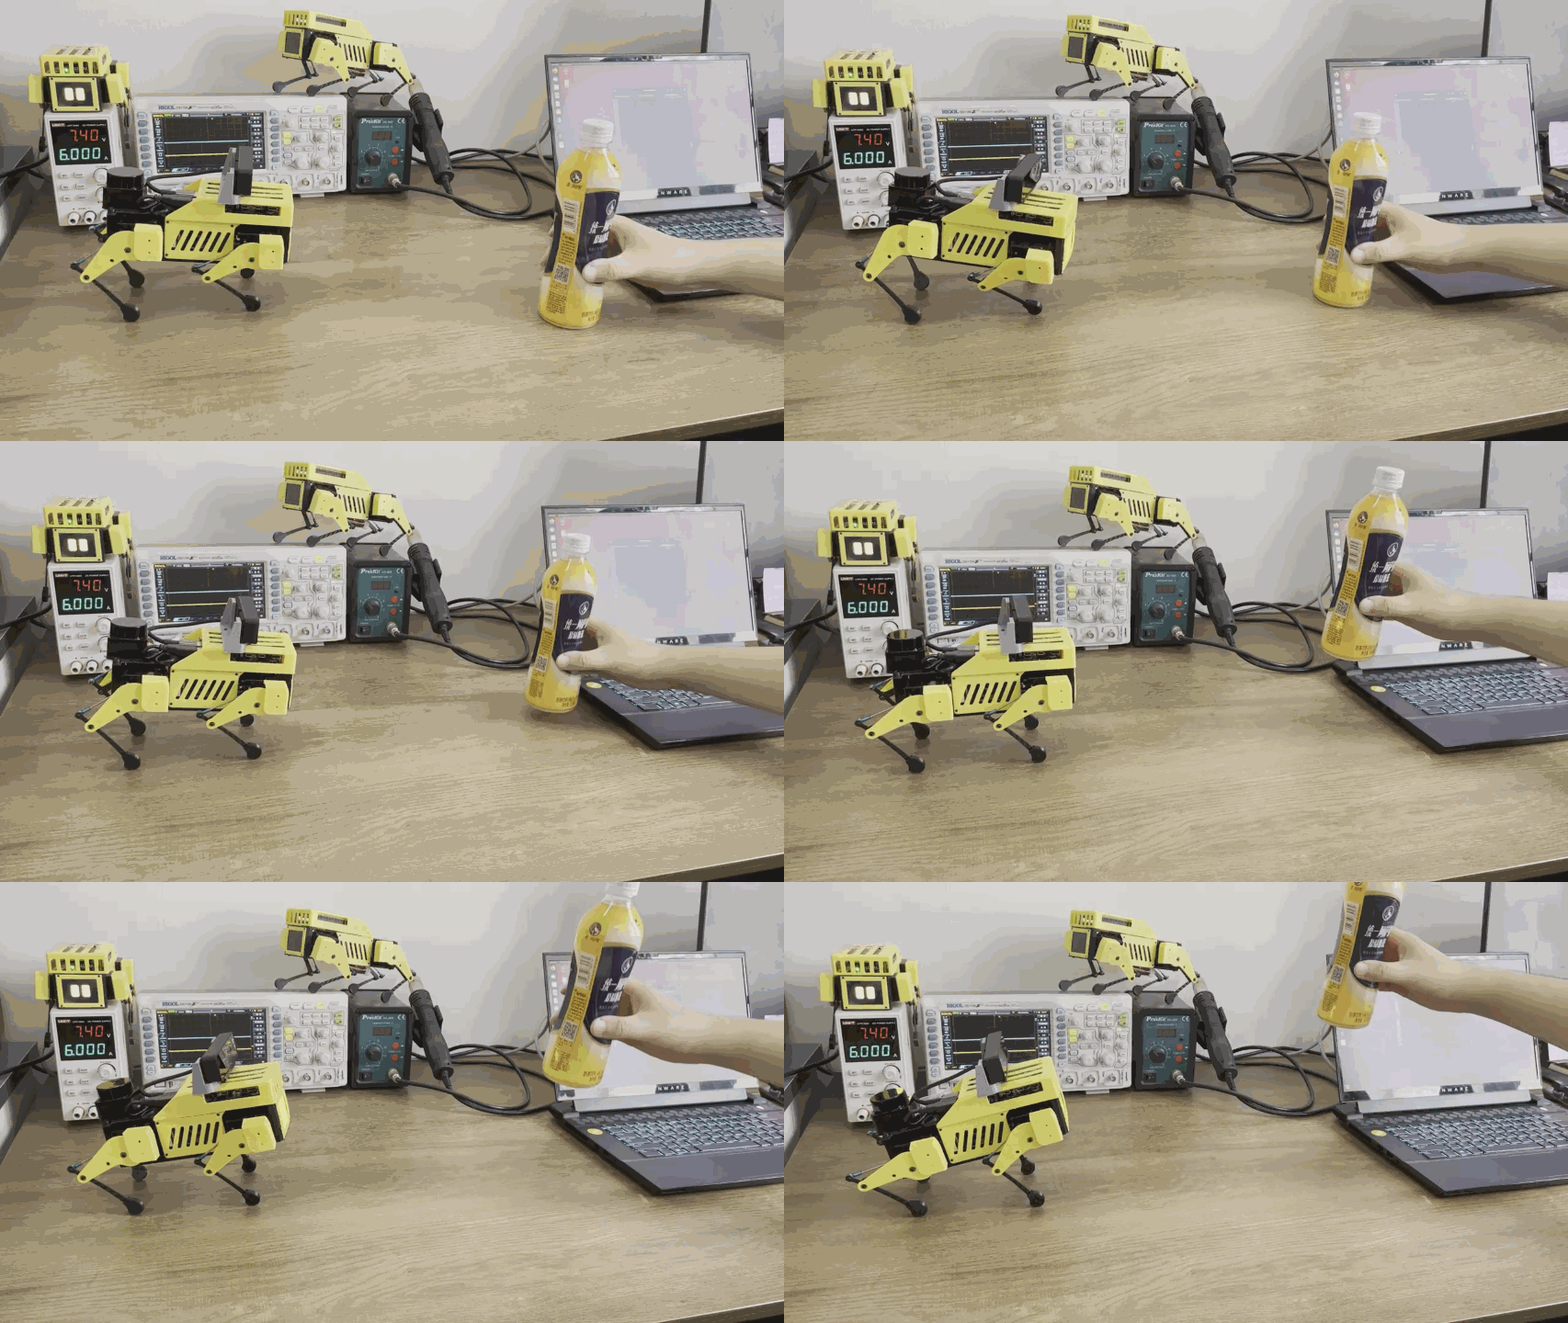
Mini Pupper workshop at Amazon reMARS2022 event, JUNE 21 – 24, 2022 | LAS VEGAS, NV
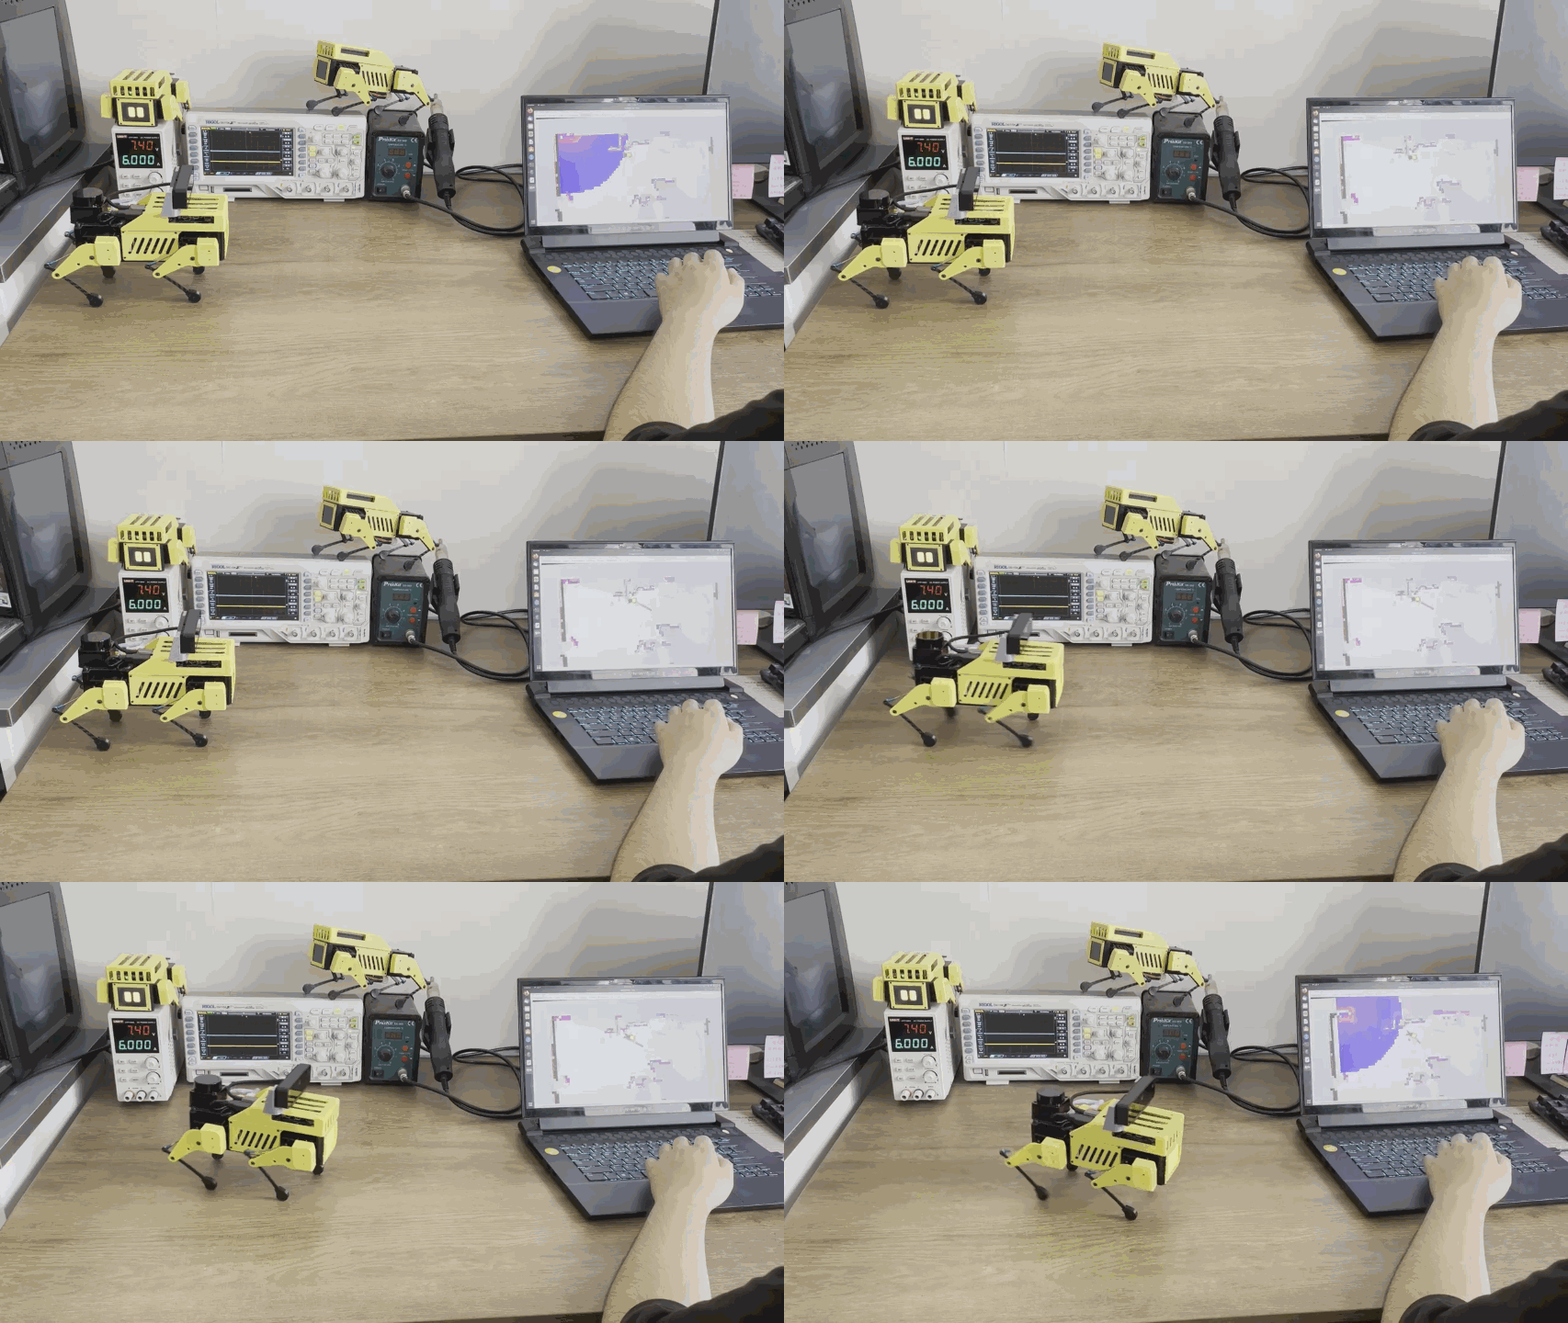
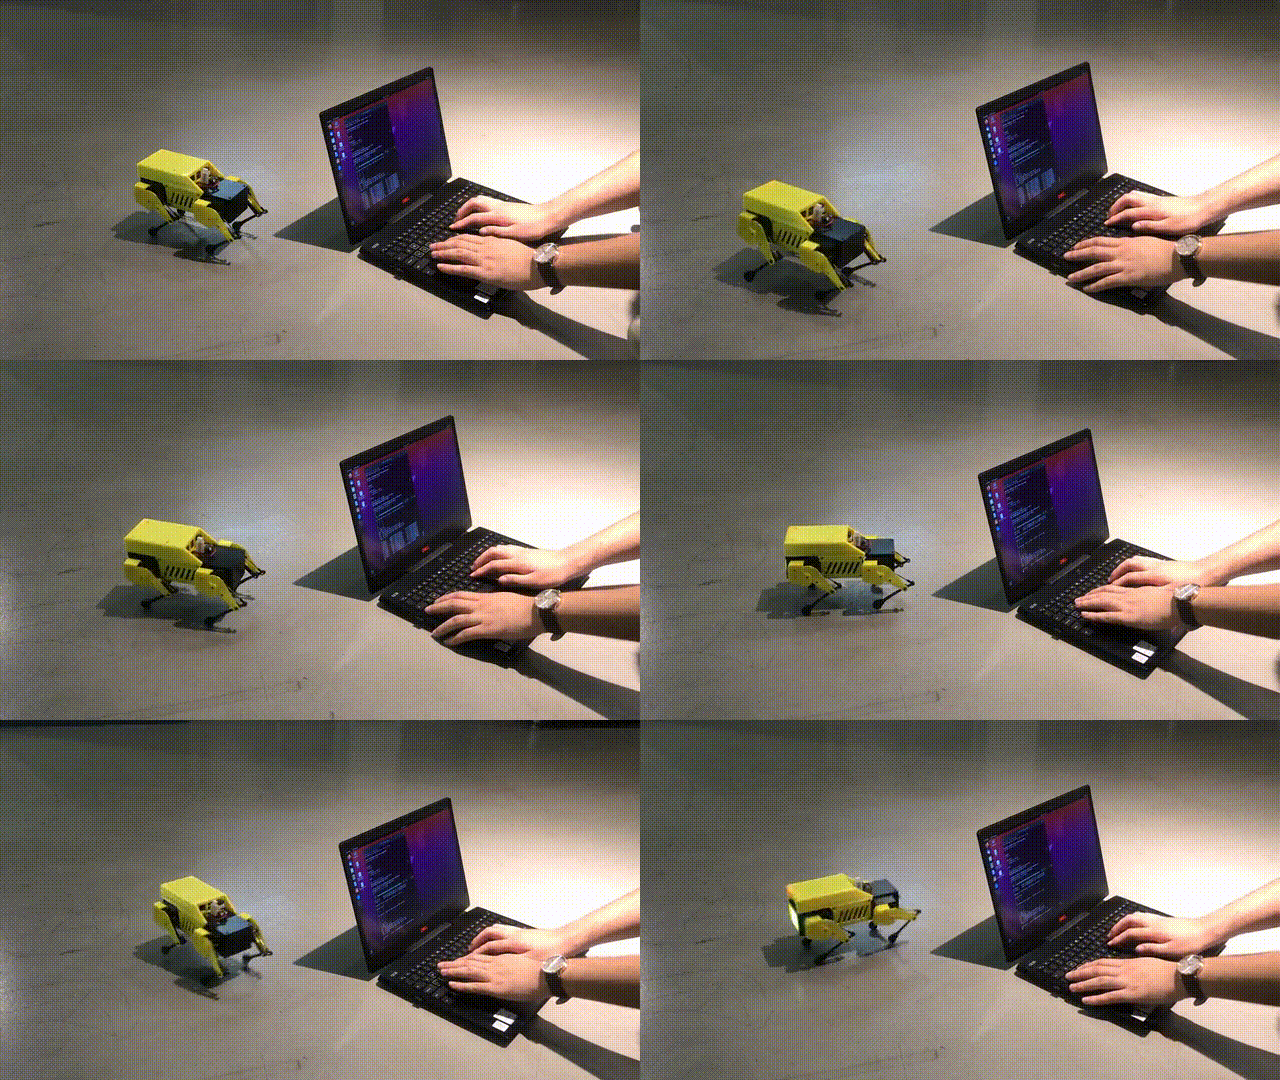
Mini Pupper Navigation Demo with Lidar
Mini Pupper is an open source 12-DOF quadruped robot,supporting ROS (Robot Operating System). With ROS, you can explore SLAM and Navigation functions with Mini Pupper. The controller of Mini Pupper's ROS packages is based on champ project, and we made some changes to SLAM and Navigation functions.
Tested on
- Ubuntu 20.04 (ROS Noetic)
We recommend you explore Mini Pupper with ROS network, make sure your PC and Mini Pupper have connected to the same WiFi.
PC Setup corresponds to PC (your desktop or laptop PC) for controlling Mini Pupper remotely. Do not apply these commands to your Mini Pupper.
Our SLAM and Navigation functions are based on cartographer_ros.
First, install ROS Noetic Desktop-Full by following the page below.
https://wiki.ros.org/noetic/Installation/Ubuntu
Next, install cartographer_ros.
sudo apt-get update
sudo apt-get install -y python3-vcstool python3-rosdep ninja-build stow
mkdir -p ~/carto_ws/src
cd ~/carto_ws
vcs import src --input https://raw.githubusercontent.com/cartographer-project/cartographer_ros/master/cartographer_ros.rosinstall
# Hot fix for Ubuntu 20.04. See https://github.com/cartographer-project/cartographer_ros/pull/1745
sed -i -e "s%<depend>libabsl-dev</depend>%<\!--<depend>libabsl-dev</depend>-->%g" src/cartographer/package.xml
sudo rosdep init
rosdep update
source /opt/ros/noetic/setup.bash
rosdep install --from-paths src --ignore-src -r -y
src/cartographer/scripts/install_abseil.sh
sudo apt-get remove ros-${ROS_DISTRO}-abseil-cpp
catkin_make_isolated --install --use-ninja
source install_isolated/setup.bashThis should be done in a workspace outside of the carto_ws workspace, like catkin_ws.
Download the Mini Pupper ROS package in the workspace.
cd $YOUR_WS/src
git clone -b ros1 https://github.com/mangdangroboticsclub/minipupper_ros.git
Download Champ repo, you can also refer to the champ README. Then you can install the ROS packages for Mini Pupper.
cd $YOUR_WS/src
vcs import < minipupper_ros/.minipupper.repos --recursive
Build and install all ROS packages.
rosdep install --from-paths . --ignore-src -r -y
catkin_make
source $YOUR_WS/devel/setup.bashConnect your PC and Mini Pupper to the same WiFi and find the assigned IP address with the command below.
ifconfigOpen the file and update ROS IP settings with commands below.
gedit ~/.bashrcThen add your ROS_MASTER_URI and ip address config.
For example:
export ROS_MASTER_URI=http://192.168.1.106:11311
export ROS_IP=192.168.1.106Mini Pupper Setup corresponds to the Raspberry Pi on your Mini Pupper.
You should first install dependencies of servos, battery moniter and display screen.
See minipupper-bsp.
Install ROS Noetic ROS-Base (No GUI) by following the page below.
https://wiki.ros.org/noetic/Installation/Ubuntu
PS4 Joystick interface in ROS is based on Controller-ROS project.
sudo -H python3 -m pip install ds4drv
sudo apt install ros-noetic-joy
sudo wget https://raw.githubusercontent.com/chrippa/ds4drv/master/udev/50-ds4drv.rules -O /etc/udev/rules.d/50-ds4drv.rules
sudo udevadm control --reload-rules
sudo udevadm trigger
sudo reboot
Then go into pairing mode with PS4: Playstation button + share button for ~5 sec. Run $ds4drv from command line until PS4 Joystick is connected.
ds4drvThis will output something like "Created devices /dev/input/jsX". Then give the permissions to the device
sudo chmod a+rw /dev/input/jsXInstall the build tools first.
sudo apt install -y python3-vcstool python3-rosdepDownload the Mini Pupper ROS package in the workspace, catkin_ws.
cd ~/catkin_ws/src
git clone -b ros1 https://github.com/mangdangroboticsclub/minipupper_ros.git
Download Champ repo, you can also refer to the champ README. Then you can install the ROS packages for Mini Pupper.
cd ~/catkin_ws/src
vcs import < minipupper_ros/.minipupper.repos --recursive

# it's not recommend to compile gazebo and cartographer on raspberry pi
touch champ/champ/champ_description/CATKIN_IGNORE
touch champ/champ/champ_gazebo/CATKIN_IGNORE
touch champ/champ/champ_navigation/CATKIN_IGNORE
touch minipupper_ros/mini_pupper_gazebo/CATKIN_IGNORE
touch minipupper_ros/mini_pupper_navigation/CATKIN_IGNORE
Build and install all ROS packages.
# install dependencies without unused heavy packages
rosdep install --from-paths . --ignore-src -r -y --skip-keys=joint_state_publisher_gui --skip-keys=octomap_server
cd ~/catkin_ws
catkin_make
source ~/catkin_ws/devel/setup.bashConnect your PC and Mini Pupper to the same WiFi and find the assigned IP address with commands below.
ifconfigOpen the file and update the ROS IP settings with the command below.
nano ~/.bashrcThen add your ROS_MASTER_URI and ip address config.
For example:
export ROS_MASTER_URI=http://192.168.1.106:11311
export ROS_IP=192.168.1.107
After editing, input Ctrl+X to save and exit the nano editor.
Calibrate the servo angle offset according to the following document.
https://minipupperdocs.readthedocs.io/en/latest/guide/Software.html
You should run this command on Mini Pupper
roslaunch mini_pupper_bringup bringup.launchIf you don't have LD06 LiDAR, add lidar_connected:=false argument like the follwoing command.
roslaunch mini_pupper_bringup bringup.launch lidar_connected:=falseThere are two options to control Mini Pupper:
1.Using keyboard
It's recommended to run this command on PC.
roslaunch champ_teleop teleop.launch2.Using PS4 joystick
It's recommended to run this command on Mini Pupper.
Don't run this command while using move_base because even if you are doing nothing with the joystick, it would still send cmd_vel with all the values as zero.
roslaunch mini_pupper_teleop ps4_interface.launchThen you can go into pairing mode with PS4: Playstation button + share button for ~5 sec.
- The left lever controls the linear velocity of x and y axis.
- The right lever controls the angular velocity of z axis.
- The arrow key controls the standing height and the angle of roll axis.
- If you are pressing R2, then the right lever will control the angle of pitch and yaw axis.
- If you are pressing L2, then the robot will turn to default state.
You should run this command on Mini Pupper
roslaunch mini_pupper_bringup bringup.launchYou should run this command on PC
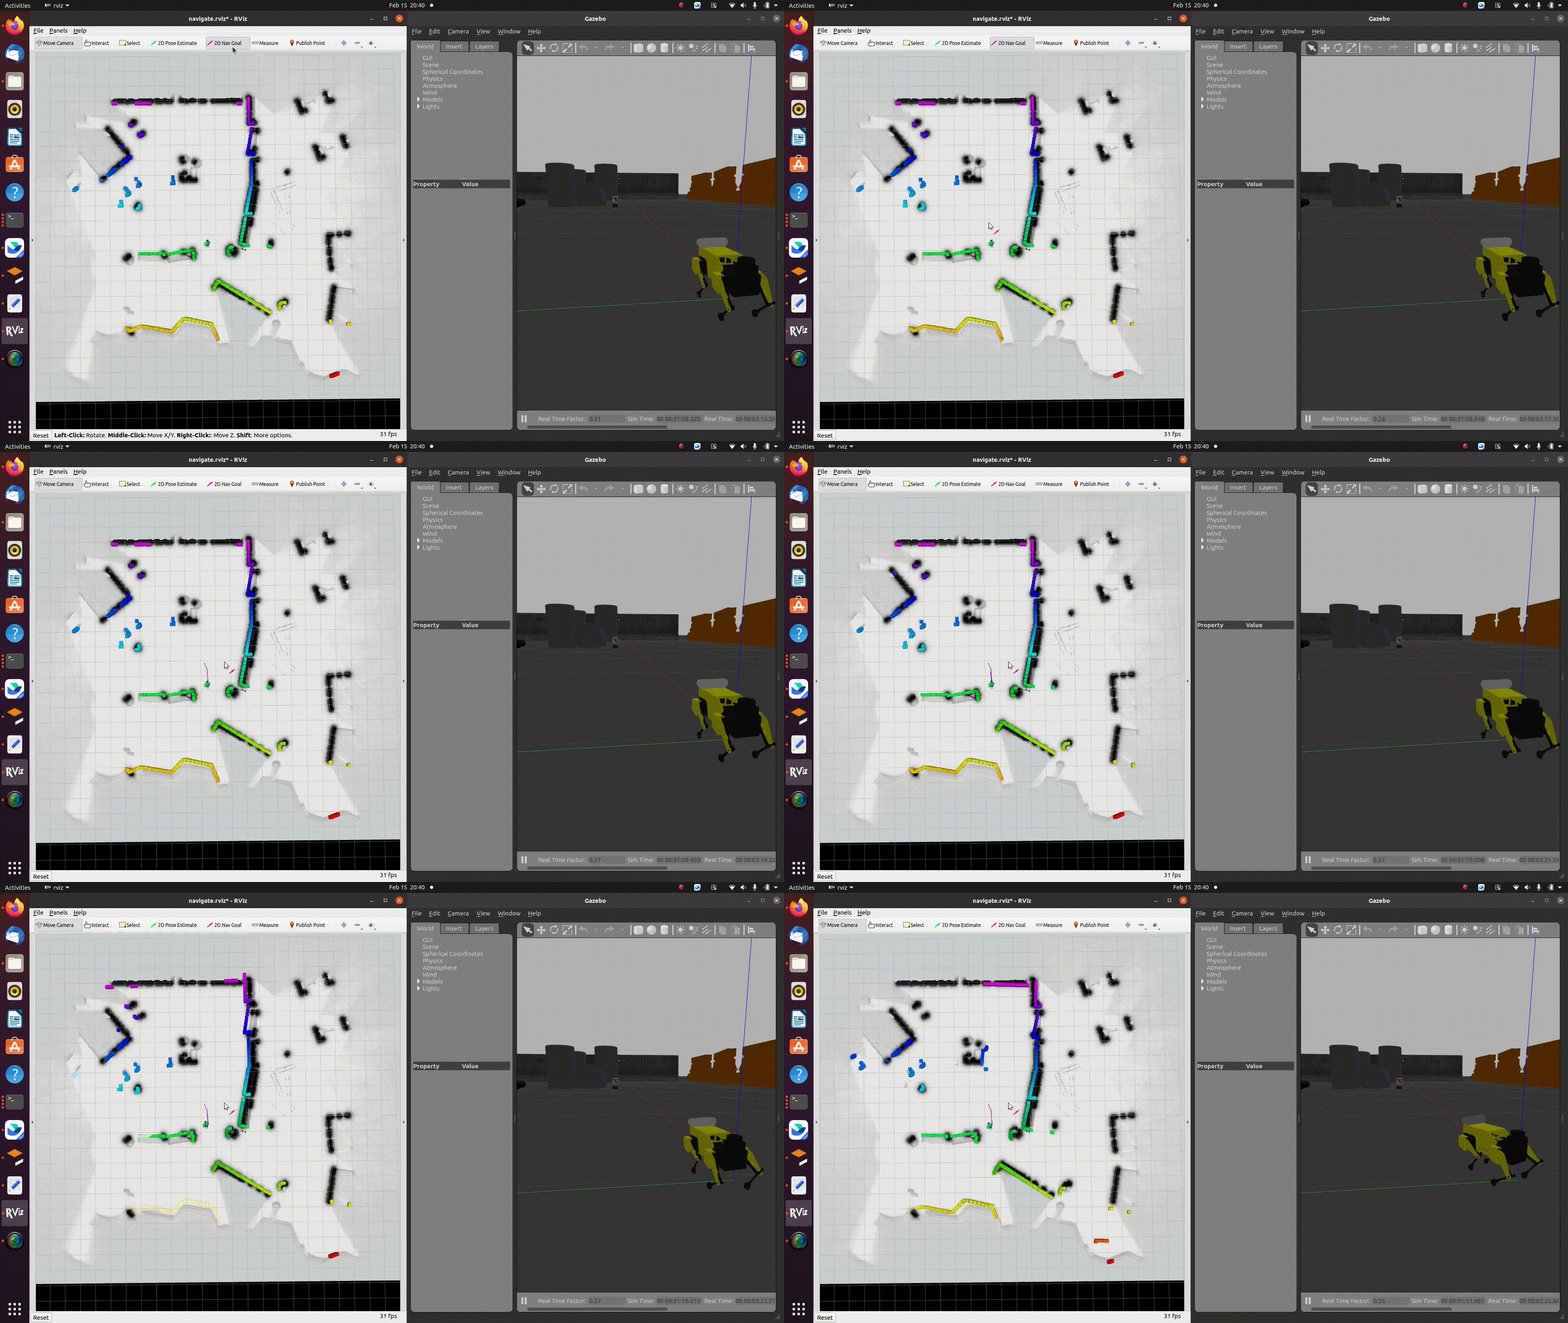
Notice: If you are using gazebo, set the param /use_sim_time in navigate.launch as true.
roslaunch mini_pupper_navigation slam.launchThen you can use keyboard or joystick to control your Mini Pupper walking around and creating a map. To save the map, run these commands below.
rosservice call /finish_trajectory 0
rosservice call /write_state "{filename: '${HOME}/map.pbstream'}"
rosrun cartographer_ros cartographer_pbstream_to_ros_map -map_filestem=${HOME}/map -pbstream_filename=${HOME}/map.pbstream -resolution=0.05
Remember to edit map.yaml
The first line should be
image: map.pgmThen, copy map.pbstream, map.pgm and map.yaml files you just saved to $YOUR_WS/src/minipupper_ros/mini_pupper/maps
Before running navigation, you should first change the launch file with the map you created.
roscd mini_pupper_navigation/launch
sudo gedit navigate.launch
Then change arg of the map_file and pbstream_file.


You should run this command on Mini Pupper
roslaunch mini_pupper_bringup bringup.launchYou should run this command on PC
Notice: If you are using gazebo, set the param /use_sim_time in navigate.launch as true.
roslaunch mini_pupper_navigation navigate.launchYou can also play with Mini Pupper with only your laptop.
See the README in mini_pupper_gazebo.
Mini Pupper OpenCV Object Detection Demo
sudo apt-get install ros-noetic-depthai-ros# Terminal 1
roslaunch mini_pupper_bringup bringup.launch
# Terminal 2
roslaunch mini_pupper_examples follow_object.launchSee the README in mini_pupper_examples.
This project includes open source software. See NOTICES.md for details.
