This project explains how to apply transfer learning to teach NVIDIA JetBot to navigate a maze of toy traffic cones with camera sensor only.


Every time I drive in contraction area I am thinking how challenging it would be for self driving car to navigate through the traffic cones. It turns out it is not so difficult with new NVIDIA's JetBot - with only a couple hundreds images you can train a state-of-the-art deep learning model to teach your robot how to find path in a maze of toy traffic cones using only onboard camera and no other sensors.
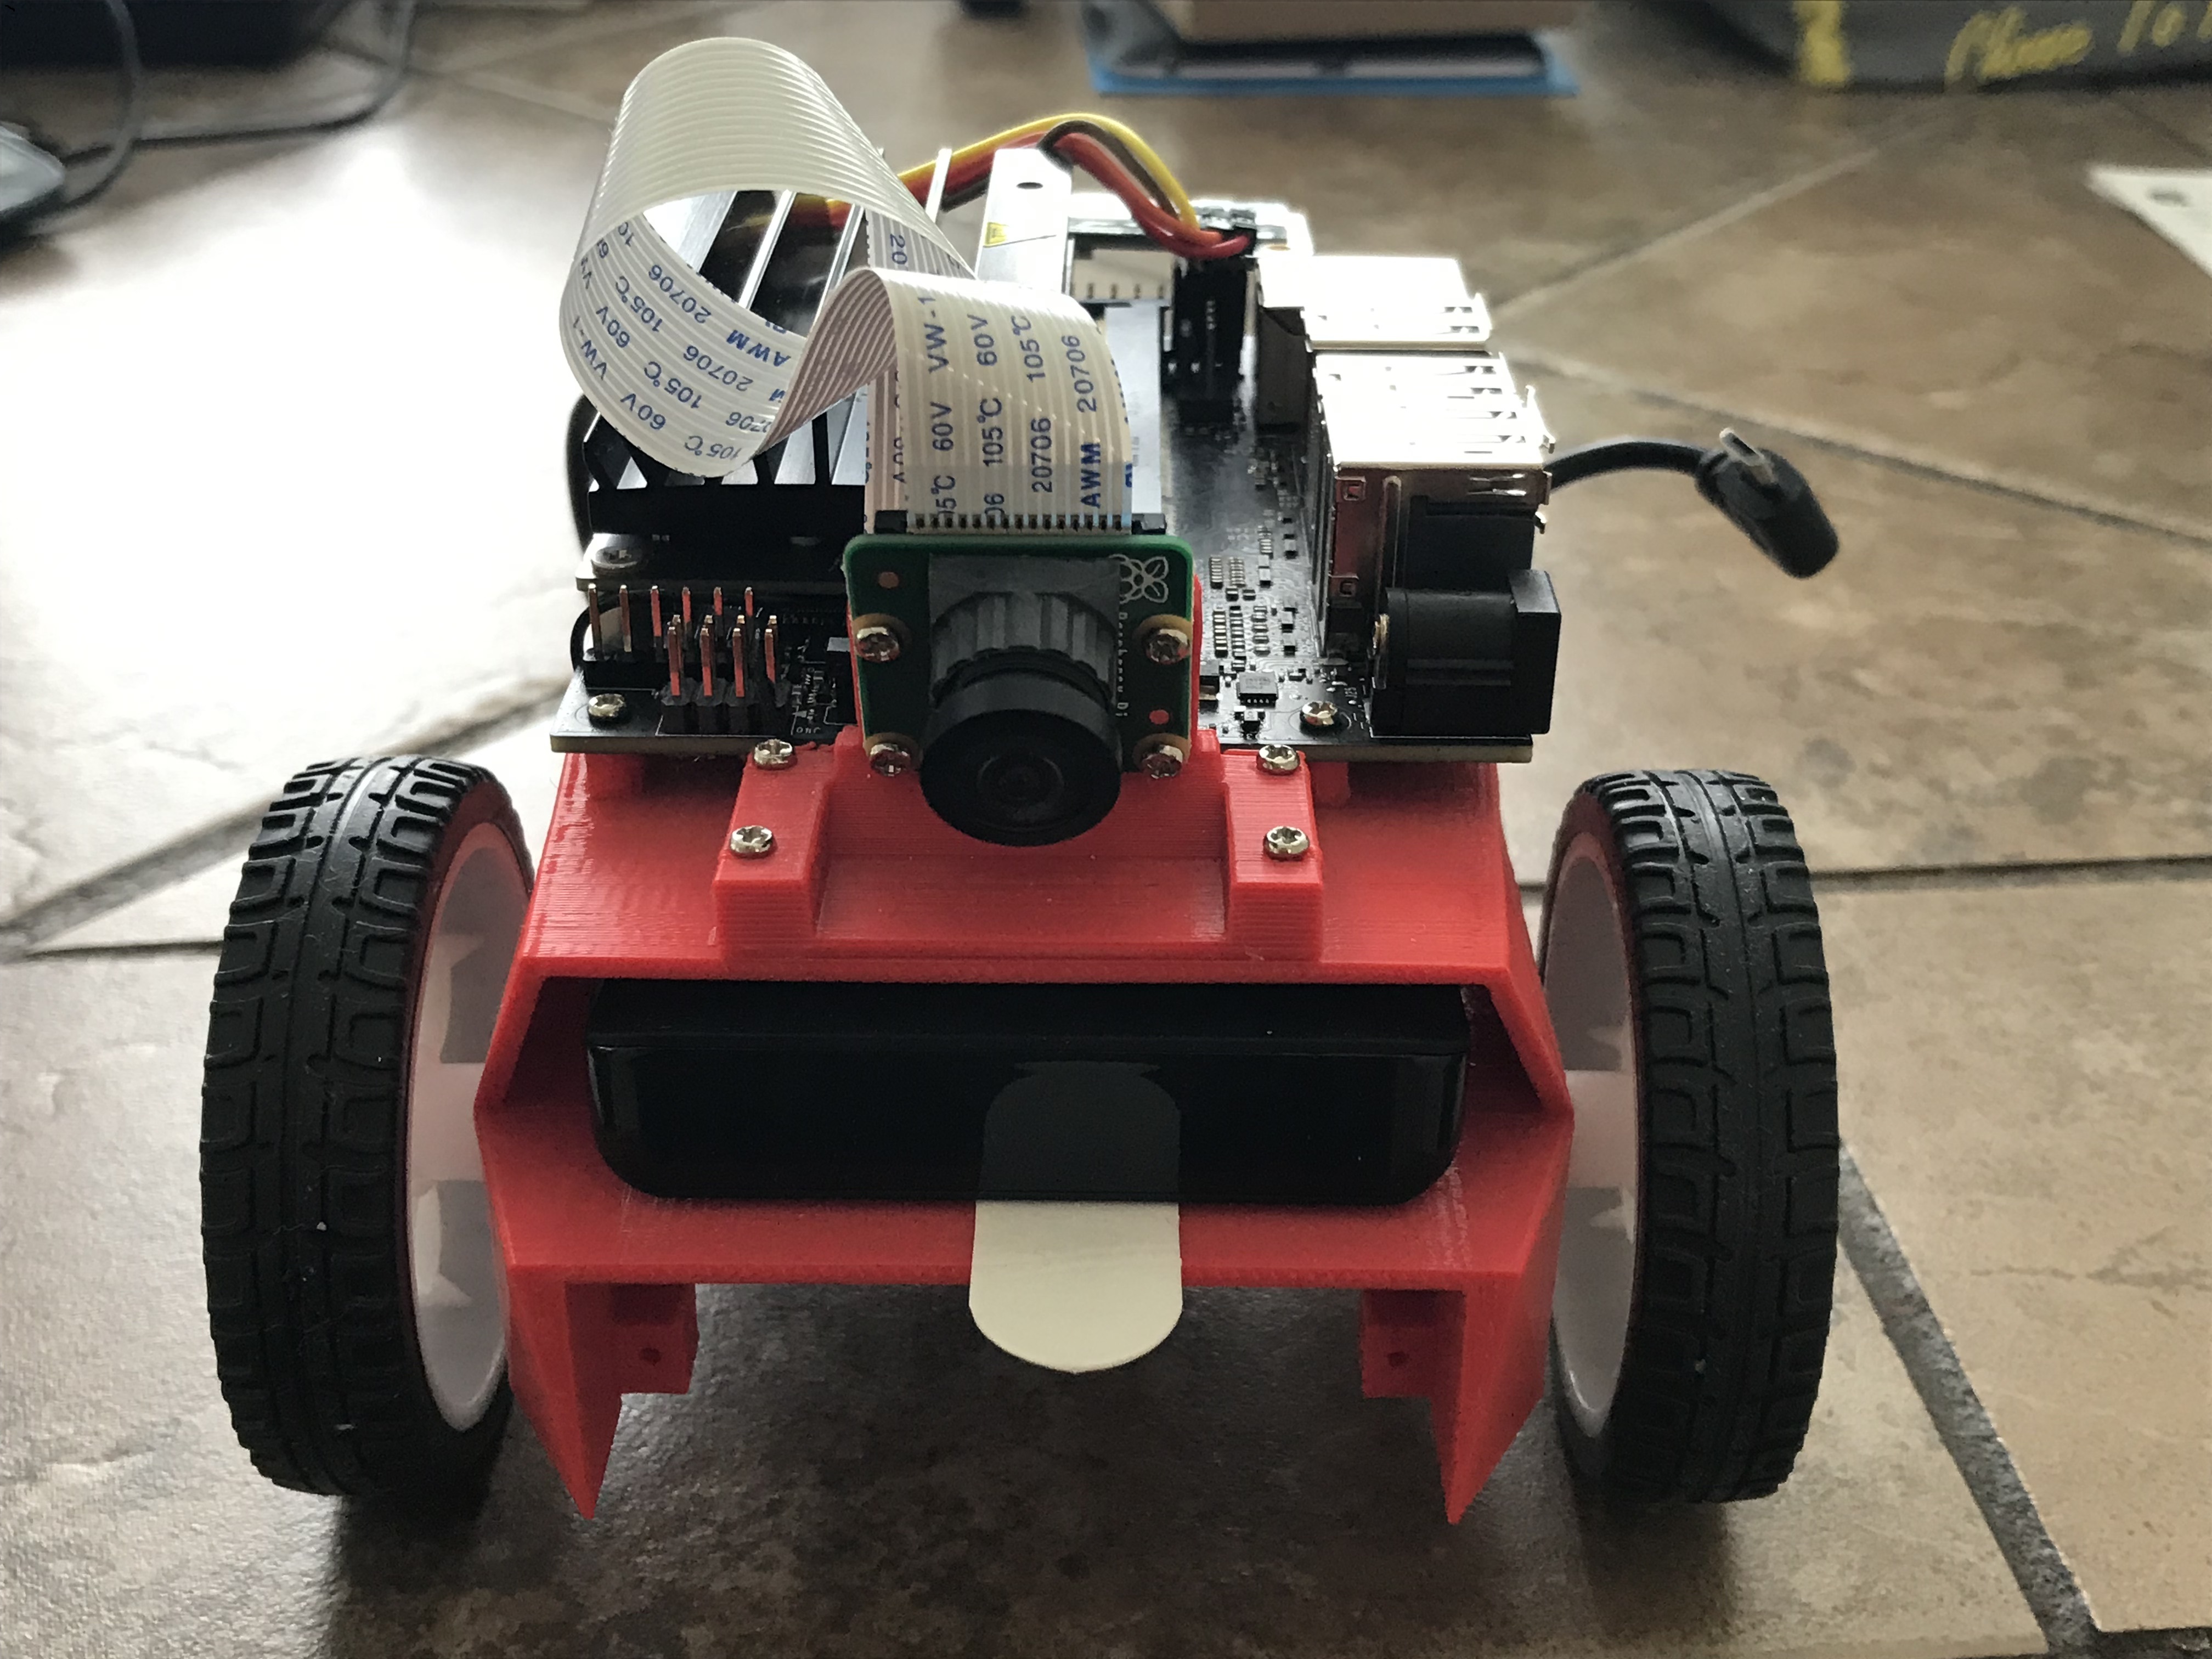
JetBot is an open-source robot based on NVIDIA Jetson Nano kit. You can find detailed instructions on how to build and set it up here
This project is a modified Collision avoidance example from NVIDIA JetBot Wiki. It consists of three major steps, each described in a separate Jupyter notebook:
- Collect data on JetBot - notebook
data_collection_cones.ipynb - Train model on other GPU machine - notebook
train_model_cones.ipynb - Run live demo on JetBot - notebook
live_demo_cones.ipynb
- Build and setup JetBot as explained here
- Connect to the robot by navigating to
http://<jetbot_ip_address>:8888 - Sign in with the default password
jetbot - Shutdown all other running notebooks by selecting
Kernel -> Shutdown All Kernels... - Navigate to
~/Notebooks/ - Create new subfolder
~/Notebooks/traffic_cones_driving/ - Upload
data_collection_cones.ipynbandlive_demo_cones.ipynbto~/Notebooks/traffic_cones_driving/
IMPORTANT: The Jupyter notebooks data_collection_cones.ipynb and live_demo_cones.ipynb referenced in Steps 1 and 3 below should be run on JetBot while train_model_cones.ipynb in Step 2 - on a computer with GPU. Therefore we have to upload data_collection_cones.ipynb and live_demo_cones.ipynb to the JetBot and place them in ~/Notebooks/traffic_cones_driving/
We will collect an image classification dataset that will be used to help keep JetBot operate in a maze of the traffic cones. JetBot will learn to estimate probabilities of four scenarios (classes):
- Free - it is safe to move forward
- Blocked - there is an obstacle in front of the robot
- Left - robot should spin to the left
- Right - robot should spin to the right
To collect the training data on JetBot we will use Jupyter notebook data_collection_cones.ipynb which contains details instructions. To run this notebook on JetBot, follow the next steps:
- Connect to your robot by navigating to
http://<jetbot_ip_address>:8888 - Sign in with the default password
jetbot - Shutdown all other running notebooks by selecting
Kernel -> Shutdown All Kernels... - Navigate to
~/Notebooks/traffic_cones_driving/ - Open and follow the
data_collection_cones.ipynbnotebook
Next, we will use the collected data to re-train the deep learning model AlexNet on GPU machine (host) by running train_model_cones.ipynb.
Note that train_model_cones.ipynb is the only Jupyter notebook in this tutorial which is run NOT on the JetBot.
- Connect to a GPU machine with PyTorch installed and a Jupyter Lab server running
- Upload
train_model_cones.ipynbnotebook and to this machine - Upload
dataset_cones.zipfile that you created in thedata_collection_cones.ipynbnotebook and extract this dataset. (After this step a folder nameddataset_conesappear in the file browser.) - Open and follow the
train_model_cones.ipynbnotebook
At the end of this second step you will create a model - the file best_model_cones.pth which then has to be uploaded to the JetBot to run the live demo.
This final step is to upload the model best_model_cones.pth to the JetBot and run it.
- Power your robot from the USB battery pack
- Connect back to your robot by navigating to
http://<jetbot_ip_address>:8888 - Sign in with the default password
jetbot - Shutdown all other running notebooks by selecting
Kernel -> Shutdown All Kernels... - Navigate to
~/Notebooks/traffic_cones_driving - Open and follow the
live_demo_cones.ipynb notebook
Start cautious and give JetBot enough space to move around. Try different cone configuration and see how well the robot performs in different environments, lighting, etc. While the notebook live_demo_cones.ipynb explains all steps in detail, the following chart shows the logic of robot moves given the probabilities predicted by the models.

This notebook also explains how to store the history of robot moves with free/left/right/blocked probabilities predicted by the model and how to make two FPV (First Person View) videos (at 1 fps and 15 fps rates) with superimposed telemetry and JetBot actions data. Those are useful for debugging, PD controller tuning and model improvement.