 Blimp Robot Description File

Copyright and License
All Code in this repository - unless otherwise stated in local license or code headers is
Copyright 2020 Max Planck Institute for Intelligent Systems
Licensed under the terms of the GNU General Public Licence (GPL) v3 or higher. See: https://www.gnu.org/licenses/gpl-3.0.en.html
Contents
ROS packages:
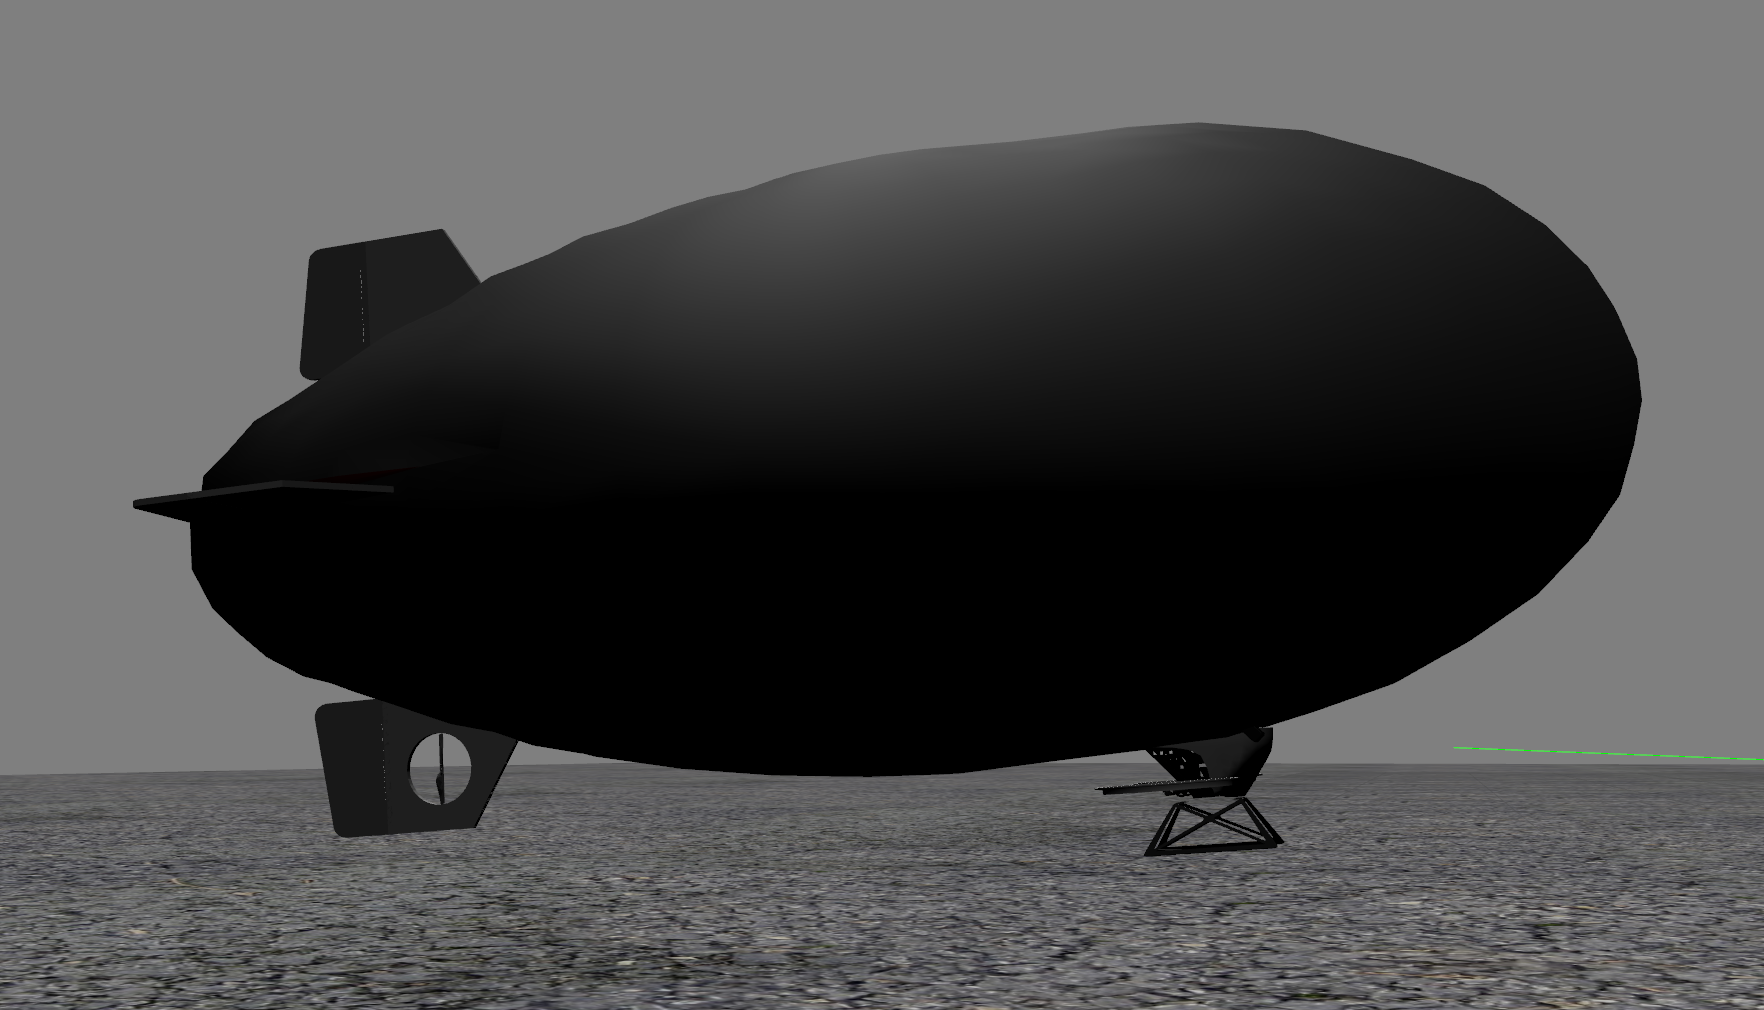
- /blimp_description -- including blimp xml files that described the robot and supports Gazebo/ROS styled simulation.
- /blimp_gazebo_plugin -- some gazebo plugins
Compiling
Link or copy all flight and optional packages required into the src folder of your catkin workspace.
Build packages with catkin build
Requirements
- [ROS] (http://wiki.ros.org/melodic)
- [mav_msgs] (http://wiki.ros.org/mav_msgs)
- [Gazebo] (http://gazebosim.org/) -- tested with Gazebo 9.0
- [rotors_simulator] (https://github.com/ethz-asl/rotors_simulator)
Additional Requirements
- [blimpRL] (https://github.com/ootang2018/blimpRL)
- [aircap] (https://github.com/robot-perception-group/AIRCAP)
Installation Instructions - Ubuntu 18.04 with ROS Melodic and Gazebo 9
- Install and initialize ROS Melodic desktop full, additional ROS packages, catkin-tools, and wstool:
$ sudo sh -c 'echo "deb http://packages.ros.org/ros/ubuntu $(lsb_release -sc) main" > /etc/apt/sources.list.d/ros-latest.list'
$ sudo apt-key adv --keyserver 'hkp://keyserver.ubuntu.com:80' --recv-key C1CF6E31E6BADE8868B172B4F42ED6FBAB17C654
$ sudo apt update
$ sudo apt install ros-melodic-desktop-full ros-melodic-joy ros-melodic-octomap-ros ros-melodic-mavlink
$ sudo apt install python-wstool python-catkin-tools protobuf-compiler libgoogle-glog-dev ros-melodic-control-toolbox
$ sudo rosdep init
$ rosdep update
$ echo "source /opt/ros/melodic/setup.bash" >> ~/.bashrc
$ source ~/.bashrc
$ sudo apt install python-rosinstall python-rosinstall-generator build-essential- If you don't have ROS workspace yet you can do so by
$ mkdir -p ~/catkin_ws/src
$ cd ~/catkin_ws/src
$ catkin_init_workspace  # initialize your catkin workspace
$ cd ~/catkin_ws/
$ catkin init
$ cd ~/catkin_ws/src
$ git clone -b med18_gazebo9 https://github.com/gsilano/rotors_simulator.git
$ git clone -b med18_gazebo9 https://github.com/gsilano/mav_comm.git
$ git clone https://github.com/ros-teleop/teleop_twist_keyboard
$ git clone https://github.com/ootang2018/blimp_simulation
and optionally
$ git clone https://github.com/ootang2018/AirCap.git
you might need to look into github page (https://github.com/ootang2018/AirCap.git) for more installation instruction
- Build your workspace with
python_catkin_tools
$ cd ~/catkin_ws
$ rosdep install --from-paths src -i
$ catkin build
$ source devel/setup.bash- Add sourcing to your
.bashrcfile
$ echo "source ~/catkin_ws/devel/setup.bash" >> ~/.bashrc
$ source ~/.bashrc
Basic Usage
After installing, you can test with the following commands in a terminal
$ roslaunch blimp_description blimp_with_env.launch
$ roslaunch blimp_description teleokeyboard.launch
You should see blimp spawned in gazebo environment and you can fly it via teleokeyboard
To fly with blimp, it is necessary to generate thrust with the rotors, this is achieved by sending commands as follows:
$ rostopic pub /blimp/command/motor_speed mav_msgs/Actuators '{angular_velocities: [100, 100, 0]}'There are certain set of parameters can be included by varying the flags:
enable_meshes (it enables the mesh of the blimp), enable_sensors (it enables the sensors), enable_wind_plugin (external disturbances will be simulated)
These value can be modified before simulating the blimp behavior acting on the launch file:
$ roslaunch blimp_description blimp_with_env.launch enable_meshes:=falseSometimes it is useful to manually set destination or autogenerated destination. The interactive target allows user to specify destinations by draging target in rviz
$ roslaunch blimp_description spawn_target
blimpRL
blimpRL package contains different RL agents. To compile the code, it is required to create a separate catkin workspace that has to be compiled with python3. Therefore, it is also recommended to create a virtual environment using, i.e. miniconda, to separate workspaces with different python version.
$ conda create --name py3 python=3
$ conda activate py3
create a new catkin workspace and build the environment with catkin and python3
$ mkdir -p ~/catkin_ws_py3/src
$ cd ~/catkin_ws_py3/src
$ catkin_init_workspace  # initialize your catkin workspace
$ cd ~/catkin_ws_py3/
$ catkin init
$ cd ~/catkin_ws_py3/src
$ git clone https://github.com/ootang2018/blimpRL
$ cd blimpRL
$ pip install -r requirements.txt
$ cp catkin_make_with_py3.sh ~/catkin_ws_py3
$ cd ~/catkin_ws_py3
$ bash catkin_make_with_py3.sh
$ source devel/setup.bash
Note: depends on your virtual environment python3 directory, you might need to modify catkin_make_with_py3.sh.
After compiling with catkin build and spawn the gazebo environment, it can be tested with
$ roslaunch mbrl_pets training.launchyou should be able to see training started
AirCap
If AirCap is installed:
$ cd aircap/script/simulation
$ bash setup_mavocap_gazebo.sh
This will setup blimp with AirCap. Now you should be able to see blimp in Gazebo. You can run rqt_image_view in a new console and choose image topic of interest. If a human actor is passed by, a bounding box generated by neural network detector should appear

AirCap comes with a NMPC planner which will plan for the trajectory to a given target. To follow this trajectory, we have self-made a VTOL controller for position control based on multirotor controller FCNT_Term1-P3. The controller requires to run in python3 environment.
$ conda activate py3
$ roslaunch blimp_description controls_flyer