A Simple Discord Bot for OCR which is enabled by pytesseract library. Deployable on Heroku (steps to deploy below).
If you just want to add an OCR bot on your server , use this OCR-Bot on top.gg.
As a personal preference, this bot requires no command to do OCR. So add it to a separate channel and make sure other channels are not visible to it.
-
Clone the repo
-
Install all the requirements
pip install -r requirements.txt
-
These requirements include "opencv-headless", if you are trying it on a machine which doesn't support it, install the normal OpenCV library.
-
Install tesserct-ocr using this command:
- On Ubuntu
sudo apt-get install tesseract-ocr - On Mac
brew install tesseract - On Windows, download installer from here
- On Ubuntu
-
Run the python bot using the command:
python bot.py
or
python3 bot.py
- Uncomment the line as shown below before deploying to Heroku:

-
Create an account on Heroku
-
Click on "New" -> "Create new App"

- When you click on "Create App", you'll be greeted with this section :

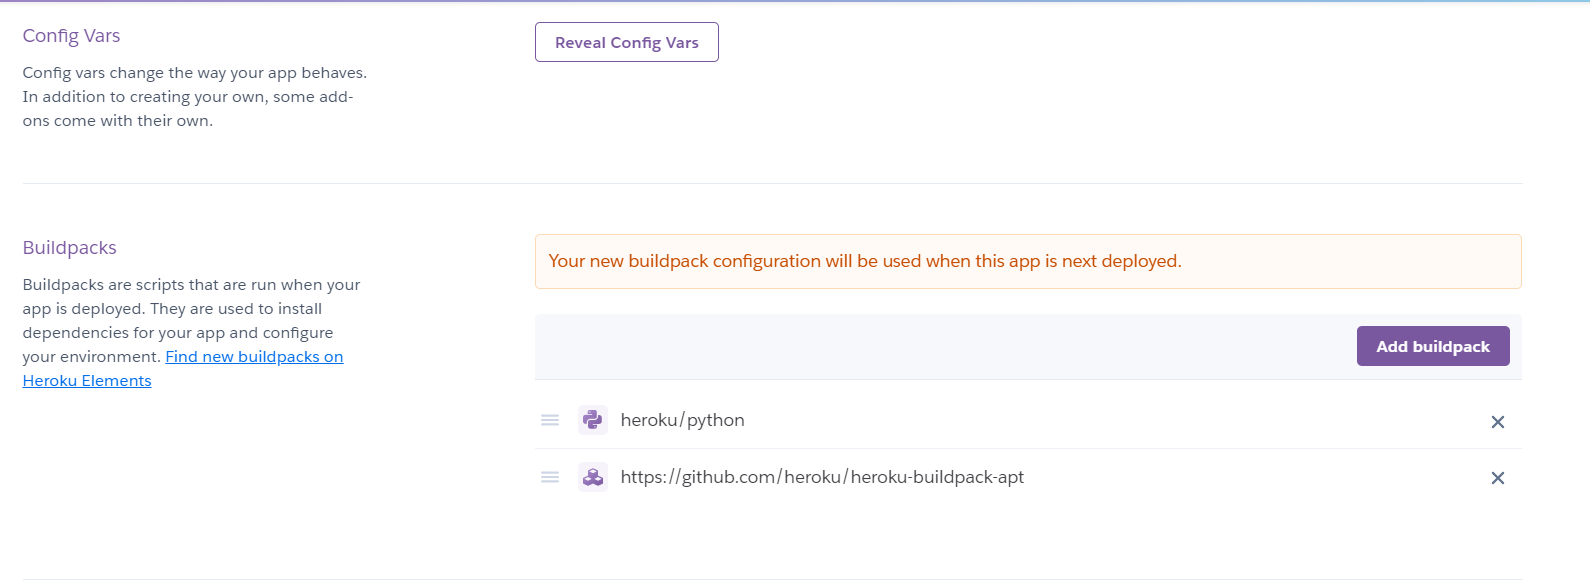
- Jump to "Settings" where you'll scroll down to see "Config Vars" & "Buildpacks":

-
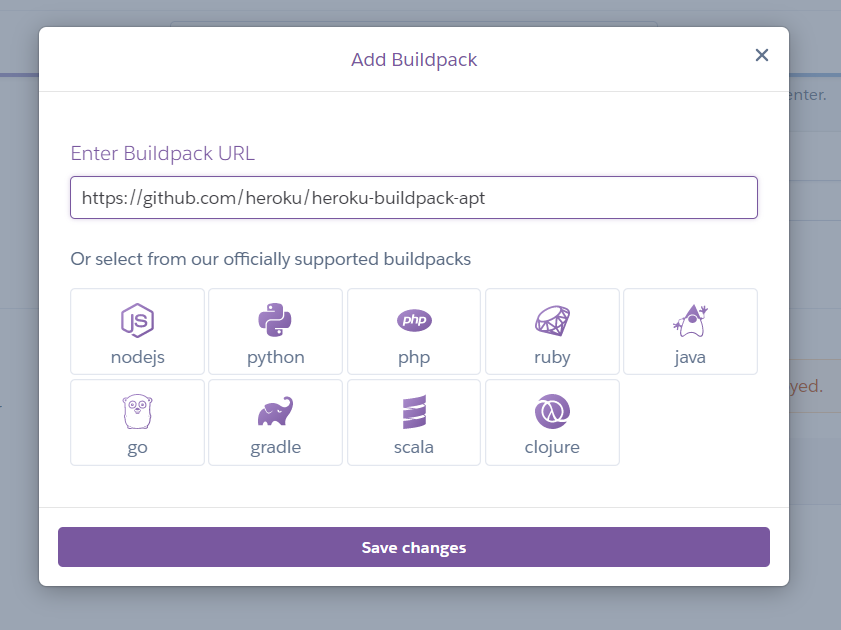
Add "Python Buildpack" and the below mentioned buildpack :
https://github.com/heroku/heroku-buildpack-apt

-
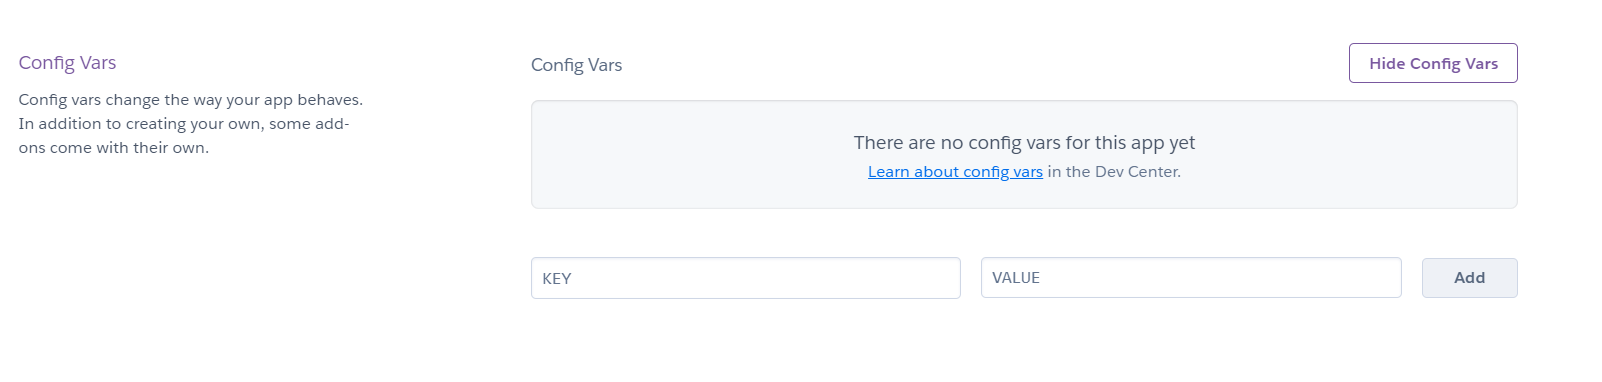
After adding both buildpacks, click on "Reveal Config Vars" :
-
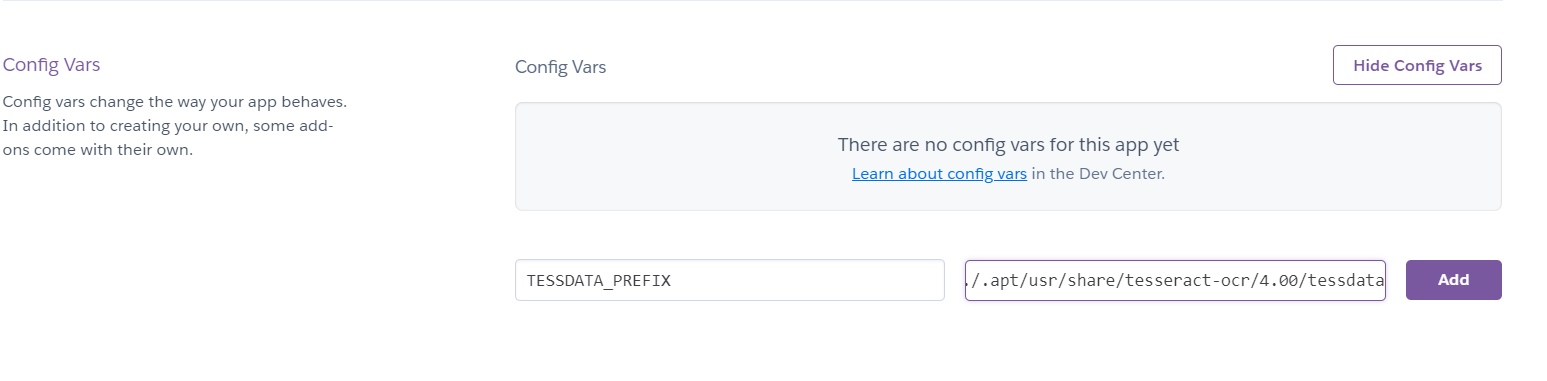
Add the below mentioned "Key = Value" Pair :
TESSDATA_PREFIX = ./.apt/usr/share/tesseract-ocr/4.00/tessdata
-
After adding both Buildpacks and Config variables, we're now ready to deploy.
-
Follow the Steps given in "Deploy" section of your Heroku app.
-
-
Changing it to "heroku-18" made it work for me.
-
Type in the first three commands in your bot directory (assuming you have heroku CLI installed) :
heroku login
git init
heroku git:remote -a "Your-app-name"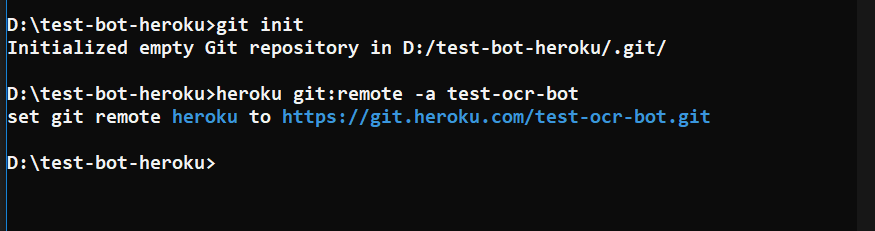
-
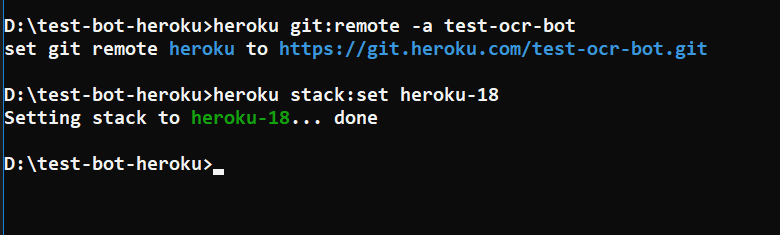
Before the "git add ." command, use this command to change the stack to "heroku-18"
heroku stack:set heroku-18
- Then you can proceed with the commands :
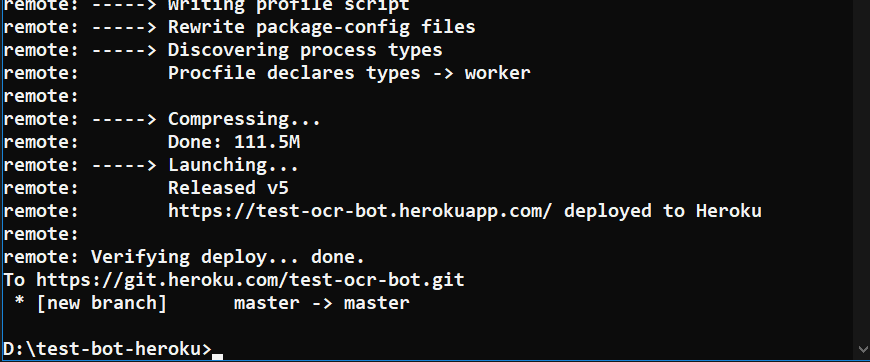
git add .git commit -am "make it better"git push heroku master
-
-
It'll take time to push the bot to heroku. Be patient.
-
After the build has succeeded, you can go and start your bot by going into "resources" tab and turning the "bot.py" worker ON.
- Click on the edit icon and turn the bot ON.


