This application contains a custom logging provider implementation to send log data to a REST API. The application uses .NET 6, and there is an API client library that centralizes the logic to send logs to the API.
First of all, it is necessary to understand how logging works in .NET 6, and how to implement custom logging providers. These articles explain how to use the ILogger<T> interface to log messages and errors in your .NET applications.
The solution is composed by the following applications:
-
CustomLogger.Consumer.ApiClient: this is where we have the extension methods that configure applications to use the custom provider when calling the
ILogger<T>interface methods. Here we also have extension methods to send detailed payload to the logging API. -
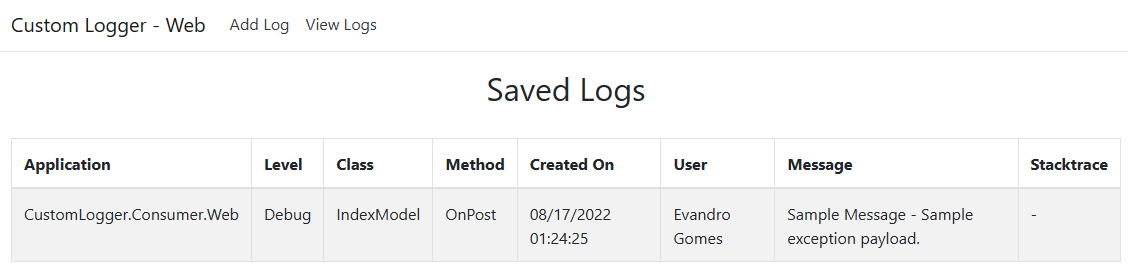
CustomLogger.Consumer.Web: sample ASP.NET Razor Pages application that uses the custom extensions to send log data to the API. This application also shows existing logs that we save in a database. There is a form in this application that you can use to send customized logs to the API.
-
CustomLogger.Data.MongoDB: project where we have repositories that send data to a MongoDB database instance. MongoDB is a great choice to store and deal with denormalized data such as log messages.
-
CustomLogger.Domain: domain layer where we have the models to store log data, as well as the log repository definition (you can rework the application to use a different architecture if you want, such as CQRS).
-
CustomLogger.LoggingAPI: RESTful API that exposes routes to store and retrieve logs.
If you look at the Startup.cs class in the CustomLogger.Consumer.Web project, you will notice the usage of two extension methods:
-
services.AddApiLogger(Configuration)- this first line configures all service dependencies to use the custom logging provider in your application. You can add it to any .NET project you want since they are compatible with theMicrosoft.Extensions.Loggingpackage and correlated packages. -
loggerFactory.UseApiLoggerProvider(app.ApplicationServices)- this second line registers the custom provider in the application. Now when you call one of the methods present at theILogger<T>interface, the application will send log messages to the API, respecting the logging configuration that we have in theappsettings.jsonfile.
Next, look at the appsettings.json file of the same project. You will notice two extra lines here. The first one configures the application name that will be part of log entries when we use the custom providers. The second one specifies the logging API URL. In this application I use docker-compose to run the application. That is the reason you see that strange URL pattern.
{
  "Logging": {
    "ApiLogger": {
      "ApplicationName": "CustomLogger.Consumer.Web",
      "ApiUrl": "http://custom-logger-api:80"
    },
    "LogLevel": {
      "Default": "Debug",
      "Microsoft": "Warning",
      "Microsoft.Hosting.Lifetime": "Information"
    }
  },
  "AllowedHosts": "*"
}
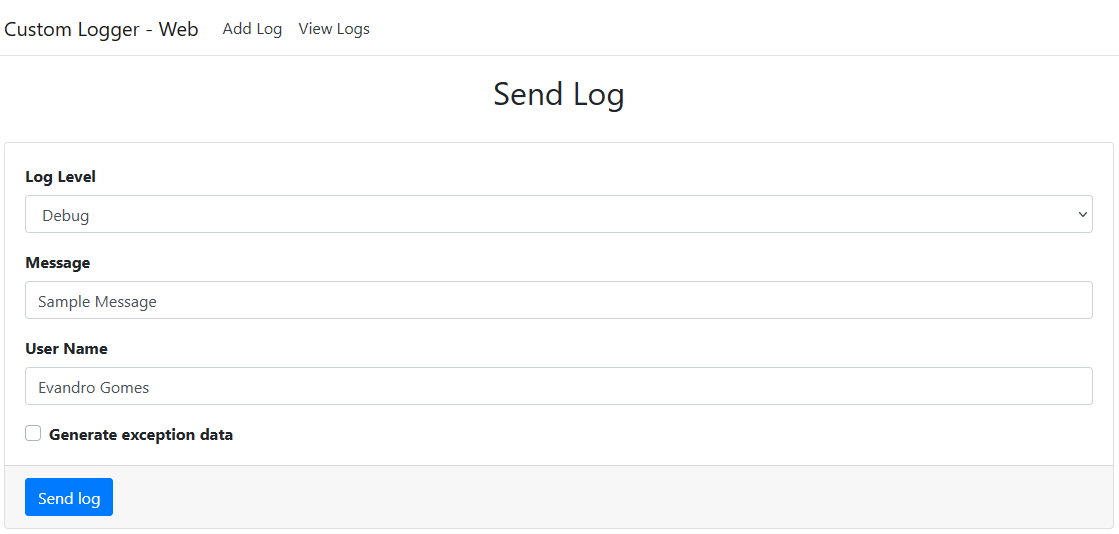
Now open the source code for Index.cshtml.cs under Pages. This file handles a form post where we can specify a log level to use, a custom message, and a user name. We can also generate a sample Exception instance to save the full stack trace. All this data is sent using the following lines:
public void OnPost()
{
    Exception exception = null;
    if(GenerateExceptionData)
    {
        exception = new Exception("Sample exception payload.");
    }

    _logger.LogToApi(LogLevel, Message, exception, user: UserName);
    // ...
}
Notice the _logger.LogToApi extension method. The API client libraray contains more extension that we can use to log debug messages, warnings, information in general, or errors. We can also use default extension methods, such as _logger.LogInformation.
The purpose of these custom extensions is to offer a way to send detailed payload to the API.
You can check the custom logging provider implementation by opening the files ApiLogger.cs and ApiLoggerProvider.cs. They are under Providers in the API client library.
To test the application, you need Docker and Docker Compose installed in your machine. Run the project using docker-compose on Visual Studio, or type docker-compose up in the command prompt / terminal to run all projects.
Navigate to http://localhost:9000/. That is the URL to open the sample web application. You can use the form in the index page to send custom mesages to the API.
Navigate to http://localhost:9000/Logs to see stored logs.
Now navigate to http://localhost:8000/swagger/index.html. That is the URL for the Swagger document that shows the routes the API offers. The API contains only two routes, but you can improve it to meet your project requirements.

This custom logging provider uses HTTP calls to send data to the API. In applications that process a large volume of data, this may cause performance issues since we may send many requests to the API behind the scenes.
Consider using an Event Bus to dispatch log messages using RabbitMQ or a message broker of choice. This is a safer way to log messages without causing performance issues or losing important data.