The DRAM Liberator is a tester for 4164 and 41256 DRAM chips. The intended goal of this design is to produce a cheap, compact, and effective Open Source DRAM tester.
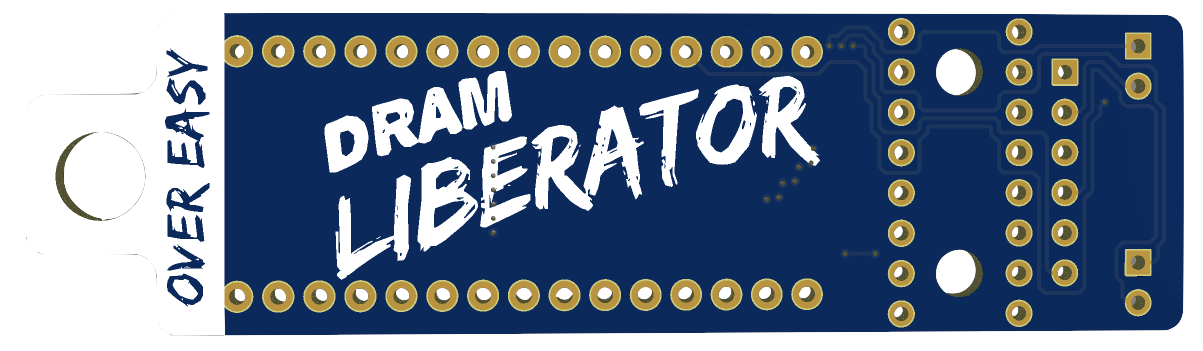
DRAM Liberator incorporates a tab at the top which serves both to protect the USB connector while simultaneously providing a hanging point when not in use.
Assembly of the DRAM Liberator is straight forward:
- (1x) Arduino Nano Board
- (1x) 16 Pin IC Socket
- (2x) Through Hole LED (optionally 1x red and 1X green LED)
- (1x) 6 Pin Resistor Net 150Ω (optionally 2x 150Ω through-hole resistor)
Assembling the DRAM Liberator will require a soldering iron, solder, and soldering flux is recommended.
- Solder the Arduino Nano to the DRAM Liberator board.
- Ensure the headers provided with your Arduino Nano are straight and parallel.
- Ensure the Arduino Nano is on the opposite side from the silkscreen.
- Ensure each pin has a small ball pyramid or blob of solder on it.
- The solder must contact both the pin and the DRAM Liberator pads for sufficient connectivity.
- Solder the 16-Pin IC Socket in place.
- Ensure the socket is flush with the top of the DRAM Liberator PCB.
- The socket must be on the side opposite of the silkscreened text.
- Optionally solder the LEDs in place.
- The LED Left of the "BetterBit" text is enabled when the DRAM fails testing.
- The LED Right of the "BetterBit" text is enabled when the DRAM is testing and passes.
- If you are using LEDs you will need to provide sufficient resistance.
- Resistance varies by LED color.
- Because of close proximity while using, you may not want the LED to be full brightness.
- If you're not sure what the appropriate resistance is you can often use 150Ω resistors.
- If you prefer not to use LEDs then you can still test with results over USB Serial terminal.
This project was inspired by expensive testers on eBay. If you appreciate this work I encourage you to make several of these and sell them for the lowest price you're comfortable with or gifting them to friends.
- Credit to the youtubers who provide walk-through information about testing DRAM, including Mark Fixes Stuff and ezContents
- Special thank you to Sercan Kocabaş who provided code which this project is inspired by.
- Special thank you to the Open Retro SCSI discord server for providing a great community to discuss and explore retro computing.


Images generously provided by Eric Helgeson