Headless mode is made possible for standalone build (i.e., windows, Mac, and Linux), through batch mode (-batchMode).
The web environment build (i.e., WebGL) is automated through puppeteer. Ideally, it will also be possible to make it work with audio, but there is limited support for WebGL, as explained further below.
In this test repository, everything is done locally, but the textures/images and audio could be sent to a server that is responsible for rendering them into video instead. Search for SERVER within Assets/ScreenRecorder.cs for that. The opposite is also valid: triggering the build in a server that replies with the rendered video.
The first step is to build the project to the desired target. You can either do it manually through the Editor (File > Build Settings > Build), or through cli, as described in the subsections below.
To make it easier to access, in standalone scenarios, in case you opt for the cli, the resulting file will be saved to an automatically created Build folder. Don't forget to cd to the project folder first.
The WebGl build, in case you opt for the cli, will output it by default to WebGl/Build, and the textures will be saved into the persistent path, which is an IndexedDB.
Before building the project to WebGL, however, you should disable the anti-aliasing in unity's quality settings. If it is enabled, it will throw some OpenGL errors and the rendering will not work causing the output images to be black.
$ "C:\Program Files\Unity\Editor\Unity.exe” -quit -batchmode -projectPath ./ -executeMethod BuildHelper.BuildWin64 -logFile buildLog.txt
$ "C:\Program Files (x86)\Unity\Editor\Unity.exe” -quit -batchmode -projectPath ./ -executeMethod BuildHelper.BuildWin -logFile buildLog.txt
$ /Applications/Unity/Hub/Editor/2018.4.10f1/Unity.app/Contents/MacOS/Unity -quit -batchmode -projectPath ./ -executeMethod BuildHelper.BuildMac -logFile buildLog.txt
Run the build resulting file as above, while setting -executeMethod to BuildHelper.BuildLinux or BuildHelper.BuildLinux64 or BuildHelper.BuildLinuxUniversal
Make sure to disable anti-aliasing, as described above, before running the following command:
$ <unity-executable-or-app-path> -quit -batchmode -projectPath ./ -executeMethod BuildHelper.BuildWeb -logFile buildLog.txt
Alternatively, if you want to automate the extra setup described next section, you can run the following instead:
$ <unity-executable-or-app-path> -quit -batchmode -projectPath ./ -executeMethod BuildHelper.BuildWeb -logFile buildLog.txt && node WebGl/inject.js
Or simply adapt buildAndInjectWebGL.sh to your needs, and execute it:
$ bash ./buildAndInjectWebGL.sh
Before anything else, if you rebuilt the WebGl build, some extra code must be added to the index.html file within WebGl/Build folder, so that Unity can call a function from the client side. You can either do it manually, or by running a simple script that will do that for you.
Make sure to have nodejs installed and run:
$ node WebGl/inject.js
At the end of html tag head, add a reference to a new script:
<script src="../handleDatabase.js"></script>
At the beginning of body, add a new html element:
<img id="testImage">
This script will run after 30 frames are stored into the IndexedDB, and will change the background (i.e., testImage) to the first captured image as a test, to see if everything is working.
To actually run the WebGL build in the browser, you will need a server. For instance:
$ python -m SimpleHTTPServer 8080
And open http://localhost:8080/<path-to-WebGl/Build/>
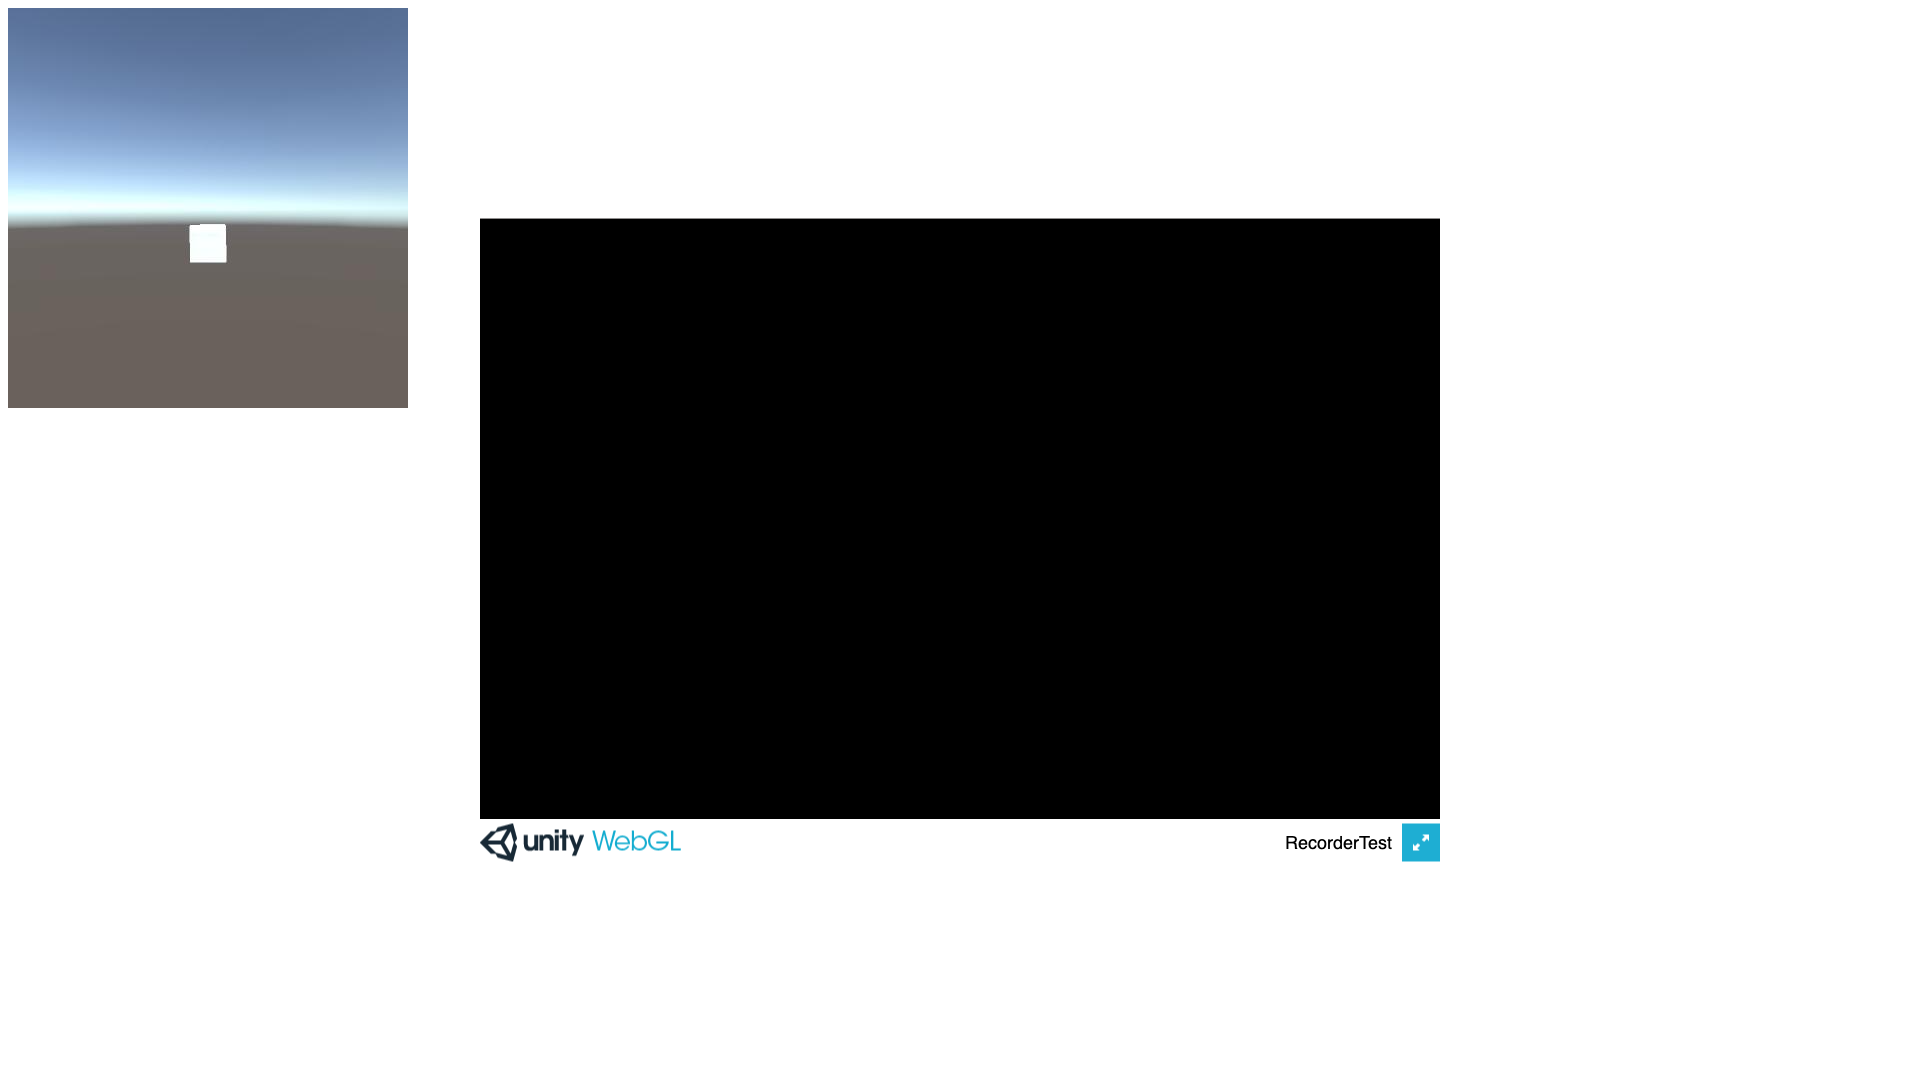
You should see something like below:
Note that the screen of the game window will be black, because we are only concerned about running the project in headless/batch mode.
The idea of using something like Puppeteer is to run the browser automatically and in headless mode, while still executing the build and recording the images.
- Install NodeJS (v10.18.1 or higher)
- Install Yarn globally with
$ npm i -g yarnor download it at their website $ cd WebGl && yarnto install the dependencies.$ yarn serverto run a local server$ yarn startto run the WebGL build through puppeteer
The example is taking 2 screenshots after running for a few seconds (WebGl/ScreenshotResults). The resulting renderingResult.png should be the same as expectedWebGLResult.png.
It is also possible to run the WebGL build in no-gpu scenarios (e.g., a server). To do so, just uncomment --disable-gpu within WebGl/main.js.
The project is prepared to run in batch mode through a coroutine that will save the first 30 frames to .bmp files to Build/ScreenRecorder.
$ ./Build/AutomaticRecording.exe -batchMode -logFile batchLog.txt
$ sudo ./Build/AutomaticRecording.app/Contents/MacOS/AutomaticRecording -batchMode -logFile batchLog.txt
After getting the images and audio (either locally or remotely), it is possible to render them to video (e.g., .mp4) through something like ffpmeg. You can do so, for standalone builds, explicitly or through a simple script.
An example of that is to change to run:
$ ffmpeg -y -r 30 -f image2 -s 1920x1080 -i "./Build/ScreenRecorder/frame%04d.bmp" -i "./Build/ScreenRecorder/audio_output.wav" -shortest -vcodec libx264 -crf 25 -pix_fmt yuv420p "./Build/ScreenRecorder/_video.mp4"
By default, the name of the (presumably longer) audio file will be audio_output.wav. The video is cutoff when the images/frames end through the flag -shortest to make sure the audio matches correctly.
Alternatively, you can simply execute ffmpegRendering.sh:
$ bash ./ffmpegRendering.sh
You can also run the build and render the video right after (you might need admin permissions):
$ ./Build/<executable-or-app-name> -batchMode -logFile batchLog.txt && bash ./ffmpegRendering.sh
Or simply (you might need admin permissions):
$ bash ./runBuildAndRender.sh
Unity3D relies on multiple threads to handle audio and mixing. Unfortunately, since WebGL platform does not support threads, the Audio API is limited and doesn't support OnAudioFilterRead, which is used (e.g., in standalone versions) to get the audio data while it is playing in runtime. More on this here.
