![]()
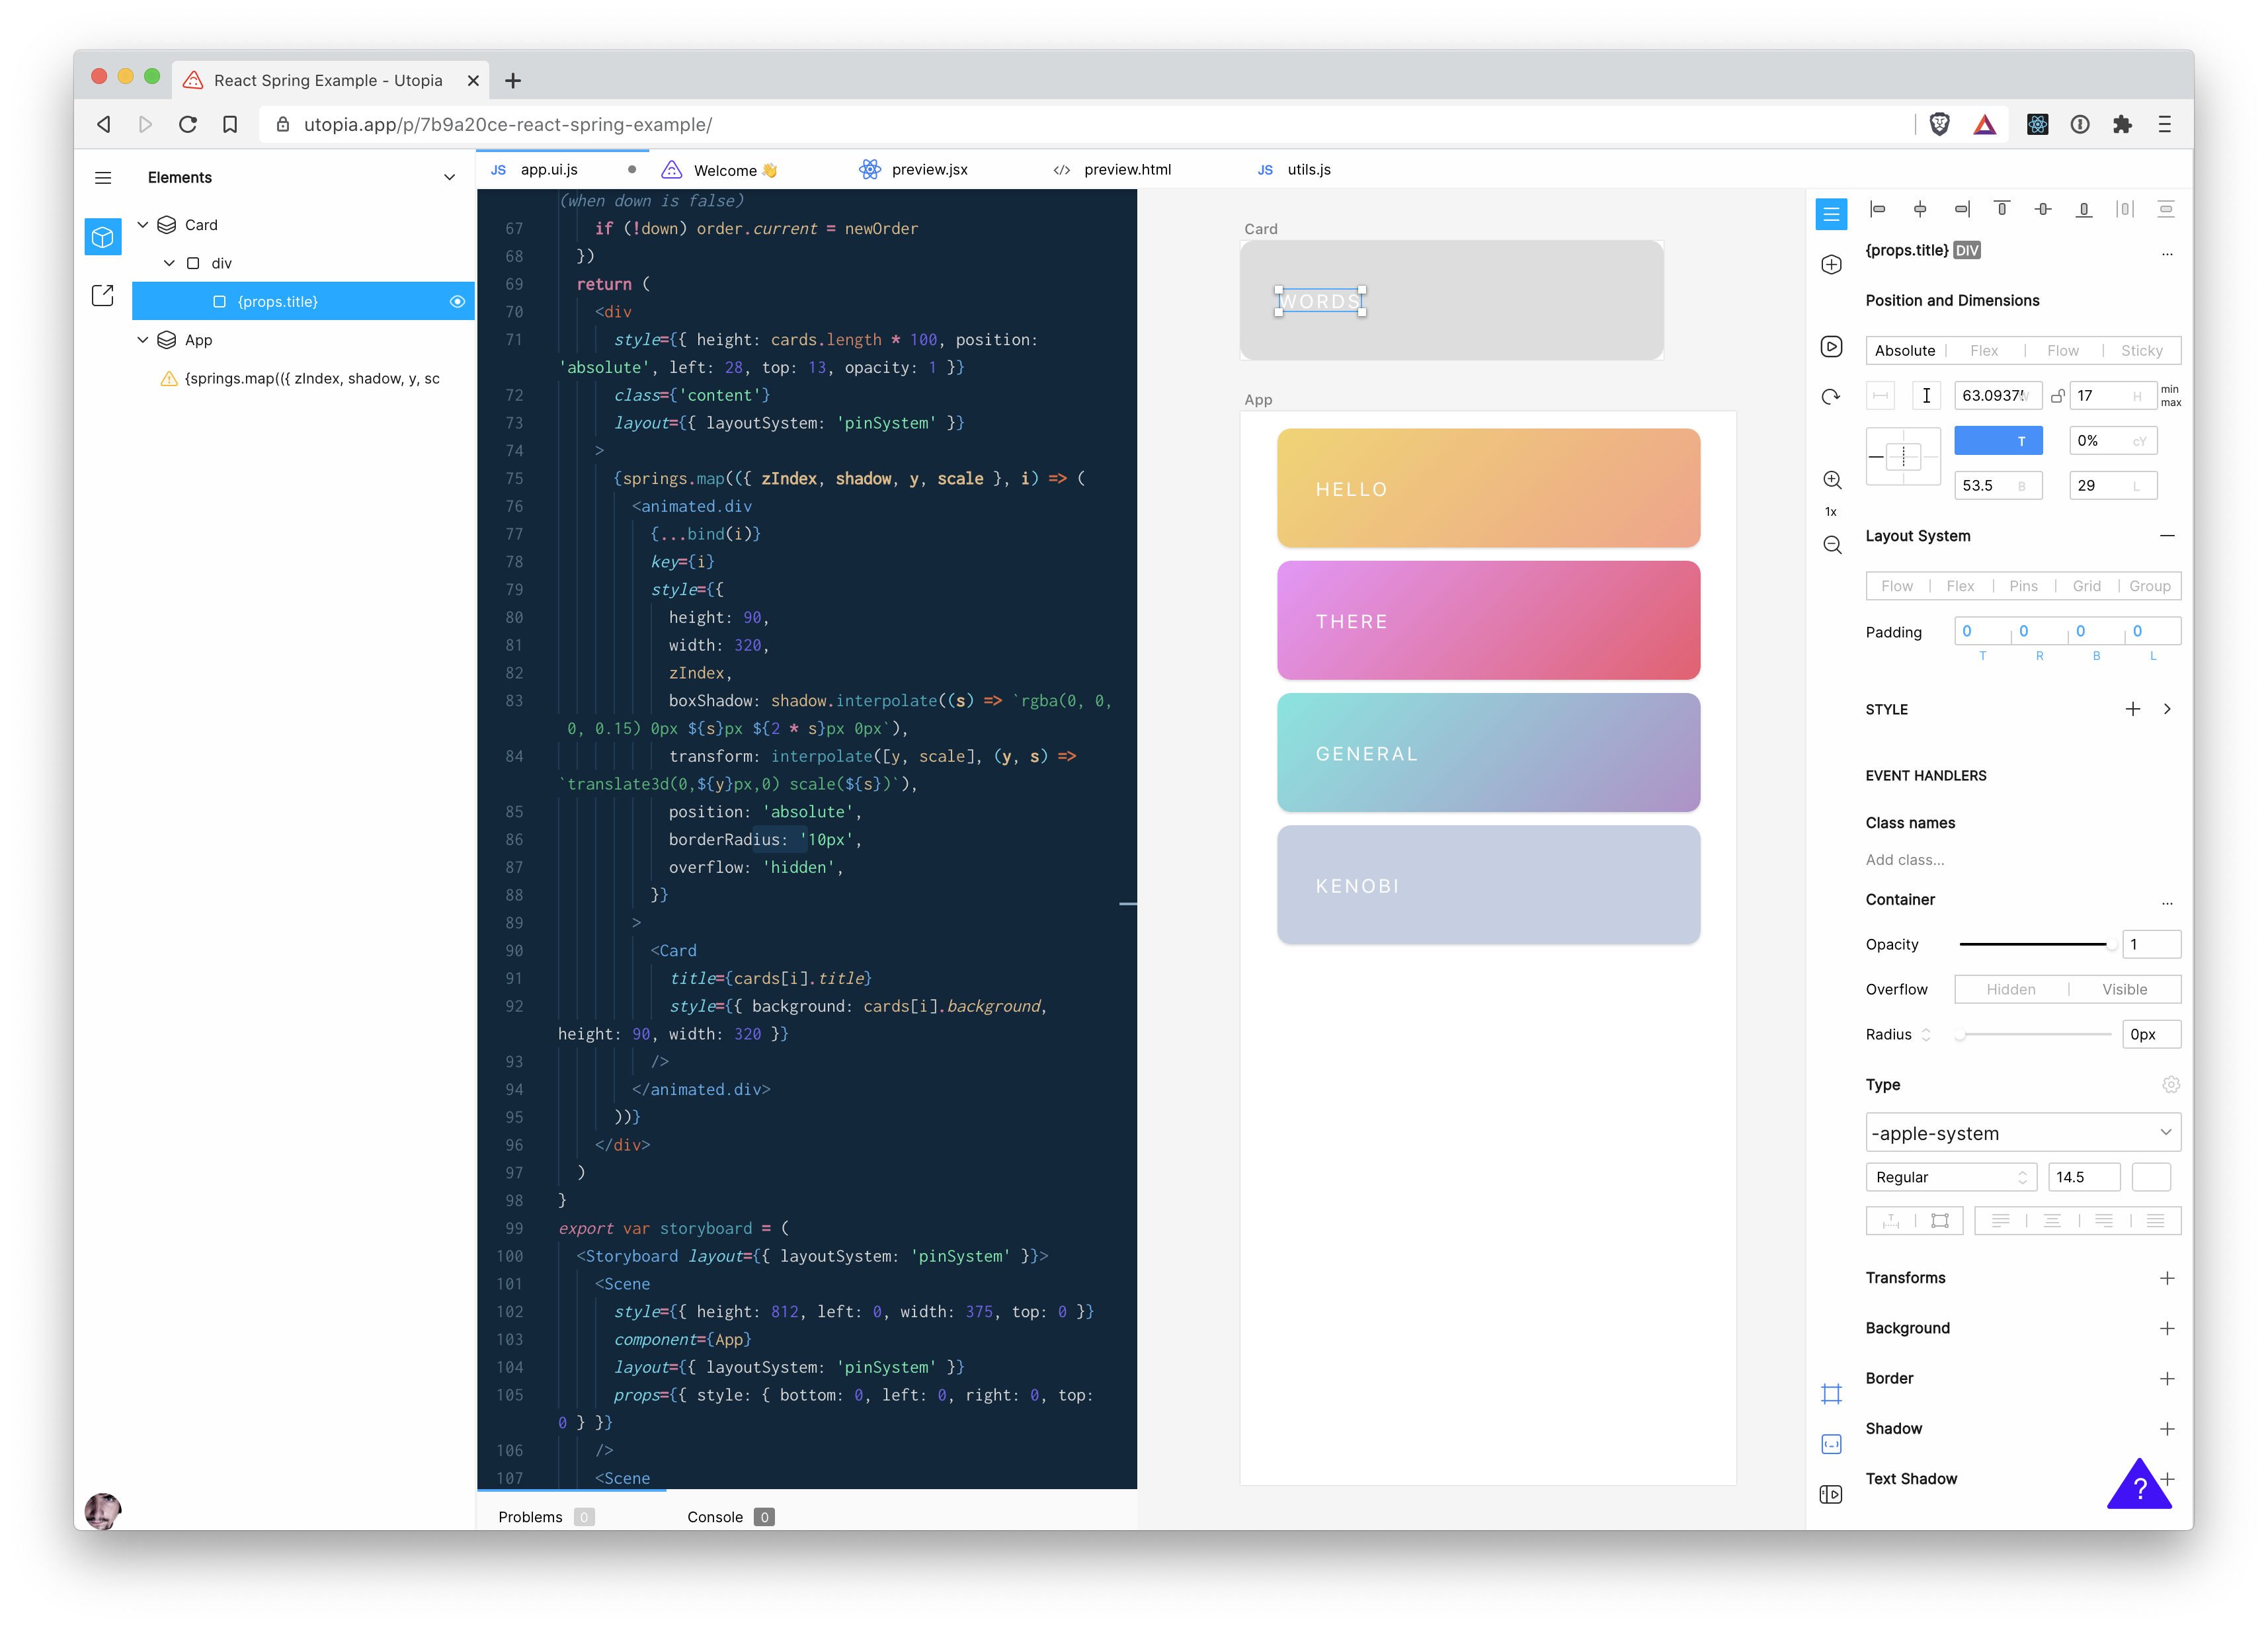
Utopia is an integrated design and development environment for React. It uses React code as the source of truth, and lets you make real time changes to components by editing it and using a suite of design tools. It's early software, but you can try it today, look at an example project, or read about it on our blog!
Utopia is browser-based. To run it locally, clone the repo, and then set up the server and webpack by following these instructions.
- If using Windows you'll first need to set up the Windows Subsystem for Linux (wsl). All following steps and commands will assume you are using the wsl.
- On macOS you need brew and must run
brew install gmpfirst. On new M1 Macbooks please follow these steps to install brew and run the server the first time. - nix-shell. If you are on macOS Catalina or later, you will be prompted to include an extra flag in the install script. If using Windows follow this guide. If you don't want to use nix, we have instructions here
- Recommended: direnv. If you don't have
direnvinstalled, you'll need to runnix-shellbefore any of thestartcommands, and switching to nix will be a bit slower.
We welcome contributions. Utopia is a big project, but we're here to help, and are happy to pair up with you. The easiest way is to file an issue, or reach out on Discord. Please read our contributing doc to get started
The first time running the editor, run the following script:
start-full
Subsequently it should be possible to just run, unless either changes have been made to VS Code or something like the dependencies have changed in the editor project:
start-minimal
Both of these scripts result in a tmux session with all of the various servers running and watching for changes. You can see all of the active sessions in the bar along the bottom, prefixed by the "window" number that they are running in. You should be able to click on each of those to switch to viewing that session, or if that doesn't work you can use the key combo cmd+b (macOS) or ctrl+b (Linux or Windows), followed by the number for that session. (see here for the relevant tmux docs)
To shut them down, in the "Scratchpad" tab of the session run the following command:
stop-dev
Now the editor should load on localhost:8000/p, or localhost:8000 when developing the website itself.
When a series of environment variables are set (see Branches.hs), the editor supports the ability to get a bundle of editor code from S3 that was created from a PR, and load that instead of the code currently held locally. Which means that changes can be tested without spinning up multiple environments.
To use this if the URL currently is https://utopia.pizza/p/e976df60-phase-rutabaga/, the branch name would be added on in a query parameter like so: https://utopia.pizza/p/e976df60-phase-rutabaga/?branch_name=my-test-branch.
Limitations:
- Doesn't currently support Monaco because of the way that builds the workers in a special webpack plugin, so changes to the version of Monaco in that branch may fail in unusual ways.
- Anything that isn't editor code will not be changed by this, such as the website code or the server endpoints.
There are some extra steps to build server files, steps 11-14 are also needed when there are dependency changes for the server.
- Open Applications, locate the Terminal within the Utilities folder
- Select Terminal.app and right-click on it then “Duplicate”
- Rename the duplicated Terminal app to ‘Rosetta Terminal’
- Now select the new renamed ‘Rosetta Terminal’, right-click and choose “Get Info”
- Check the box for “Open using Rosetta”, then close the Get Info window
- Run the Rosetta Terminal
- Type
archfirst to make sure your terminal is good, this should showi386in the Rosetta Terminal - Install homebrew there, please add
arch -x86_64before pasting the install script - Install gmp with
arch -x86_64 /usr/local/bin/brew install gmp - Close with cmd+q, open a normal Terminal and install direnv and nix-shell as the description, then come back for the final 4 steps
- Run the Rosetta Terminal again
- Enter the utopia folder,
direnvand run thestart-website-serverto build the server files here - After you see a message about
Startup Processes Completedexit terminal with cmd+q - Open a normal Terminal, run the
startscript in the utopia folder.
If you notice that 1 or more CPU cores are running 100% because of node processes, it is probably webpack-dev-server having trouble with fsevents on MacOS. To fix it, run npm install fsevents in the utopia/editor directory. see webpack/webpack#701 (comment)
You'll need four things running concurrently:
editor/npm run webpack
editor/npx tsc --watch
Website/npm start
server/cabal new-run --disable-optimization --disable-profiling --disable-documentation --disable-library-coverage --disable-benchmarks utopia-web -- +RTS -N
Since a lot of this requires using nix-shell everywhere, you can just use direnv to make that a lot simpler. Not only will this automatically use a nix shell whenever you cd into the project folder, but it also adds caching to vastly speed up the opening of that shell. You can install direnv by using brew:
brew install direnv
To actually run direnv you need to hook it into your shell by following the instructions here.
Then to configure it, in your $HOME directory add a file .direnvrc with the following contents (copied from https://github.com/direnv/direnv/wiki/Nix#using-a-global-use_nix-with-garbage-collection-prevention):
use_nix() {
  local path="$(nix-instantiate --find-file nixpkgs)"

  if [ -f "${path}/.version-suffix" ]; then
    local version="$(< $path/.version-suffix)"
  elif [ -f "${path}/.git" ]; then
    local version="$(< $(< ${path}/.git/HEAD))"
  fi

  local cache=".direnv/cache-${version:-unknown}"

  local update_drv=0
  if [[ ! -e "$cache" ]] || \
    [[ "$HOME/.direnvrc" -nt "$cache" ]] || \
    [[ .envrc -nt "$cache" ]] || \
    [[ default.nix -nt "$cache" ]] || \
    [[ shell.nix -nt "$cache" ]];
  then
    [ -d .direnv ] || mkdir .direnv
    nix-shell --show-trace --pure "$@" --run "\"$direnv\" dump bash" > "$cache"
    update_drv=1
  else
    log_status using cached derivation
  fi
  local term_backup=$TERM path_backup=$PATH
  if [ -n ${TMPDIR+x} ]; then
    local tmp_backup=$TMPDIR
  fi

  eval "$(< $cache)"
  export PATH=$PATH:$path_backup TERM=$term_backup TMPDIR=$tmp_backup
  if [ -n ${tmp_backup+x} ]; then
    export TMPDIR=${tmp_backup}
  else
    unset TMPDIR
  fi

  # `nix-shell --pure` sets invalid ssl certificate paths
  if [ "${SSL_CERT_FILE:-}" = /no-cert-file.crt ]; then
    unset SSL_CERT_FILE
  fi
  if [ "${NIX_SSL_CERT_FILE:-}" = /no-cert-file.crt ]; then
    unset NIX_SSL_CERT_FILE
  fi

  # This part is based on https://discourse.nixos.org/t/what-is-the-best-dev-workflow-around-nix-shell/418/4
  if [ "$out" ] && (( $update_drv )); then
    local drv_link=".direnv/drv"
    local drv="$(nix show-derivation $out | grep -E -o -m1 '/nix/store/.*.drv')"
    local stripped_pwd=${PWD/\//}
    local escaped_pwd=${stripped_pwd//-/--}
    local escaped_pwd=${escaped_pwd//\//-}
    ln -fs "$drv" "$drv_link"
    ln -fs "$PWD/$drv_link" "/nix/var/nix/gcroots/per-user/$LOGNAME/$escaped_pwd"
    log_status renewed cache and derivation link
  fi

  if [[ $# = 0 ]]; then
    watch_file default.nix
    watch_file shell.nix
  fi
}
And add a .envrc file to the root folder of the project with the following contents:
use nix
(This file is deliberately contained in the .gitignore because it is supposed to be personal to you - it allows you to add custom environment variables that will always be in scope whenever you're in this directory)
Please update your .zshrc (or .bashrc) to hook it into the shell, for example for zsh add this line:
eval "$(direnv hook zsh)"
After this step open a new shell window and enter the utopia directory. Direnv should be activated as soon as you enter, you can use the start and start-performance scripts without manually running nix-shell.
One-off test run:
npm run test
Continuous mode:
npm run test-watch
On macOS, when trying to watch, you might run into an error message about number of open files. In that case, install watchman:
brew install watchman
To enable format-on-save, you should install the VSCode plugin esbenp.prettier-vscode, and dbaeumer.vscode-eslint and then in your workspace settings, enable format on save, and tell prettier to use the eslint integration mode:
  "eslint.workingDirectories": ["./editor", "./utopia-api"],
  "editor.formatOnSave": true,
  "prettier.useEditorConfig": false,
  "prettier.requireConfig": true,
  "[typescript]": {
    "editor.defaultFormatter": "esbenp.prettier-vscode"
  },
  "[javascript]": {
    "editor.defaultFormatter": "esbenp.prettier-vscode"
  },
  "[typescriptreact]": {
    "editor.defaultFormatter": "esbenp.prettier-vscode"
  },
  "[json]": {
    "editor.defaultFormatter": "esbenp.prettier-vscode"
  }
Select prettier as the default formatter in your settings; VSCode may prompt you to do so. The last four line items, starting with [typescript] reflect this. You should restart VSCode after this.
All pushes to the master branch will immediately trigger this workflow that runs the tests and then triggers a deploy to our Staging environment.
To deploy to the Production environment, somebody needs to manually trigger our tag-release.yml workflow, giving either a specific commit hash or branch name (defaulting to master), and optionally a tag name (the default behaviour is to increment the patch version). This can be triggered via the "Run Workflow" button here
Note: in the "Use workflow from" dropdown you have to select "Branch: master" - this is specifying which workflow to run, not which branch to cut the release from.