Leverage actions, custom metadata, and claims for attribute-based access control
- 1/ Create Media House Organization, Newsroom Project and Article API
- 2/ Create Roles in the Newsroom Project
- 3/ Create Users in the Newsroom Project
- 4/ Add Authorizations for the Users
- 5/ Add Metadata to the Users
- 6/ Create an Action to Capture Role and Metadata in Custom Claim
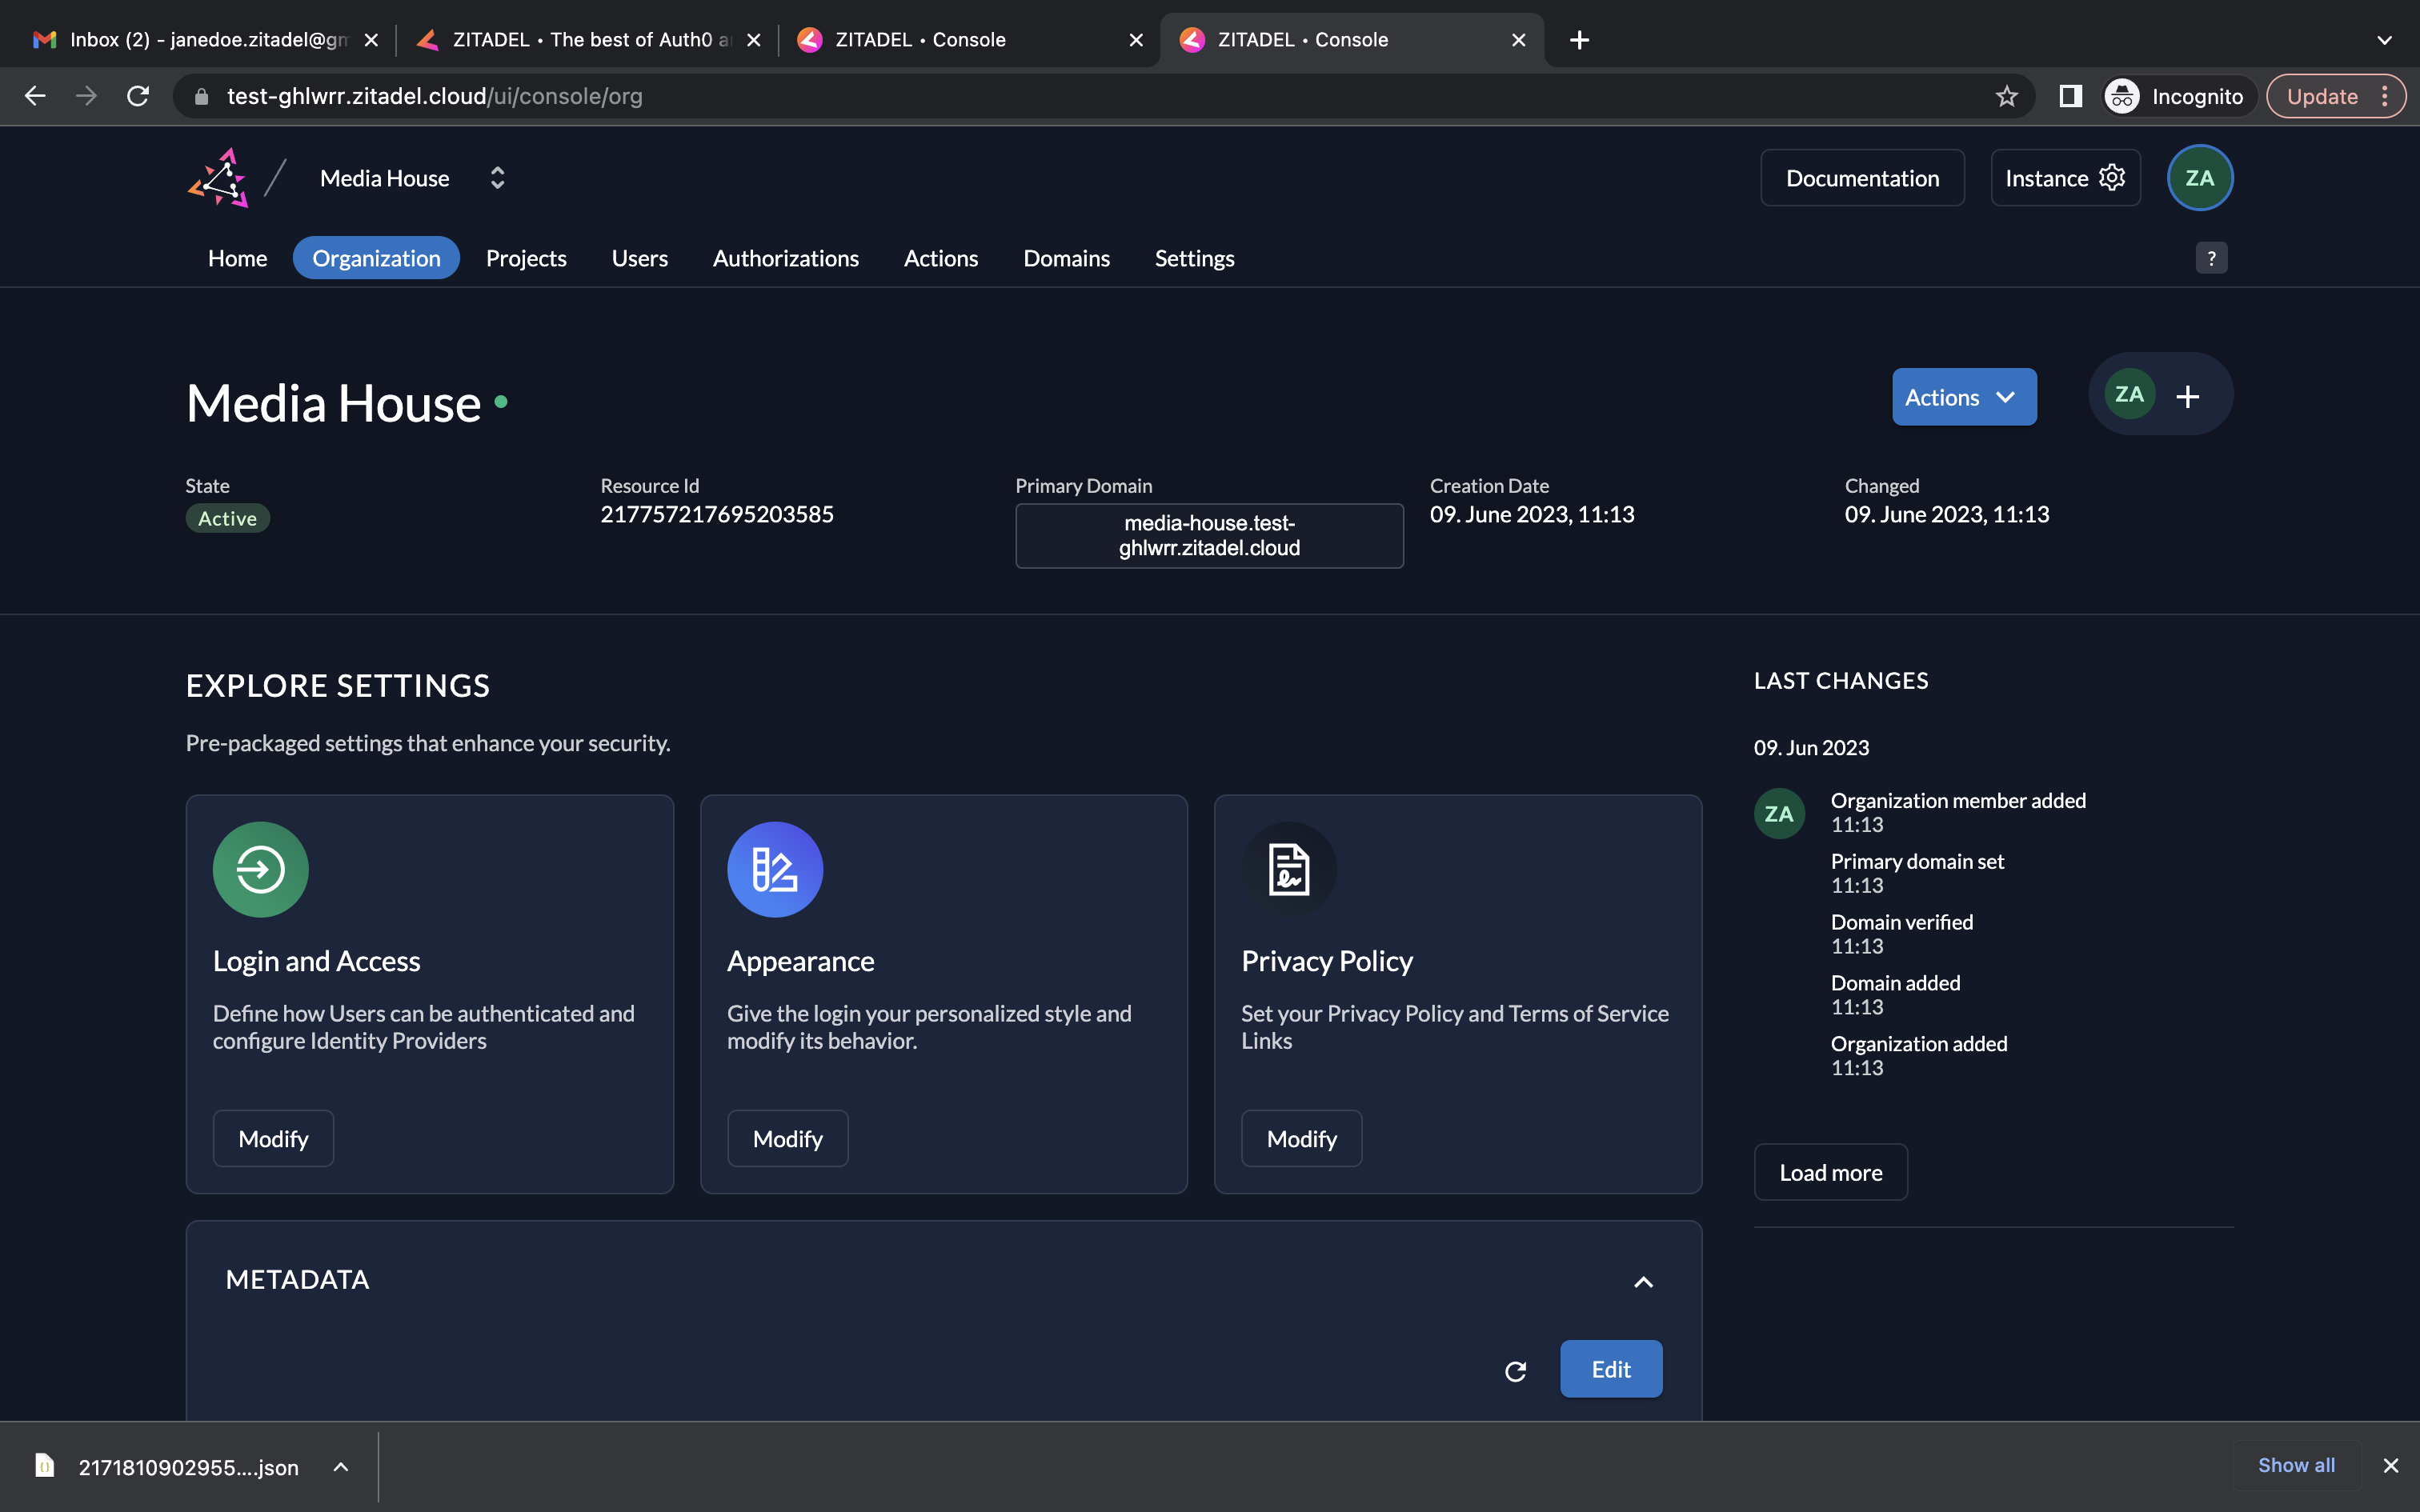
- Create the Media House organization and go to Projects and create a new project called Newsroom.
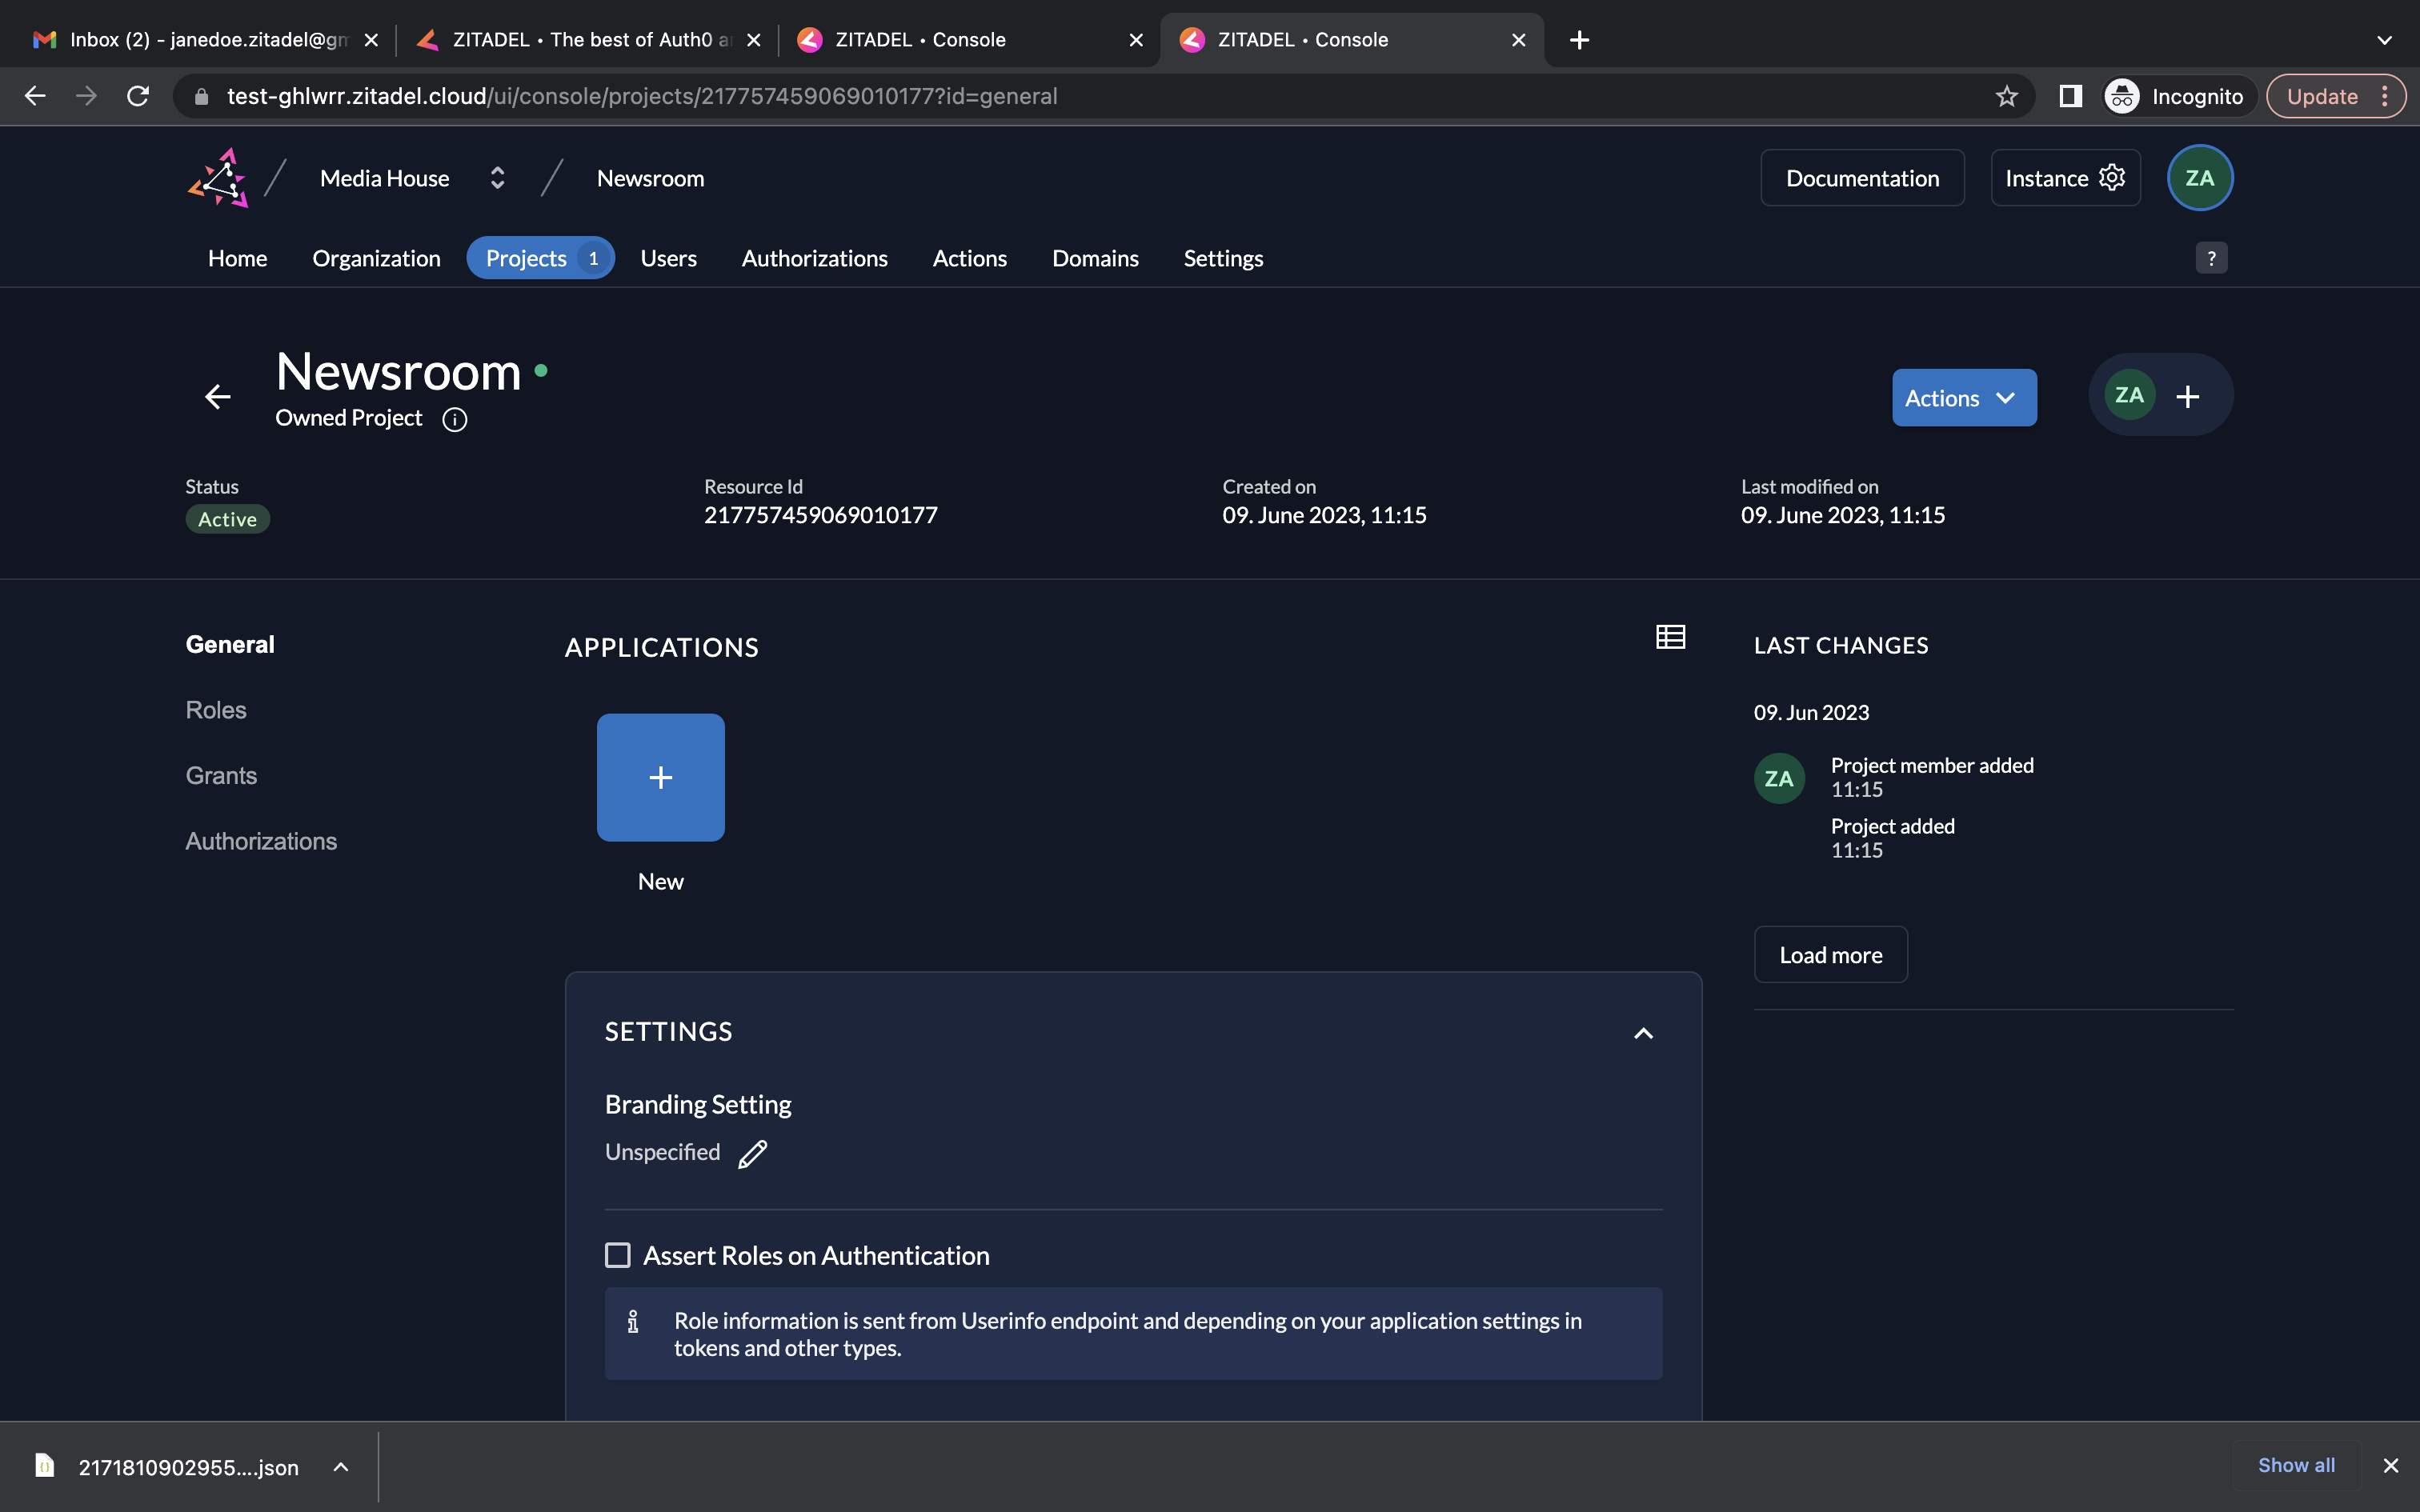
- In the Newsroom project, click the New button to create a new application.
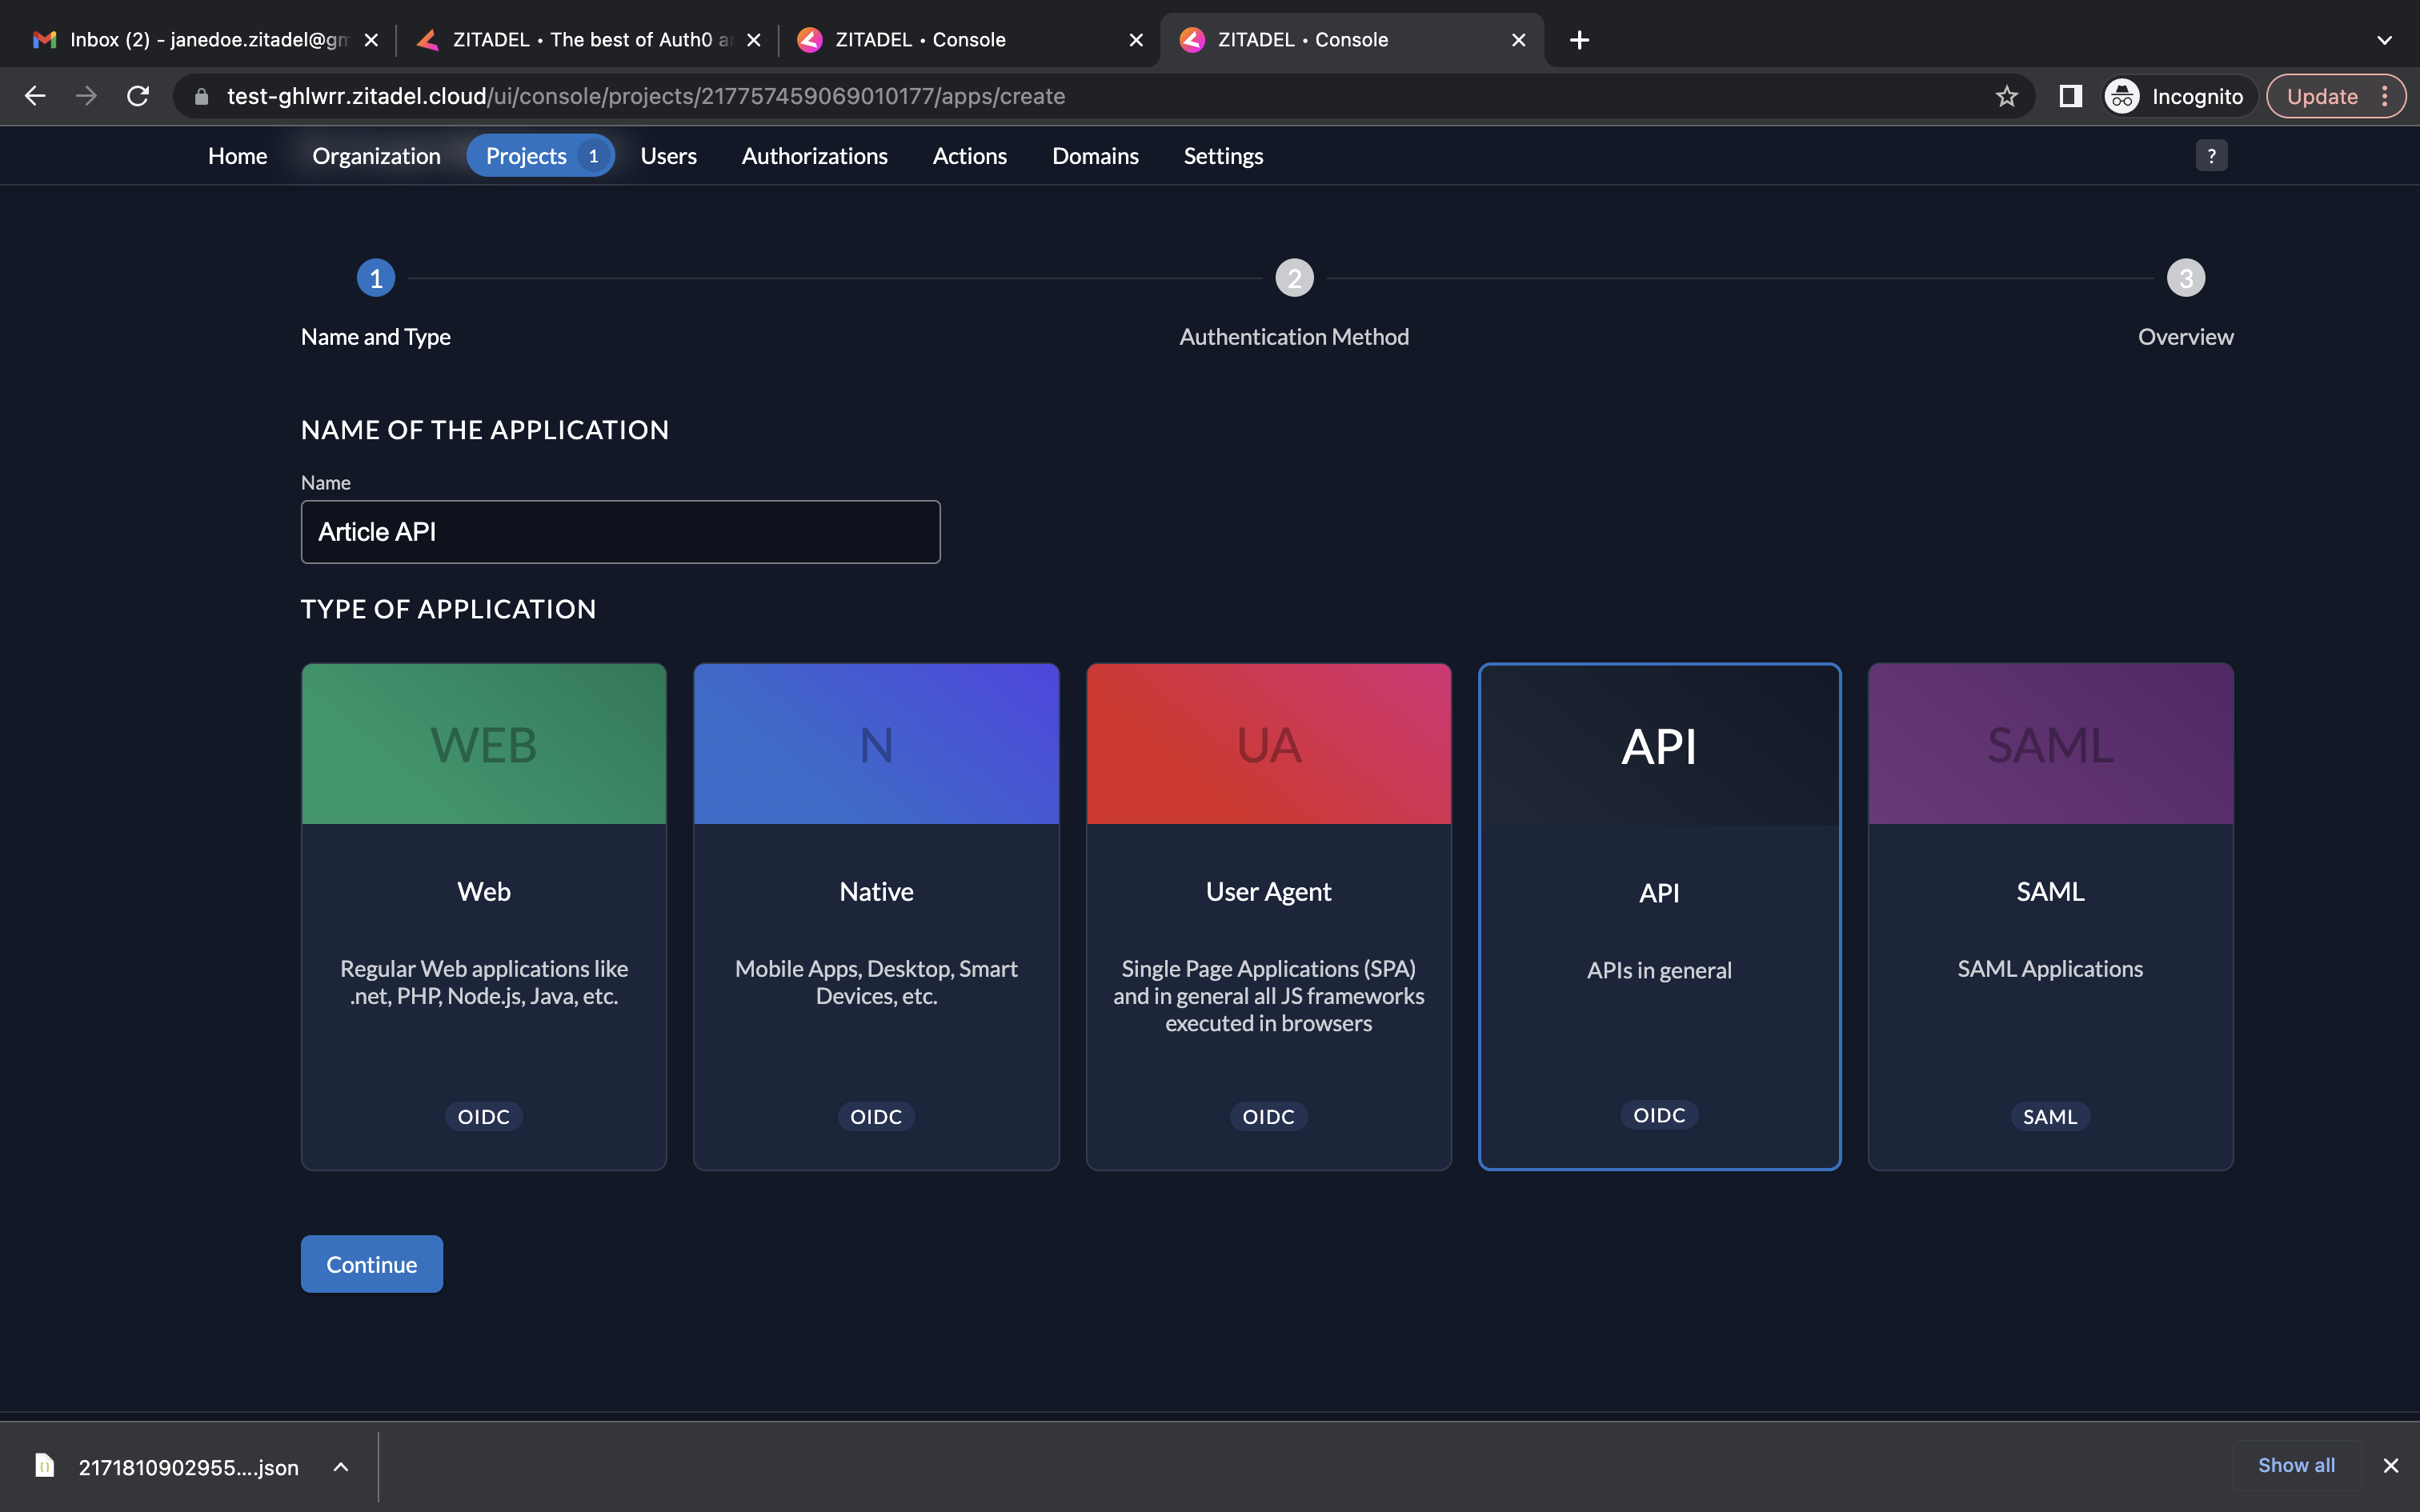
- Add a name and select type API.
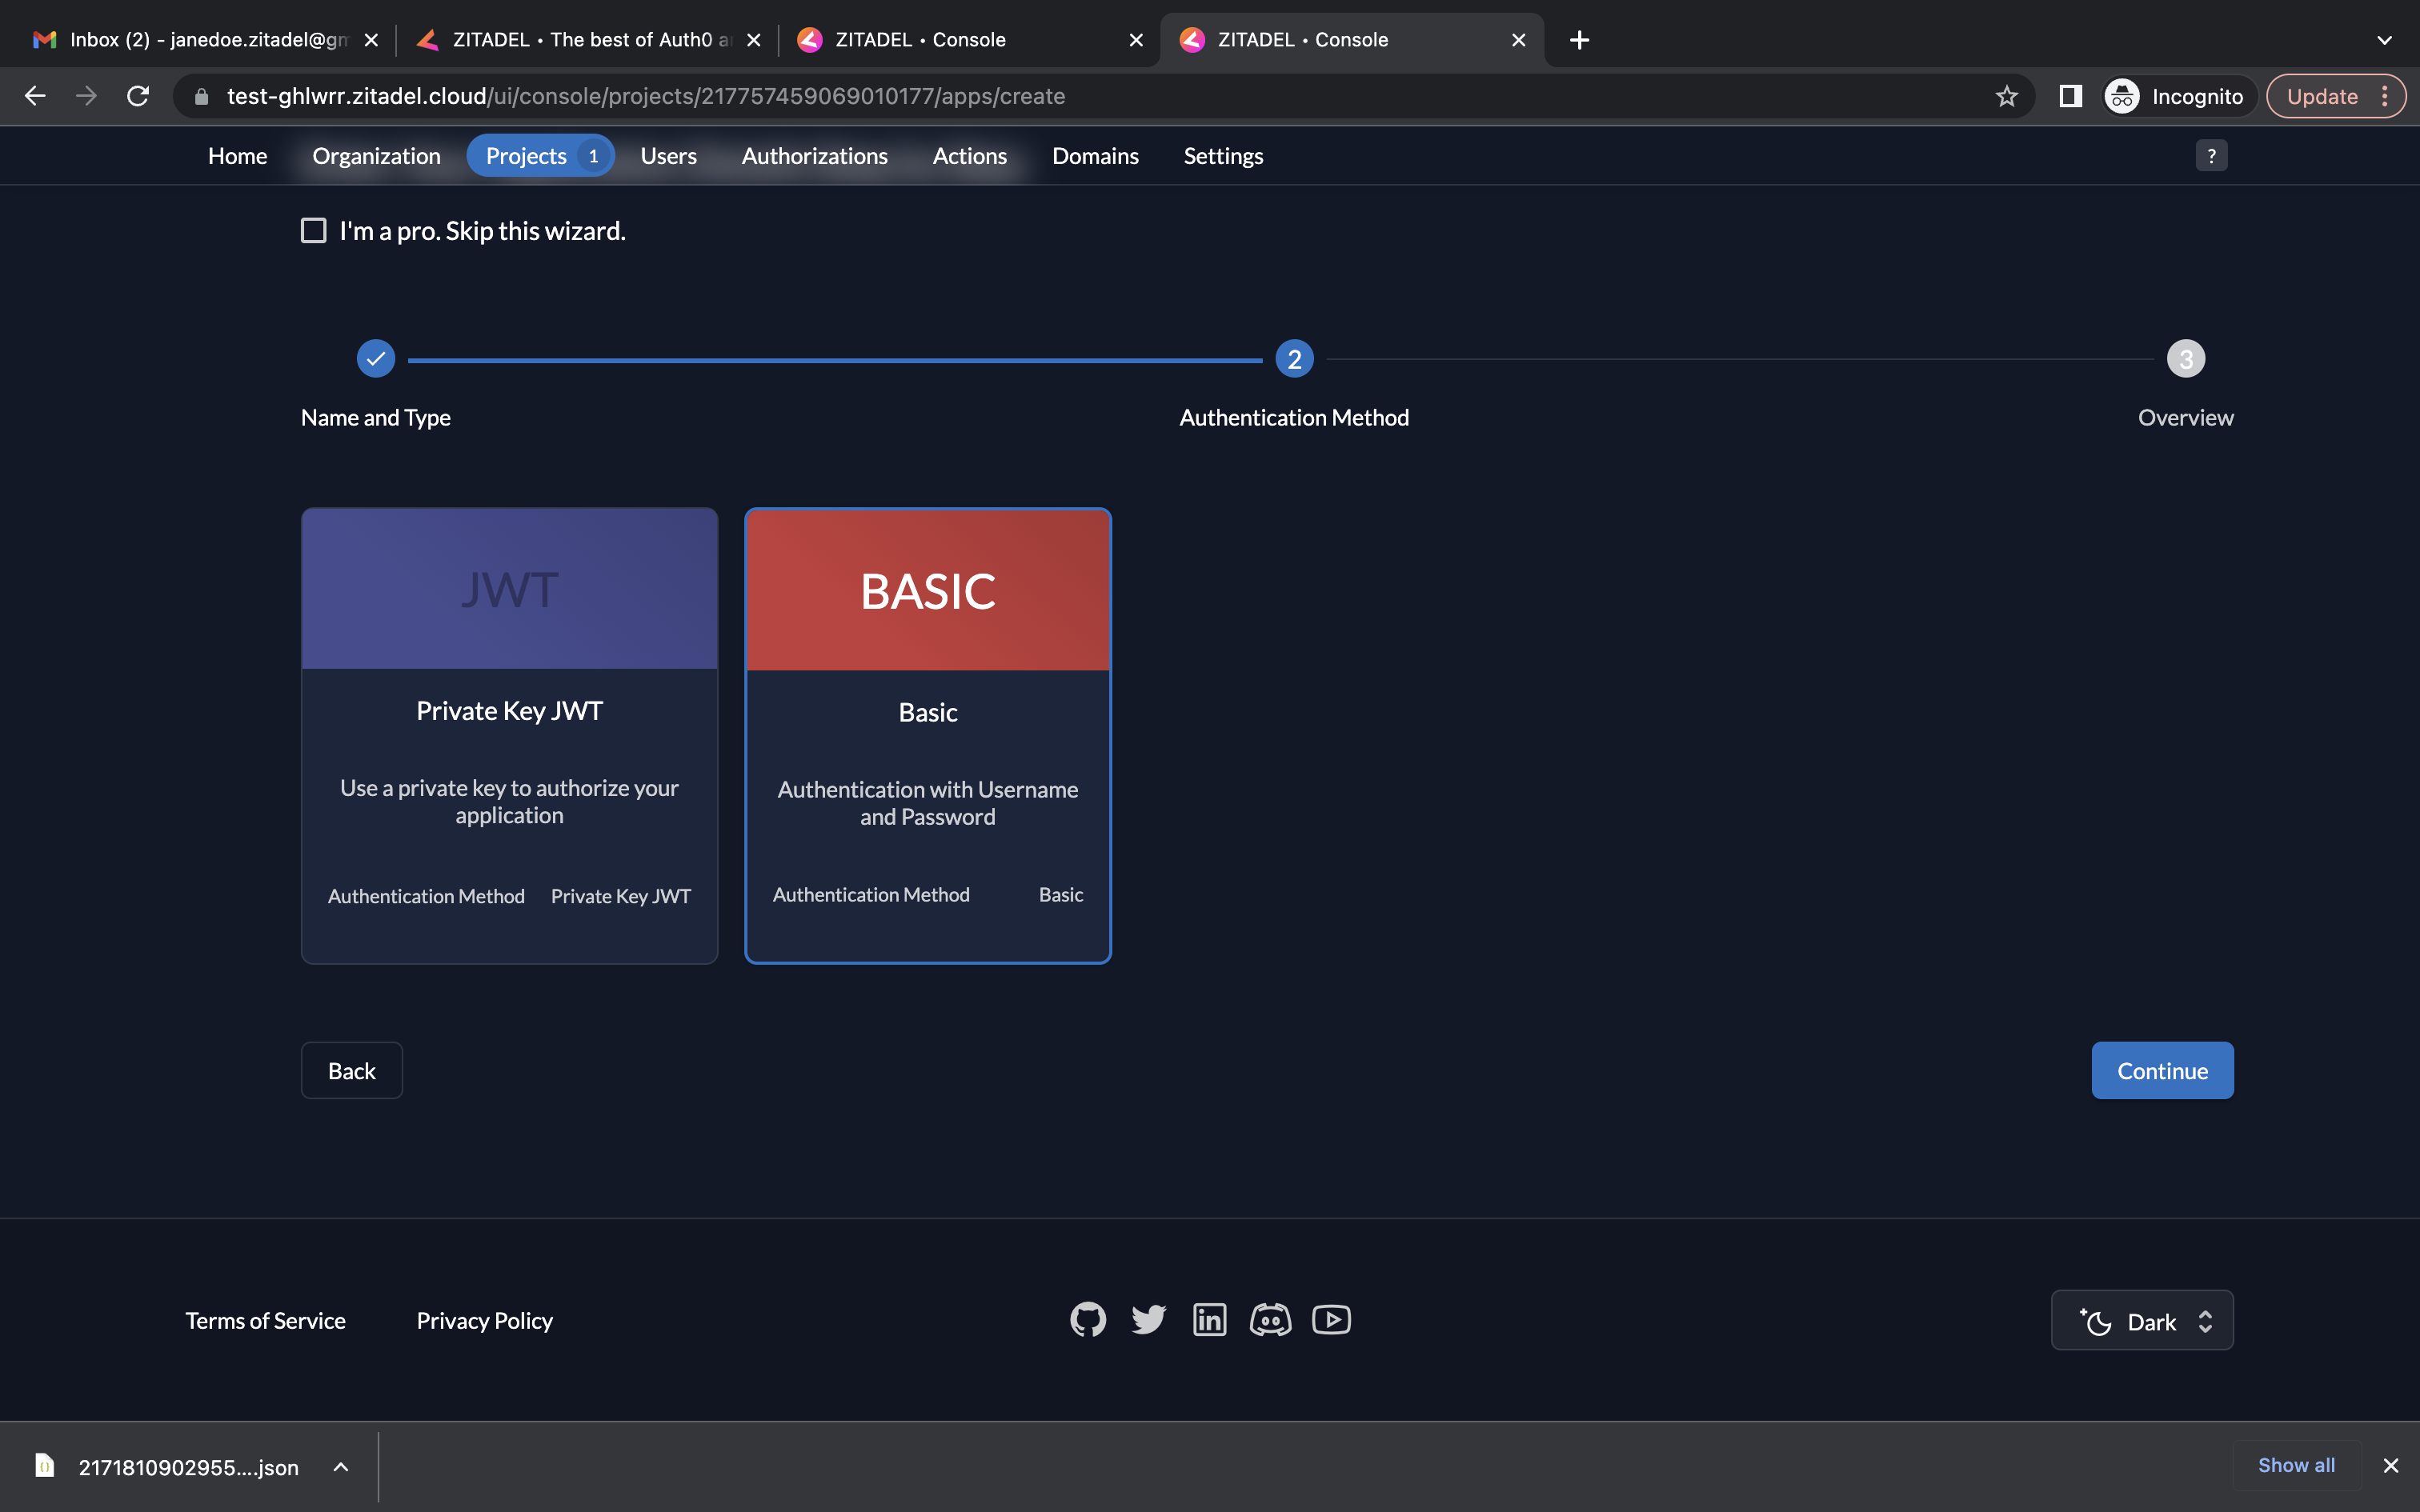
- Select Basic as the authentication method and click Continue.
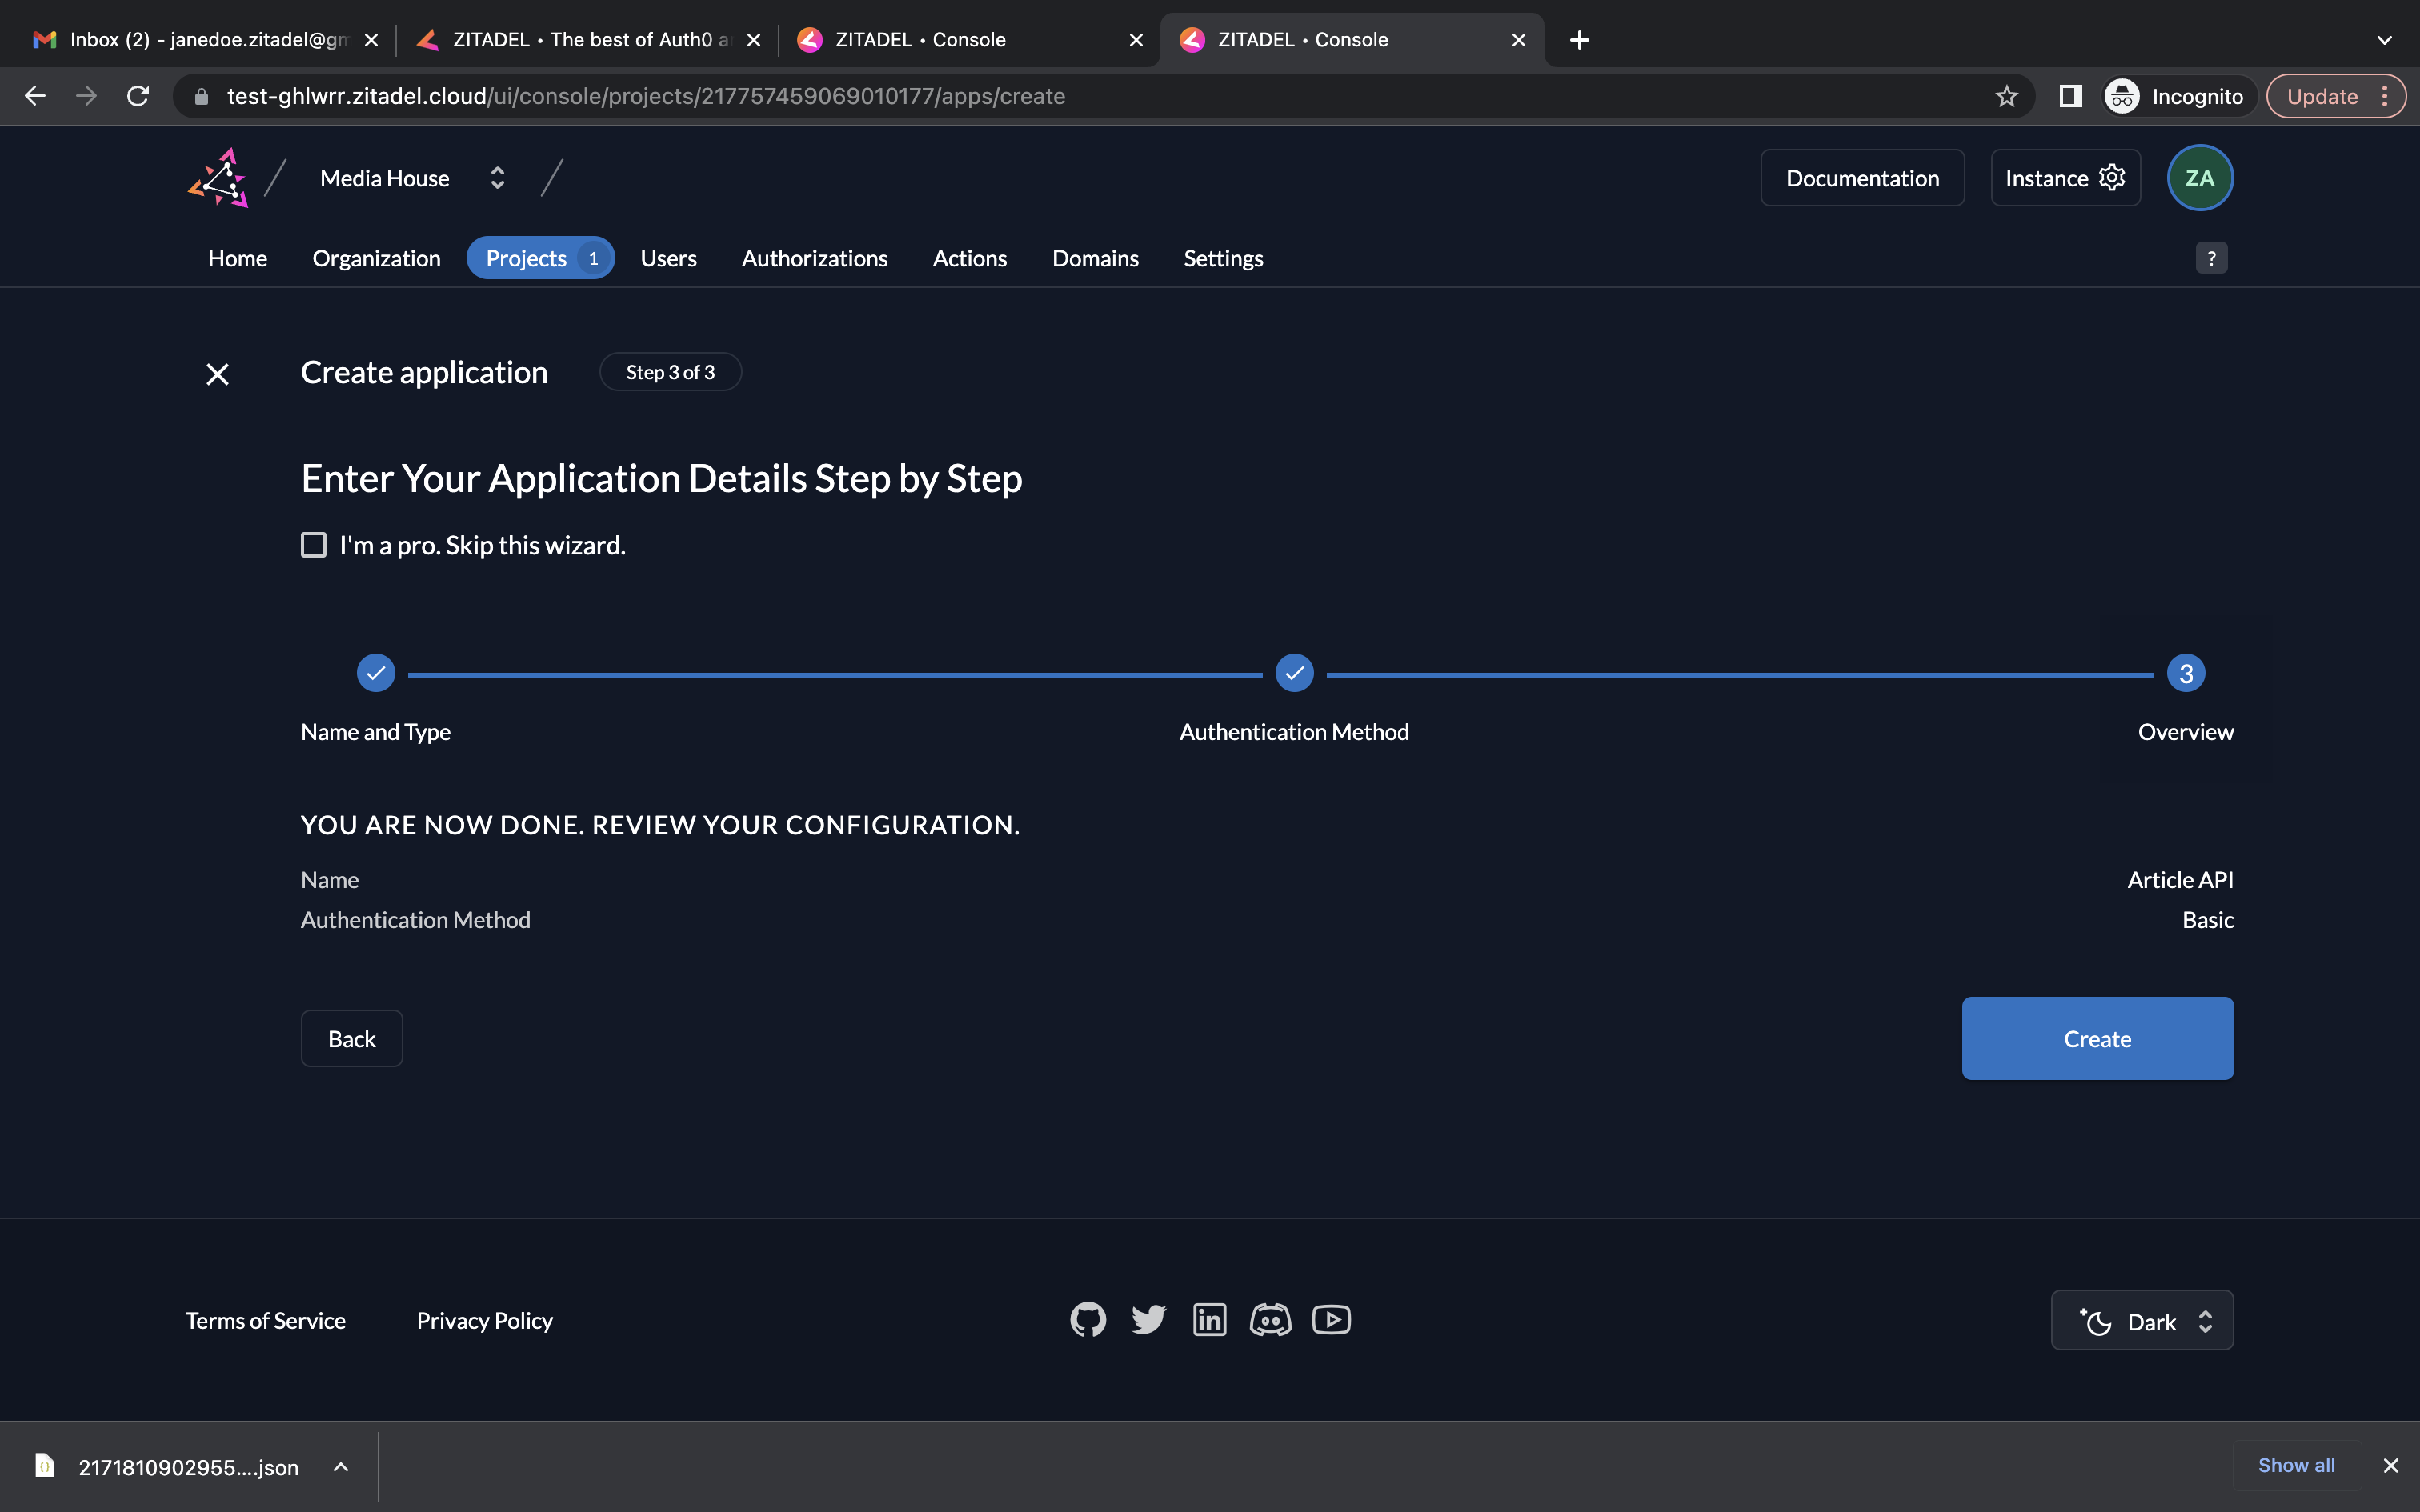
- Now review your configuration and click Create.
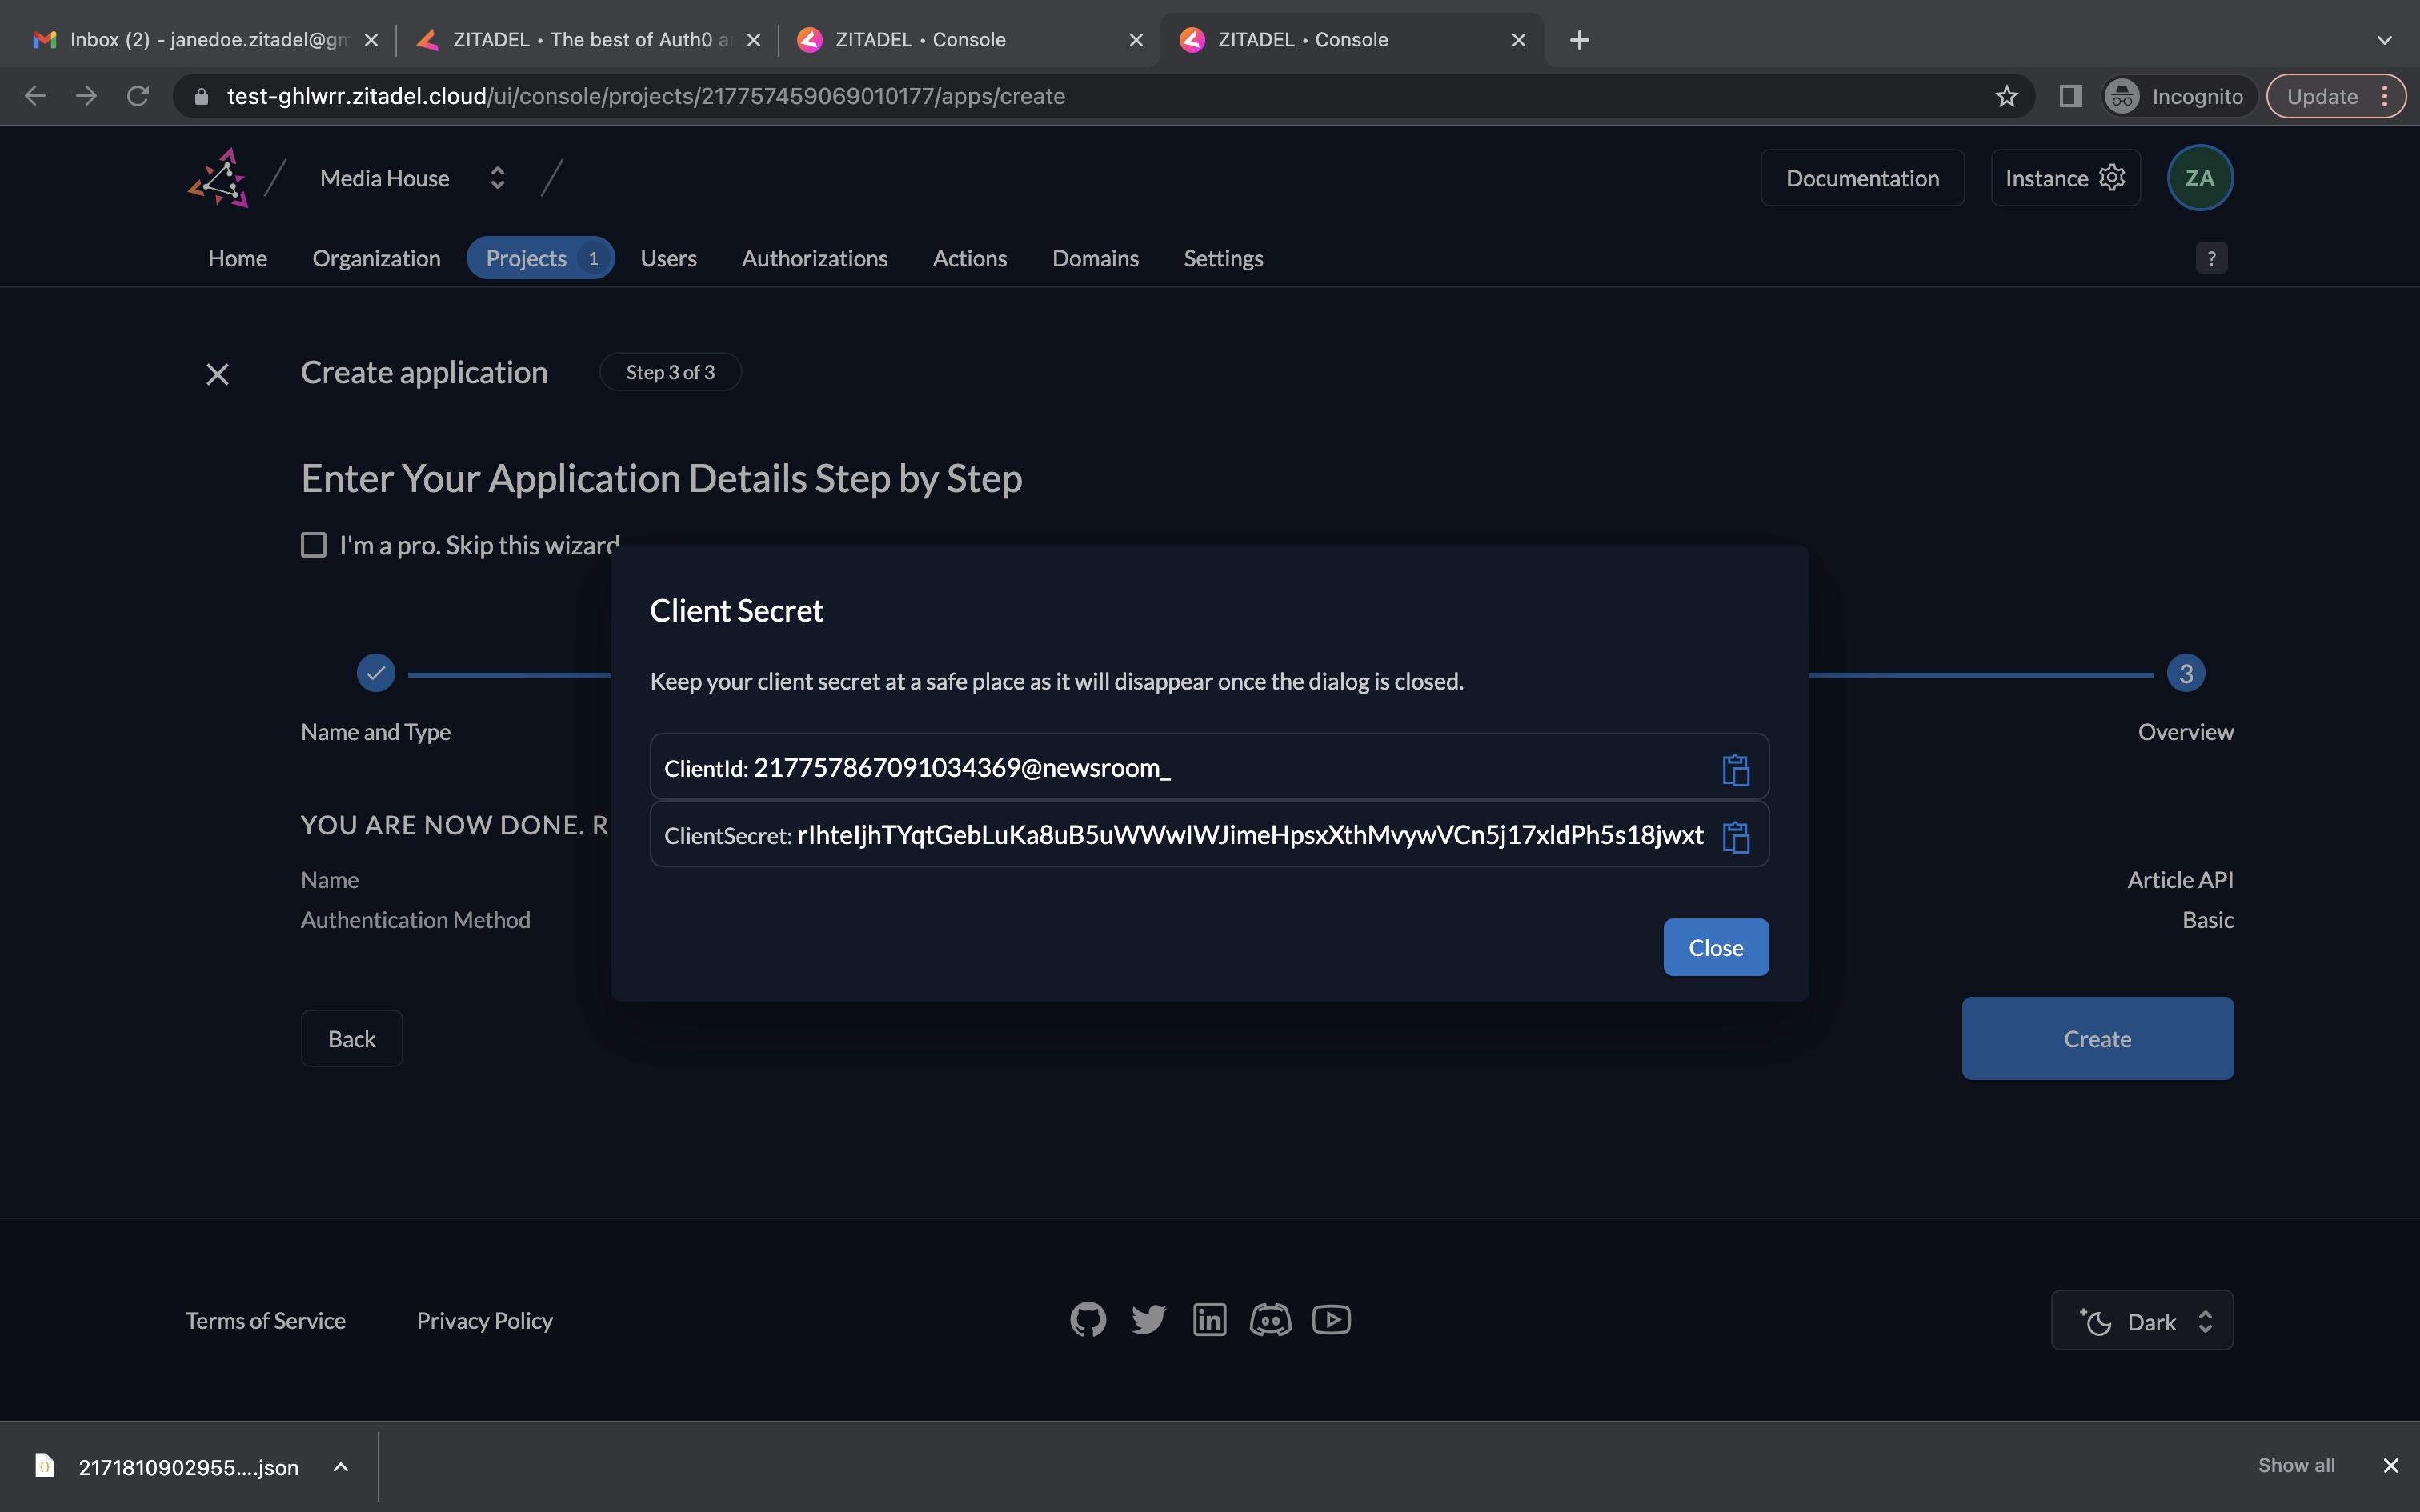
- You will now see the API’s Client ID and the Client Secret. Copy them and save them. Click Close.
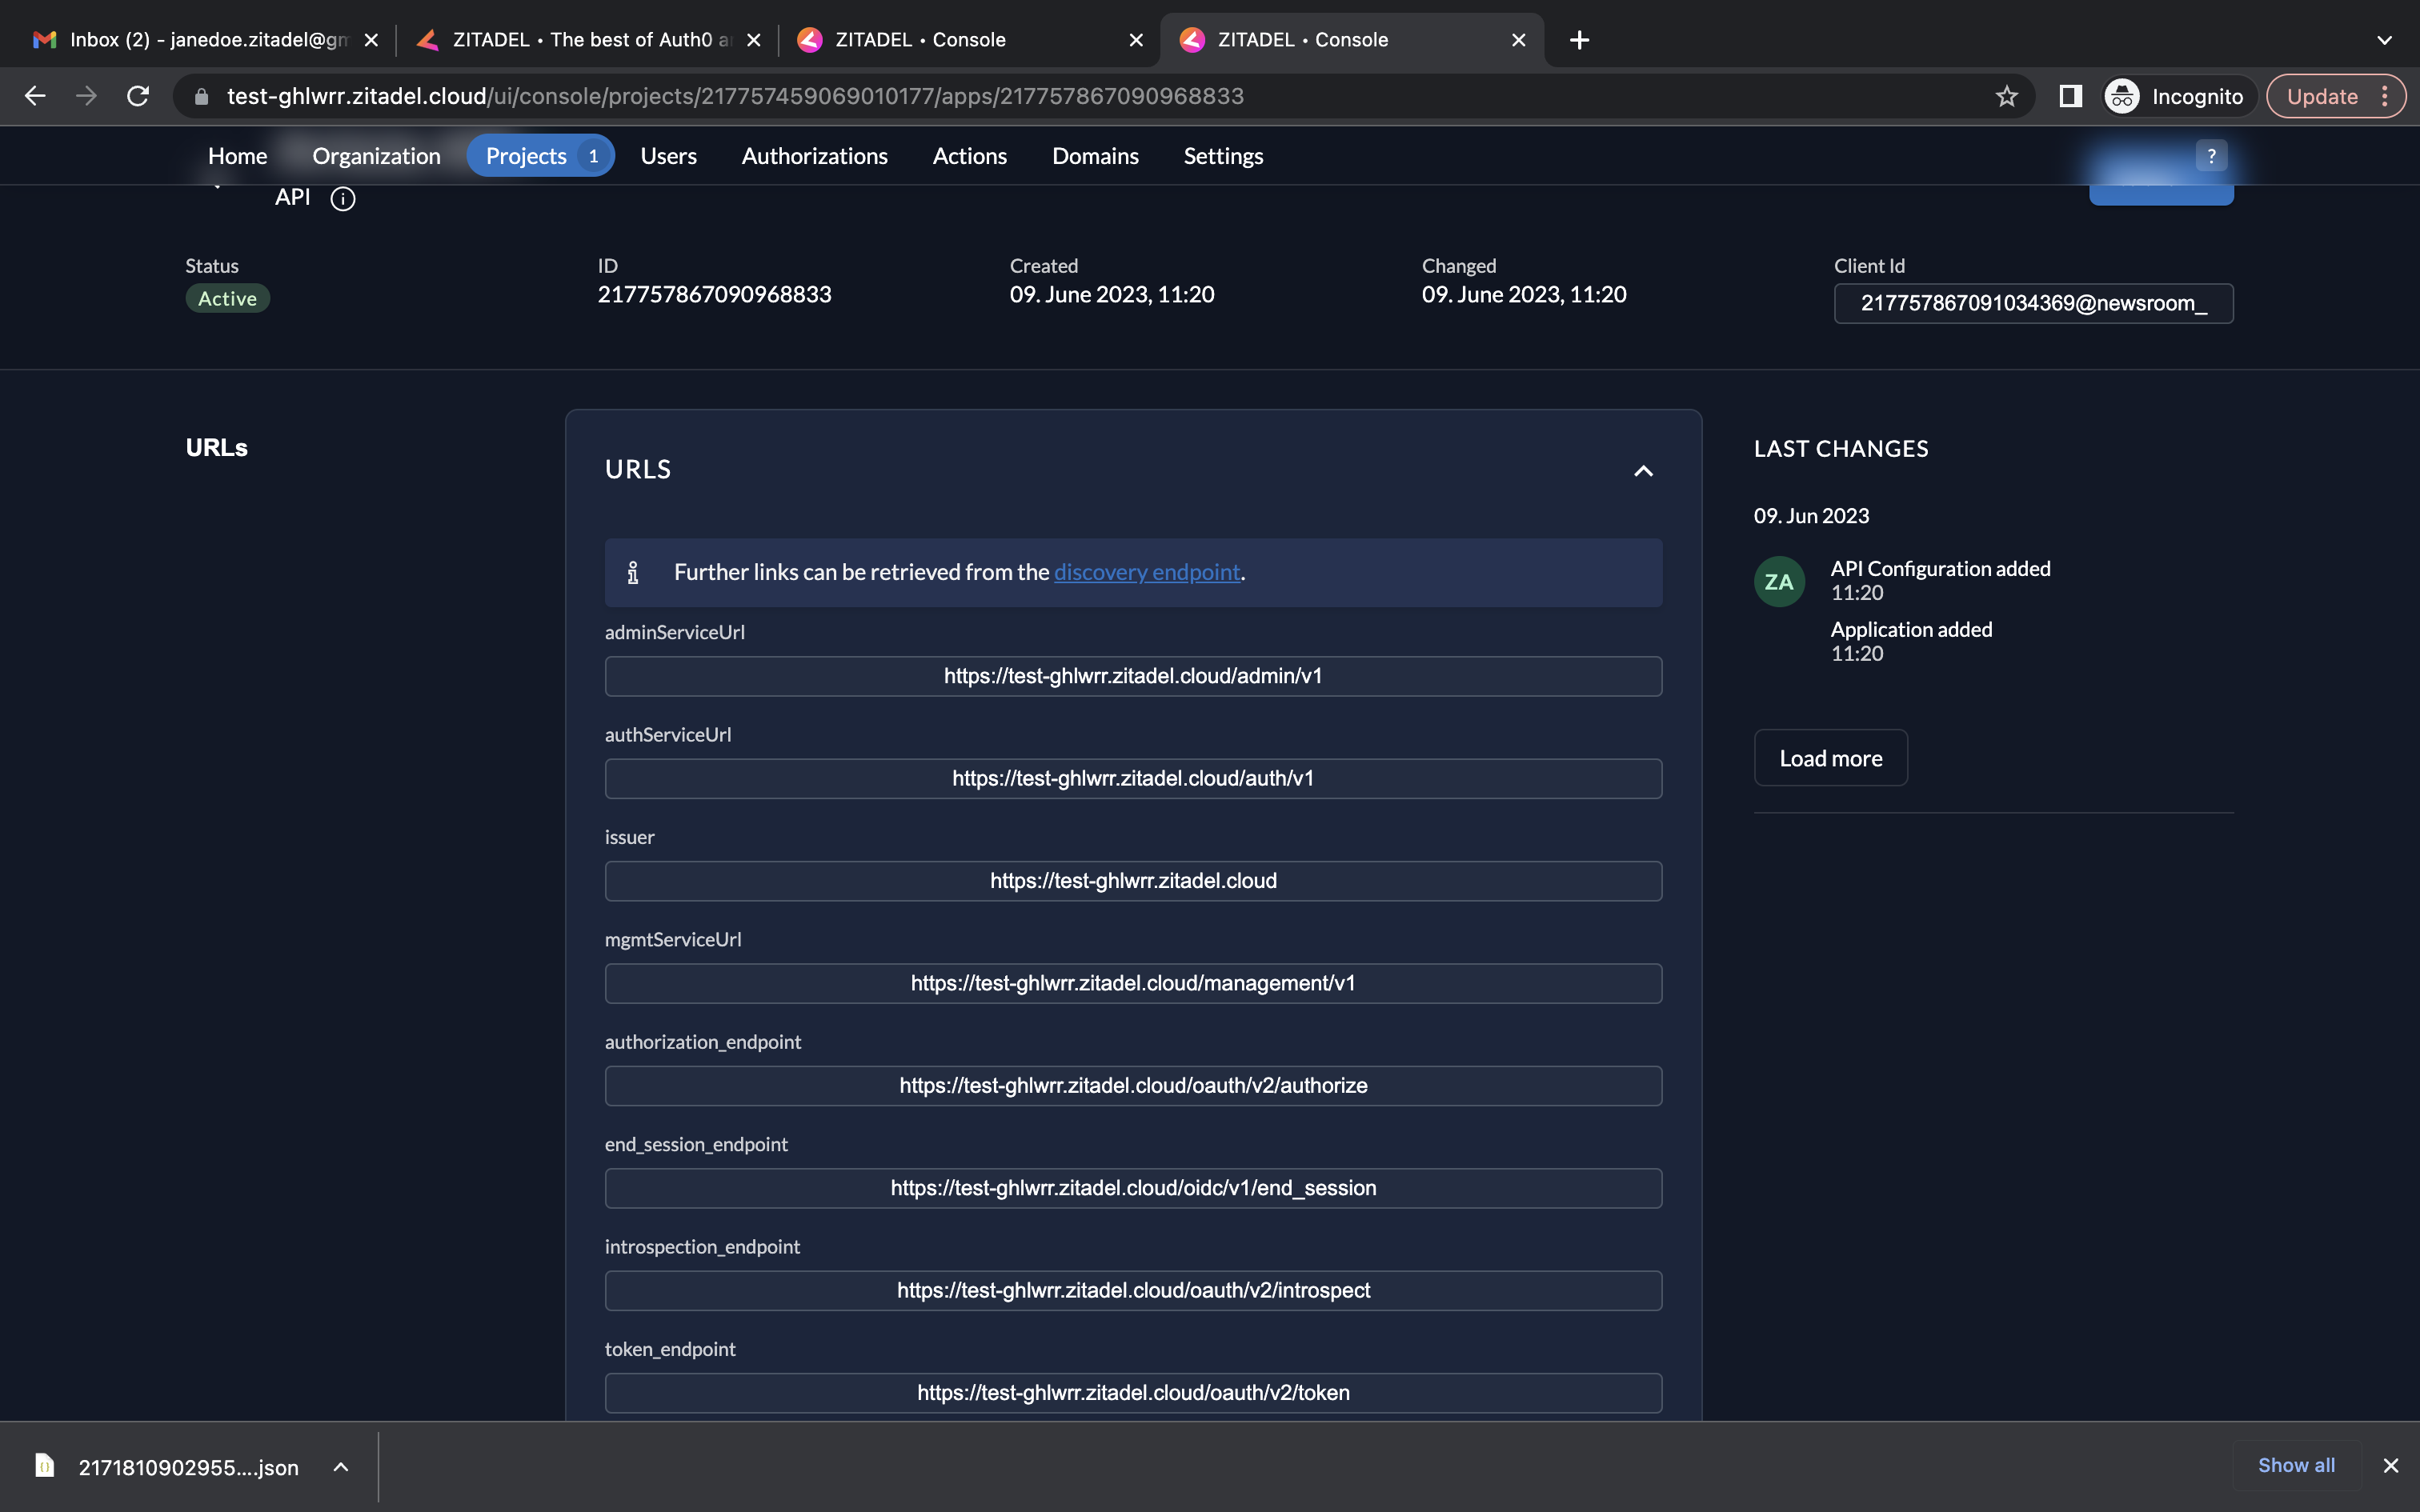
- When you click URLs on the left, you will see the relevant OIDC URLs. Note down the issuer URL, token_endpoint and introspection_endpoint.
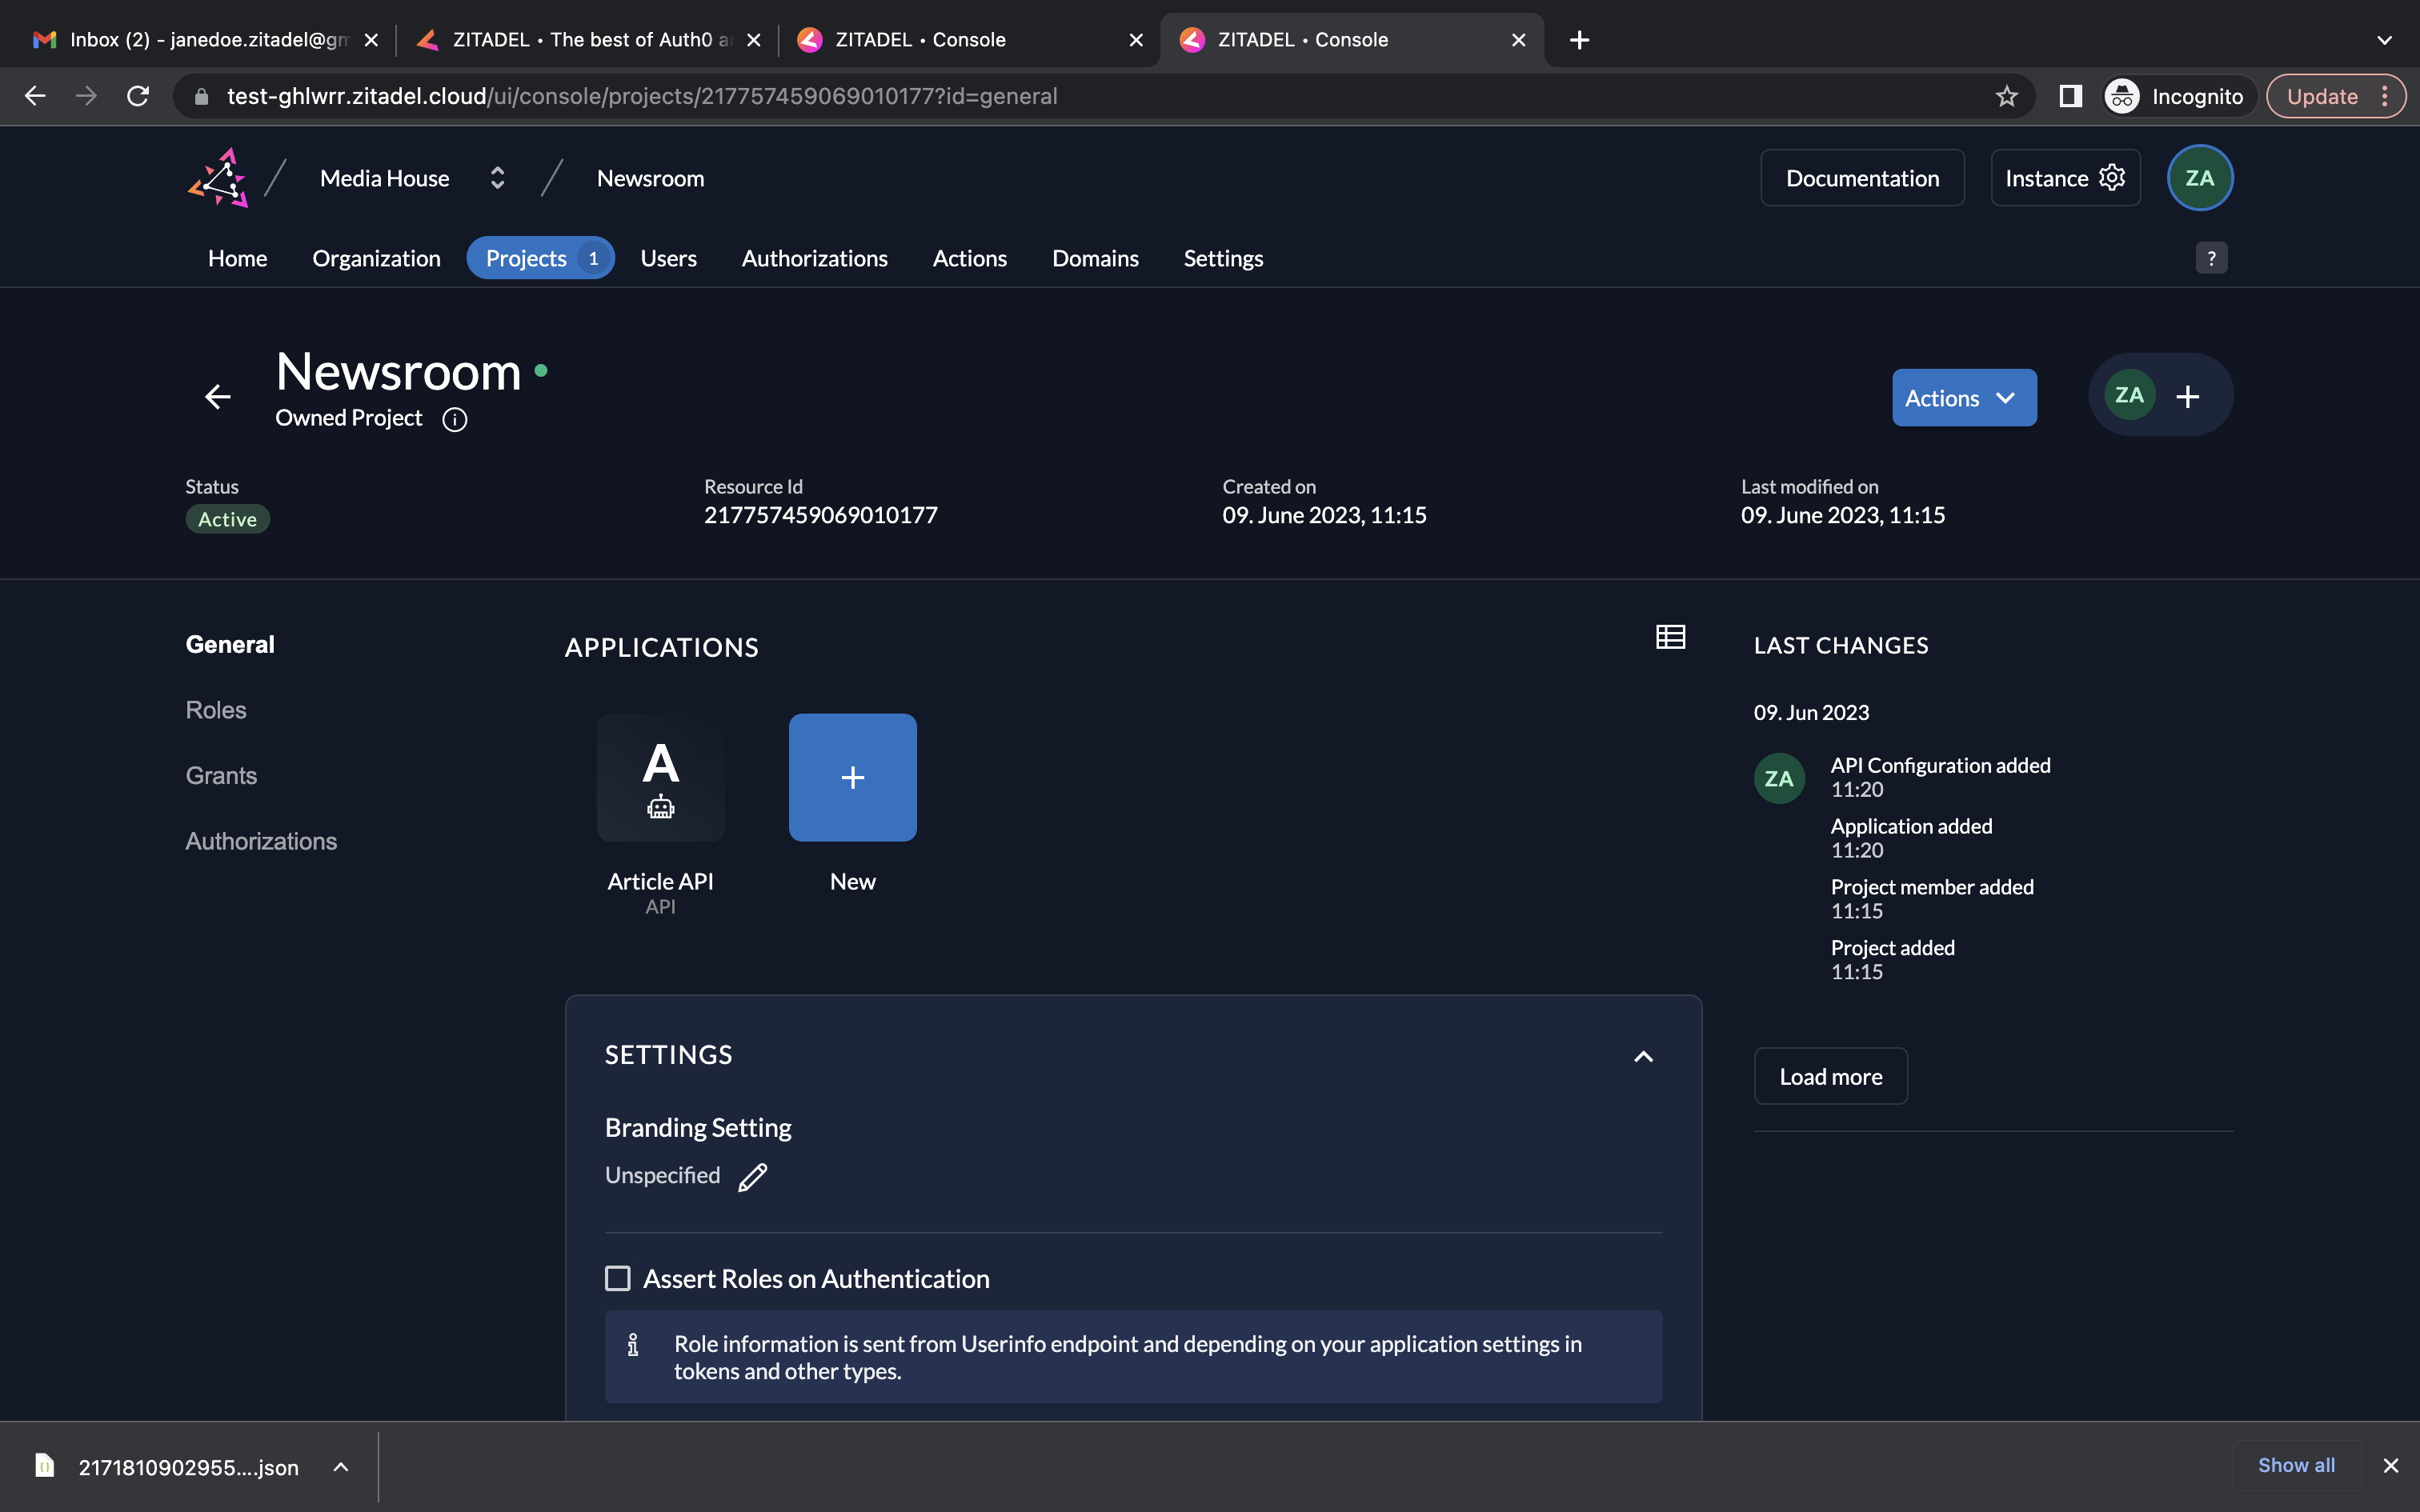
- Also note down the Resource ID of your project (go to the project and copy the Resource ID)
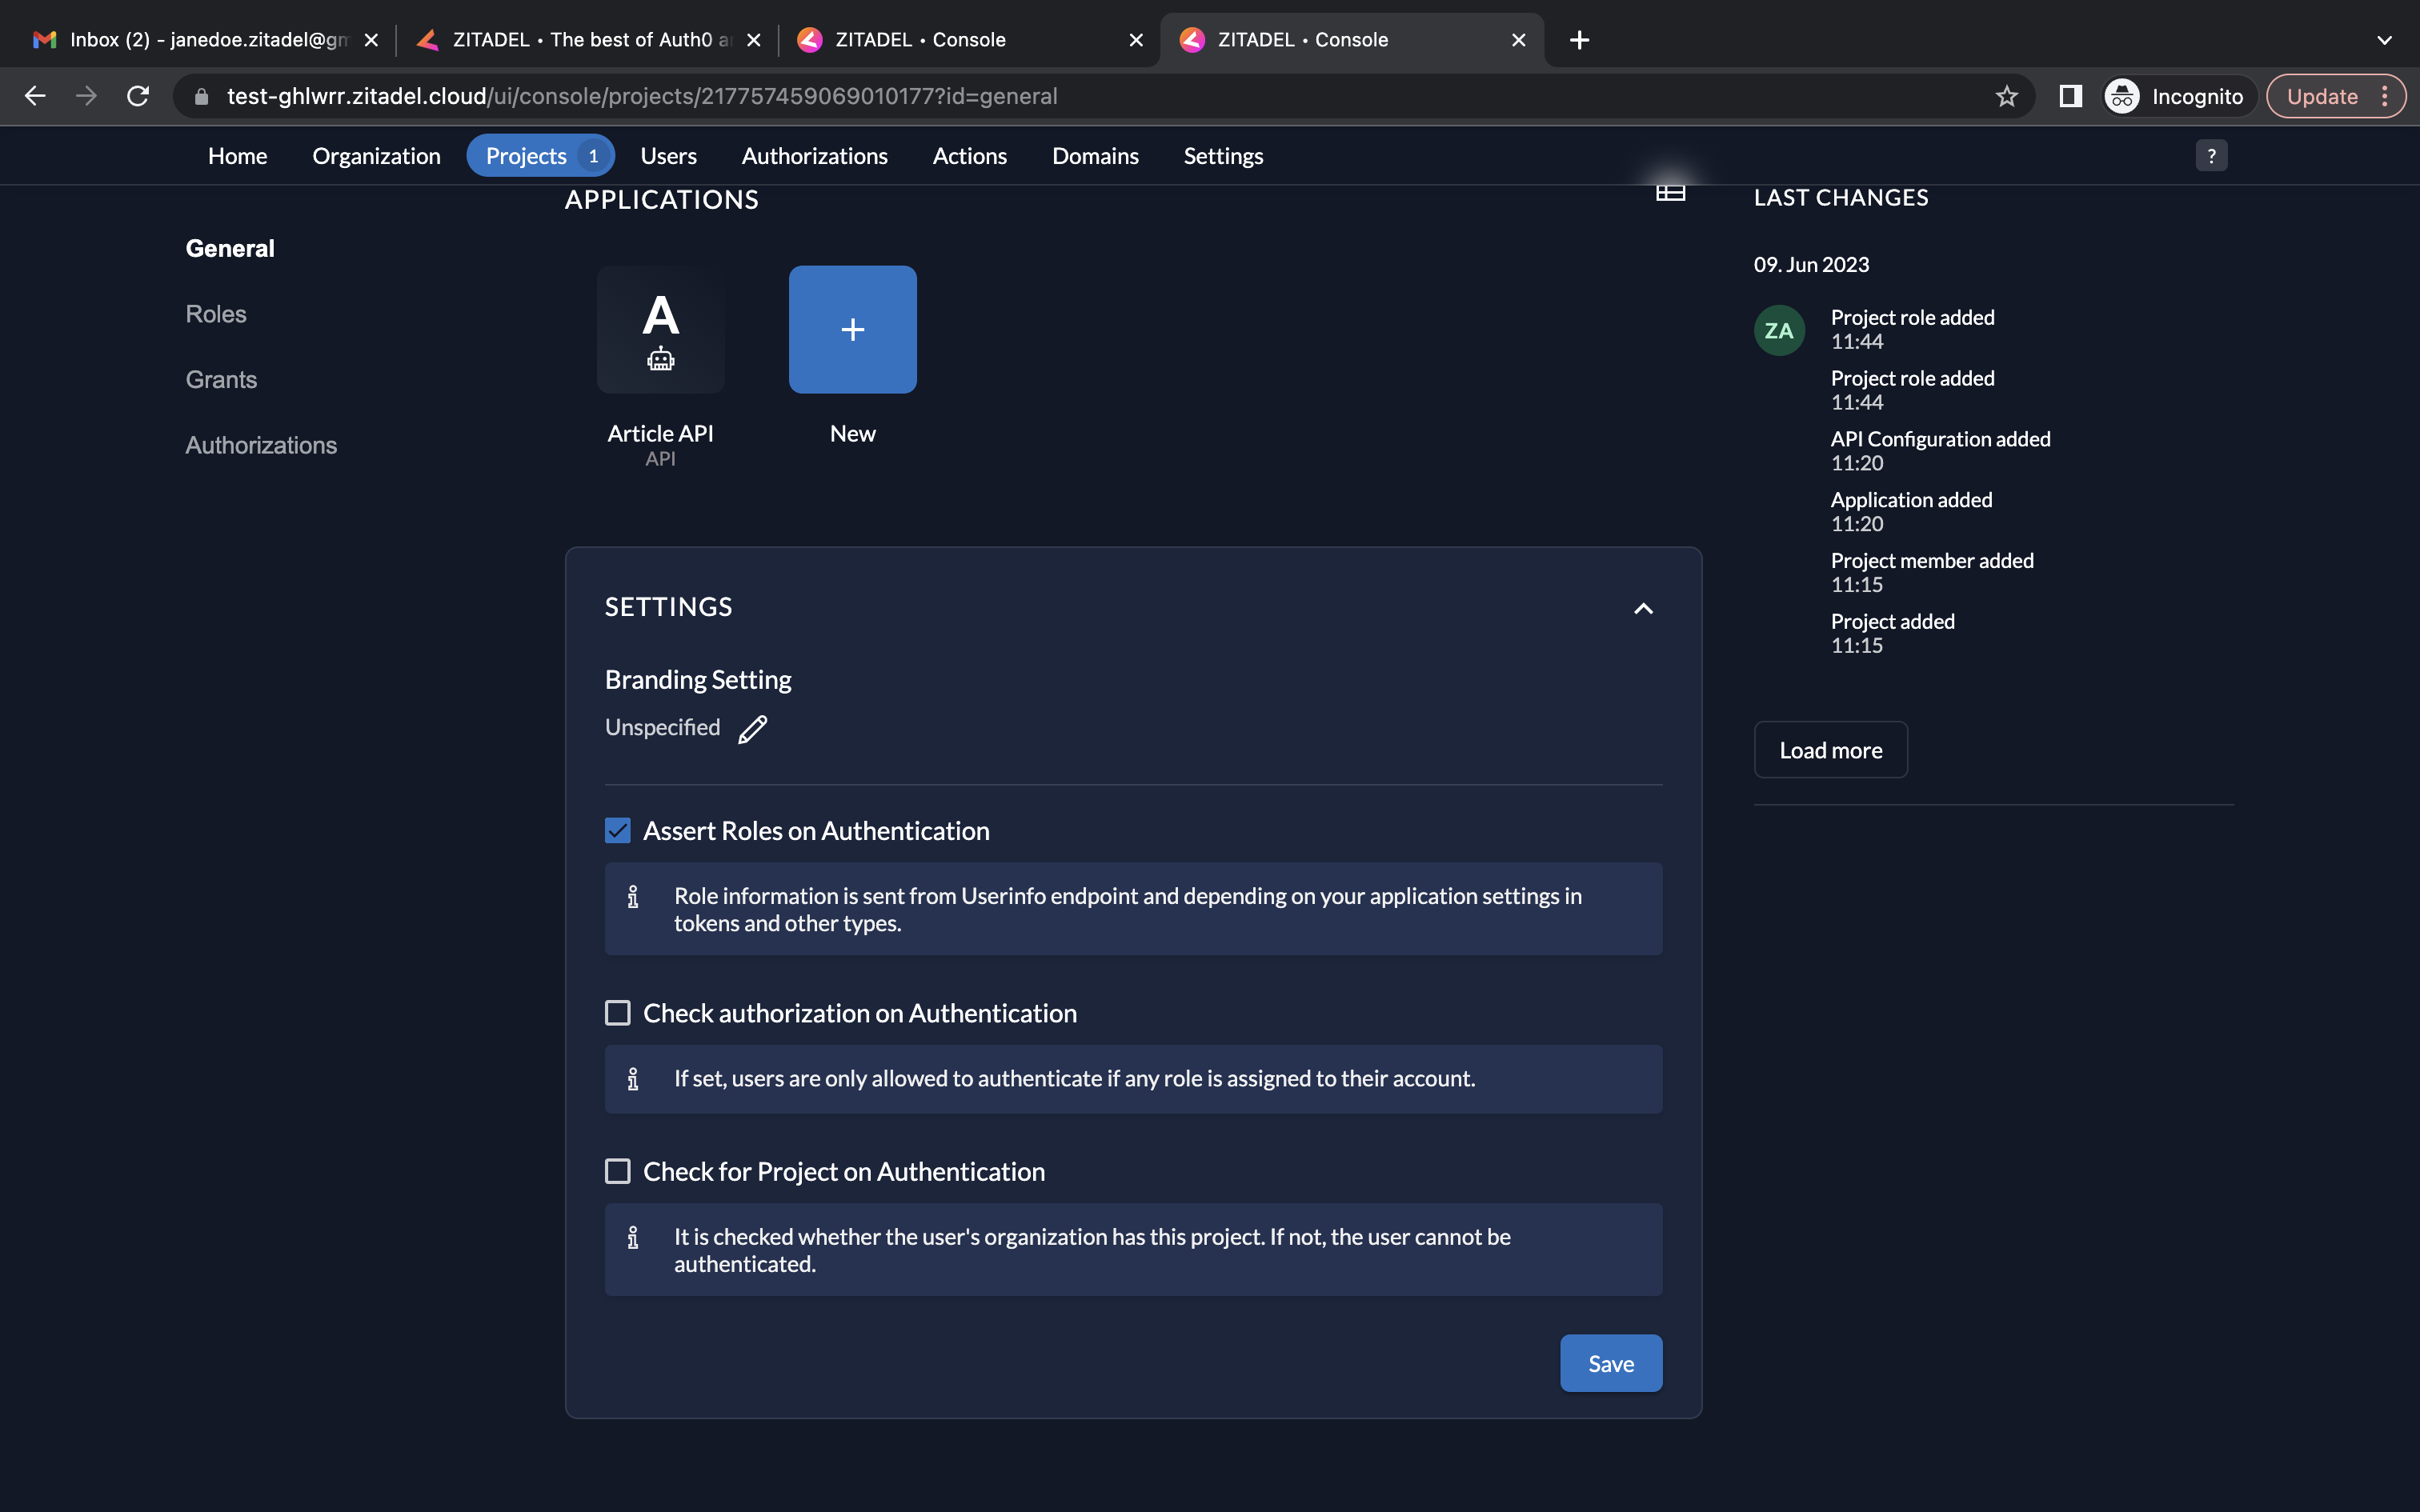
- Select the Assert Roles on Authentication checkbox on the project dashboard and click Save.
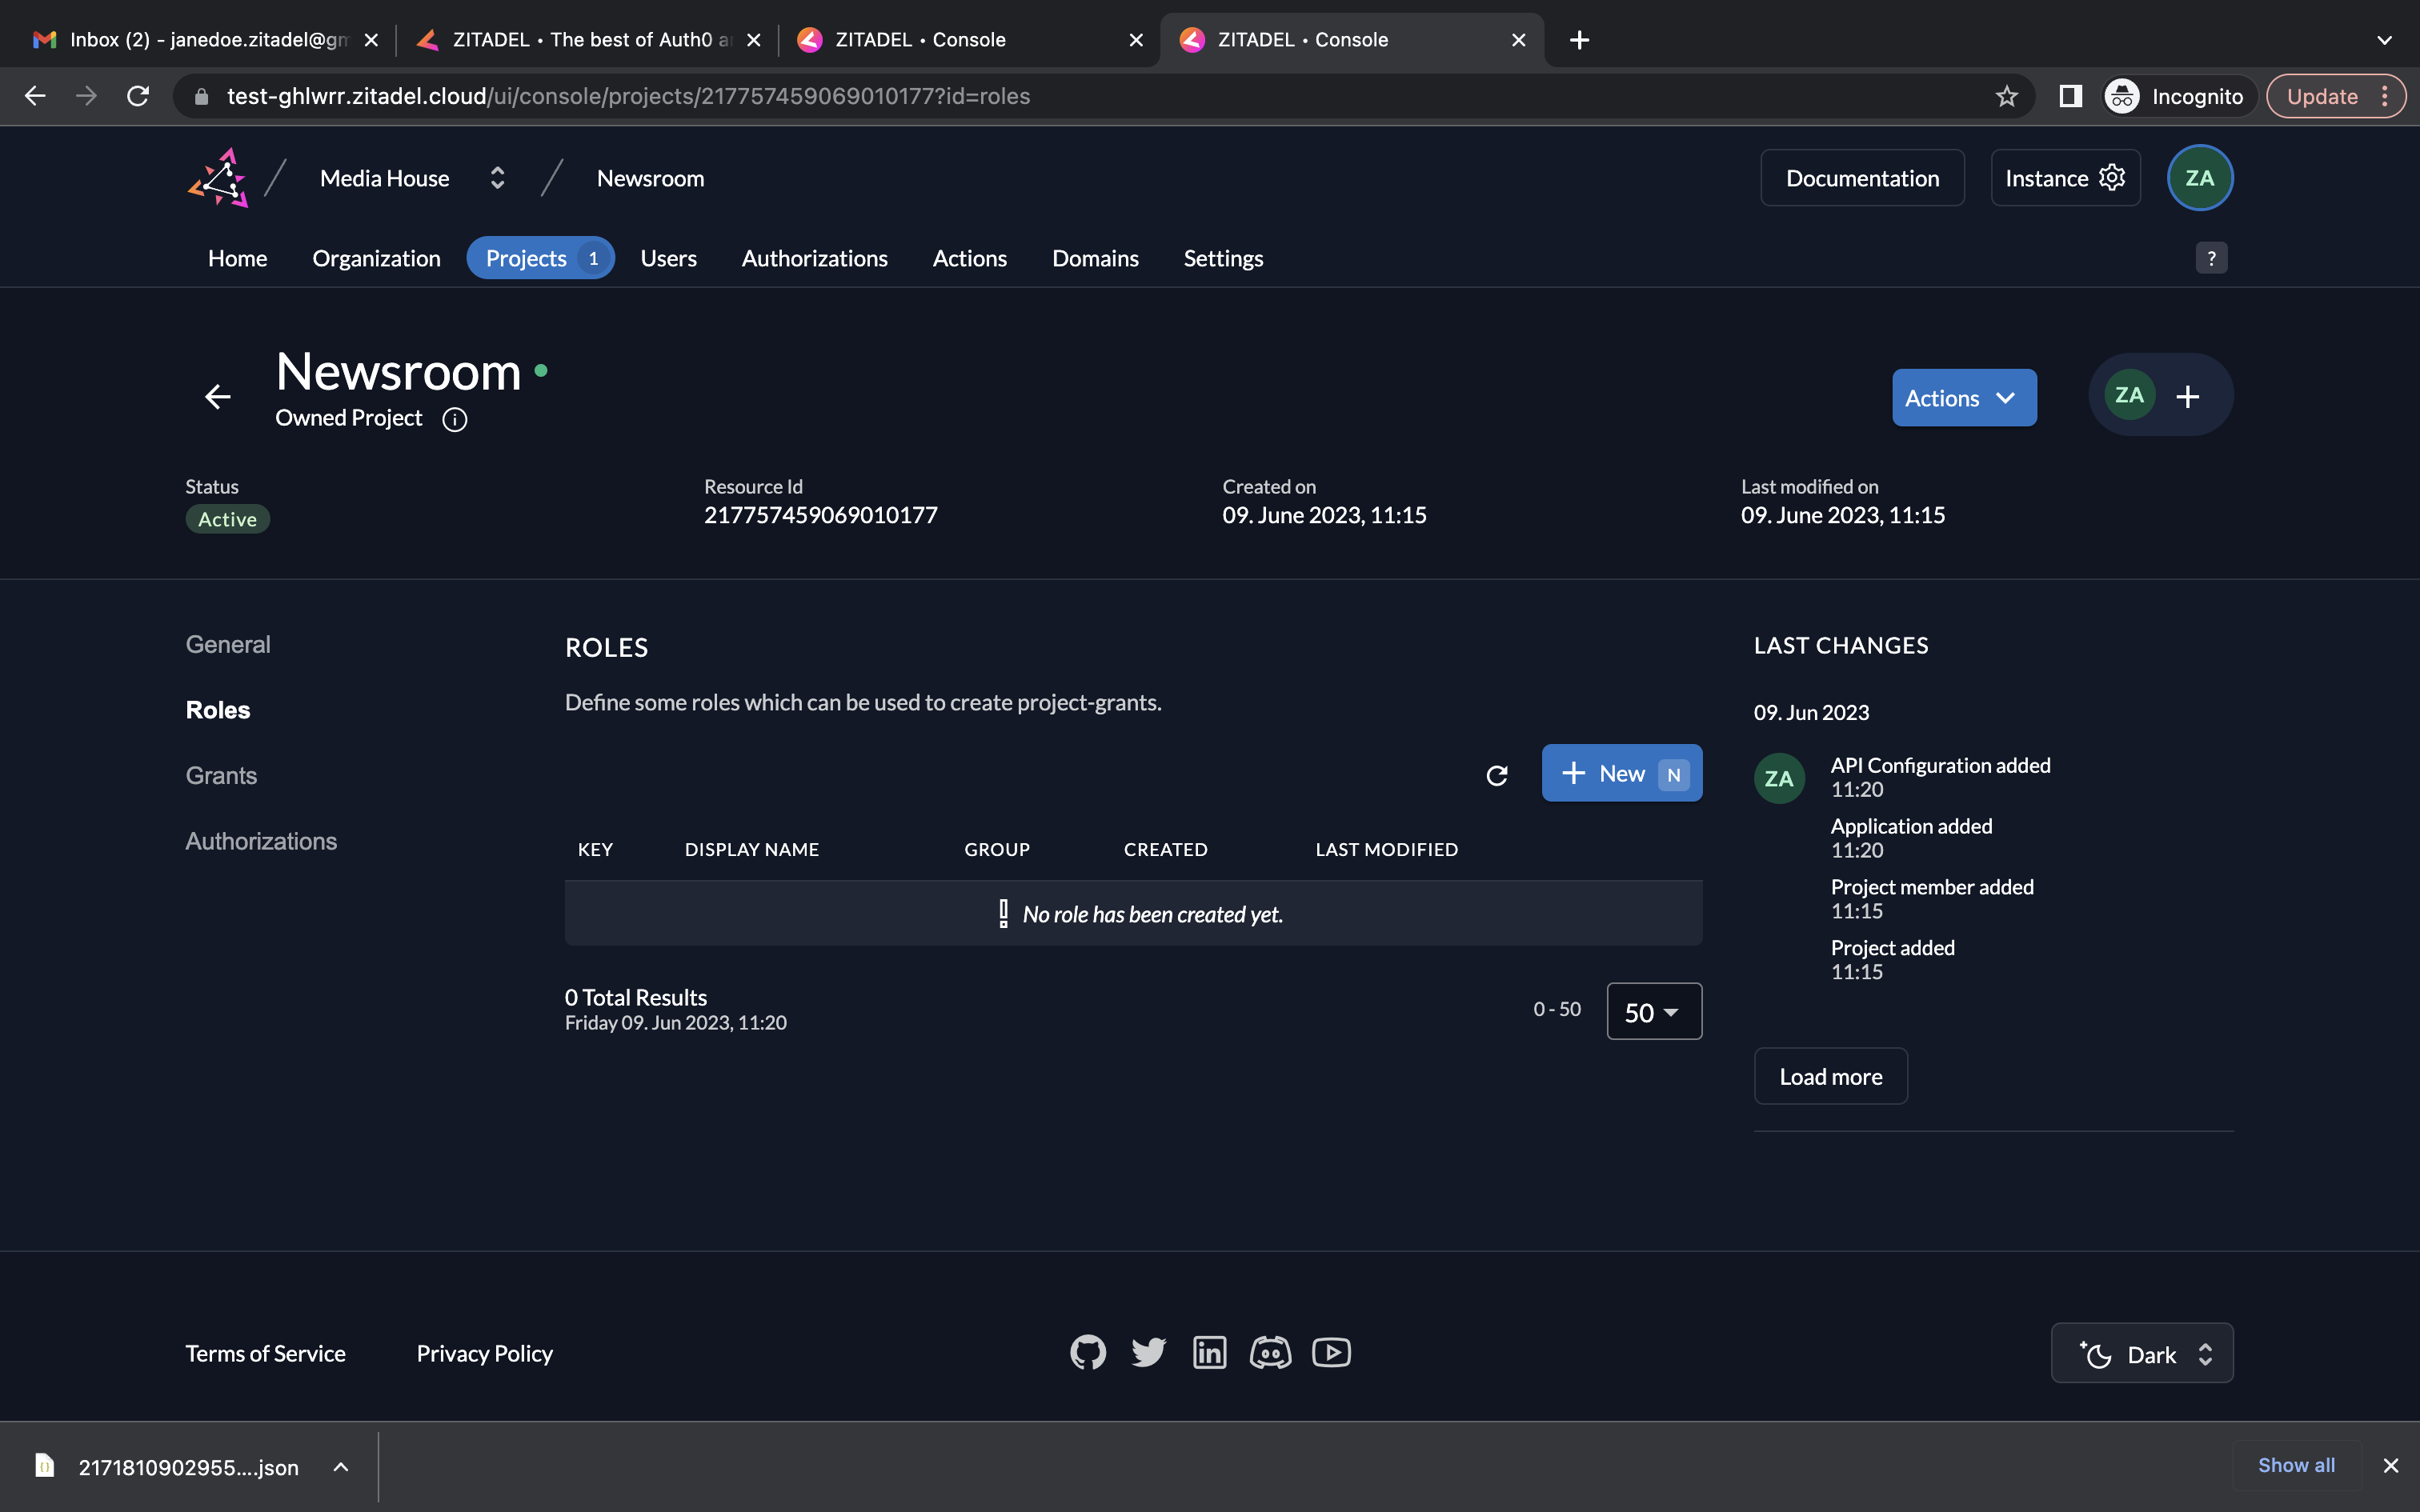
- Go to Roles (from the left menu) and click New to add new roles.
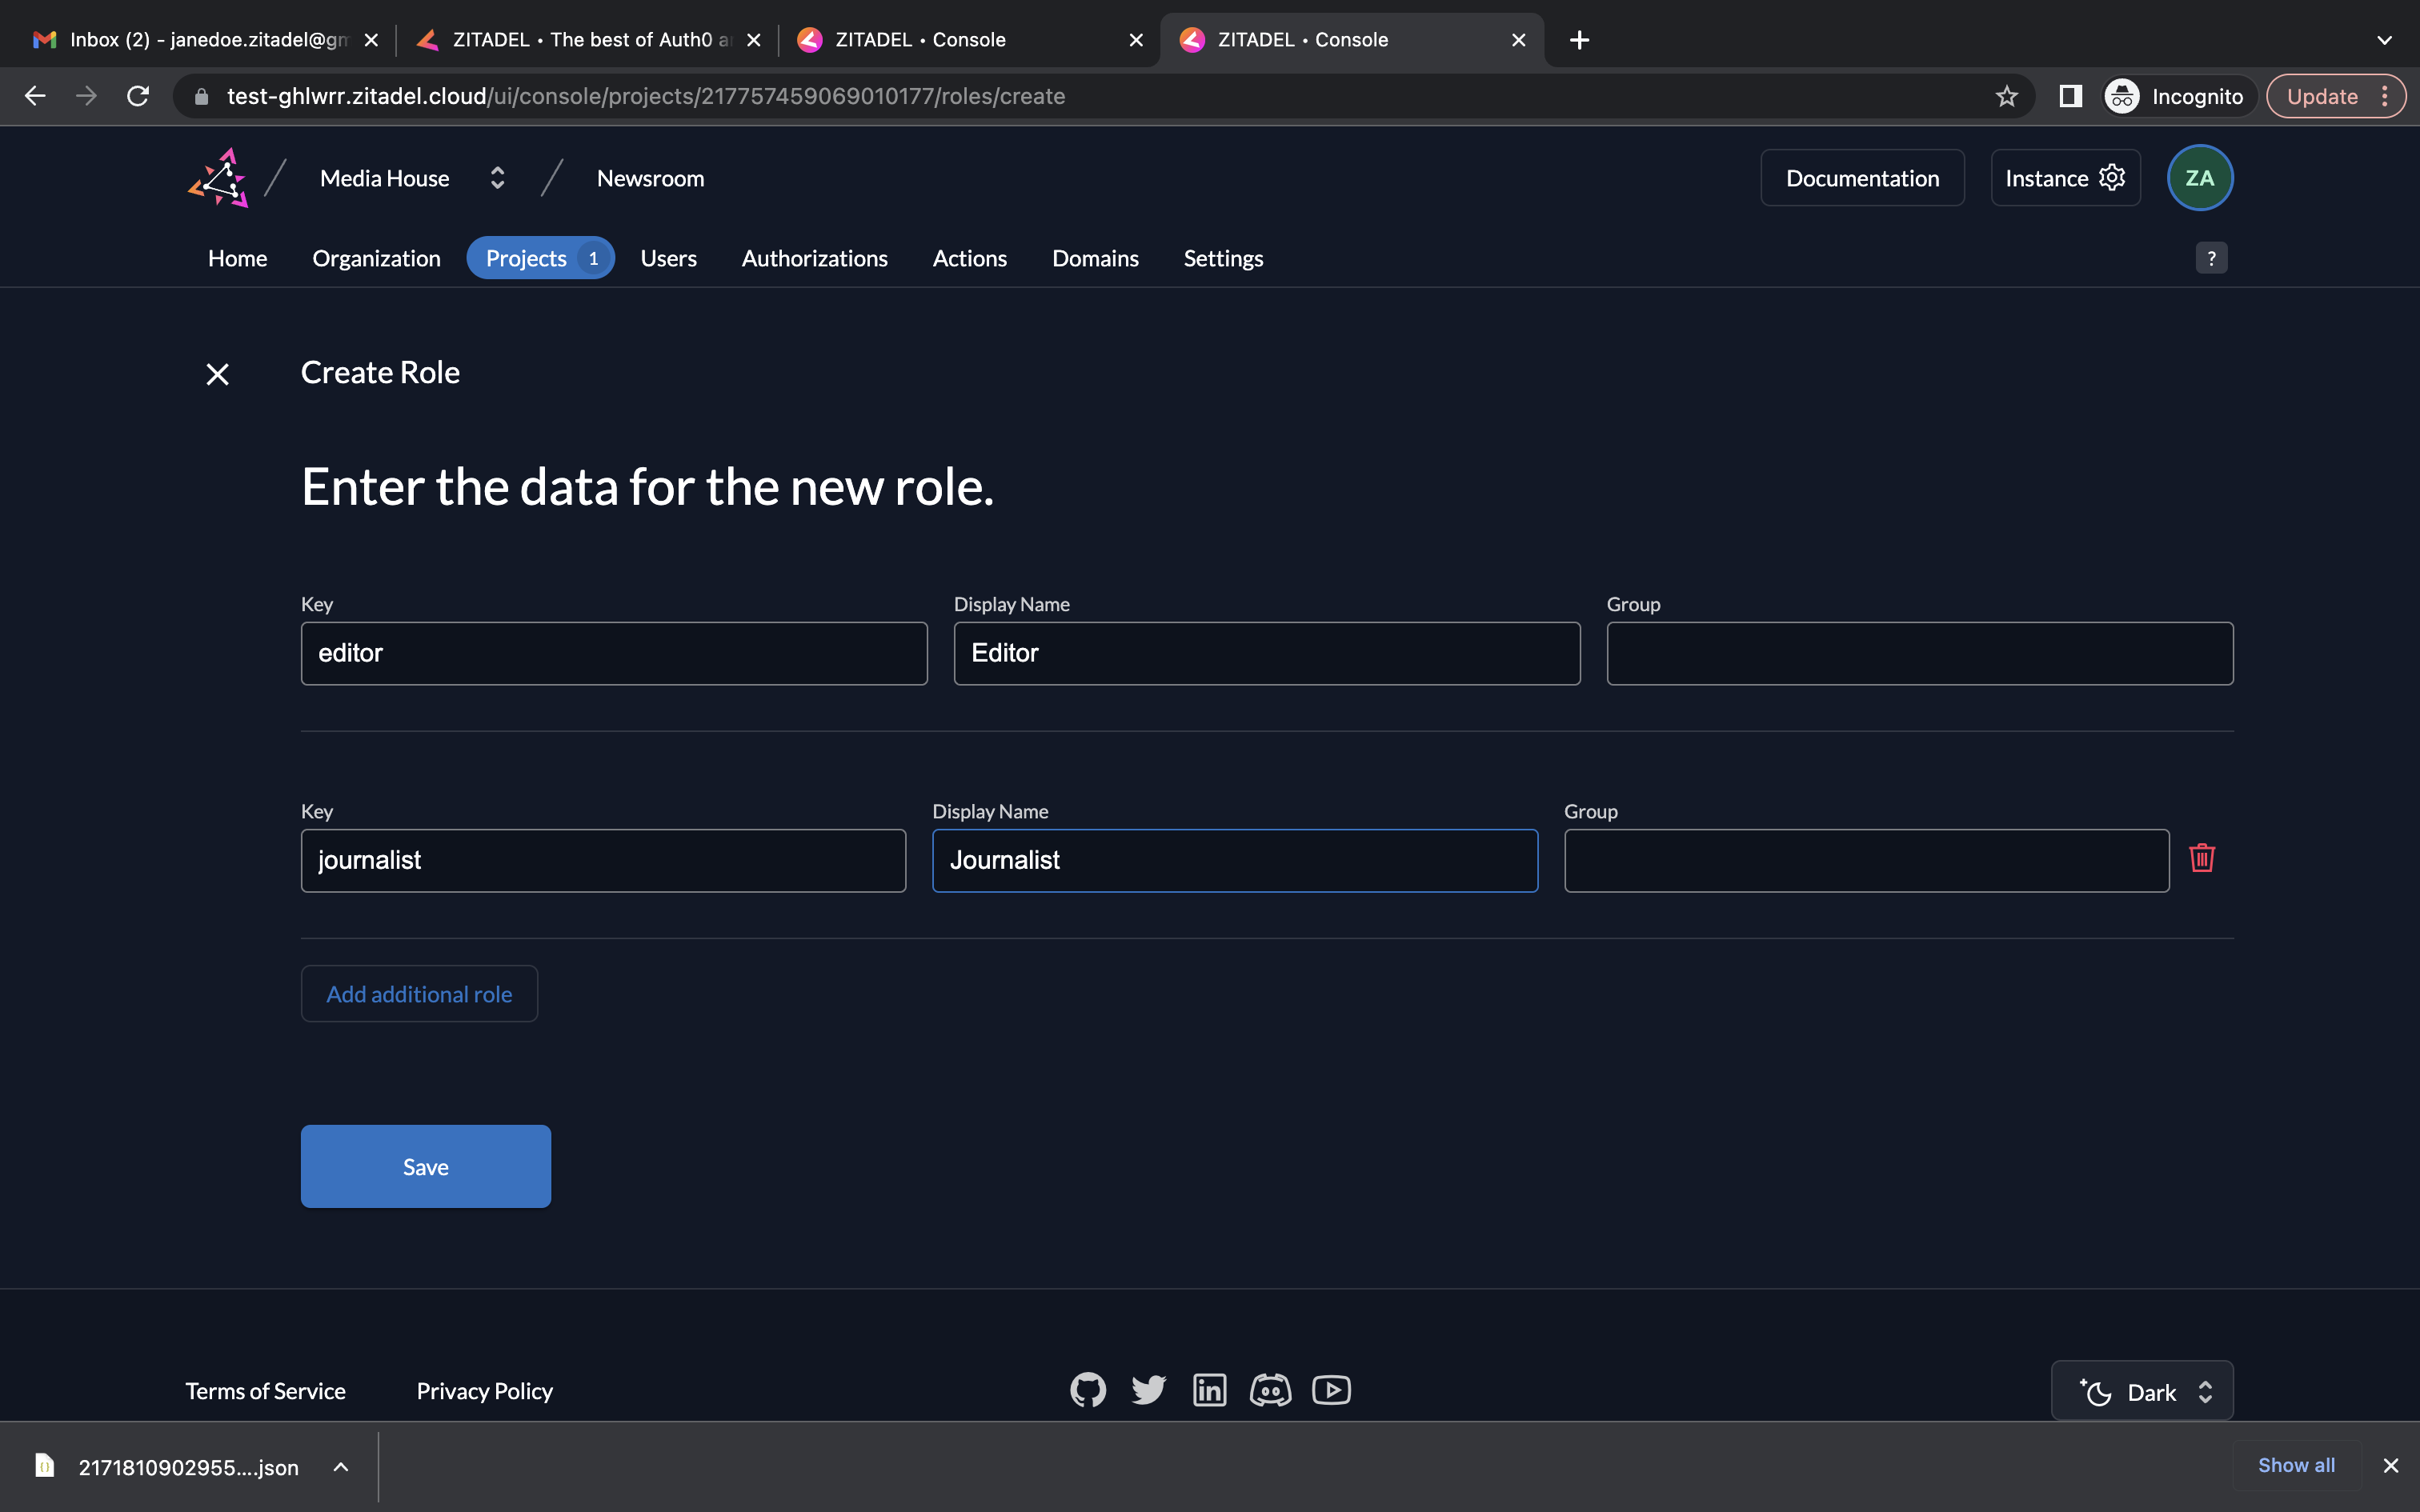
- Enter the roles editor and journalist as shown below and click Save.
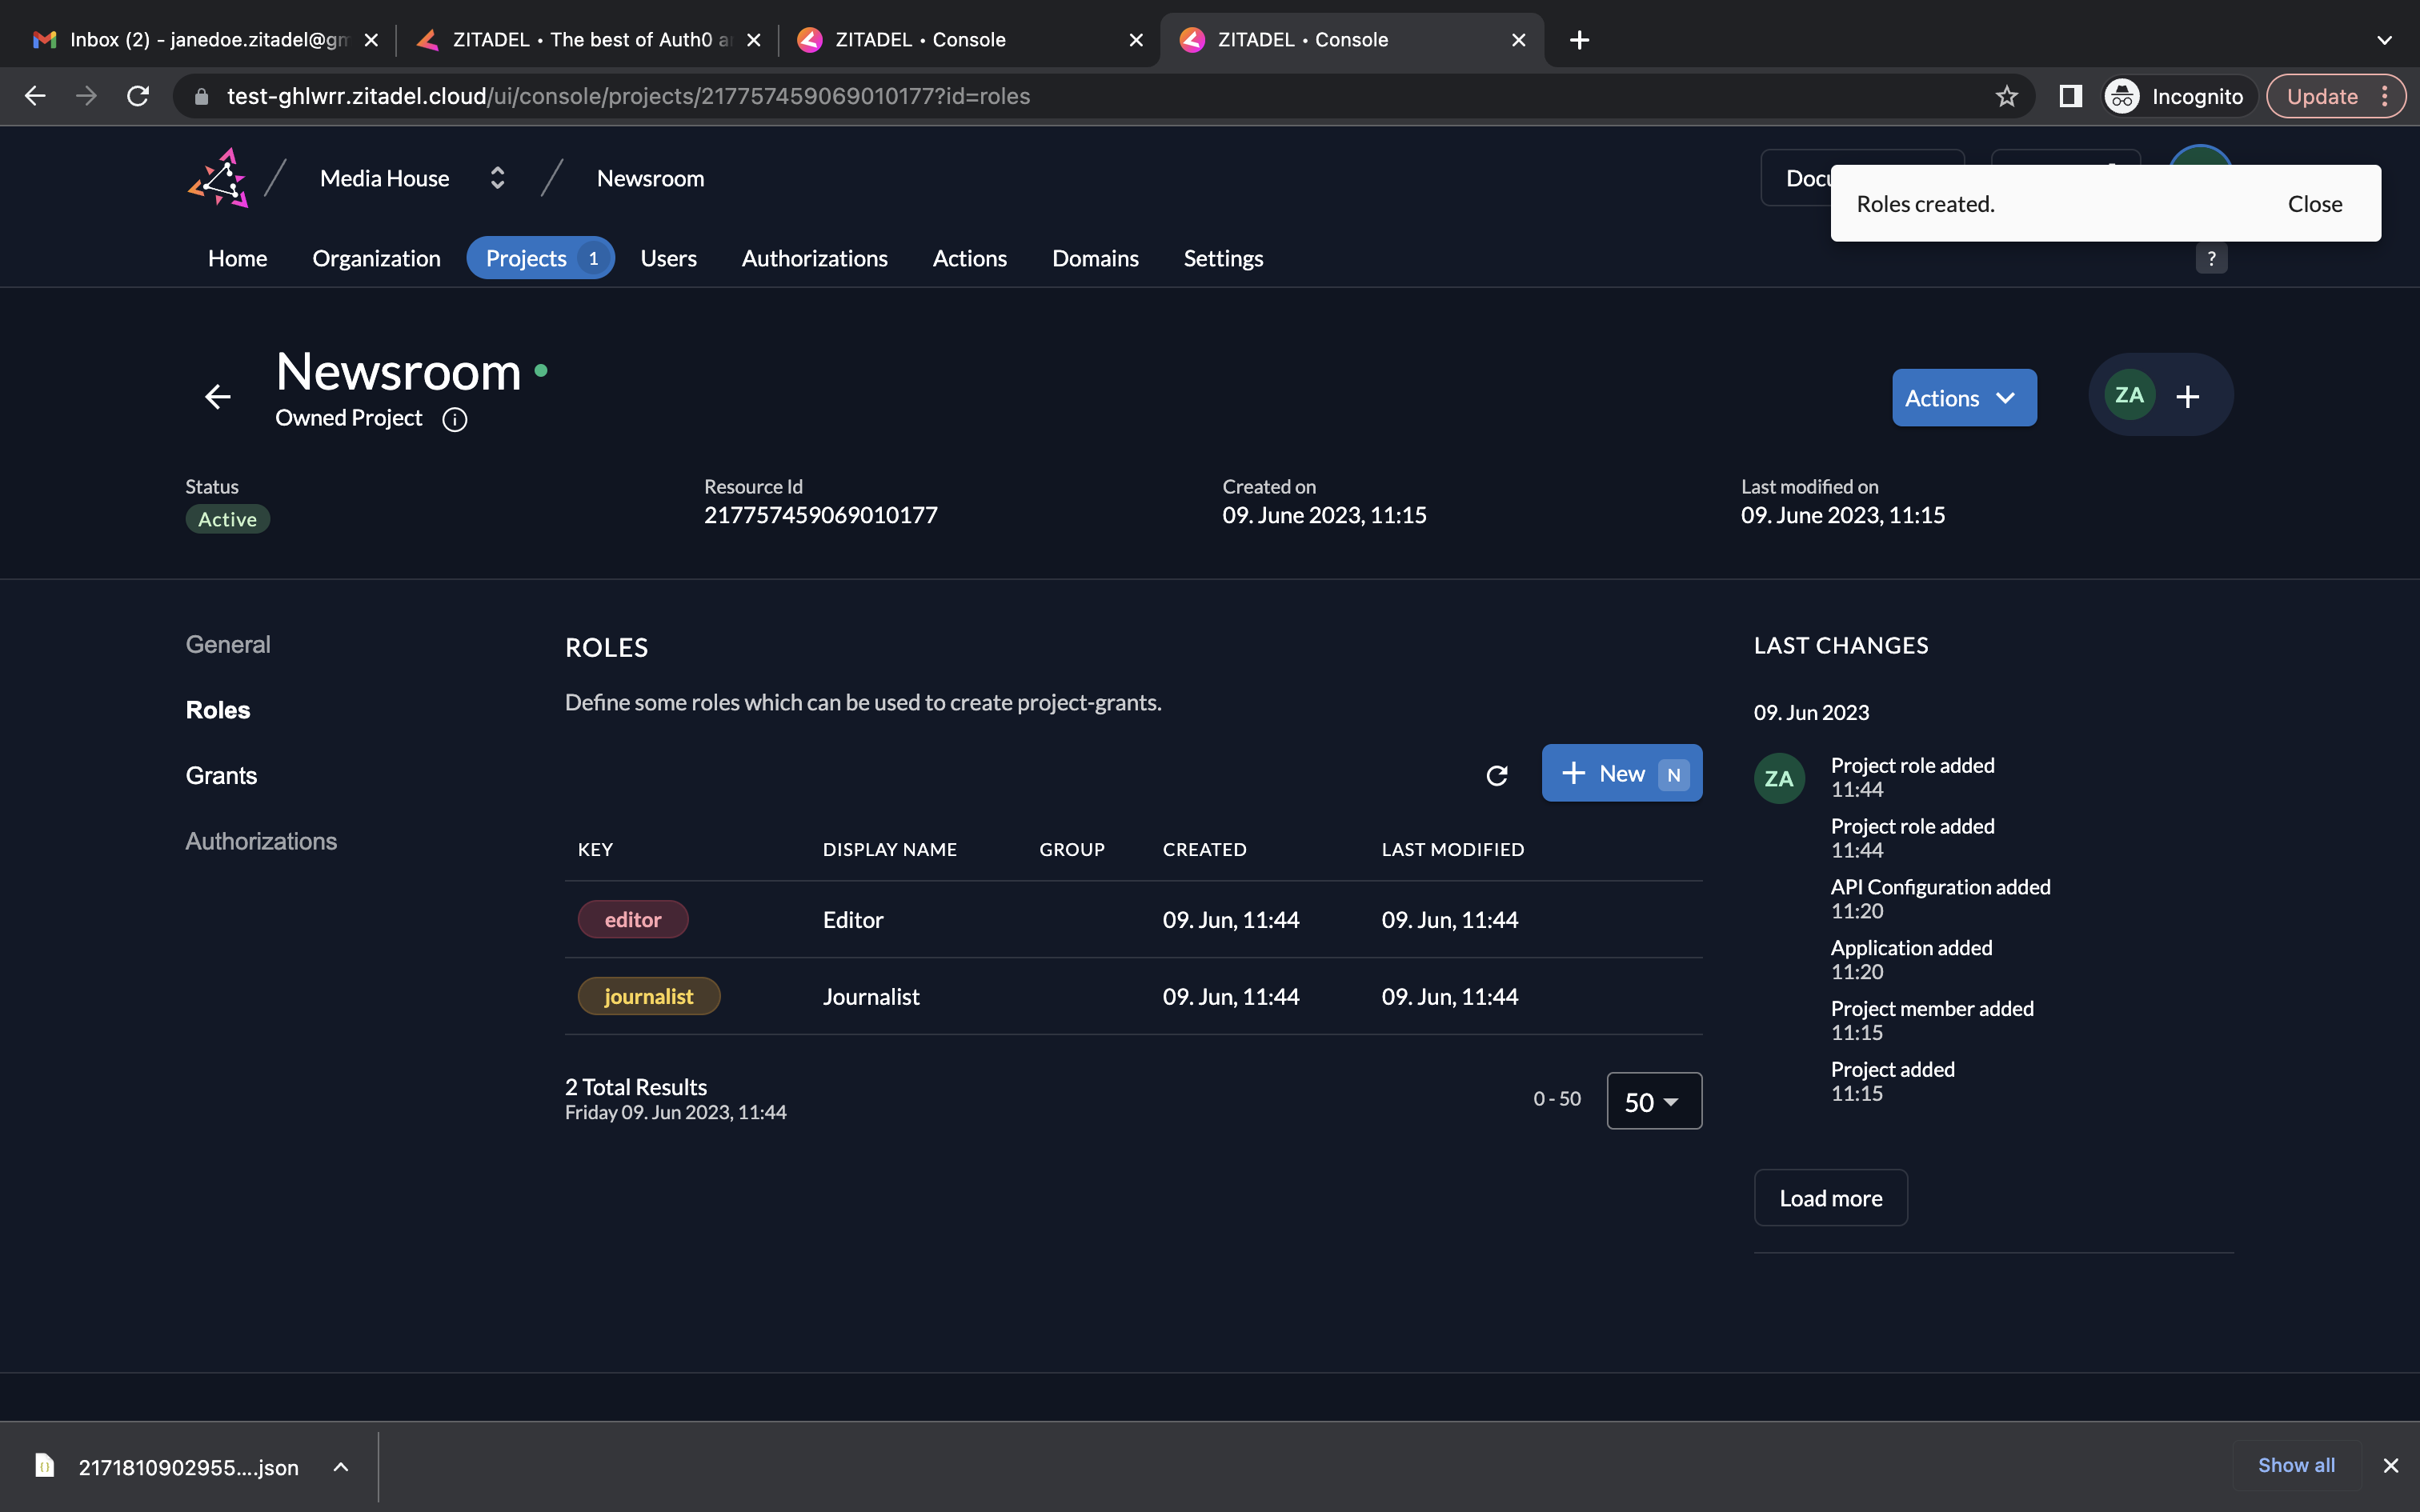
- You will now see the created roles.
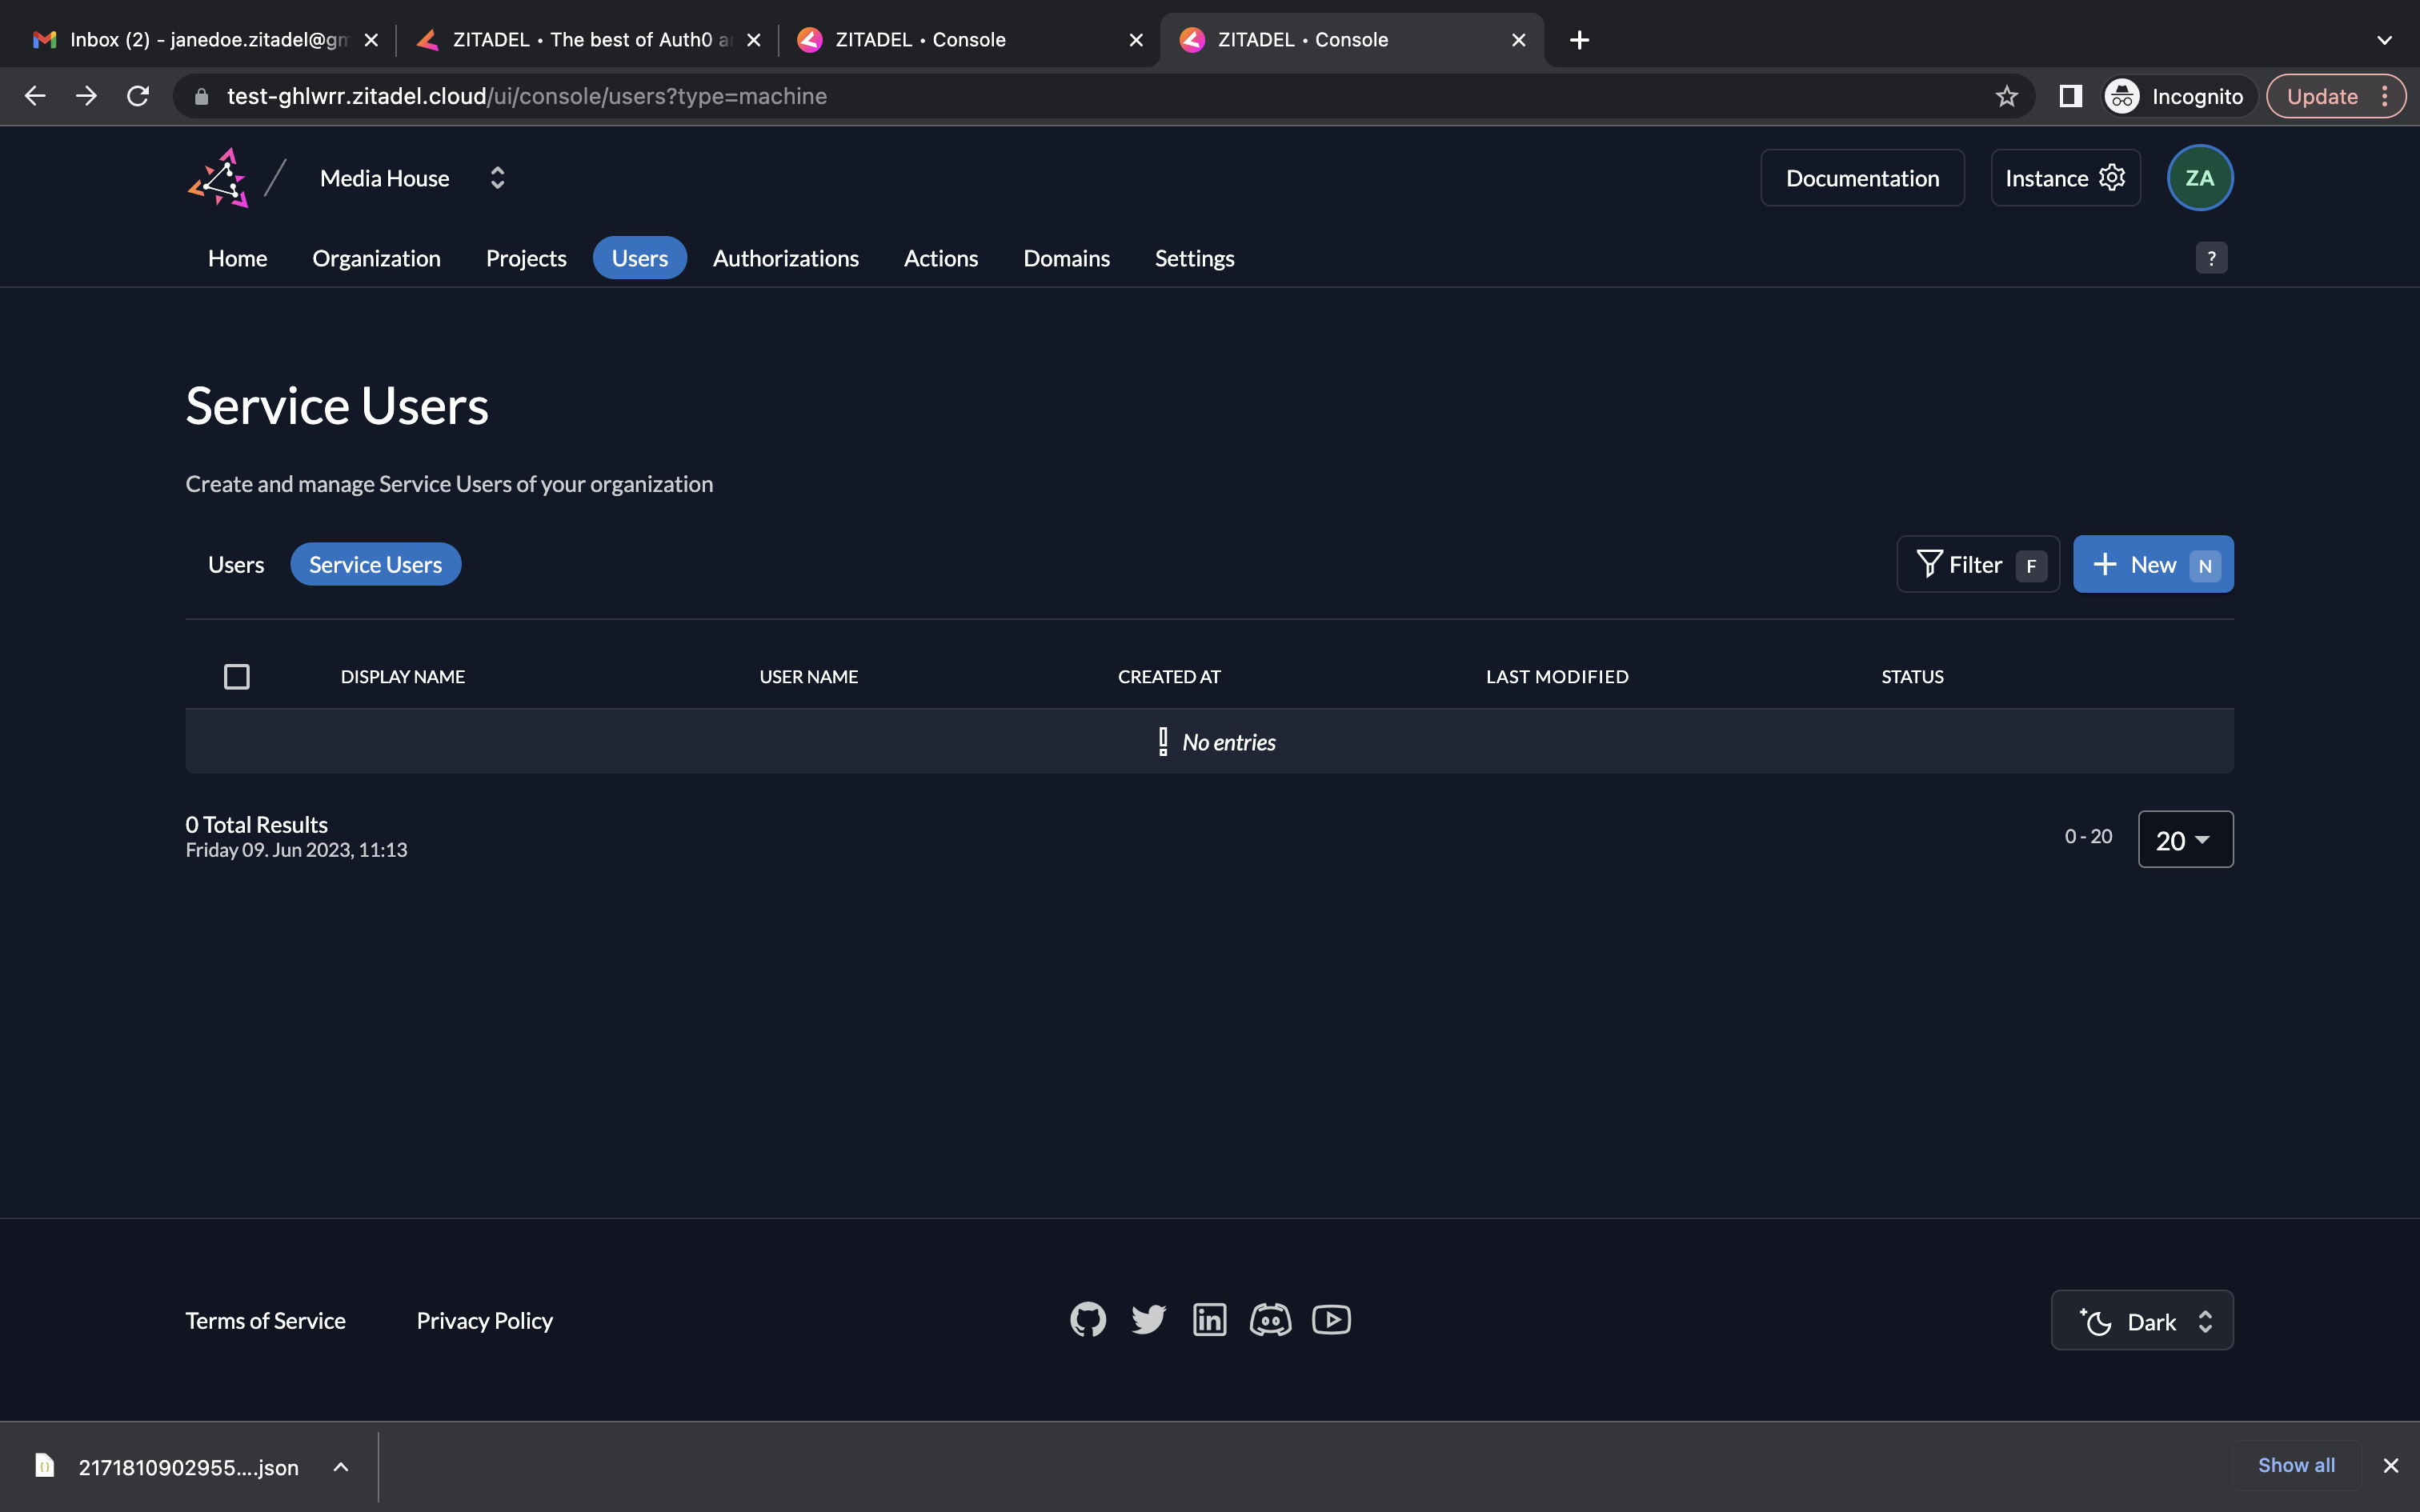
- Go to the Users tab in your organization as shown below and go to the Service Users tab. We will be creating service users in this demo. To add a service user, click the New button.
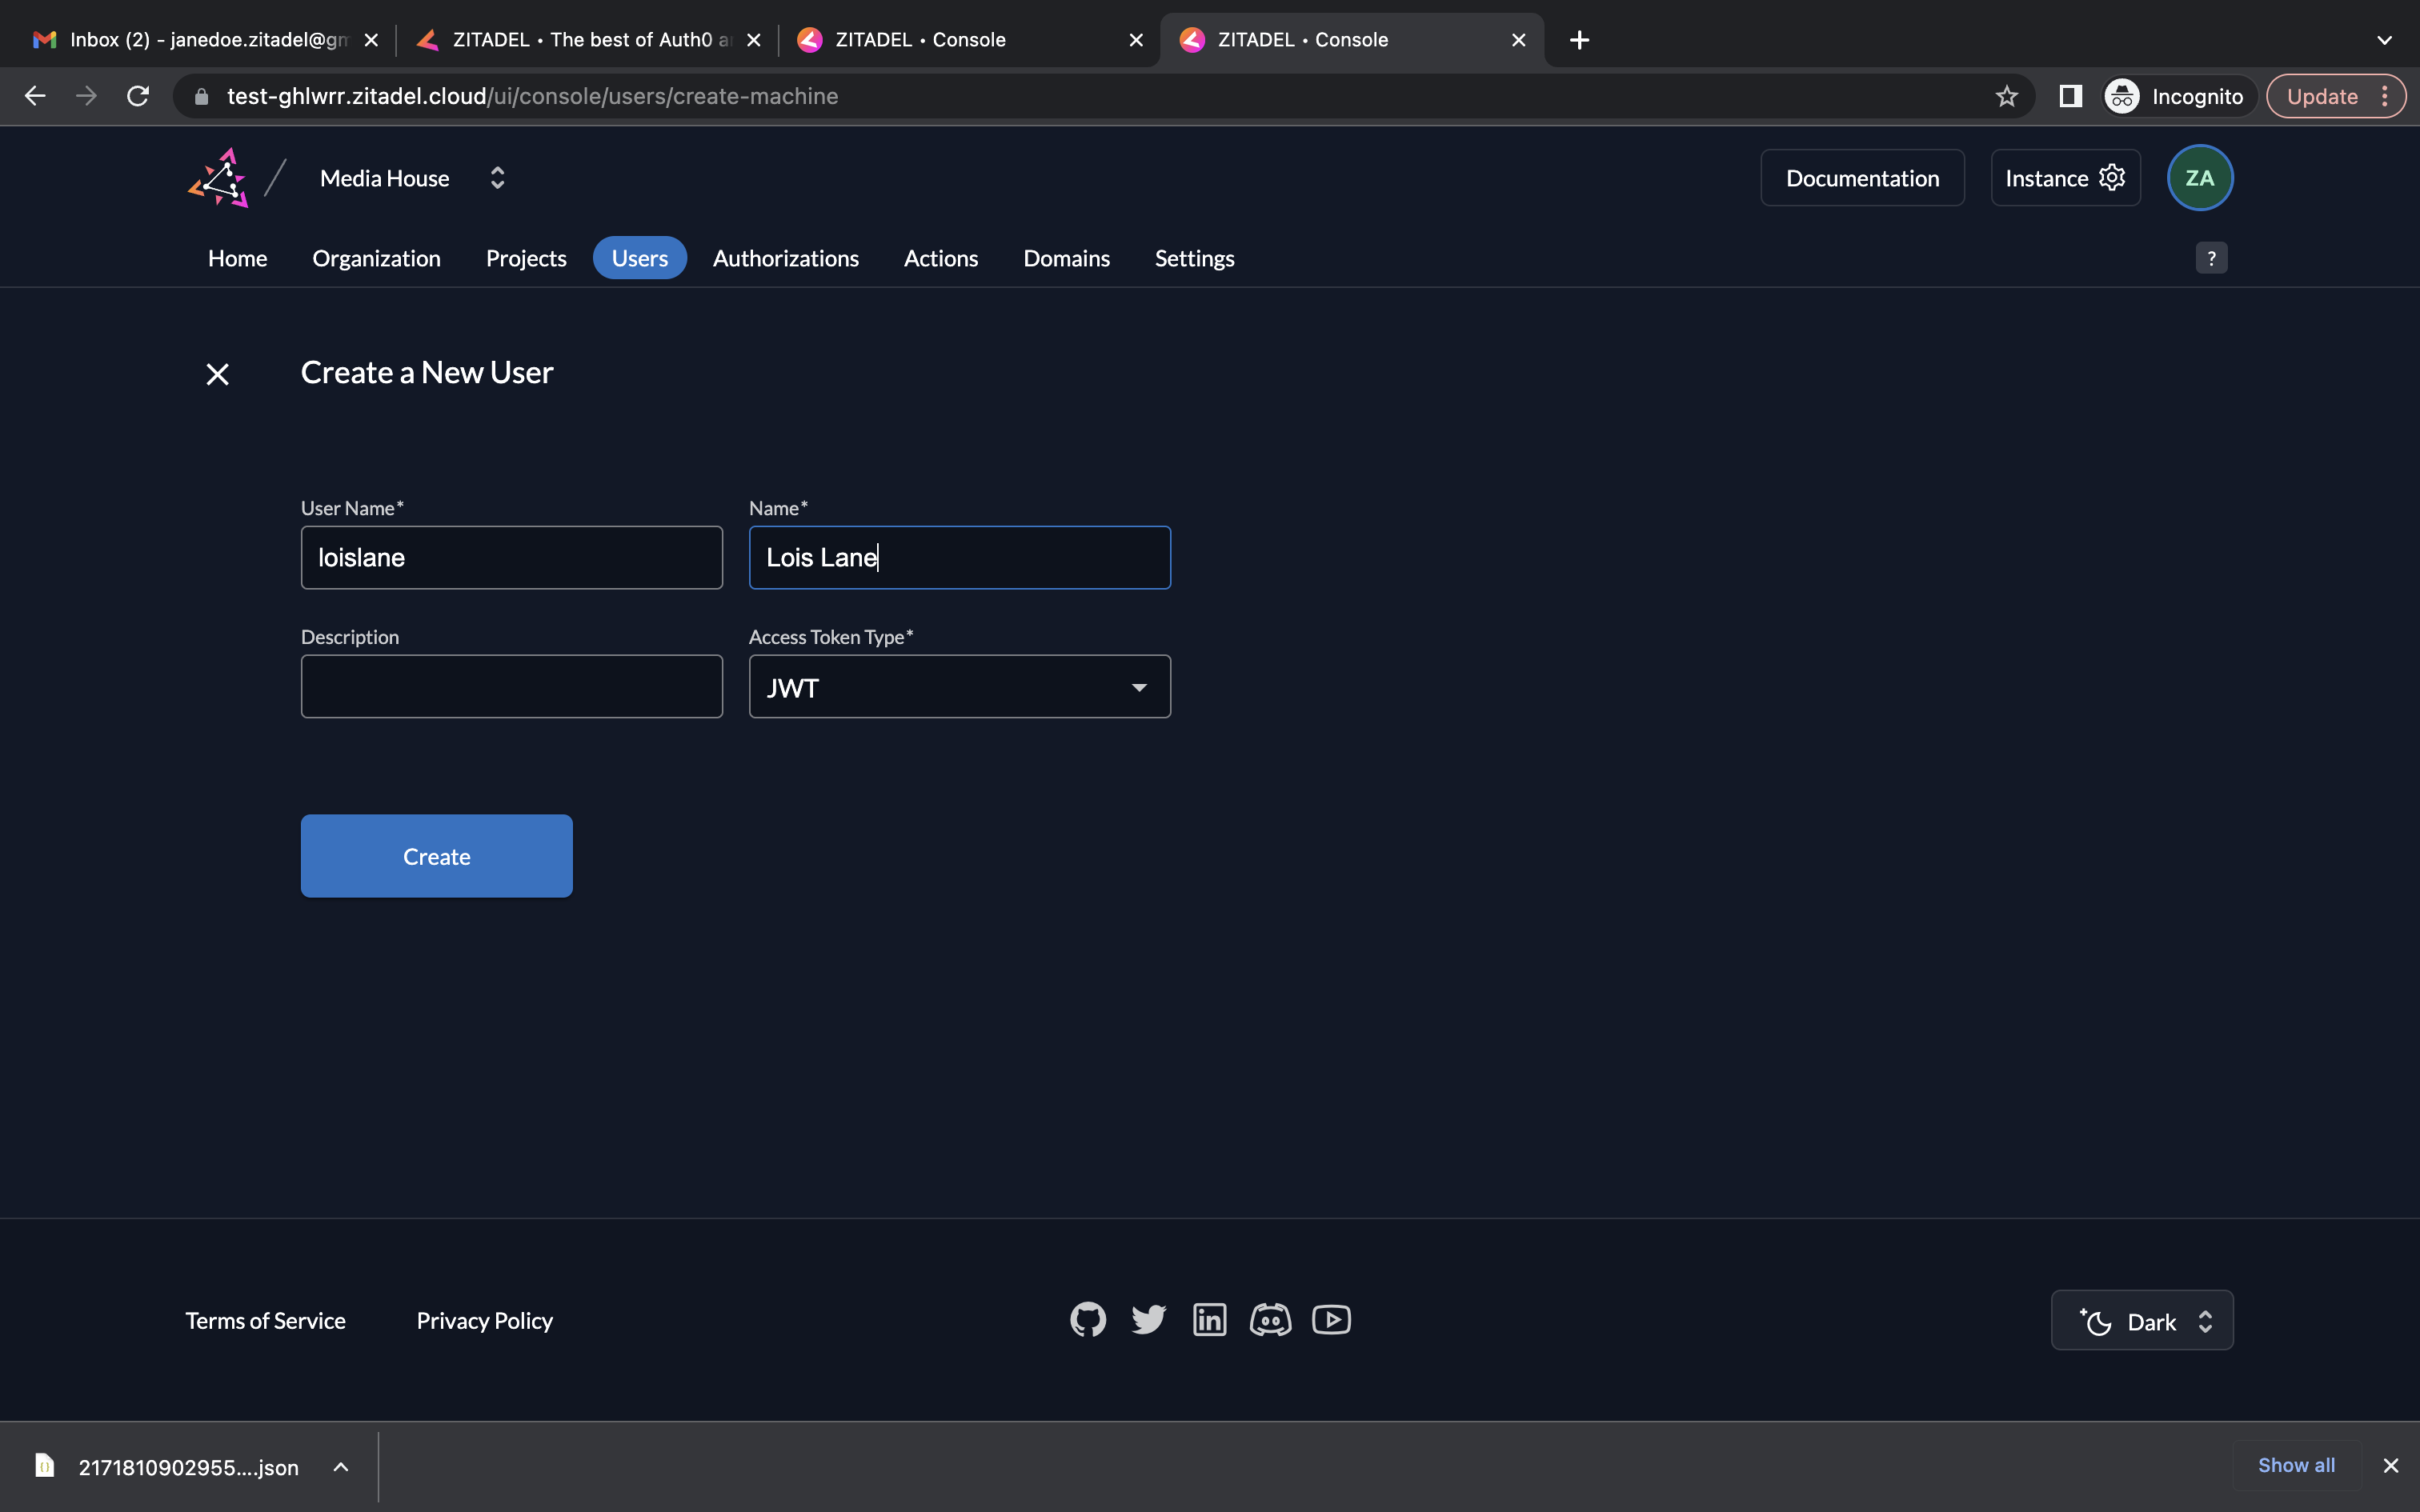
- Next, add the details of the service user and select JWT for Access Token Type and click Create.
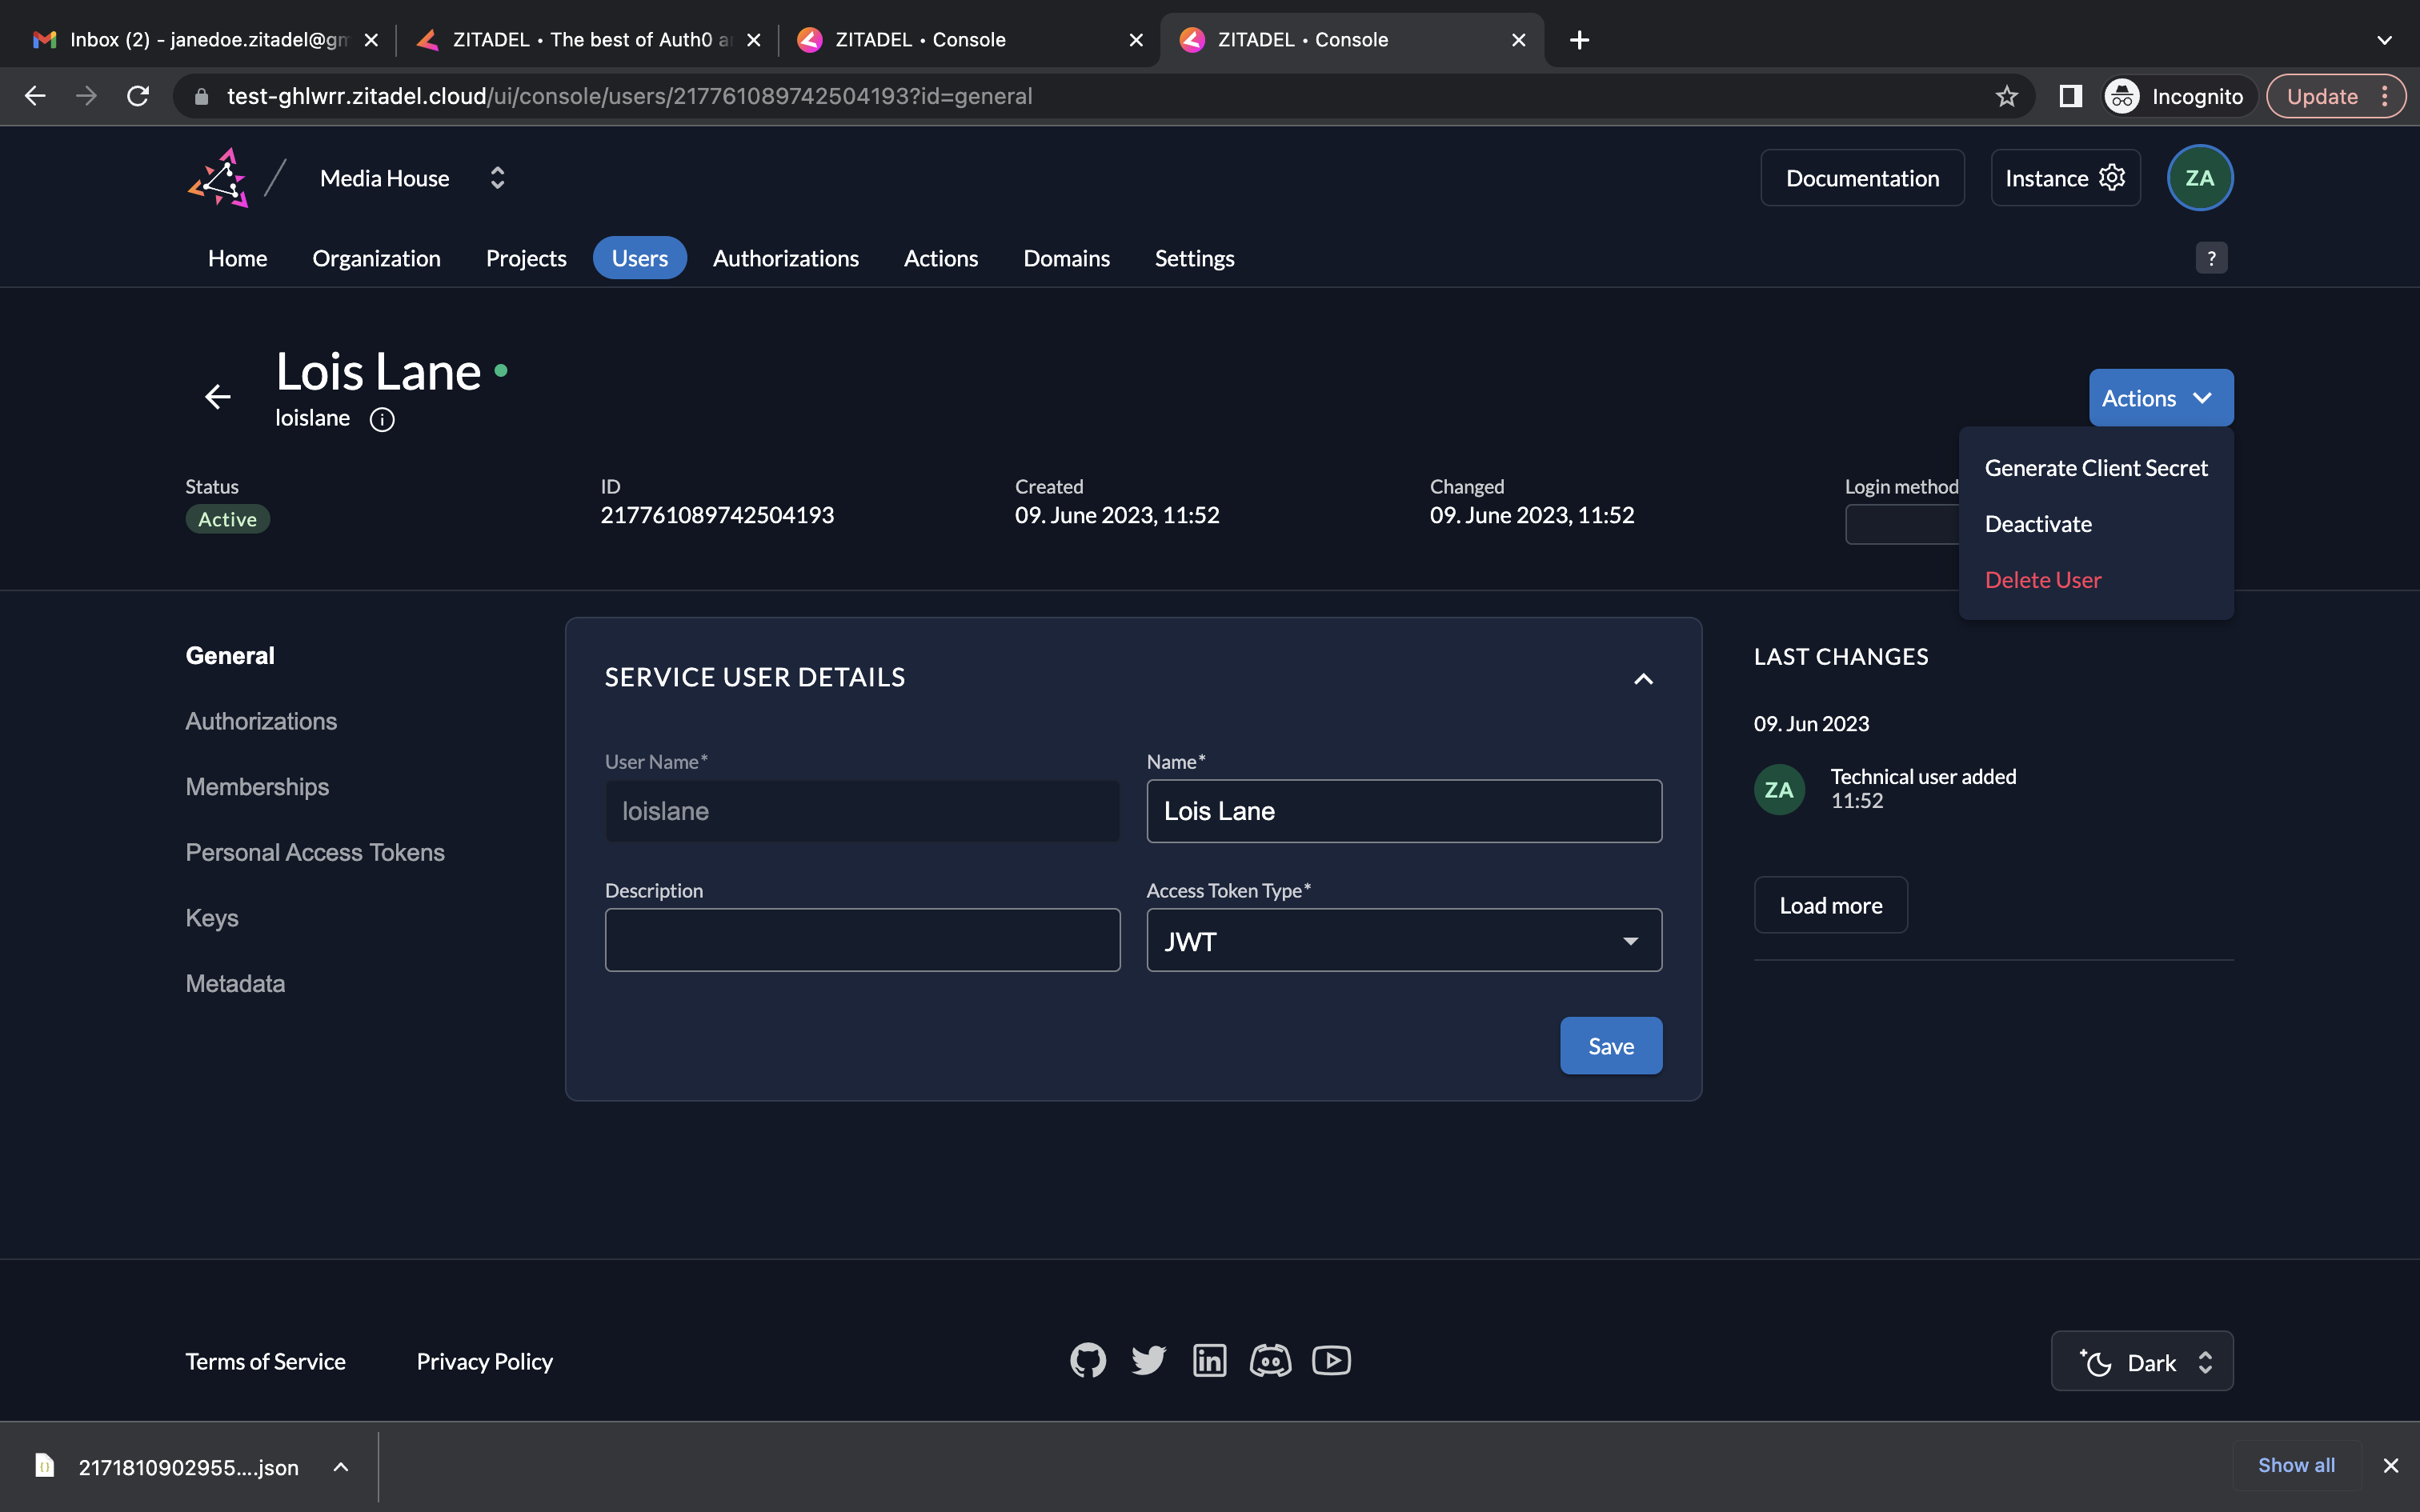
- Click the Actions button on the top right corner. Select Generate Client Secret from the drop-down menu.
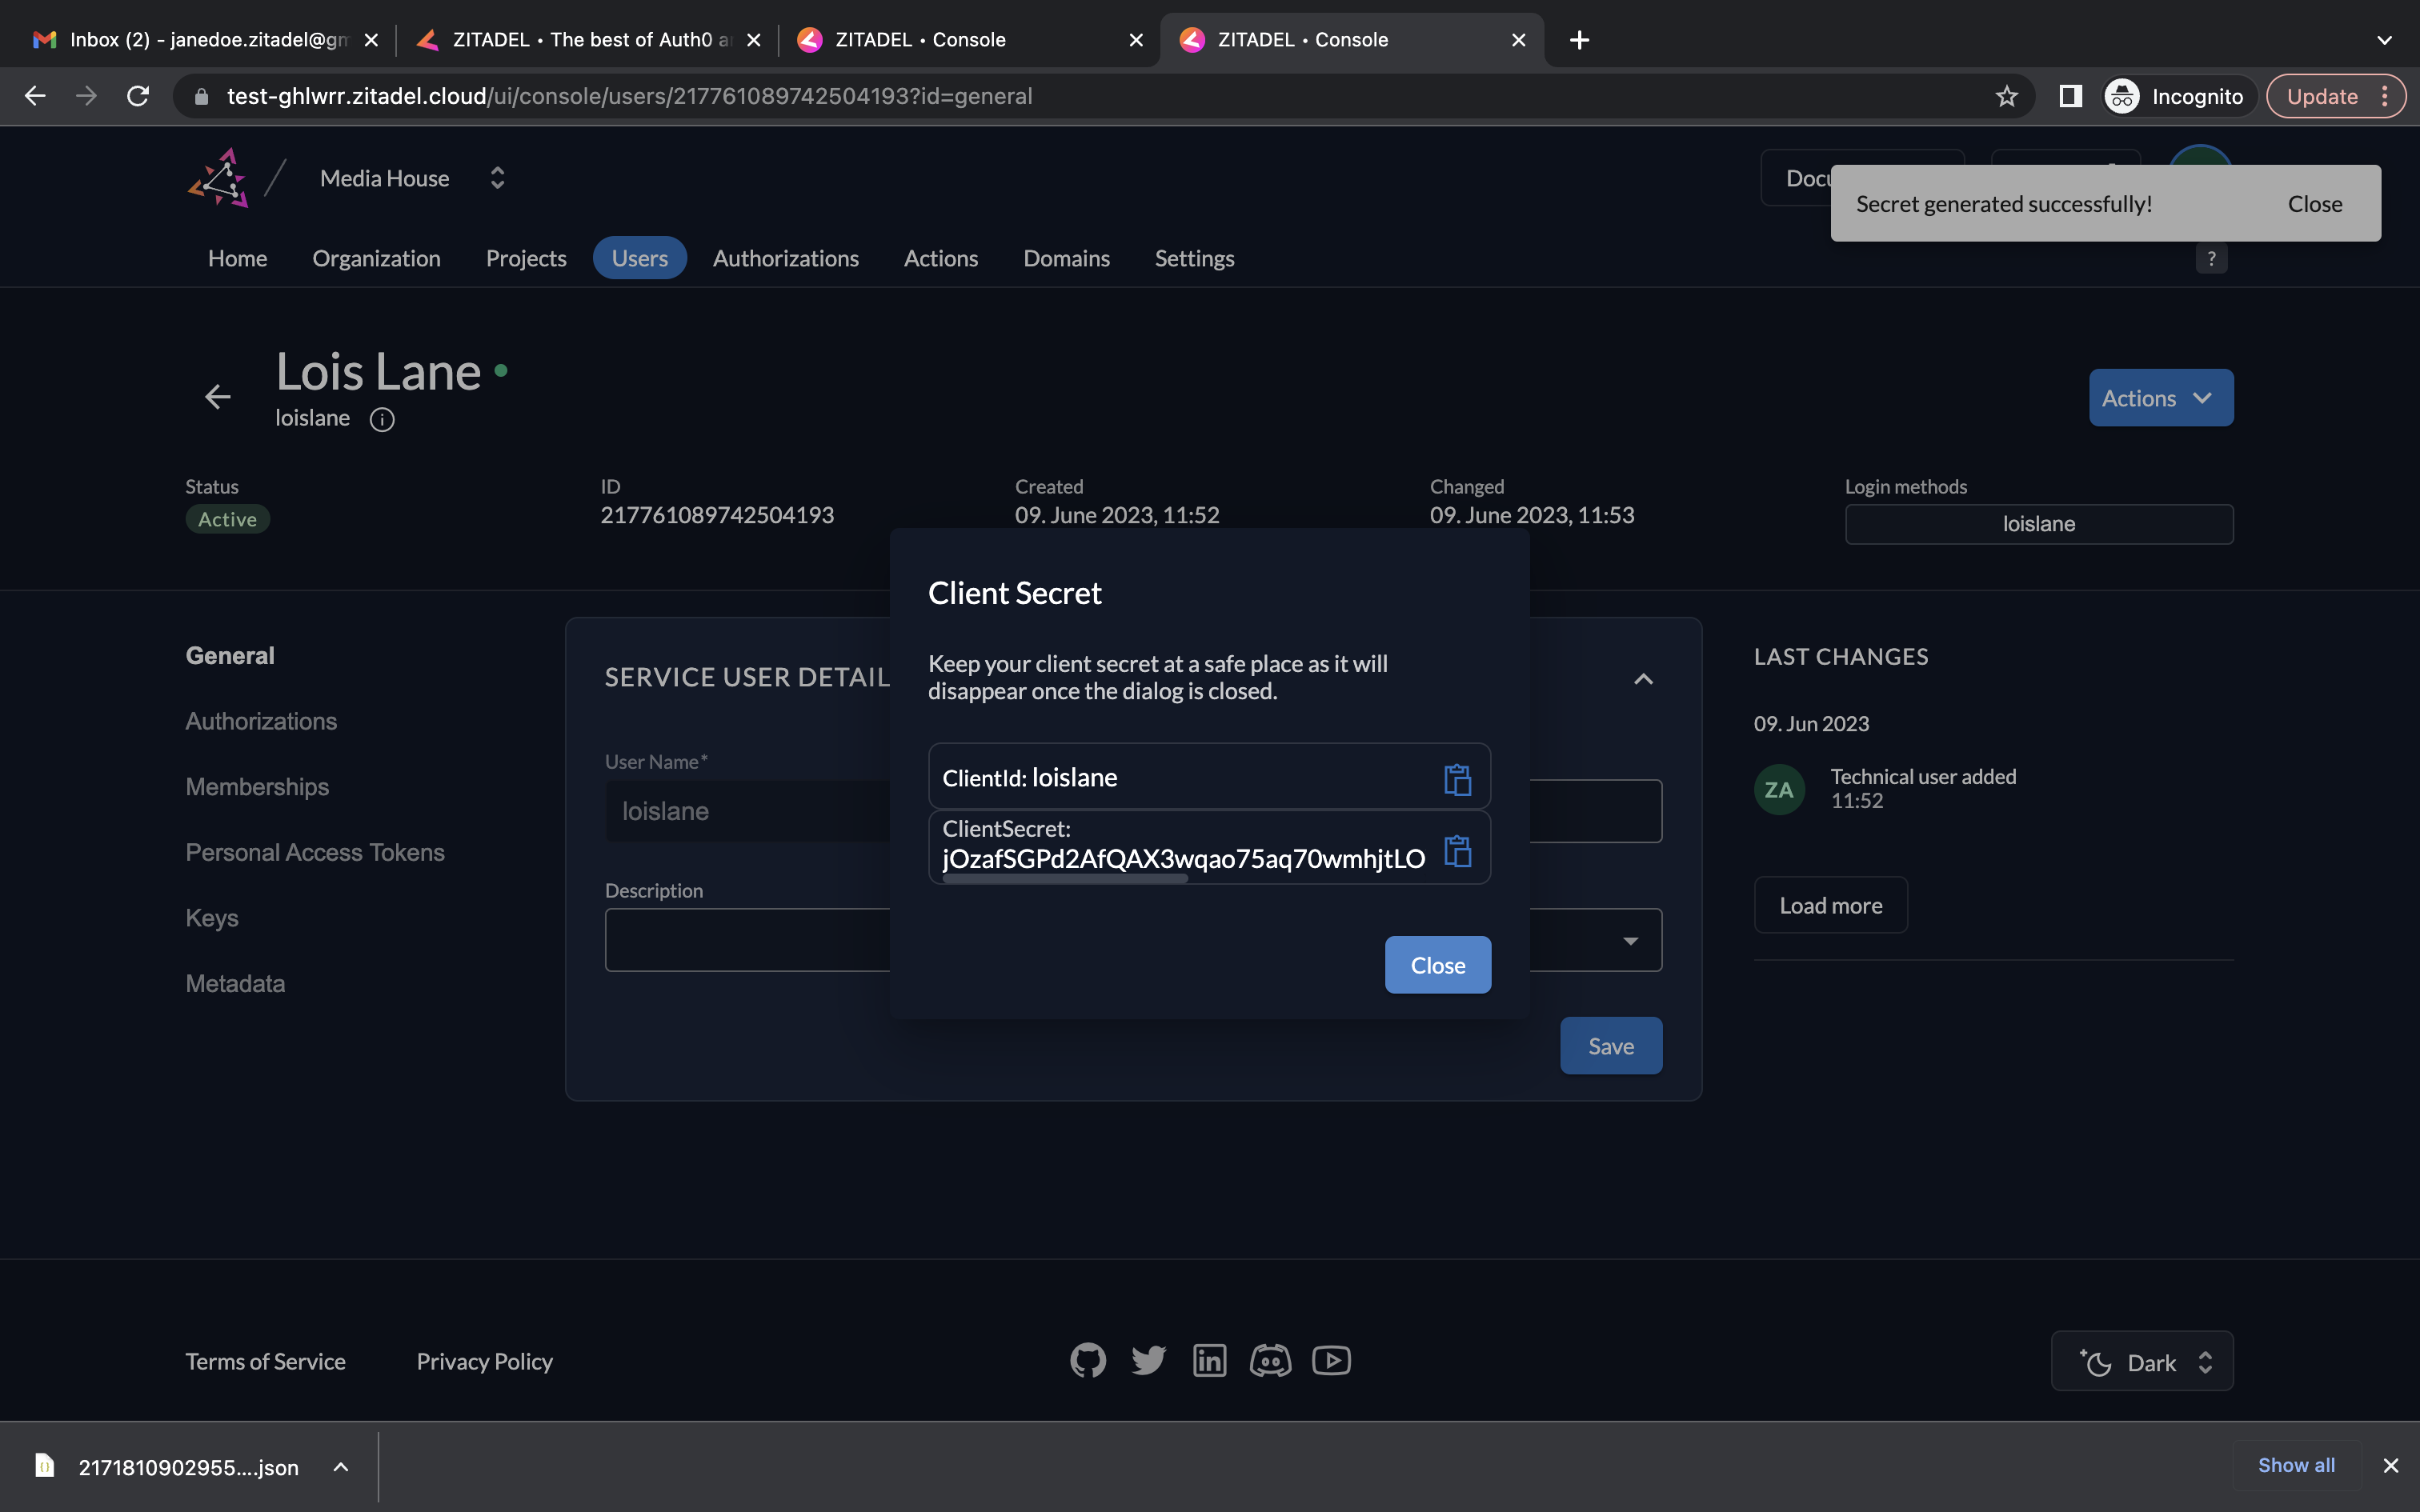
- Copy your Client ID and Client Secret. Click Close.
- Now you have a service user, along with their client credentials.
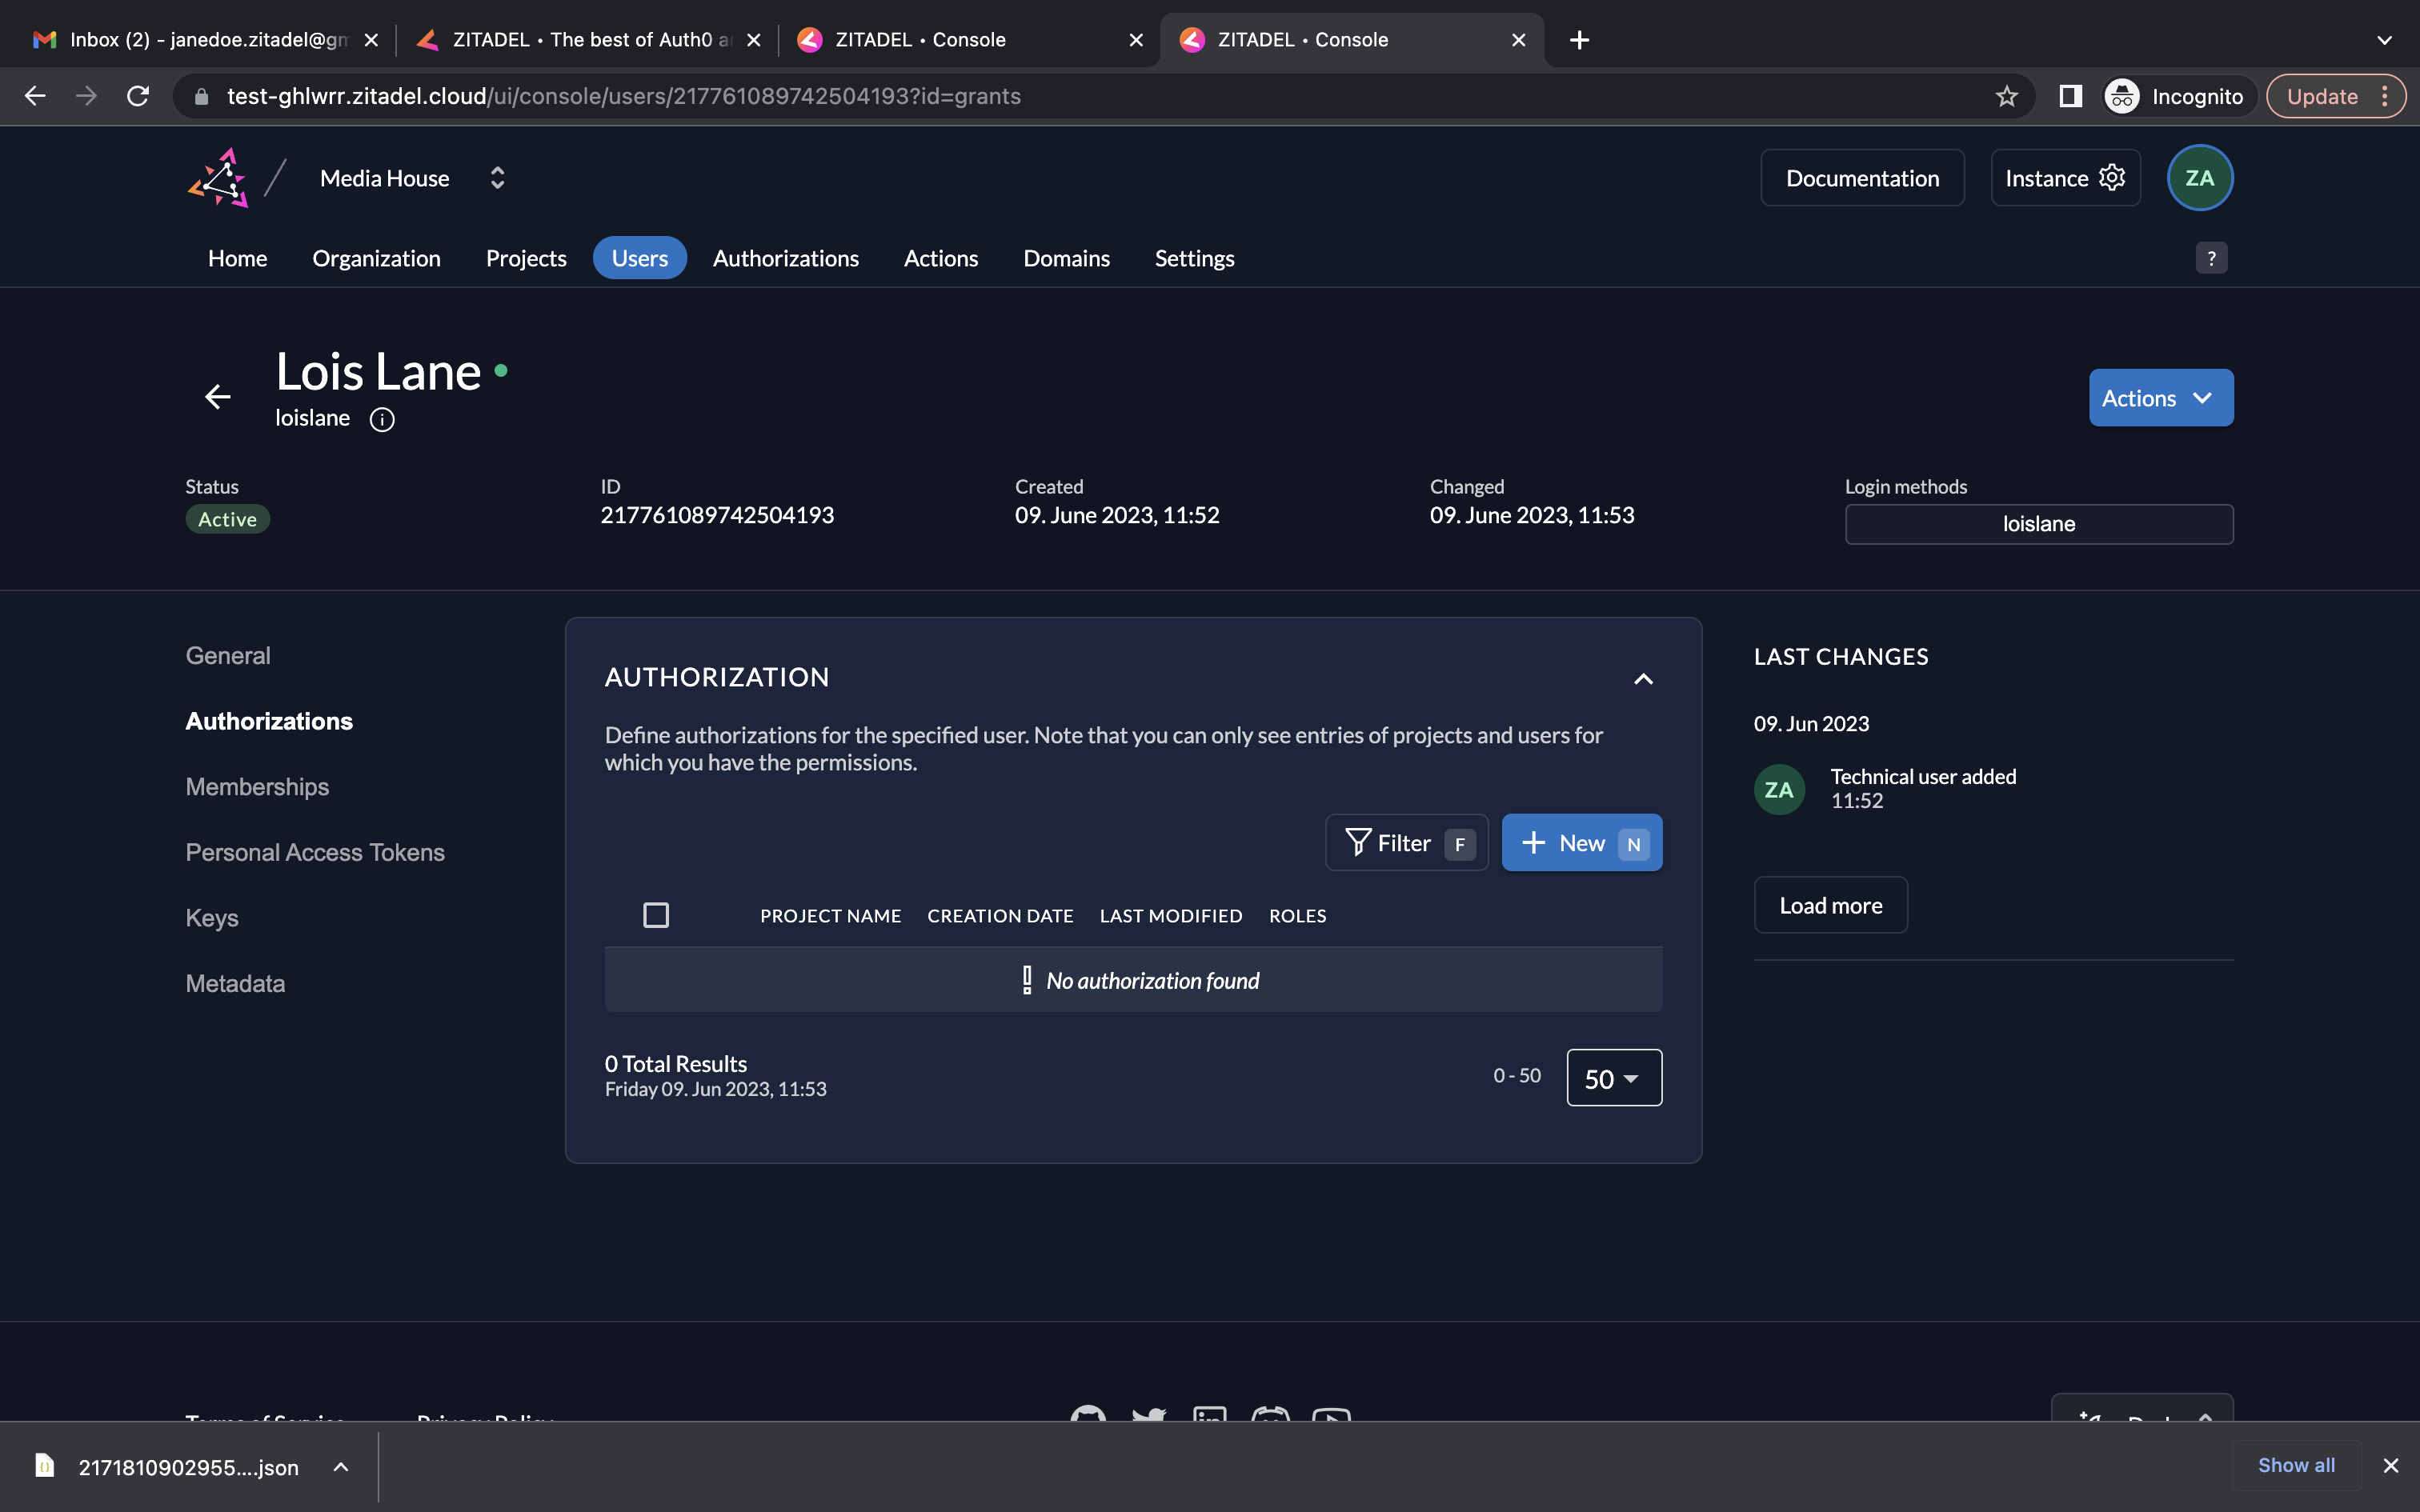
- Go to Authorizations. Click New.
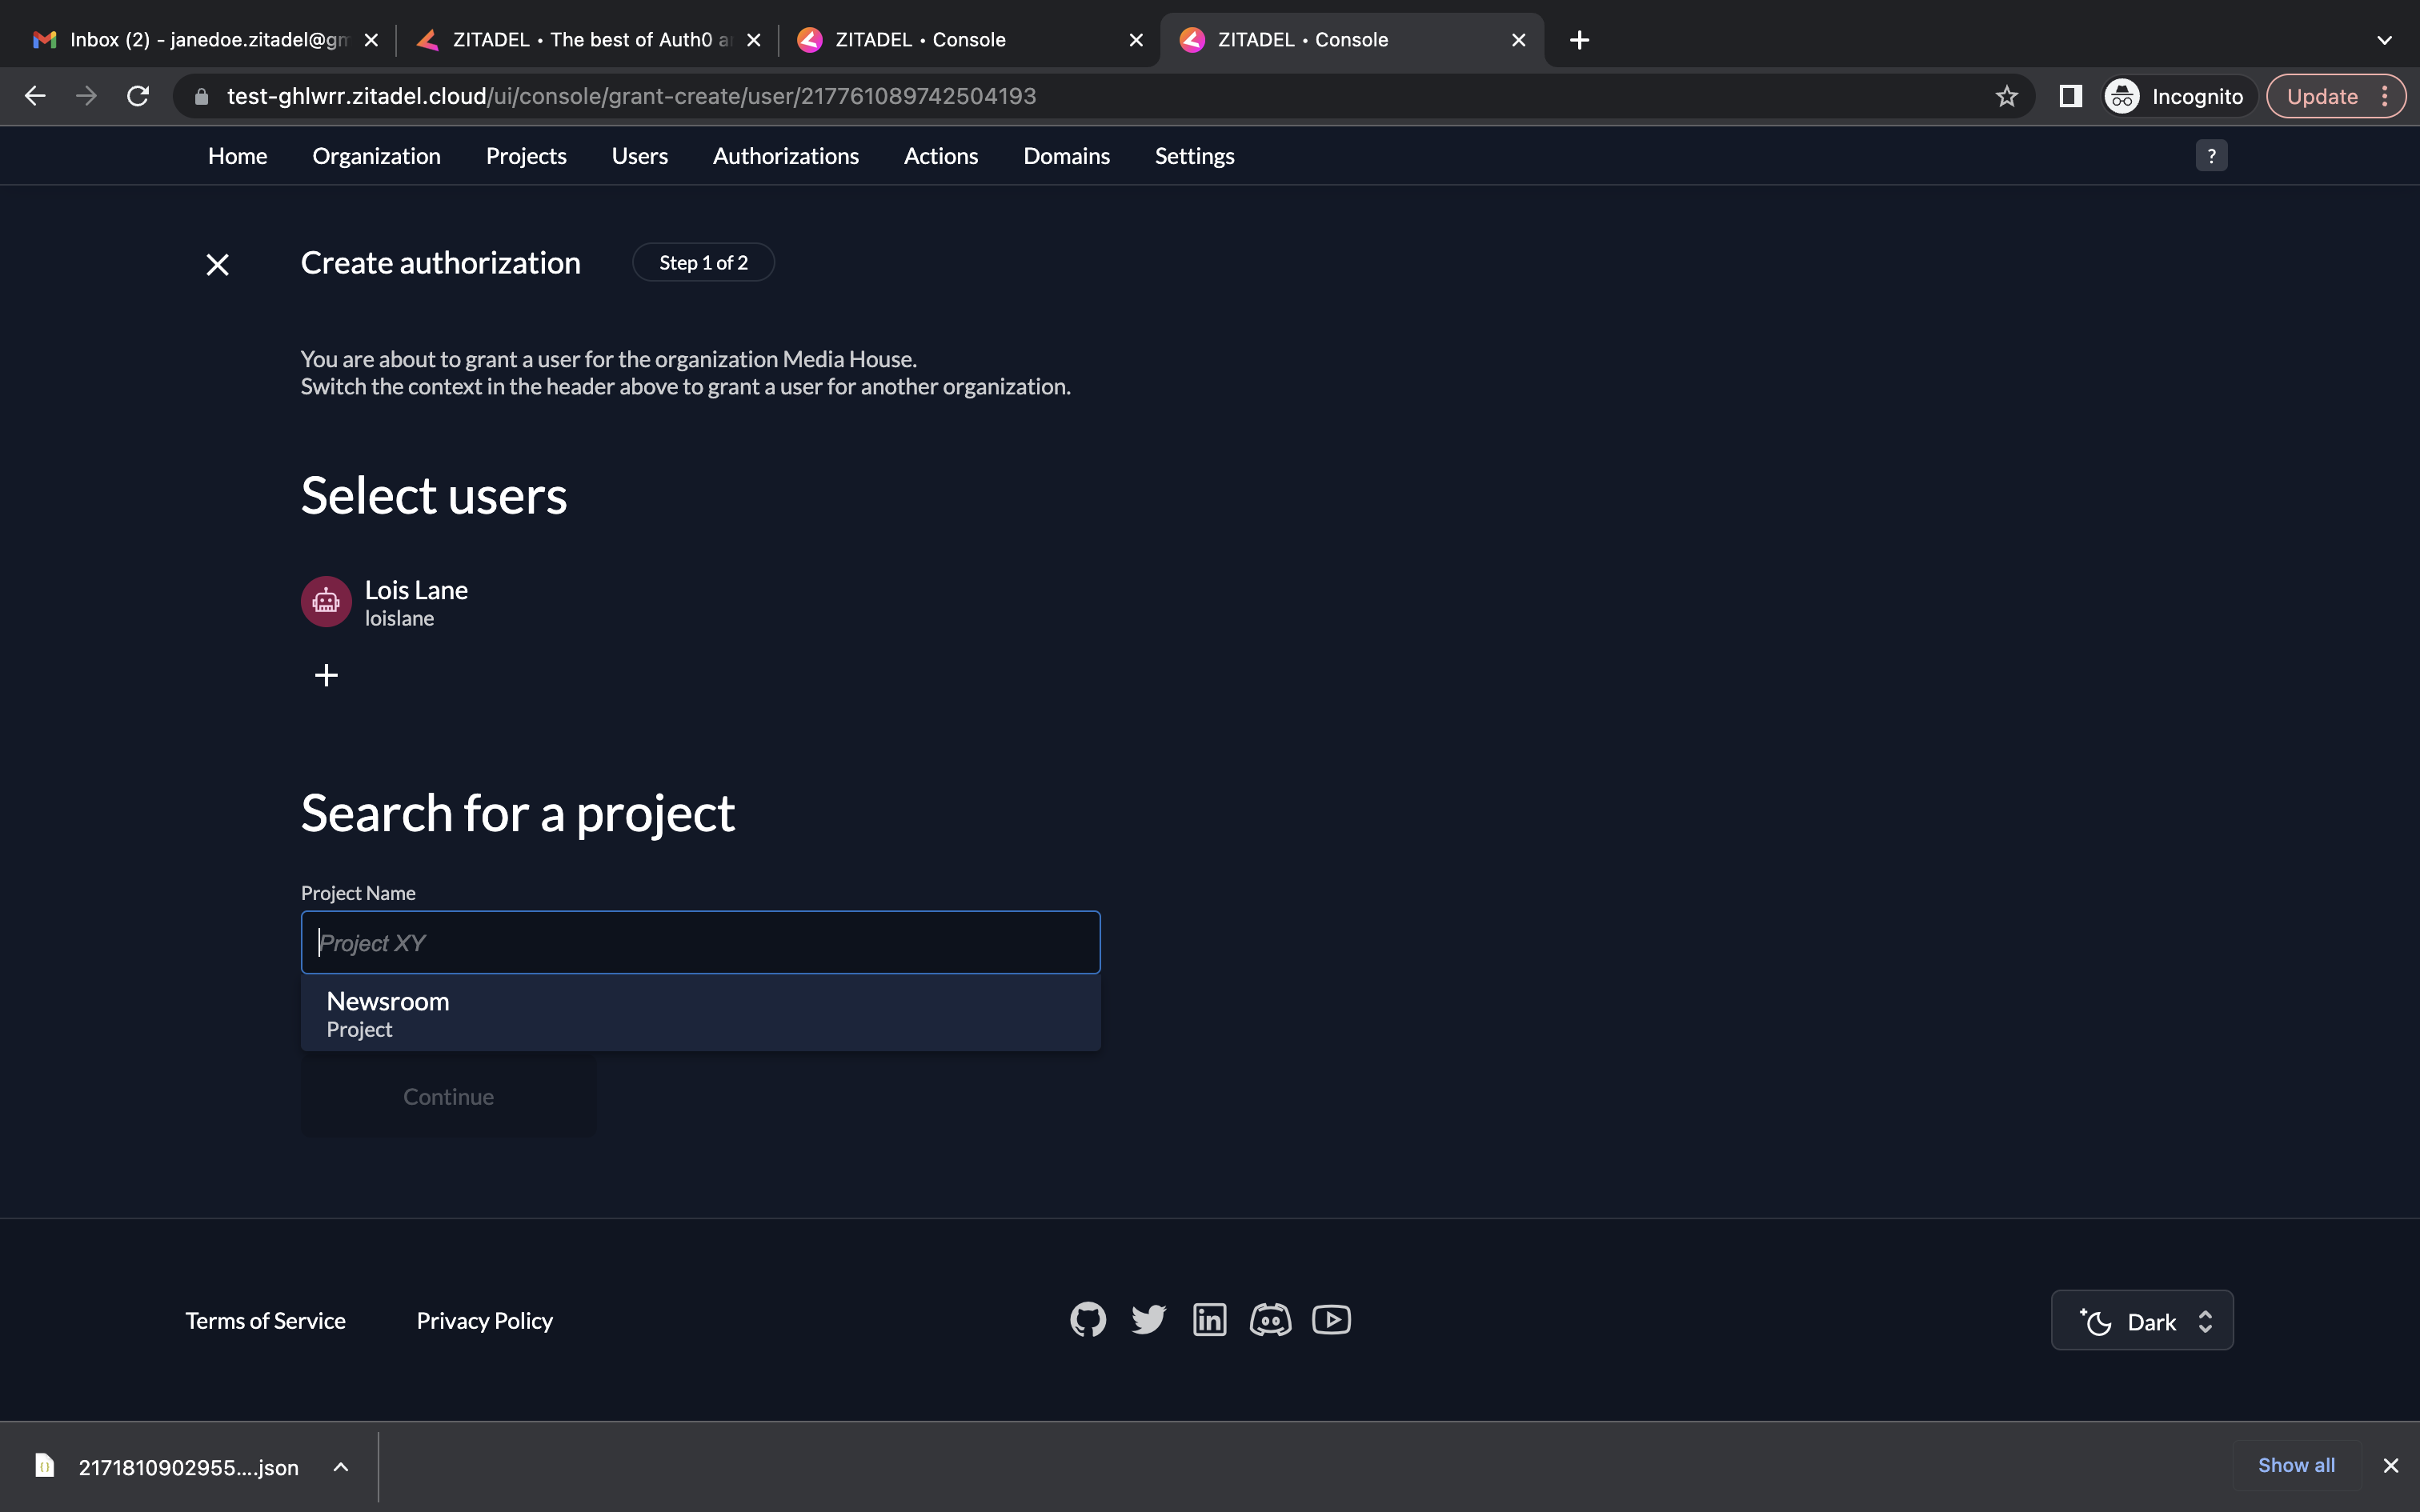
- Select the user and the project for which the authorization must be created. Click Continue.
- You can select a role here. Select the role journalist for the current user. Click Save.
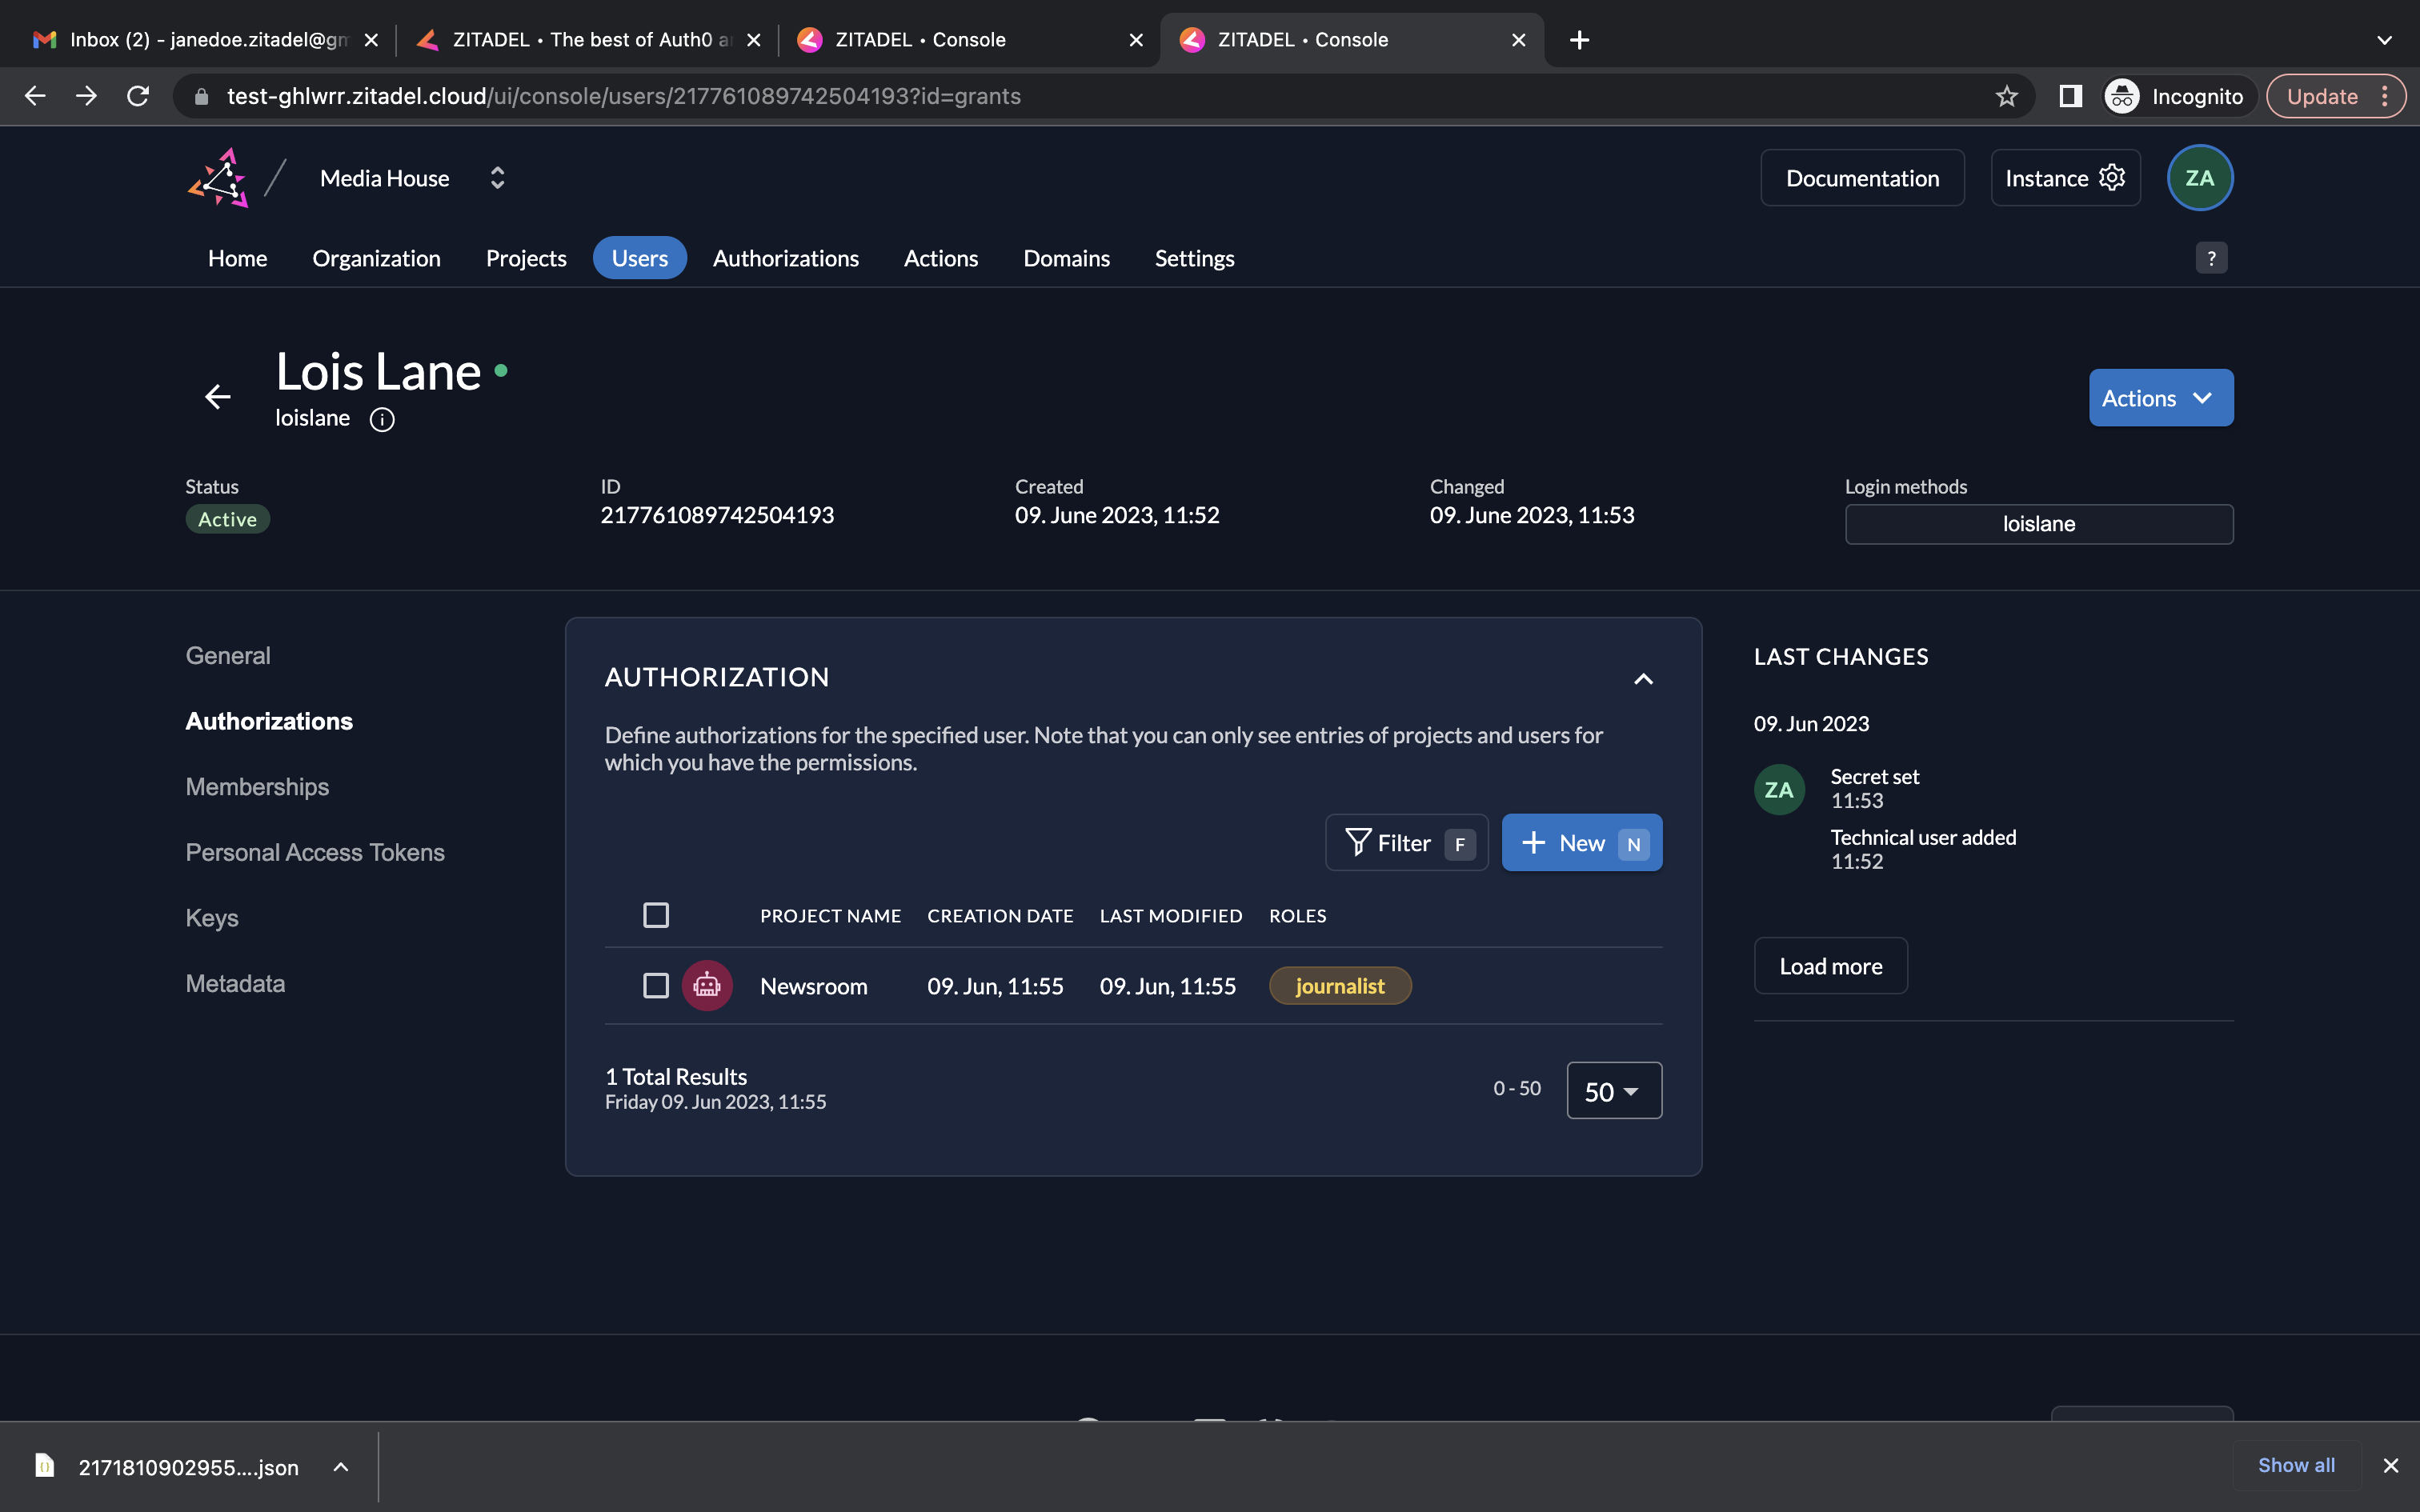
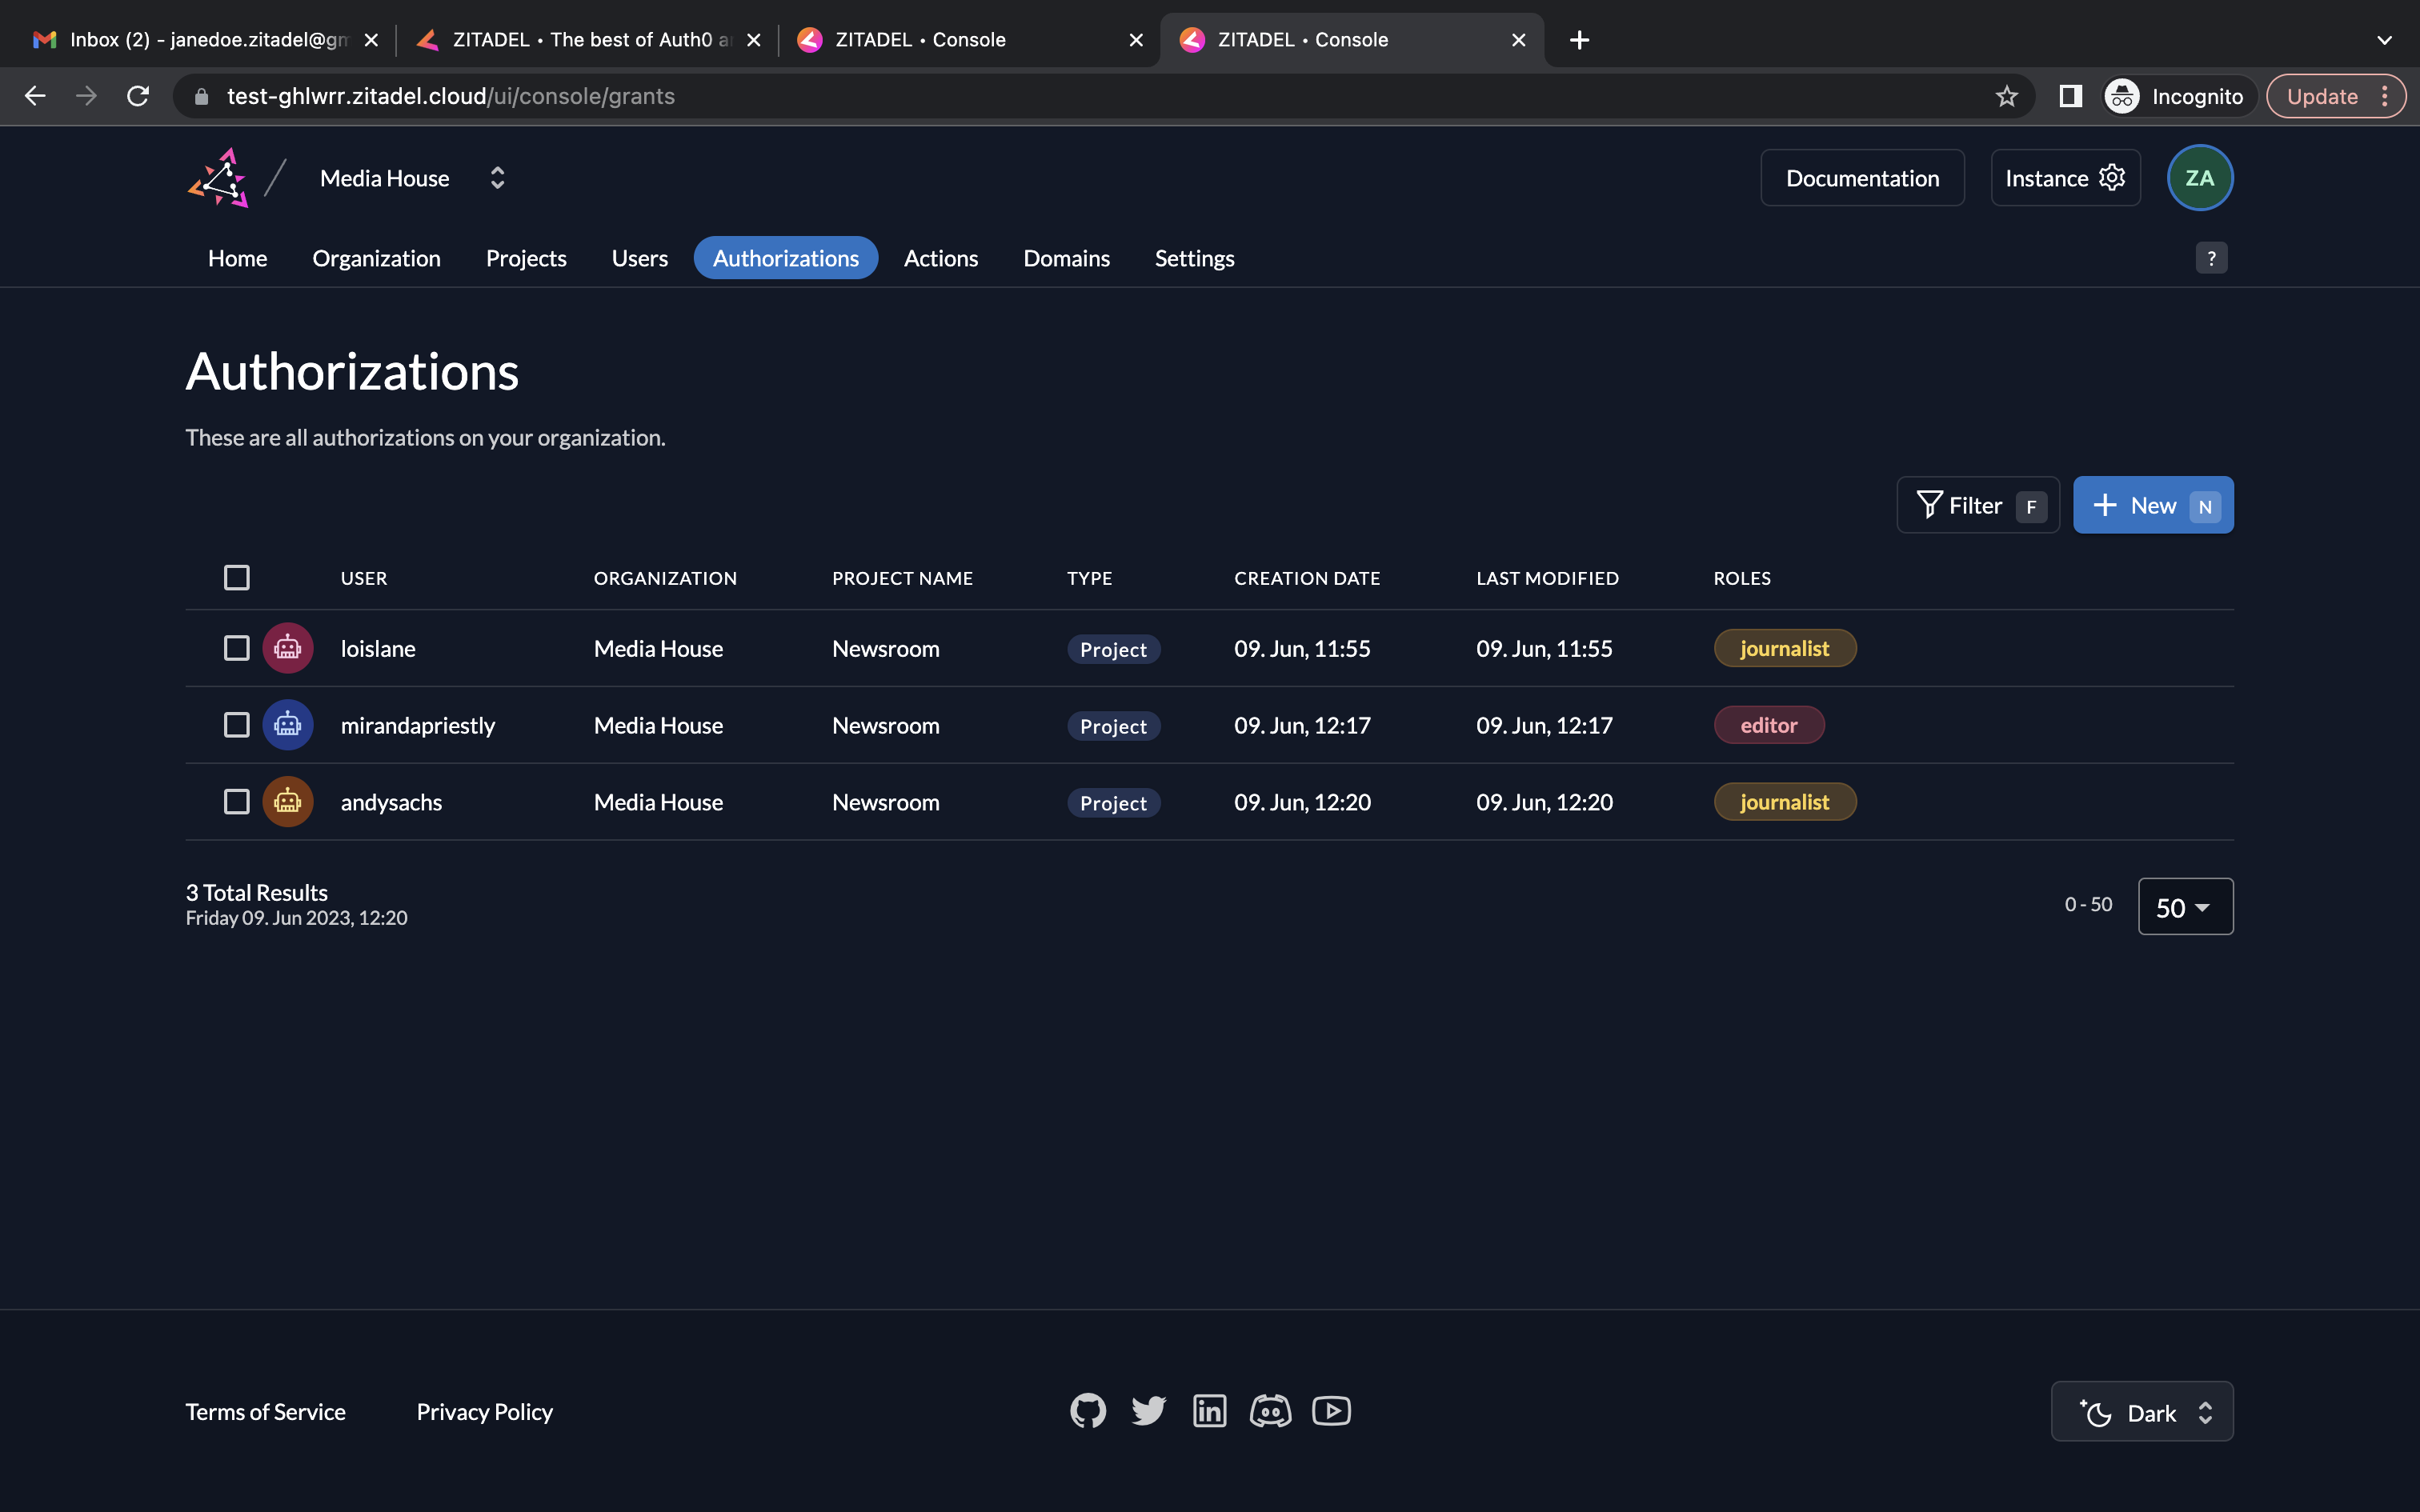
- You can see the service user Lois Lane now has the role journalist in the Newsroom project.
Now, let's add metadata to the user profile to indicate their level of seniority. Use 'experience_level' as the key, and for its value, choose from 'junior', 'intermediate', or 'senior'. Although we can typically assume this metadata is set through an API call made by the HR application, for simplicity and ease of understanding, we will set the metadata directly in the console.
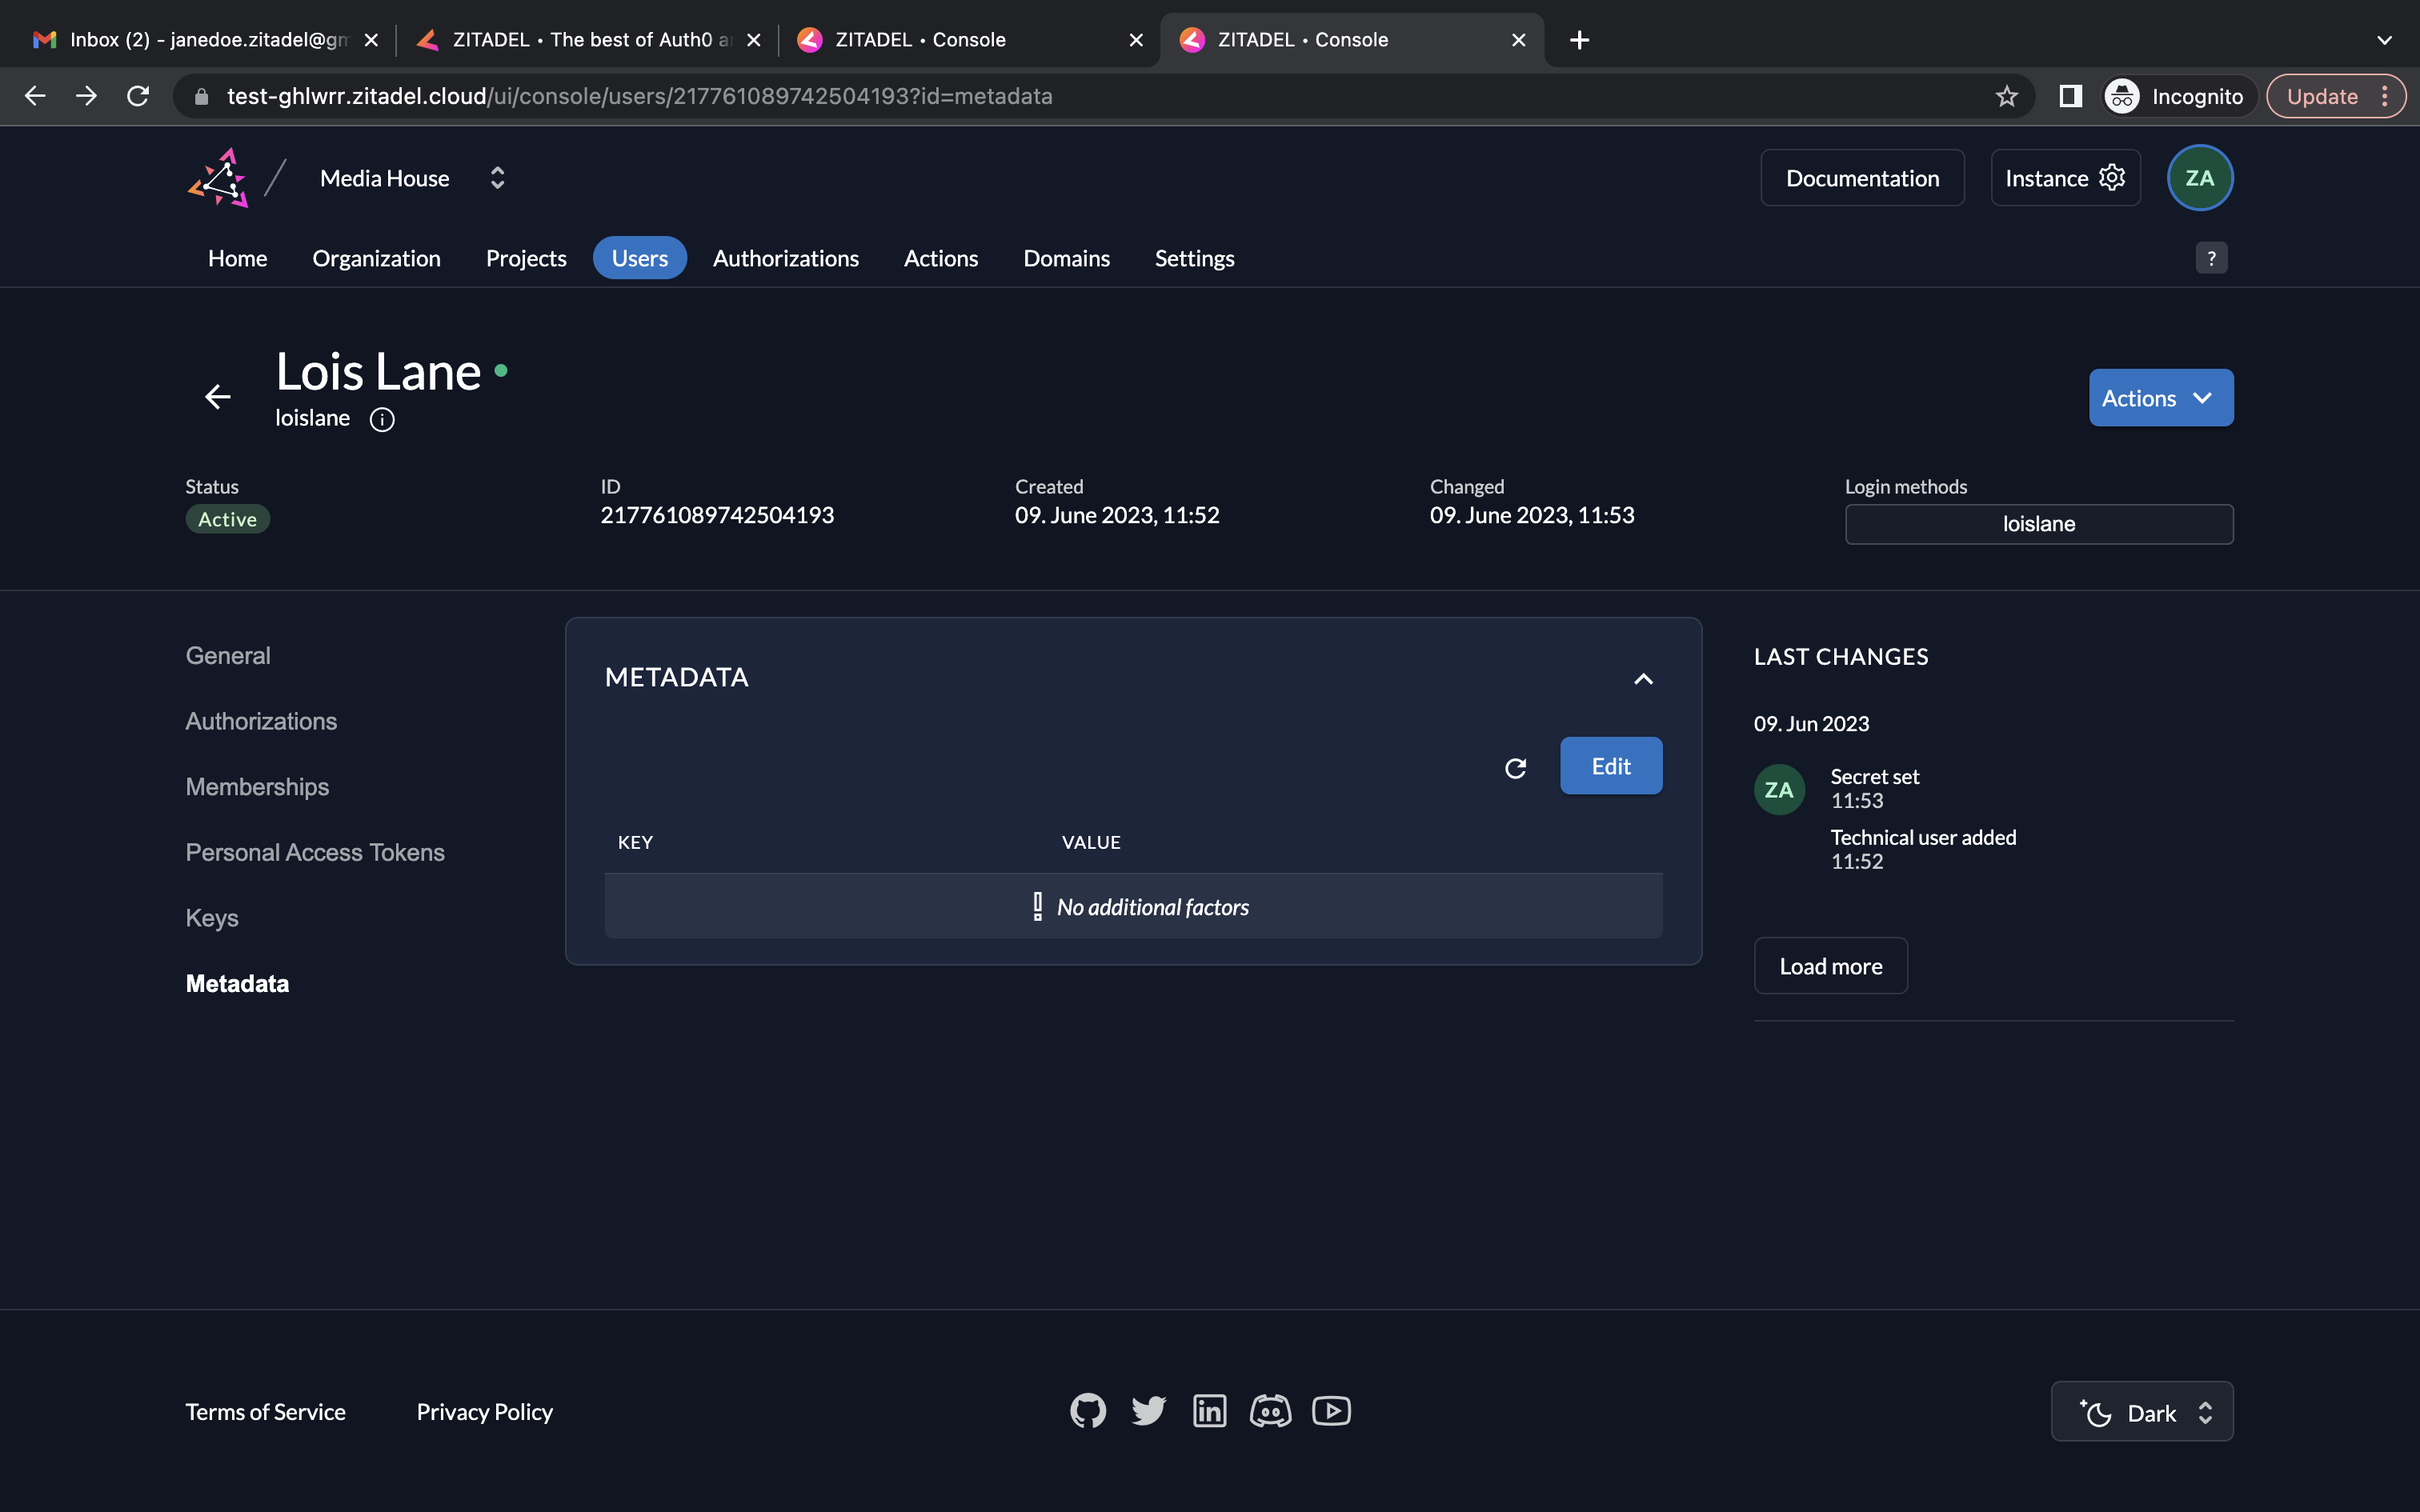
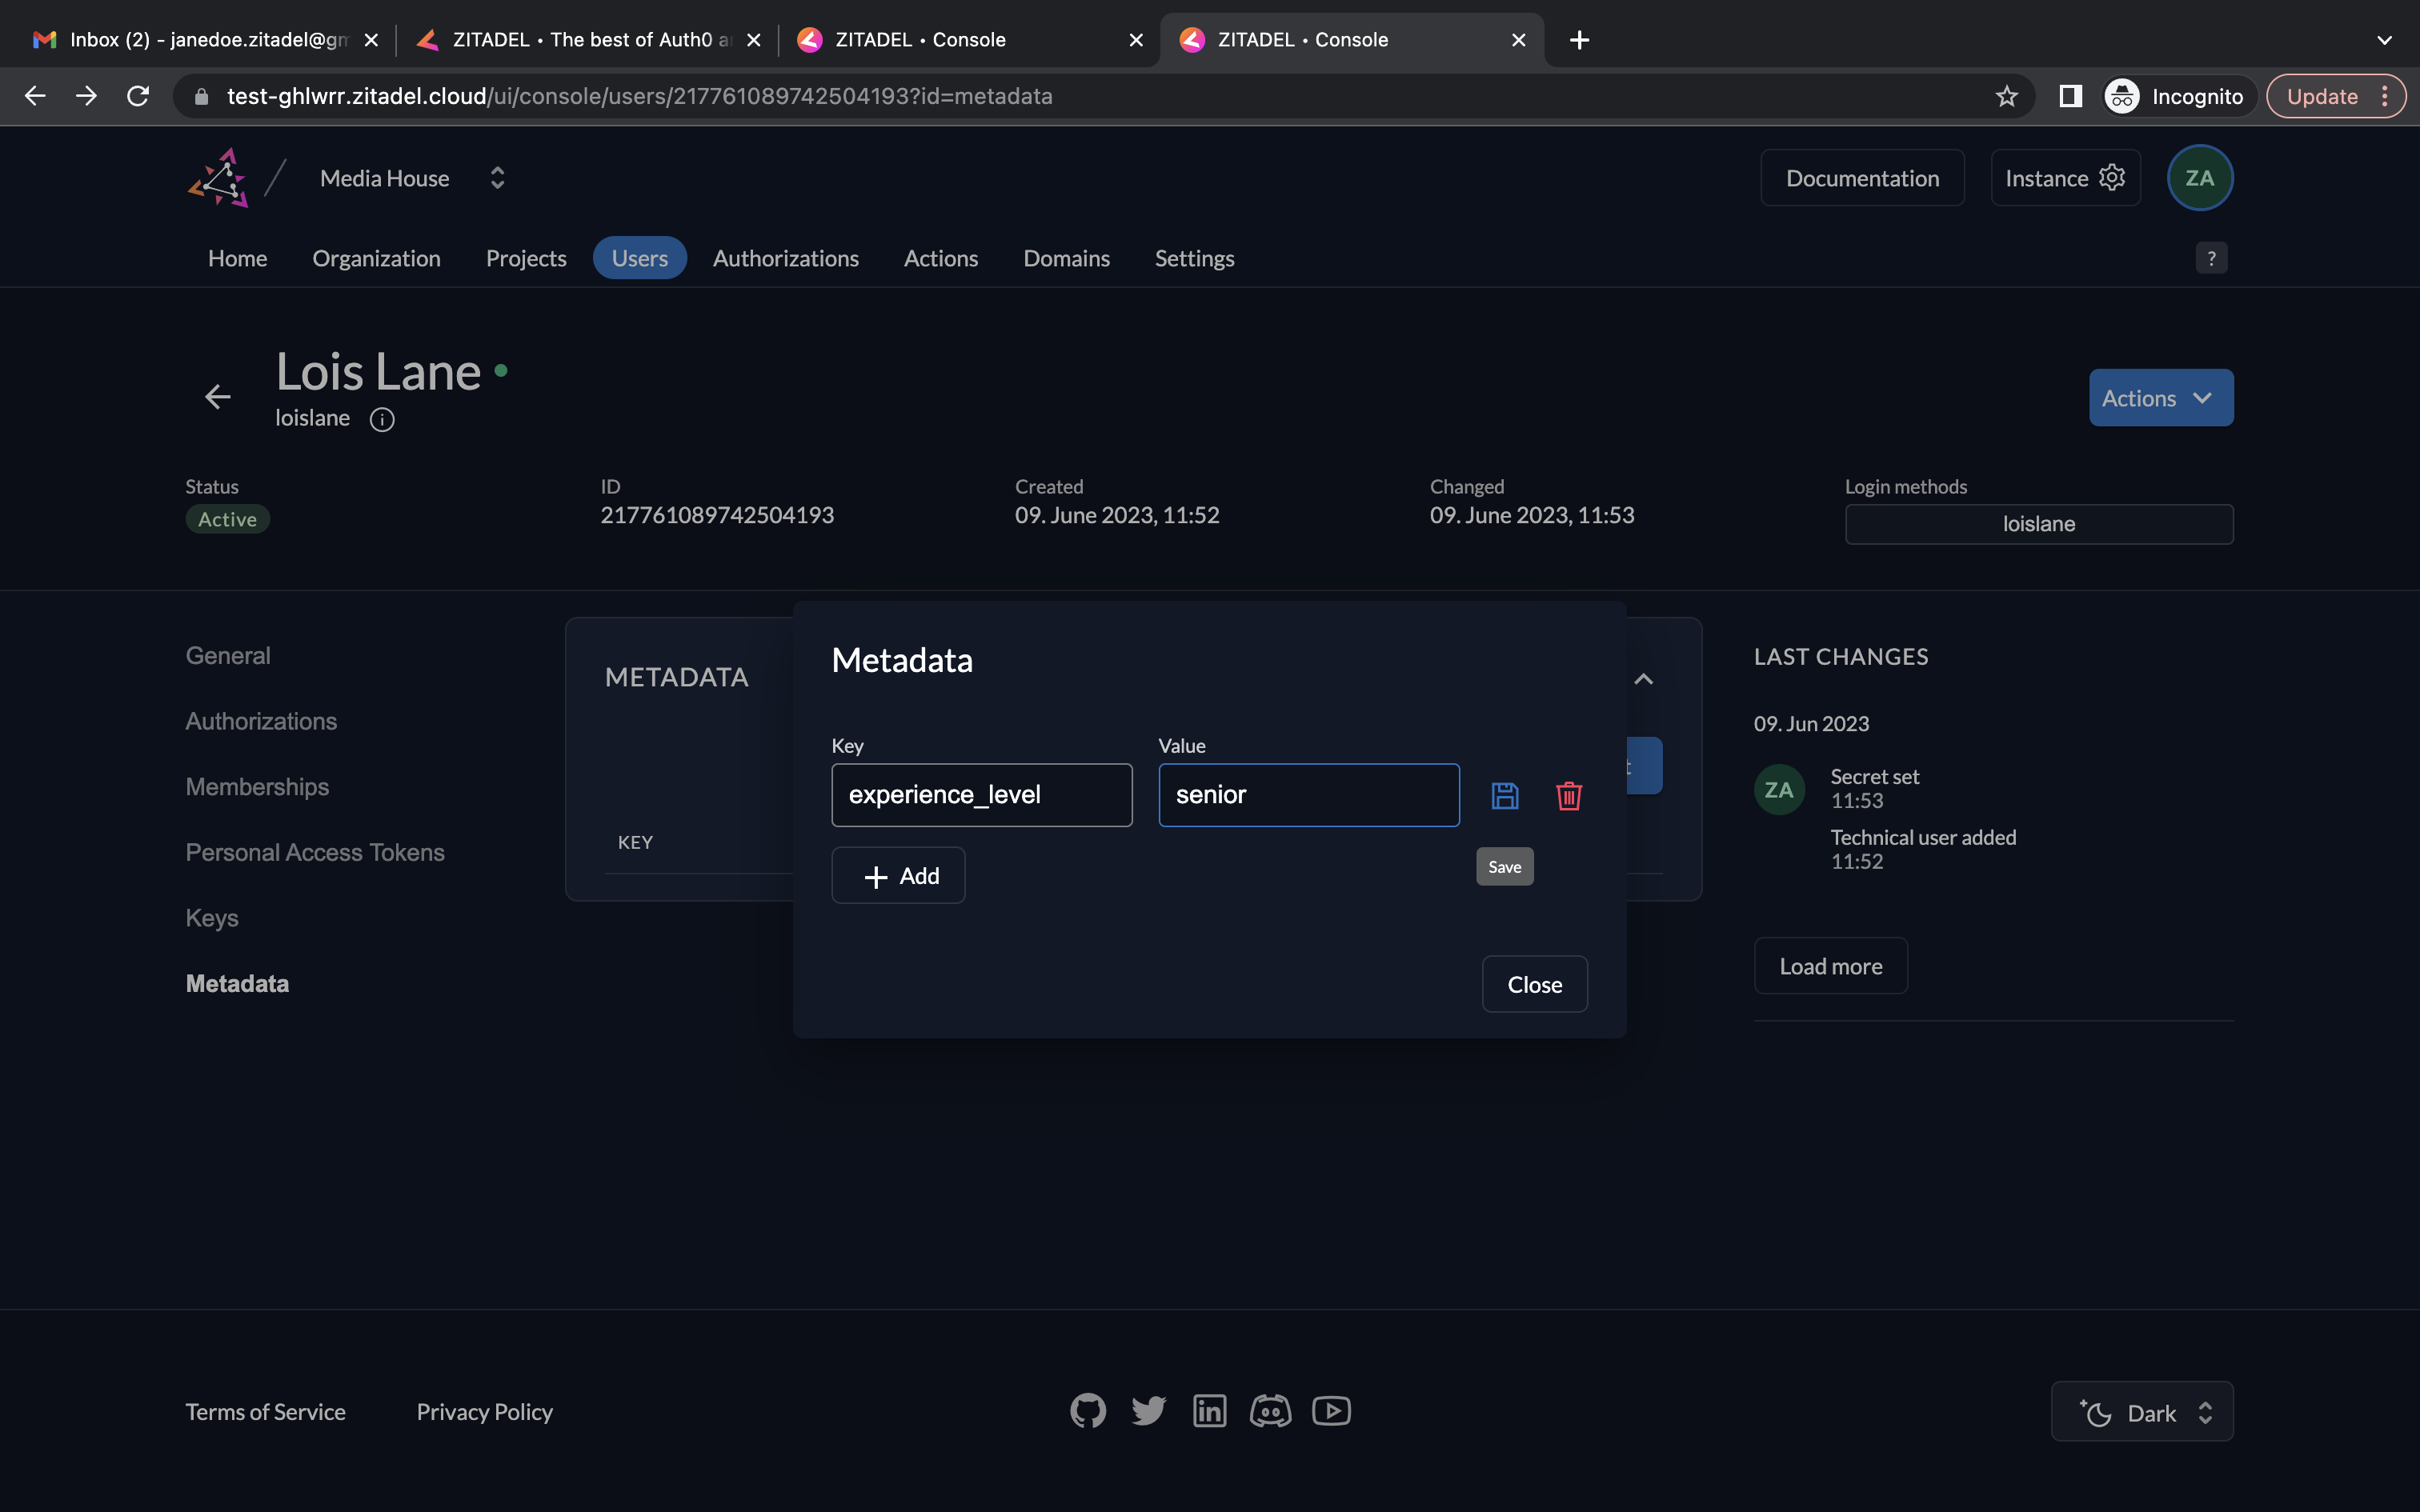
- Go to Metadata. Click Edit.
- Provide experience_level as the key and senior as the value. Click the save icon and click the Close button.
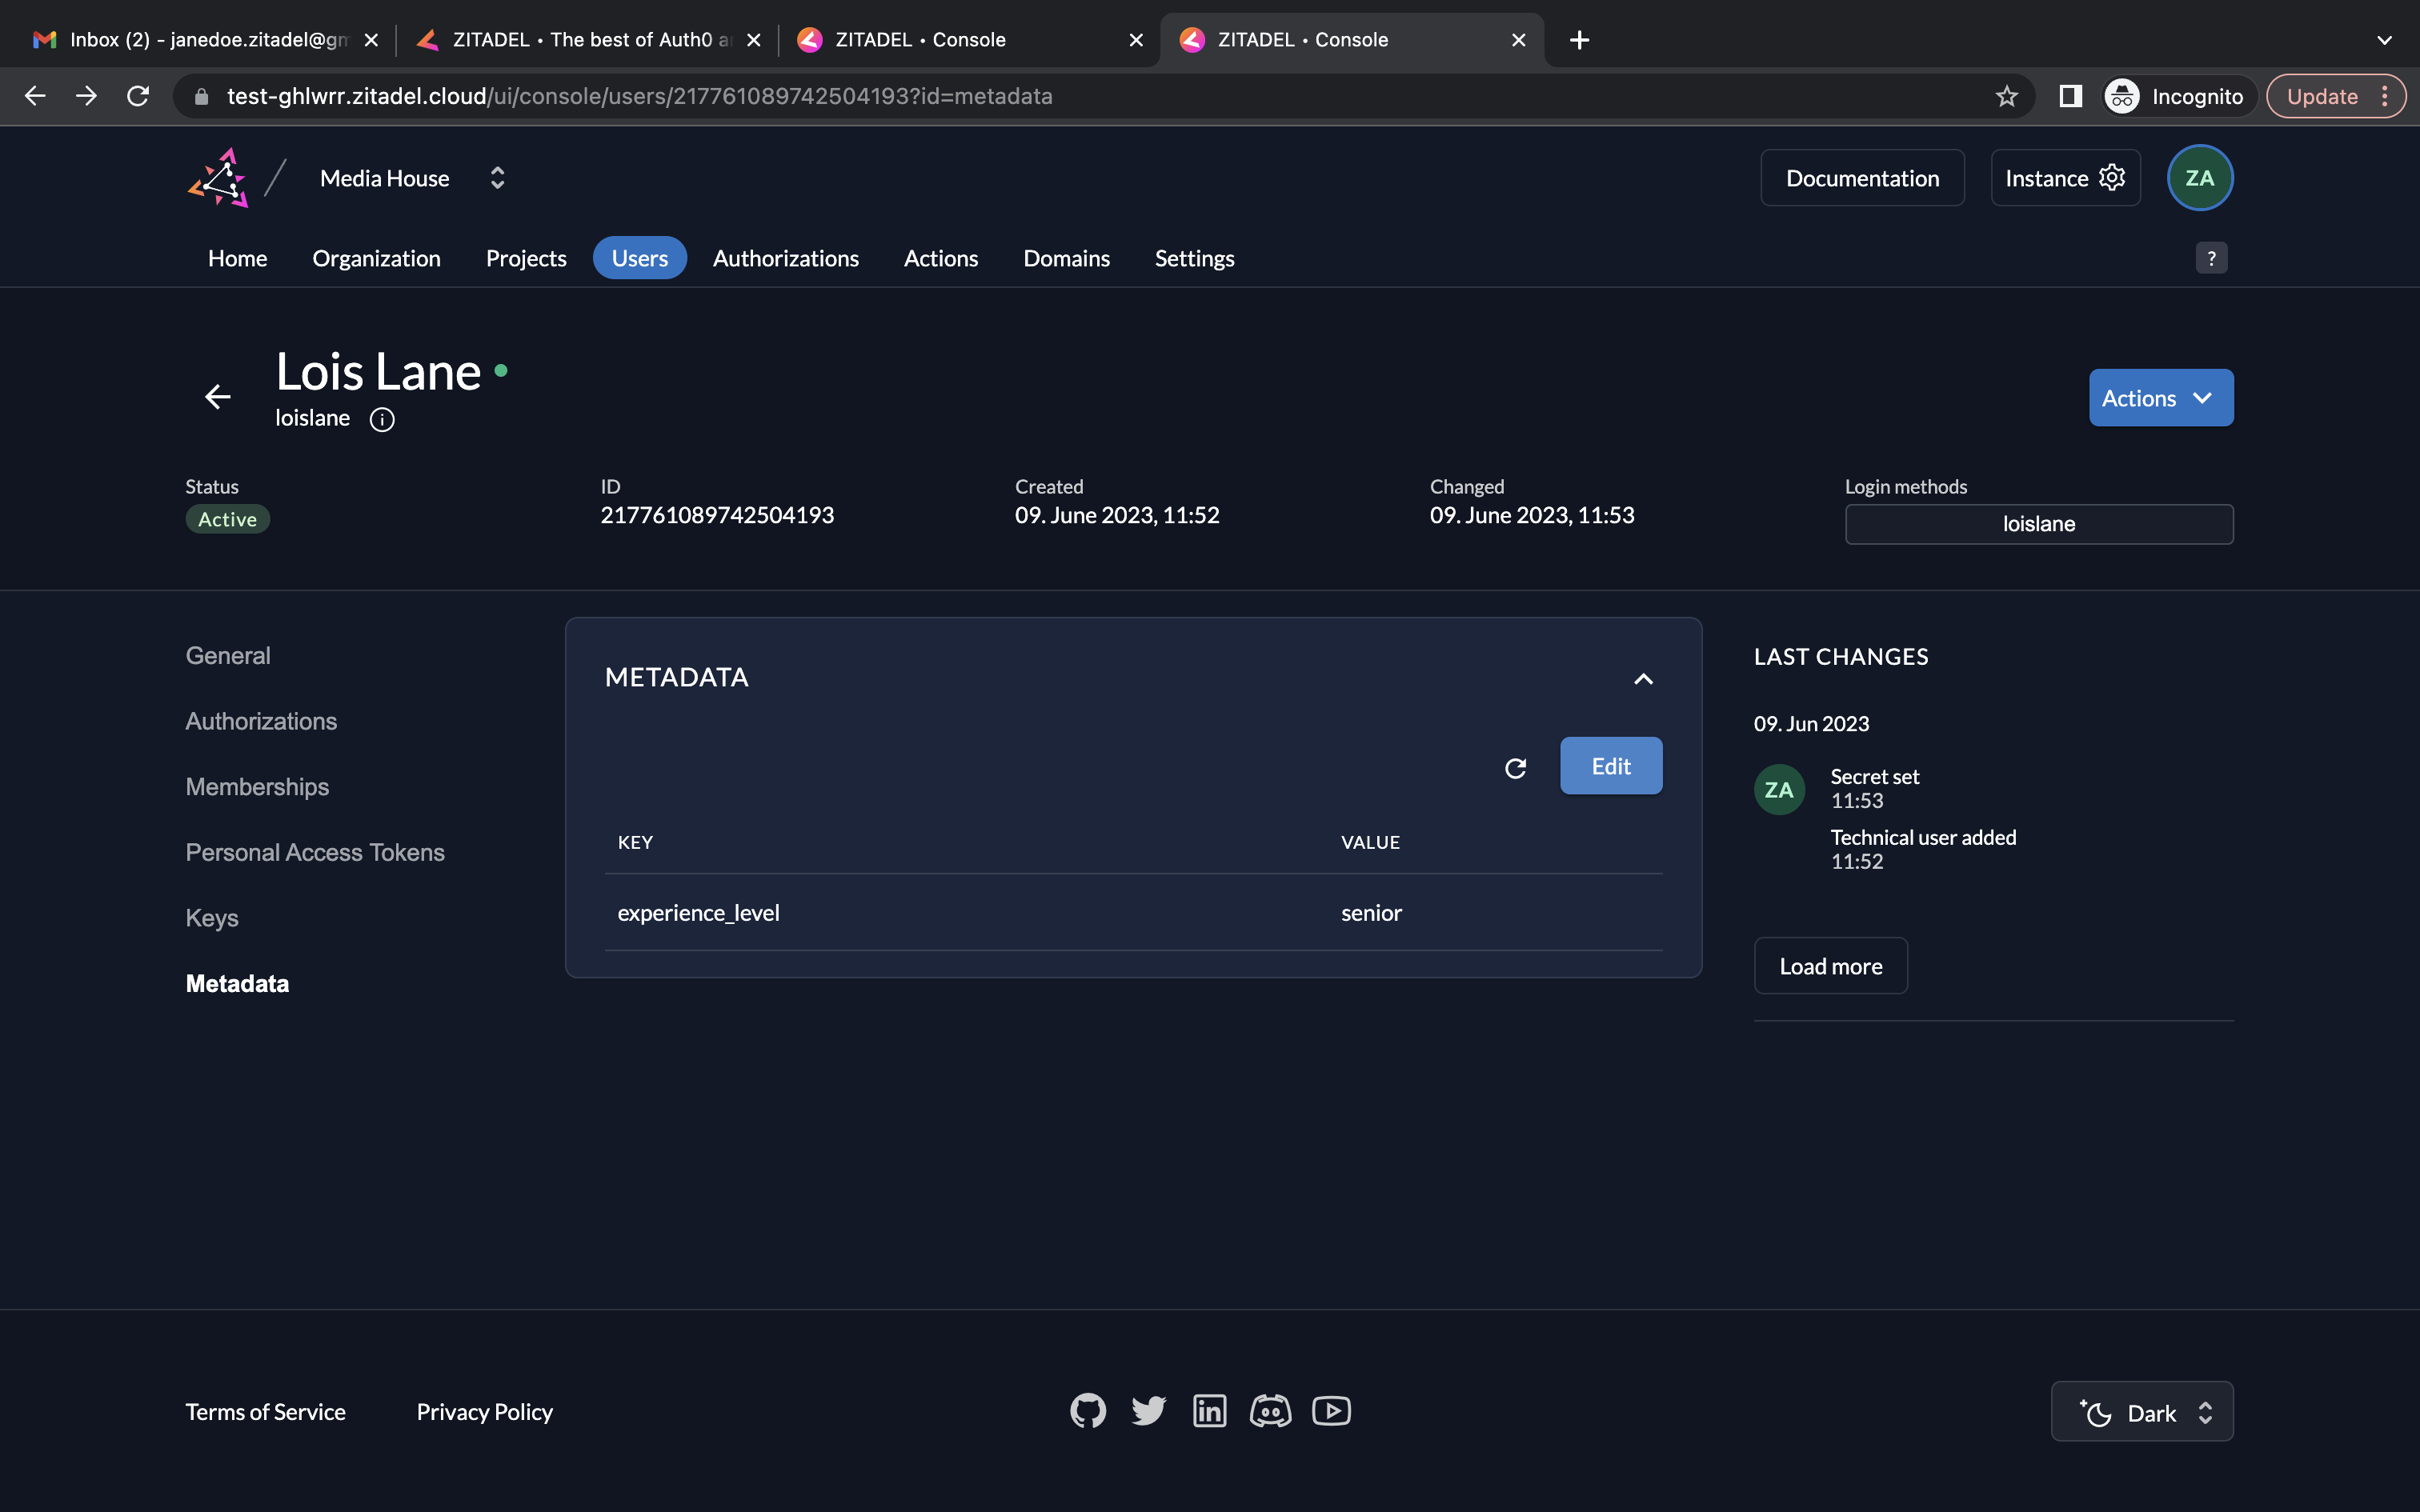
- The user now has the required metadata associated with their account.
You can also add a few more service users with different roles and experience_levels (using metadata) to test the demo using the previous steps.
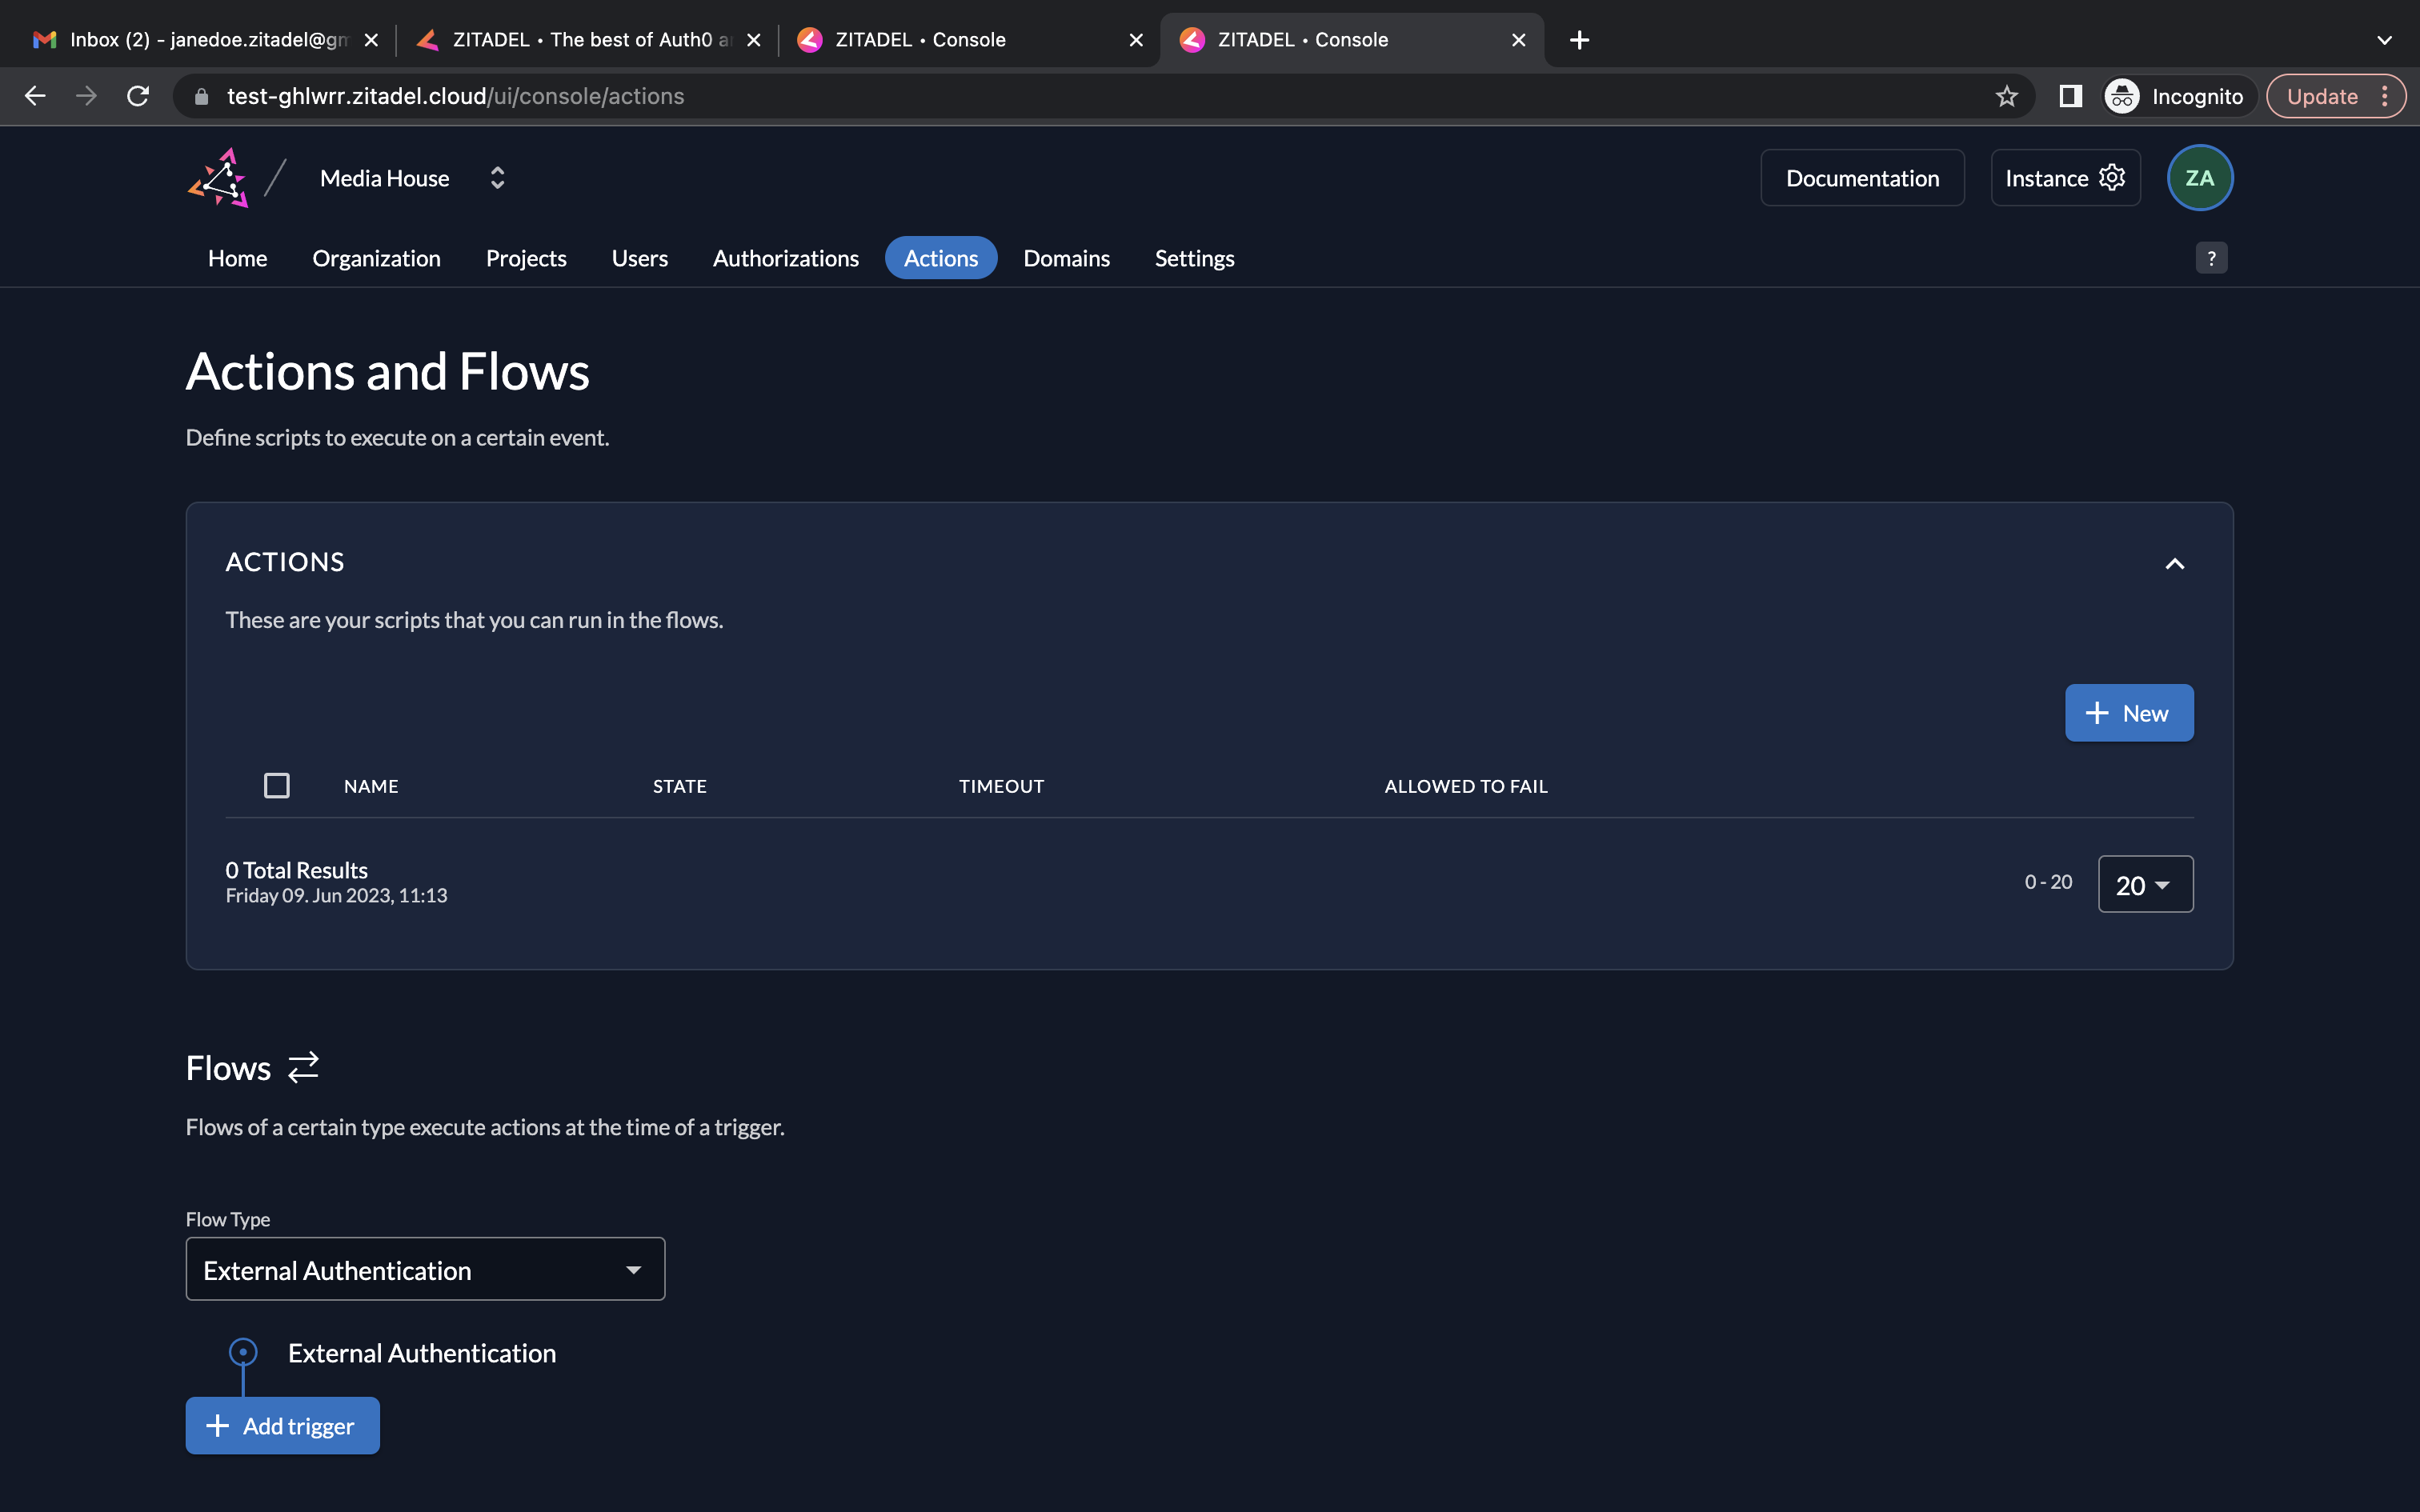
- Click on Actions. Click New to create a new action.
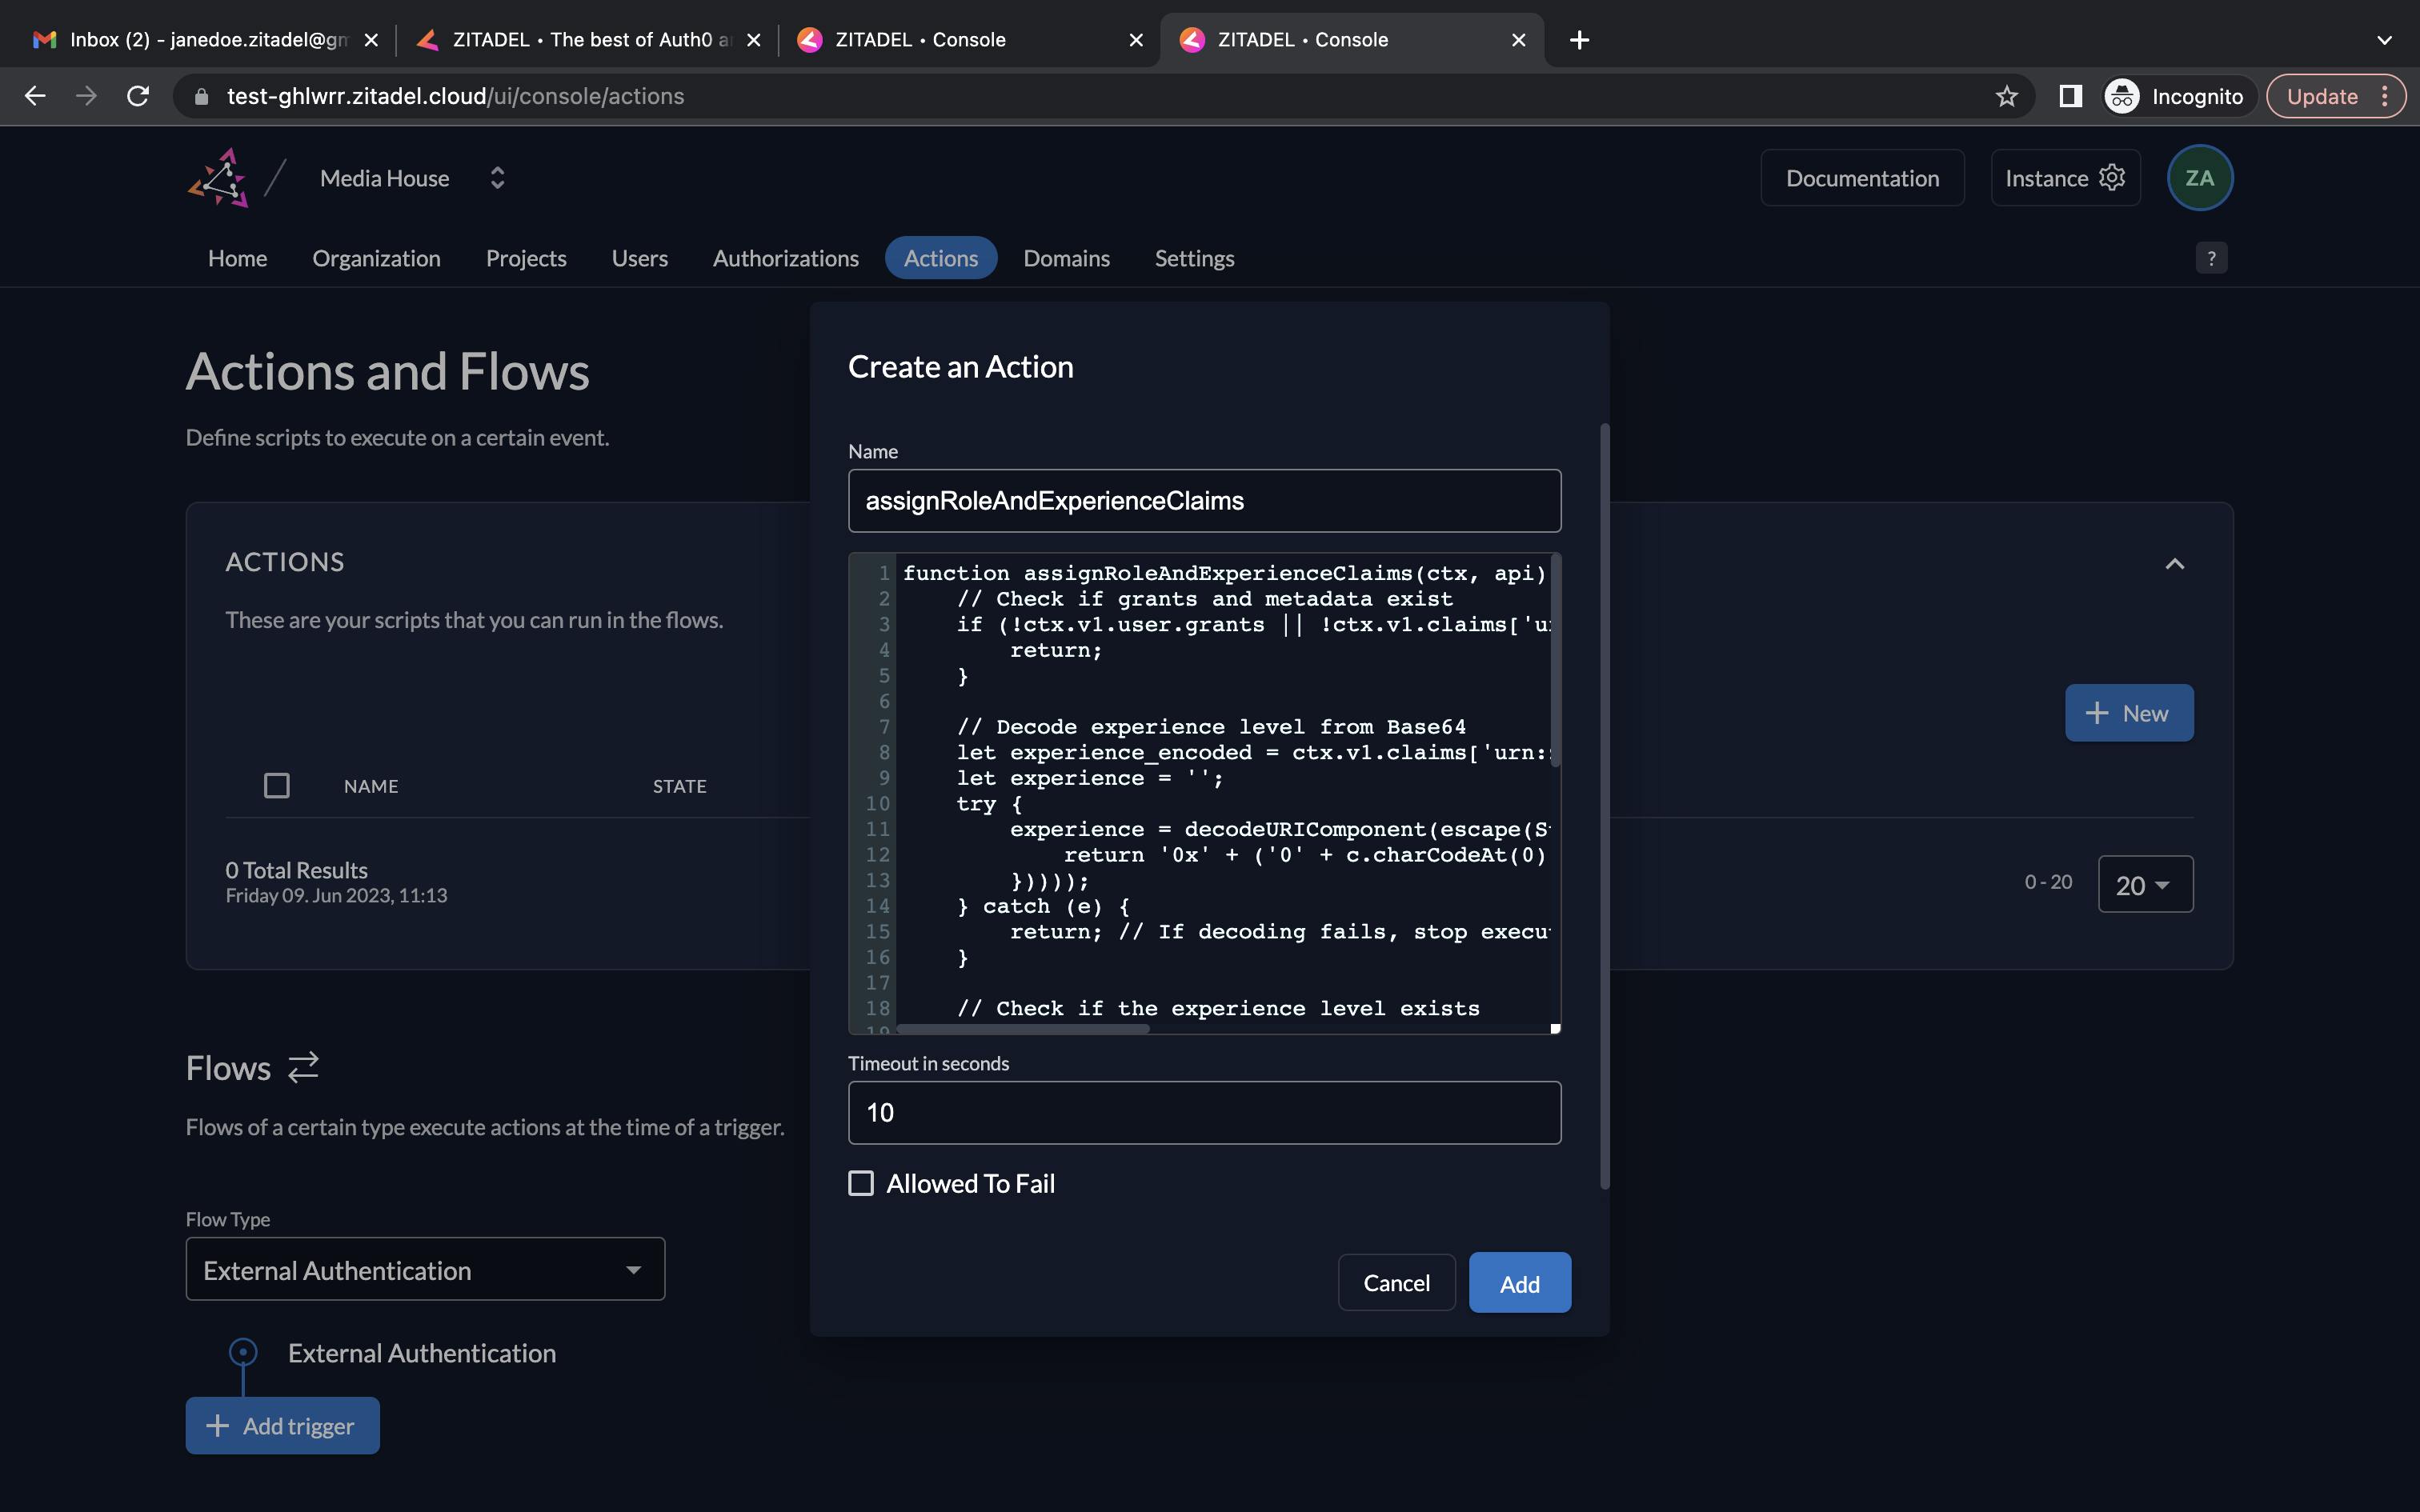
- In the Create an Action section, give the action the same name as the function name, i.e., assignRoleAndExperienceClaims. In the script field, copy/paste the code in assignRoleAndExperienceClaims.js. Click Add.
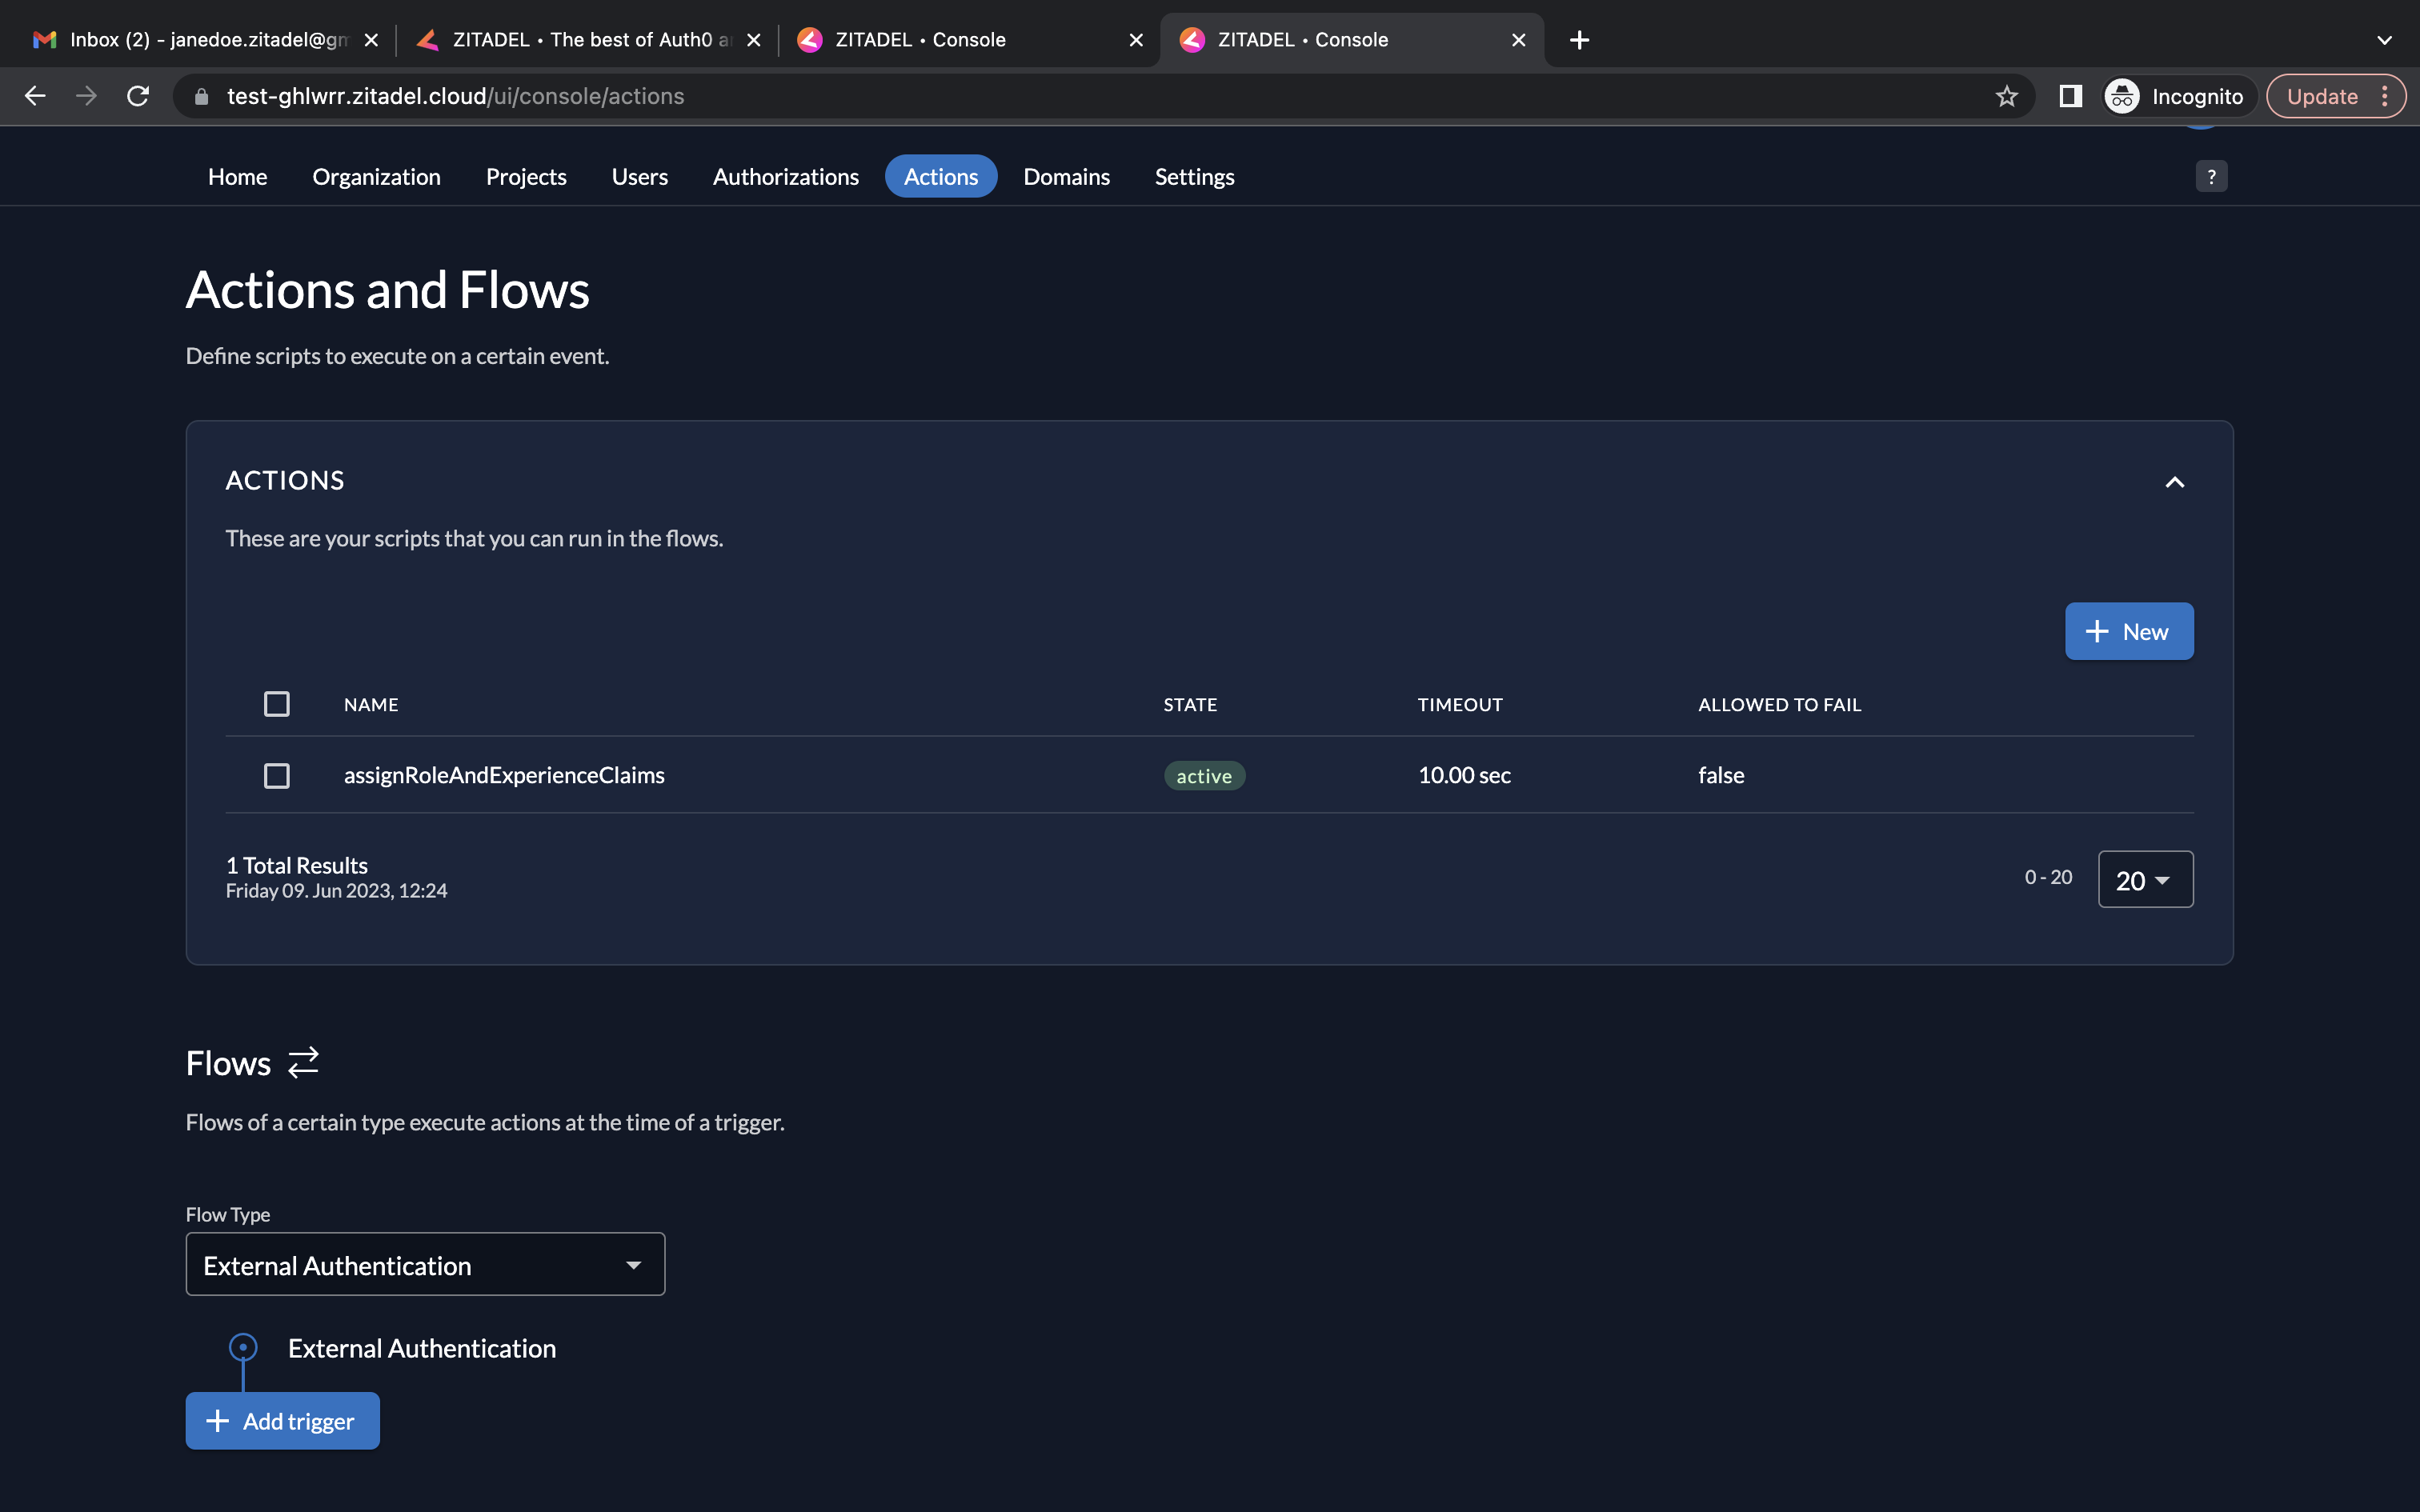
- The assignRoleAndExperienceClaims will now be listed as an action.
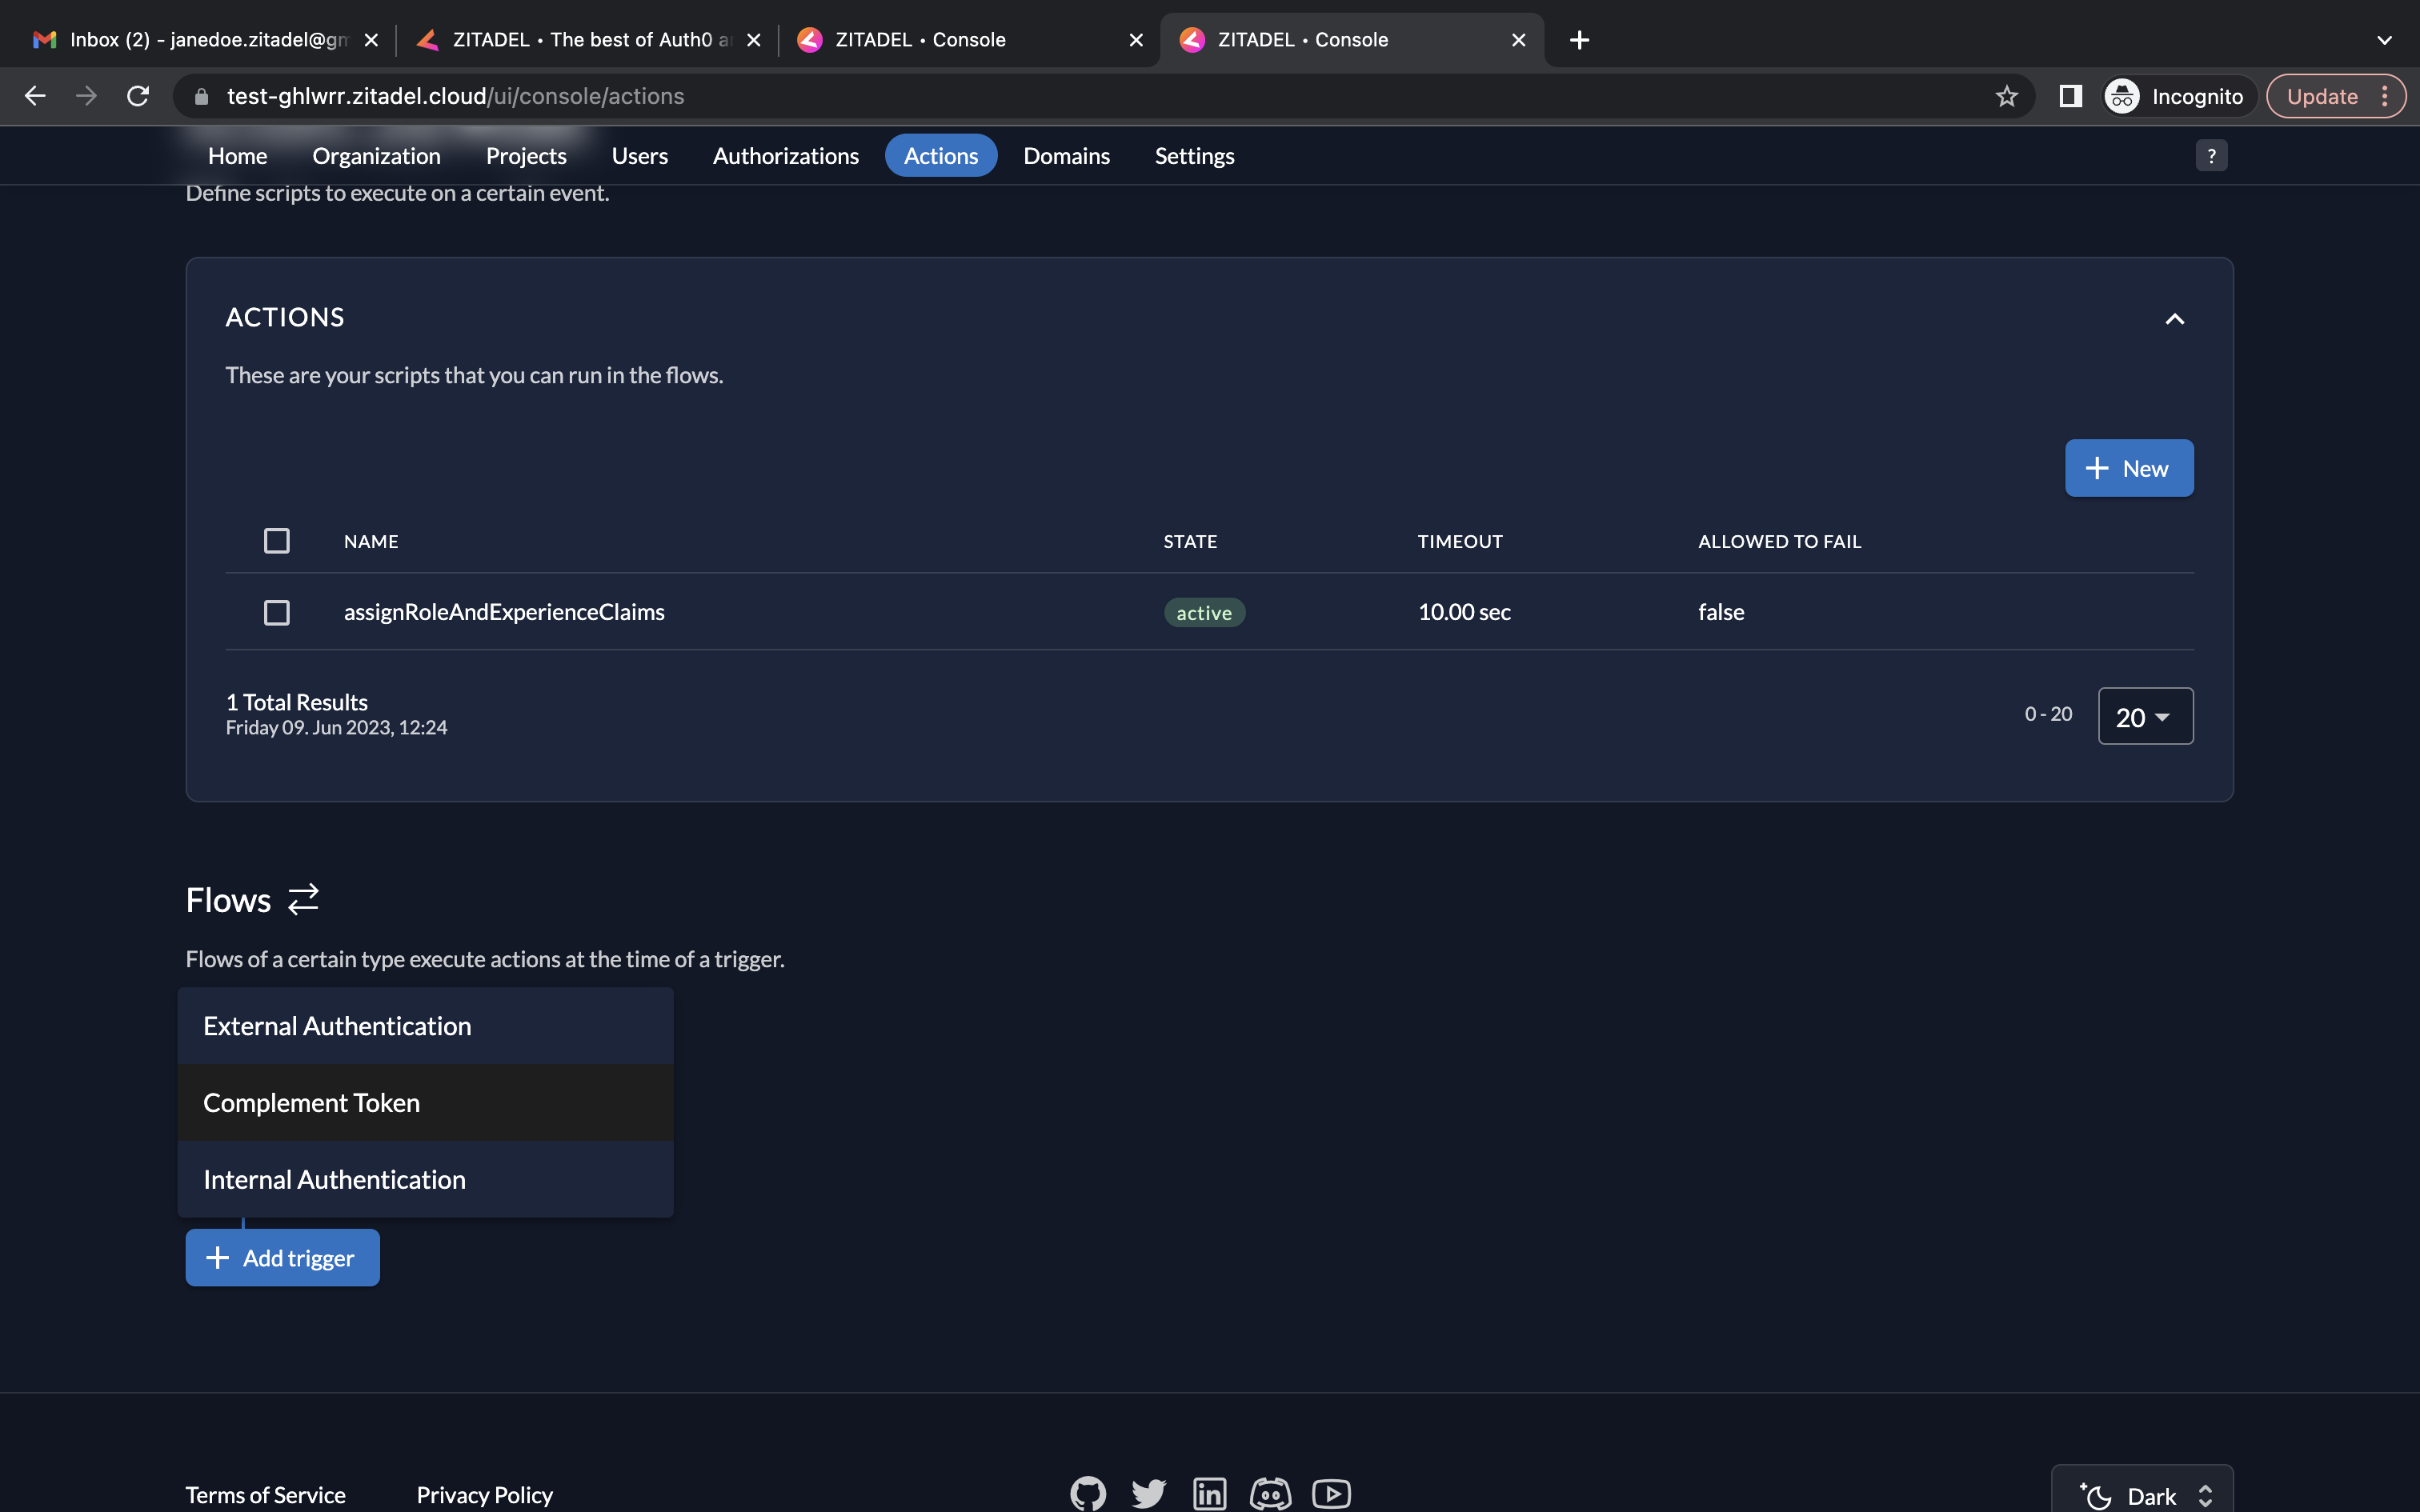
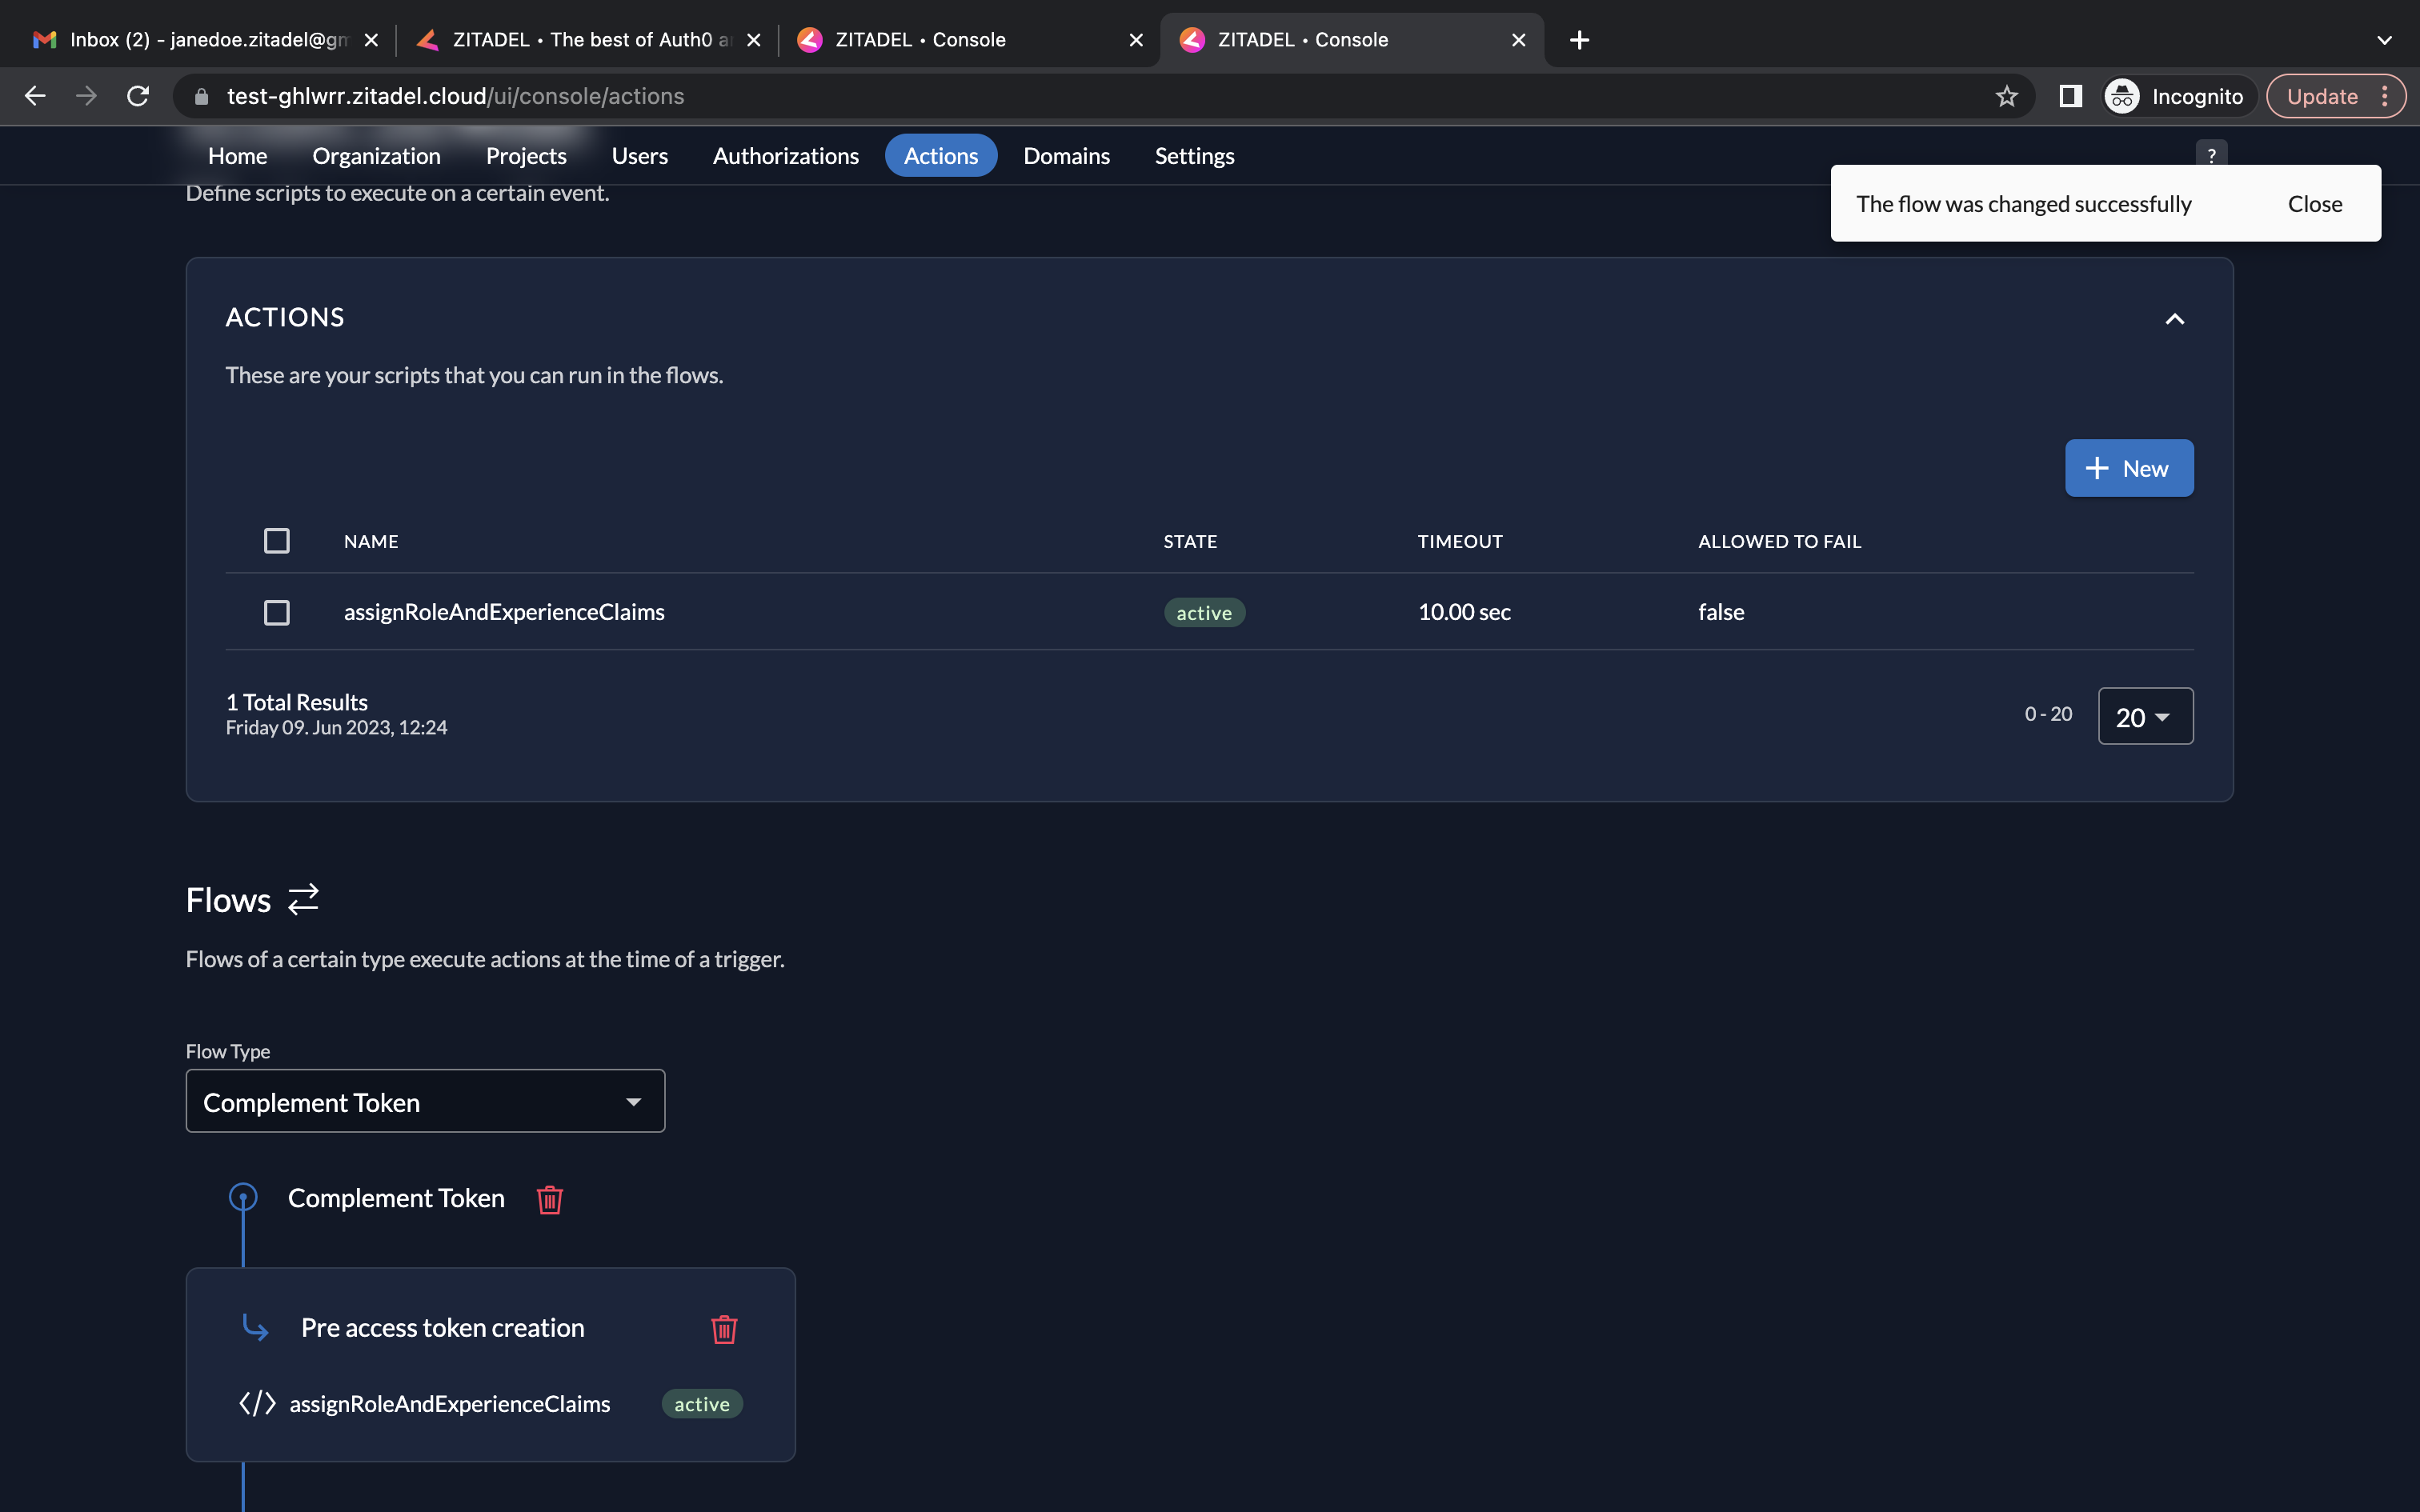
- Next, we must select a Flow Type. Go to the Flows section below. Select Complement Token from the dropdown.
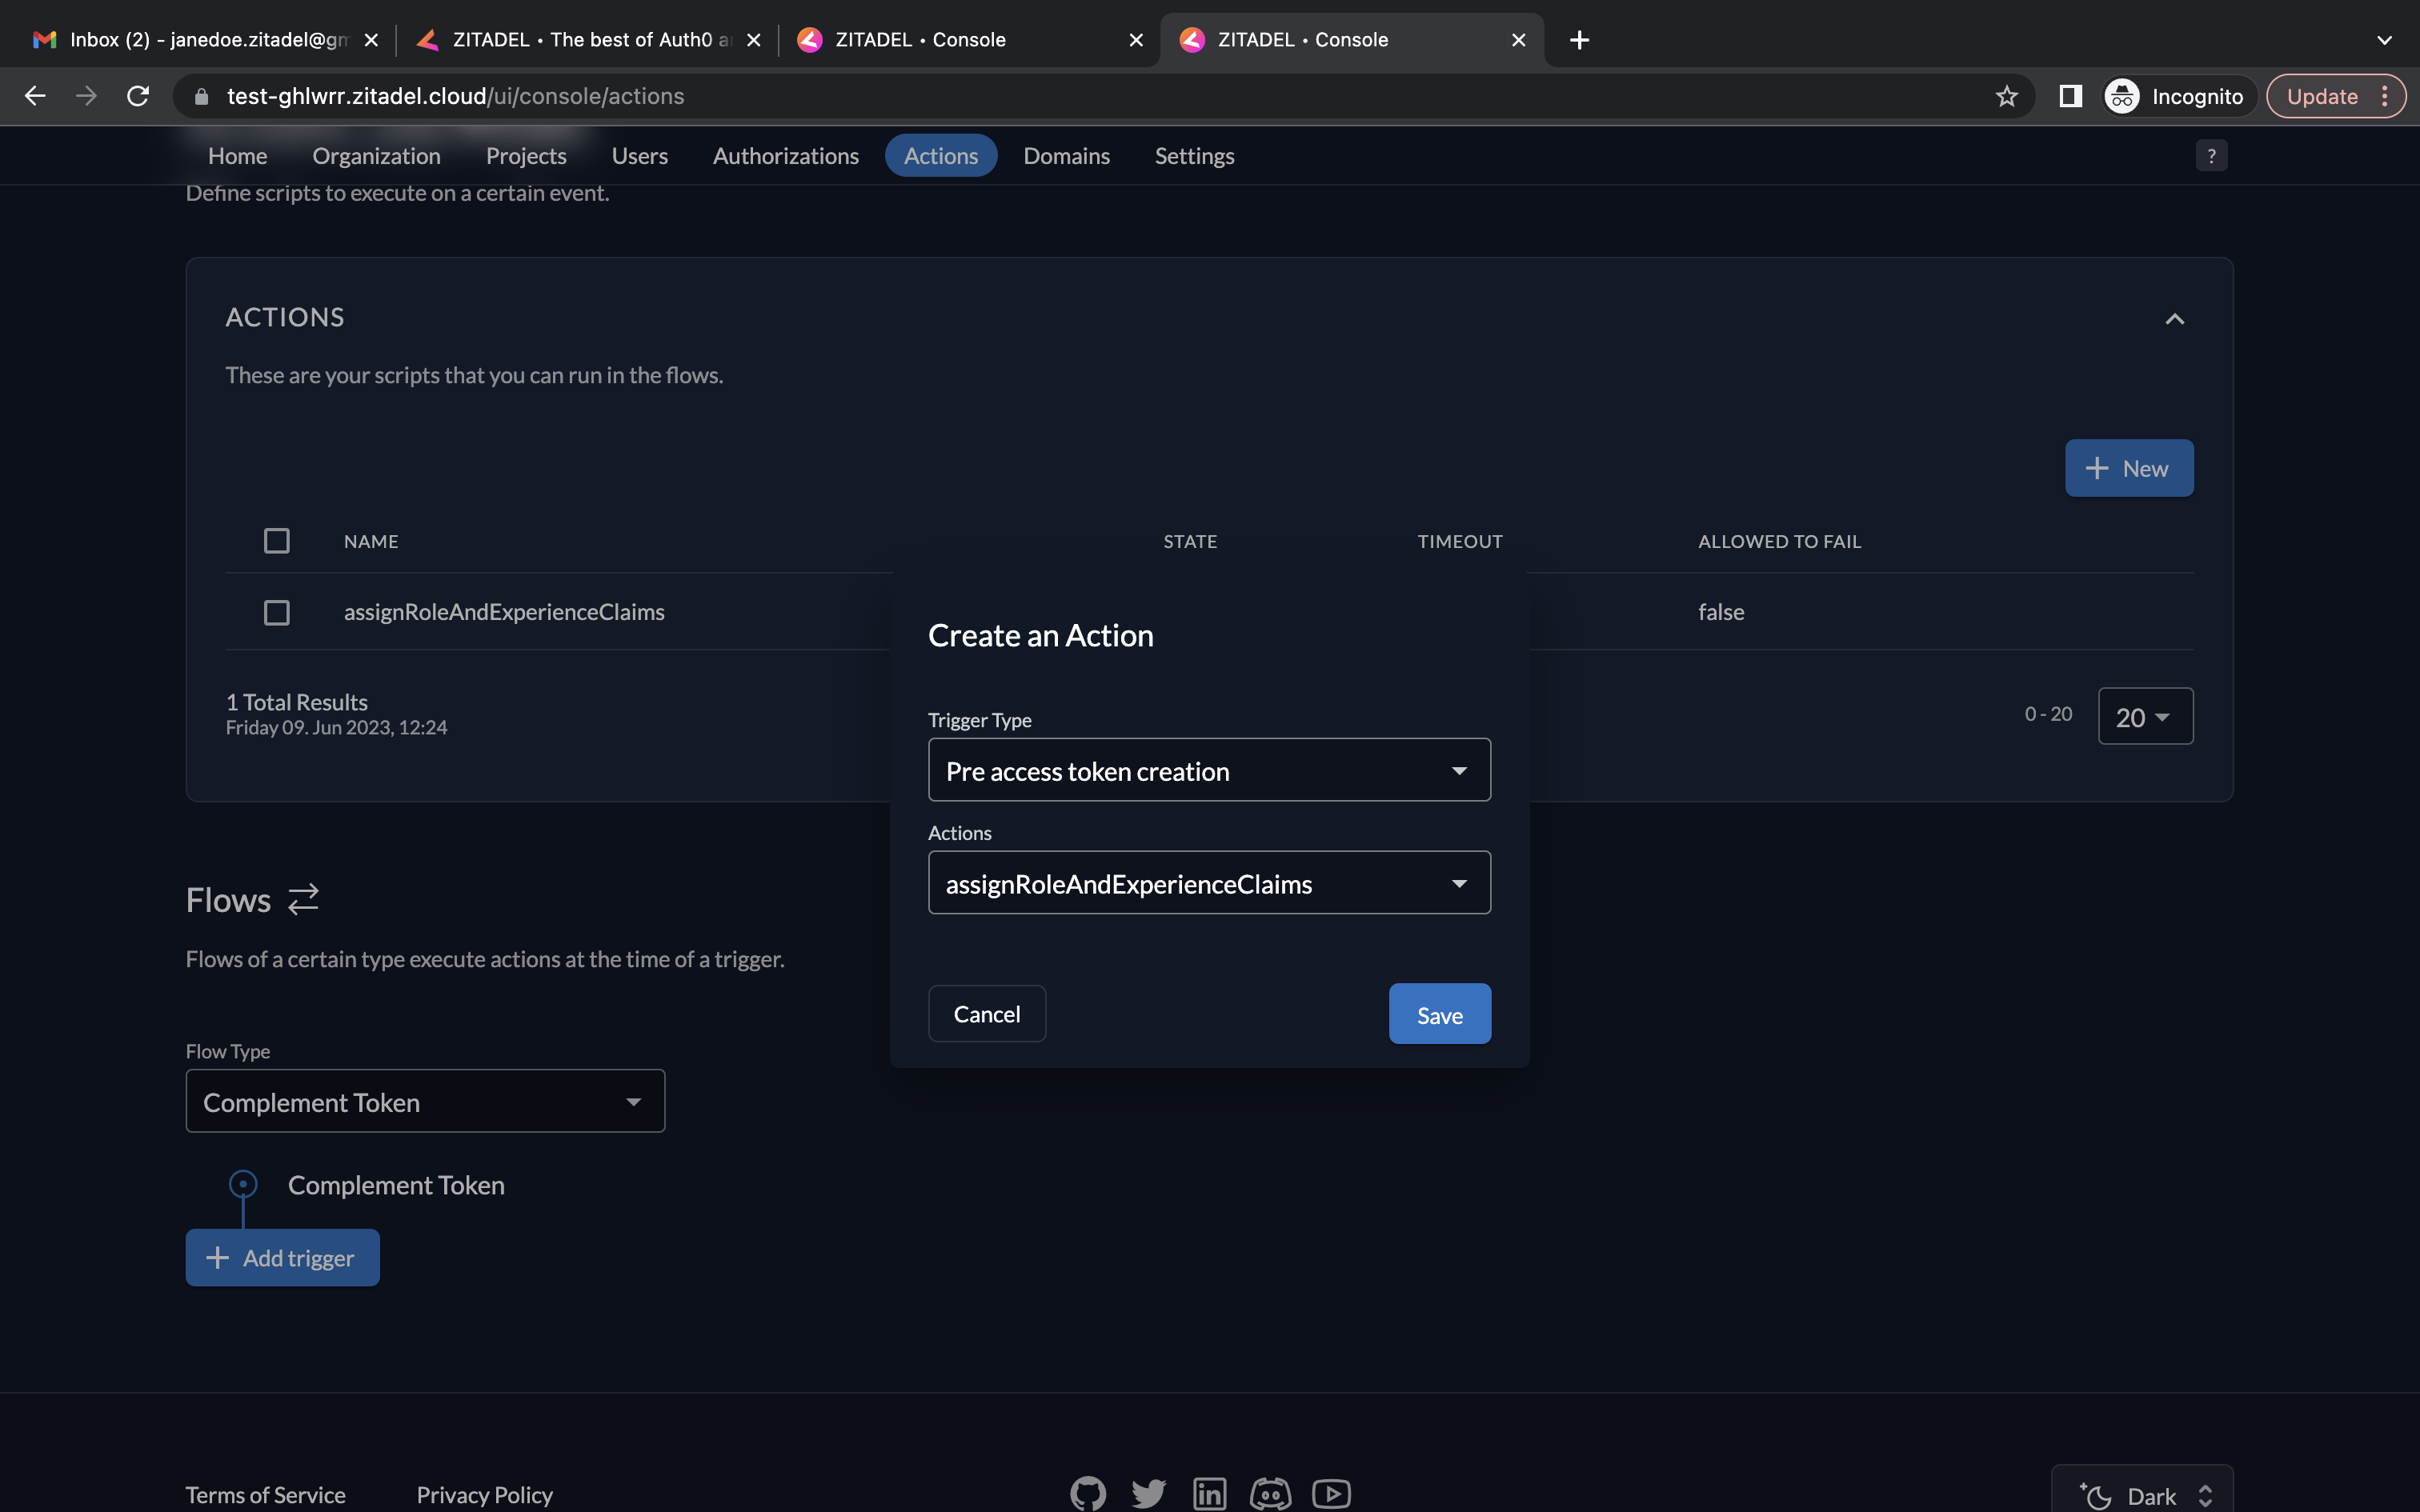
- Now, you must choose a trigger. Click Add trigger. Select Pre access token creation as the trigger type and select assignRoleAndExperienceClaims as the associated action.
- And now you will see the trigger listed.
Now, when a user requests an access token, the action will be executed, transforming the user roles and metadata into the required format and adding them as a custom claim to the token. This custom claim can then be used by third-party applications to manage fine-grained user access.
Clone the Project from GitHub:
Run the command below to clone the project from this GitHub repository:
git clone https://github.com/zitadel/example-fine-grained-authorization.git
Navigate to the Project Directory:
After cloning, navigate to the project directory with
cd example-fine-grained-authorization.
Setup a Python Environment:
Ensure you have Python 3 and pip installed. You can check this by running
python3 --versionandpip3 --version
in your terminal. If you don't have Python or pip installed, you will need to install them.
Next, create a new virtual environment for this project by running
python3 -m venv env.
Activate the environment by running:
- On Windows:
.\env\Scripts\activate - On Unix or MacOS:
source env/bin/activate
After running this command, your terminal should indicate that you are now working inside the env virtual environment.
Install Dependencies:
With the terminal at the project directory (the one containing requirements.txt), run
pip3 install -r requirements.txt
to install the necessary dependencies.
Configure Environment Variables:
The project requires certain environment variables. Fill in the .env file with the values we retrieved from ZITADEL.
Run the Application:
The Flask API (in app.py) uses JWT tokens and custom claims for fine-grained access control. It checks the custom claim experience_level for the roles journalist and editor on every request, using this information to decide if the authenticated user can access the requested endpoint. Run the Flask application by executing:
python3 app.py
If everything is set up correctly, your Flask application should now be running.
This project was developed and tested with Python 3. If you encounter any issues, please ensure you're using a Python 3 interpreter.
- Ensure you have cloned the repository and installed the necessary dependencies as described earlier.
- Run the
client_credentials_token_generator.pyscript to generate an access token. Open your terminal and navigate to the project directory, then run the script using python3:
python3 client_credentials_token_generator.py
- If successful, this will print an access token to your terminal. This is the token you'll use to authenticate your requests to the API.
- If you didn't stat the Flask API earlier, run the API by opening another terminal in the project directory and running:
python3 app.py
- The API server should be now running and ready to accept requests.
Now you can use cURL or any other HTTP client (like Postman) to make requests to the API. Remember to replace your_access_token in the curl commands with the access token you obtained in step 2.
Scenario 1: Junior Editor Tries to Edit an Article (Success)
User with editor role and junior experience_level tries to call edit_article endpoint.
curl -H "Authorization: Bearer <your_access_token>" -X POST http://localhost:5000/edit_article- Expected Output:
{"message": "Article edited successfully"}
Scenario 2: Junior Editor Tries to Publish an Article (Failure)
User with editor role and junior experience_level tries to call publish_article endpoint.
curl -H "Authorization: Bearer <your_access_token>" -X POST http://localhost:5000/publish_article- Expected Output:
{"message": "Access denied! You are a junior editor and therefore cannot access publish_article"}
Scenario 3: Senior Journalist Tries to Write an Article (Success)
User with journalist role and senior experience_level tries to call write_article endpoint.
curl -H "Authorization: Bearer <your_access_token>" -X POST http://localhost:5000/write_article- Expected Output:
{"message": "Article written successfully"}
Scenario 4: Junior Journalist Tries to Review Articles (Failure)
User with journalist role and 'junior' experience_level tries to call review_articles endpoint.
curl -H "Authorization: Bearer <your_access_token>" -X POST http://localhost:5000/review_articles- Expected Output:
{"message": "Access denied! You are a junior journalist and therefore cannot access review_articles"}
Scenario 5: Senior Editor Tries to Review Articles (Success)
User with editor role and senior experience_level tries to access review_articles endpoint.
curl -H "Authorization: Bearer <your_access_token>" -X POST http://localhost:5000/review_articles- Expected Output:
{"message": "Article reviewed successfully"}
Scenario 6: Intermediate Journalist Tries to Publish an Article (Success)
User with journalist role and intermediate experience_level tries to access publish_article endpoint.
curl -H "Authorization: Bearer <your_access_token>" -X POST http://localhost:5000/publish_article- Expected Output:
{"message": "Article published successfully"}
