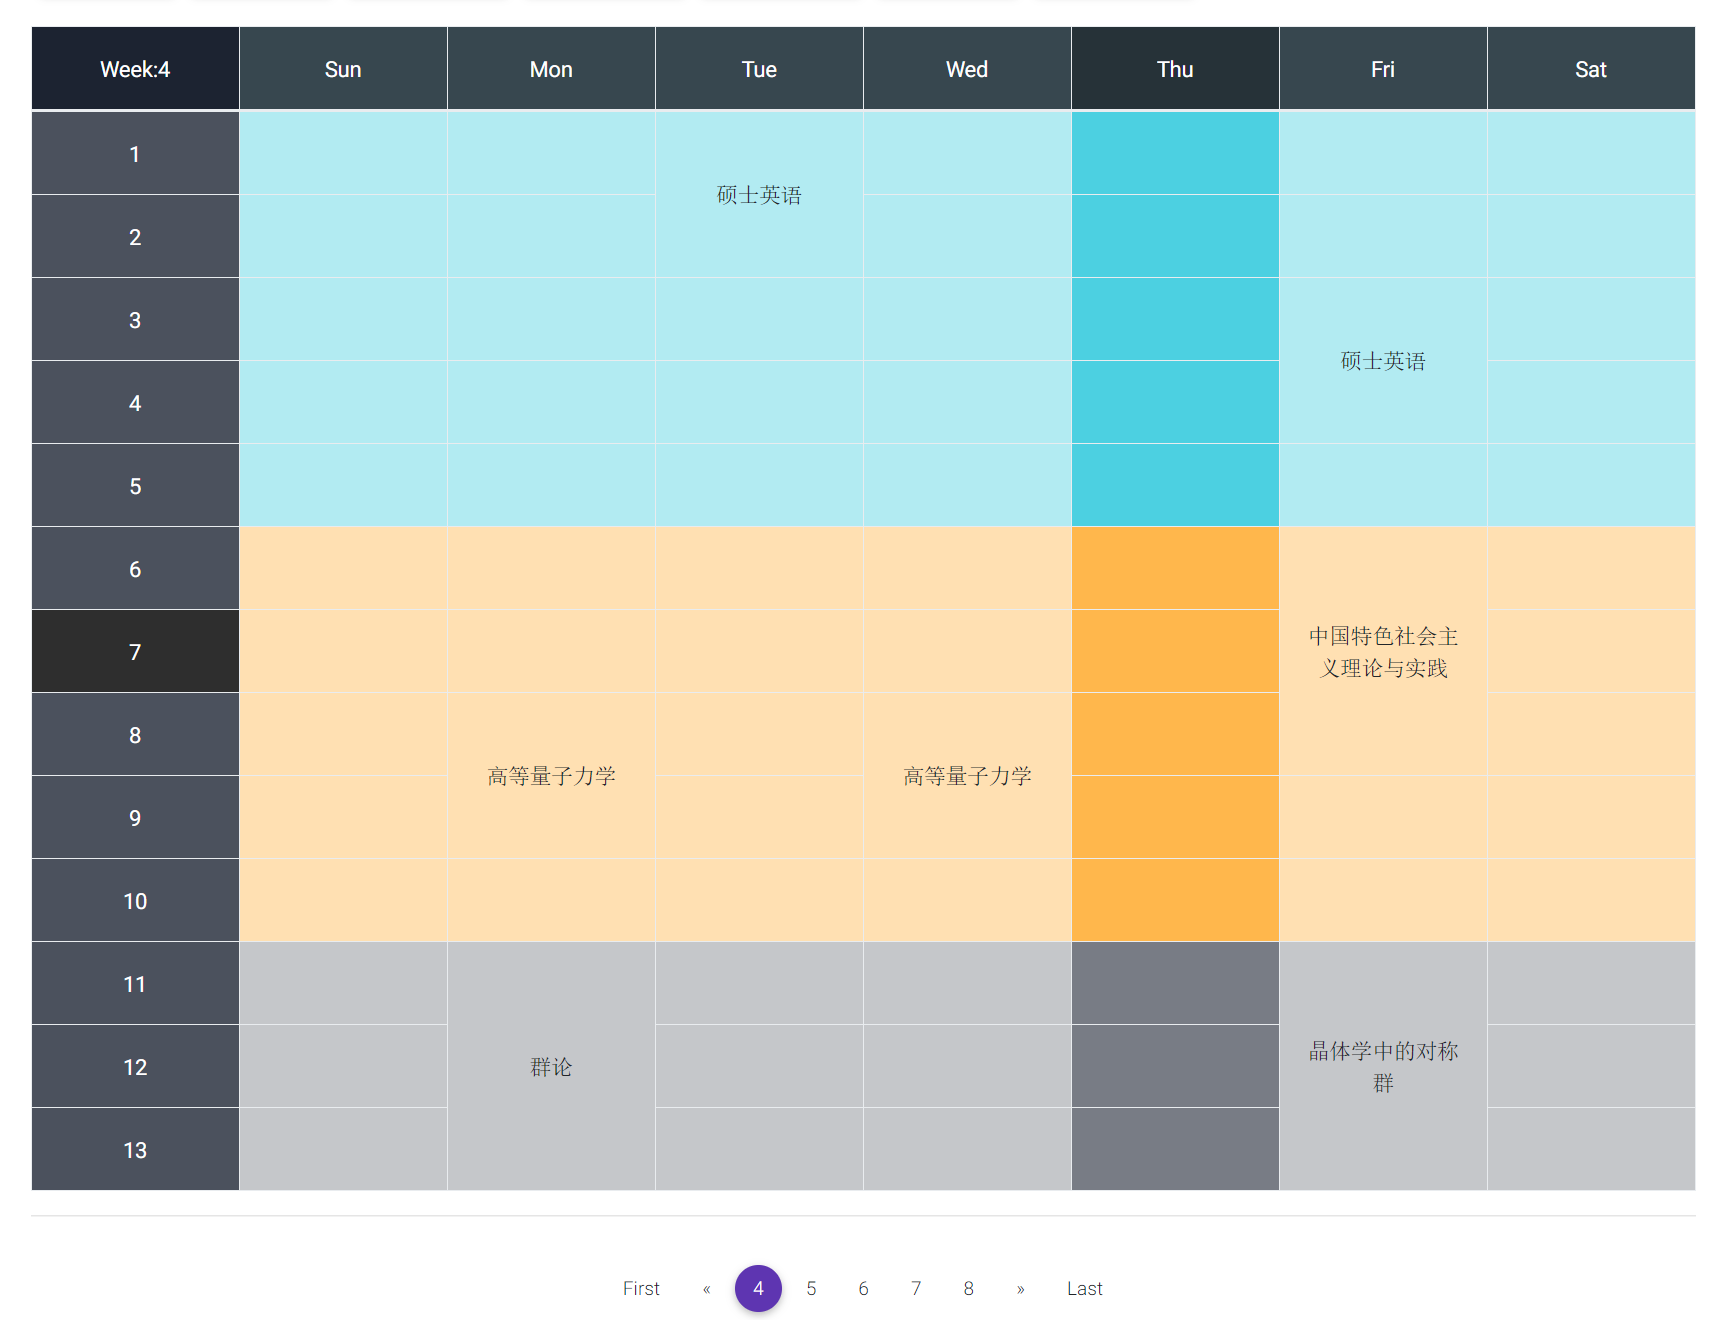
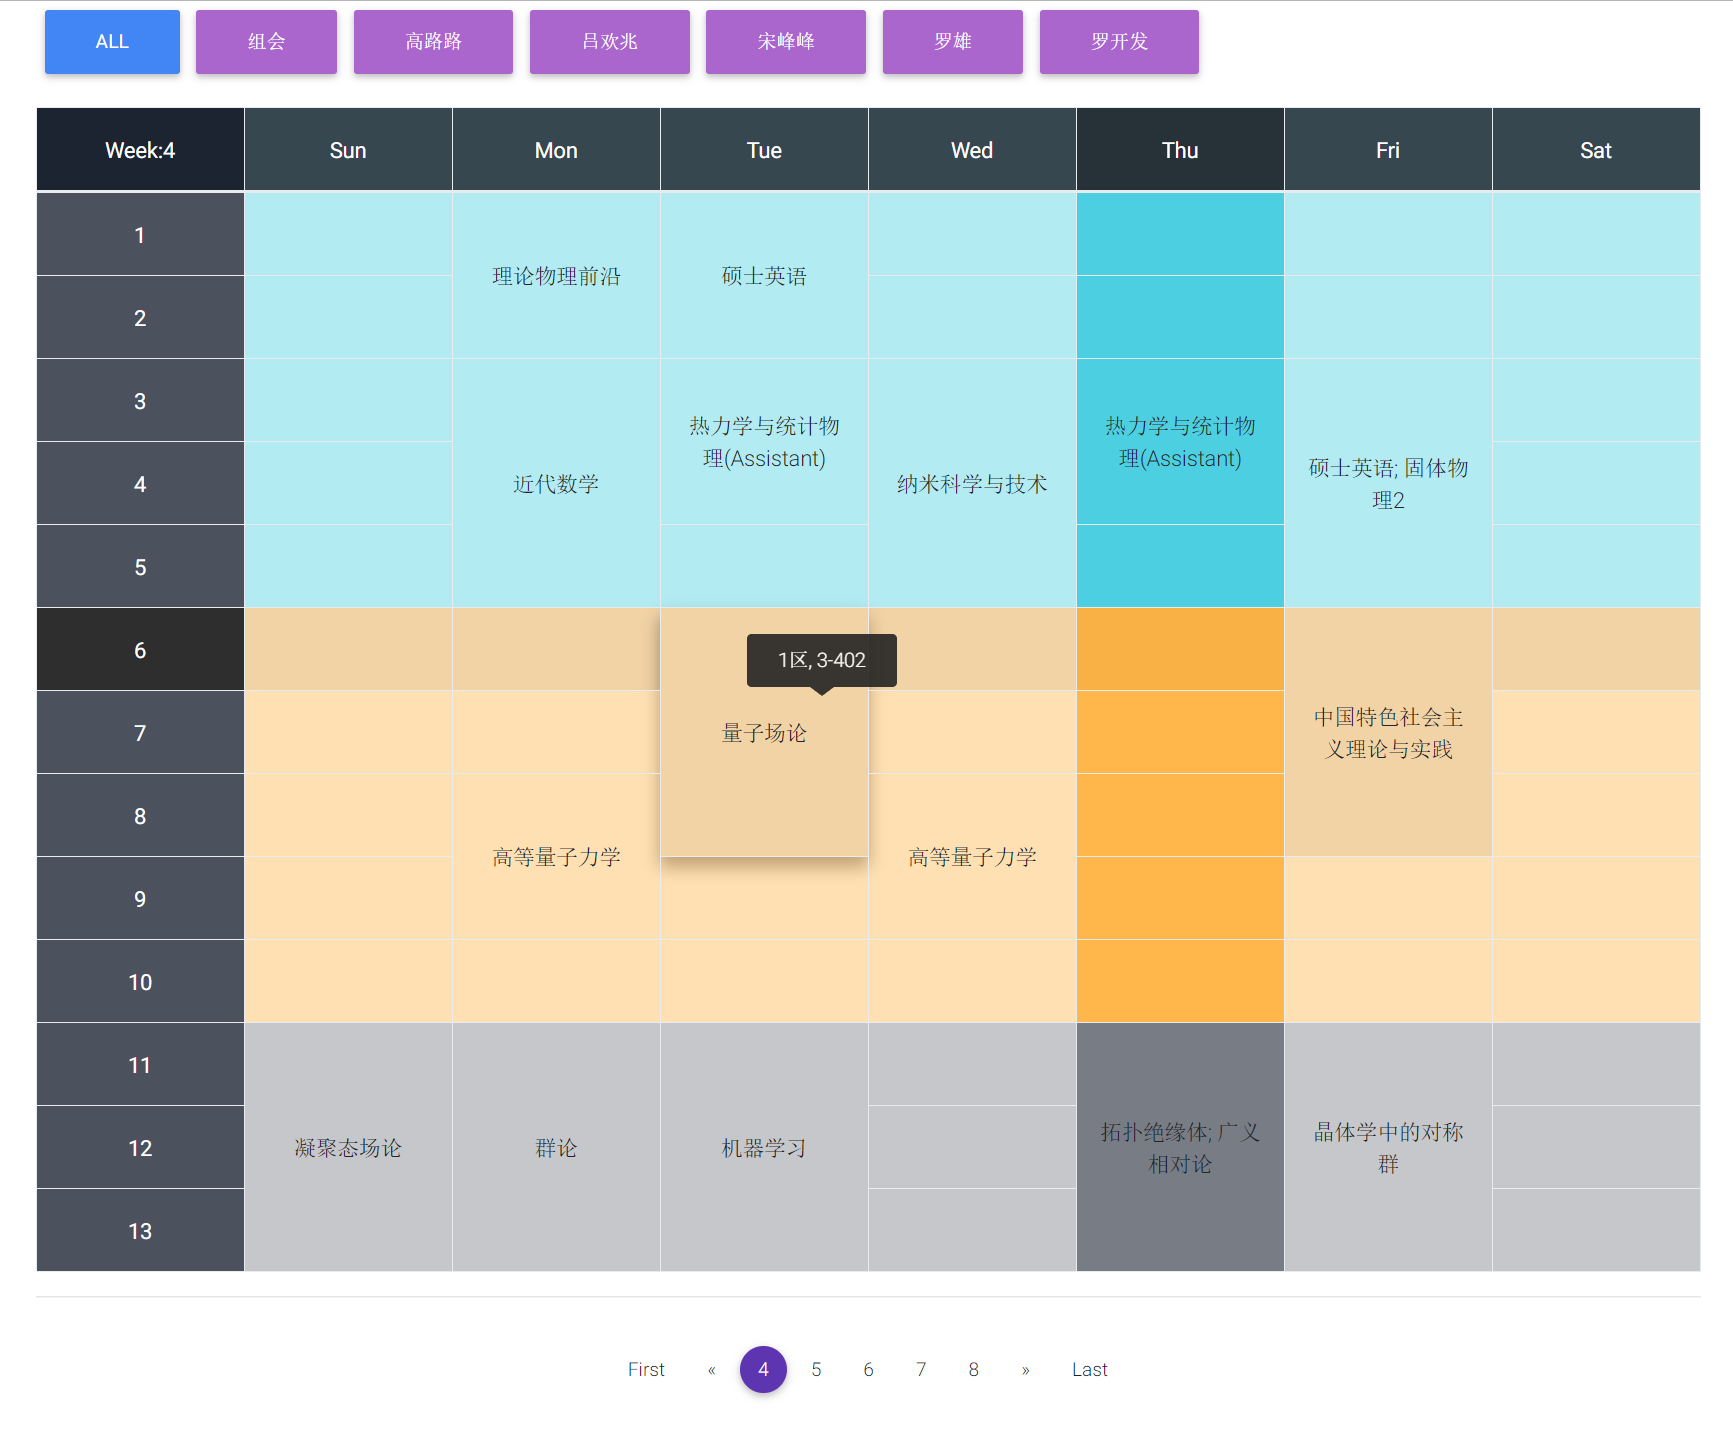
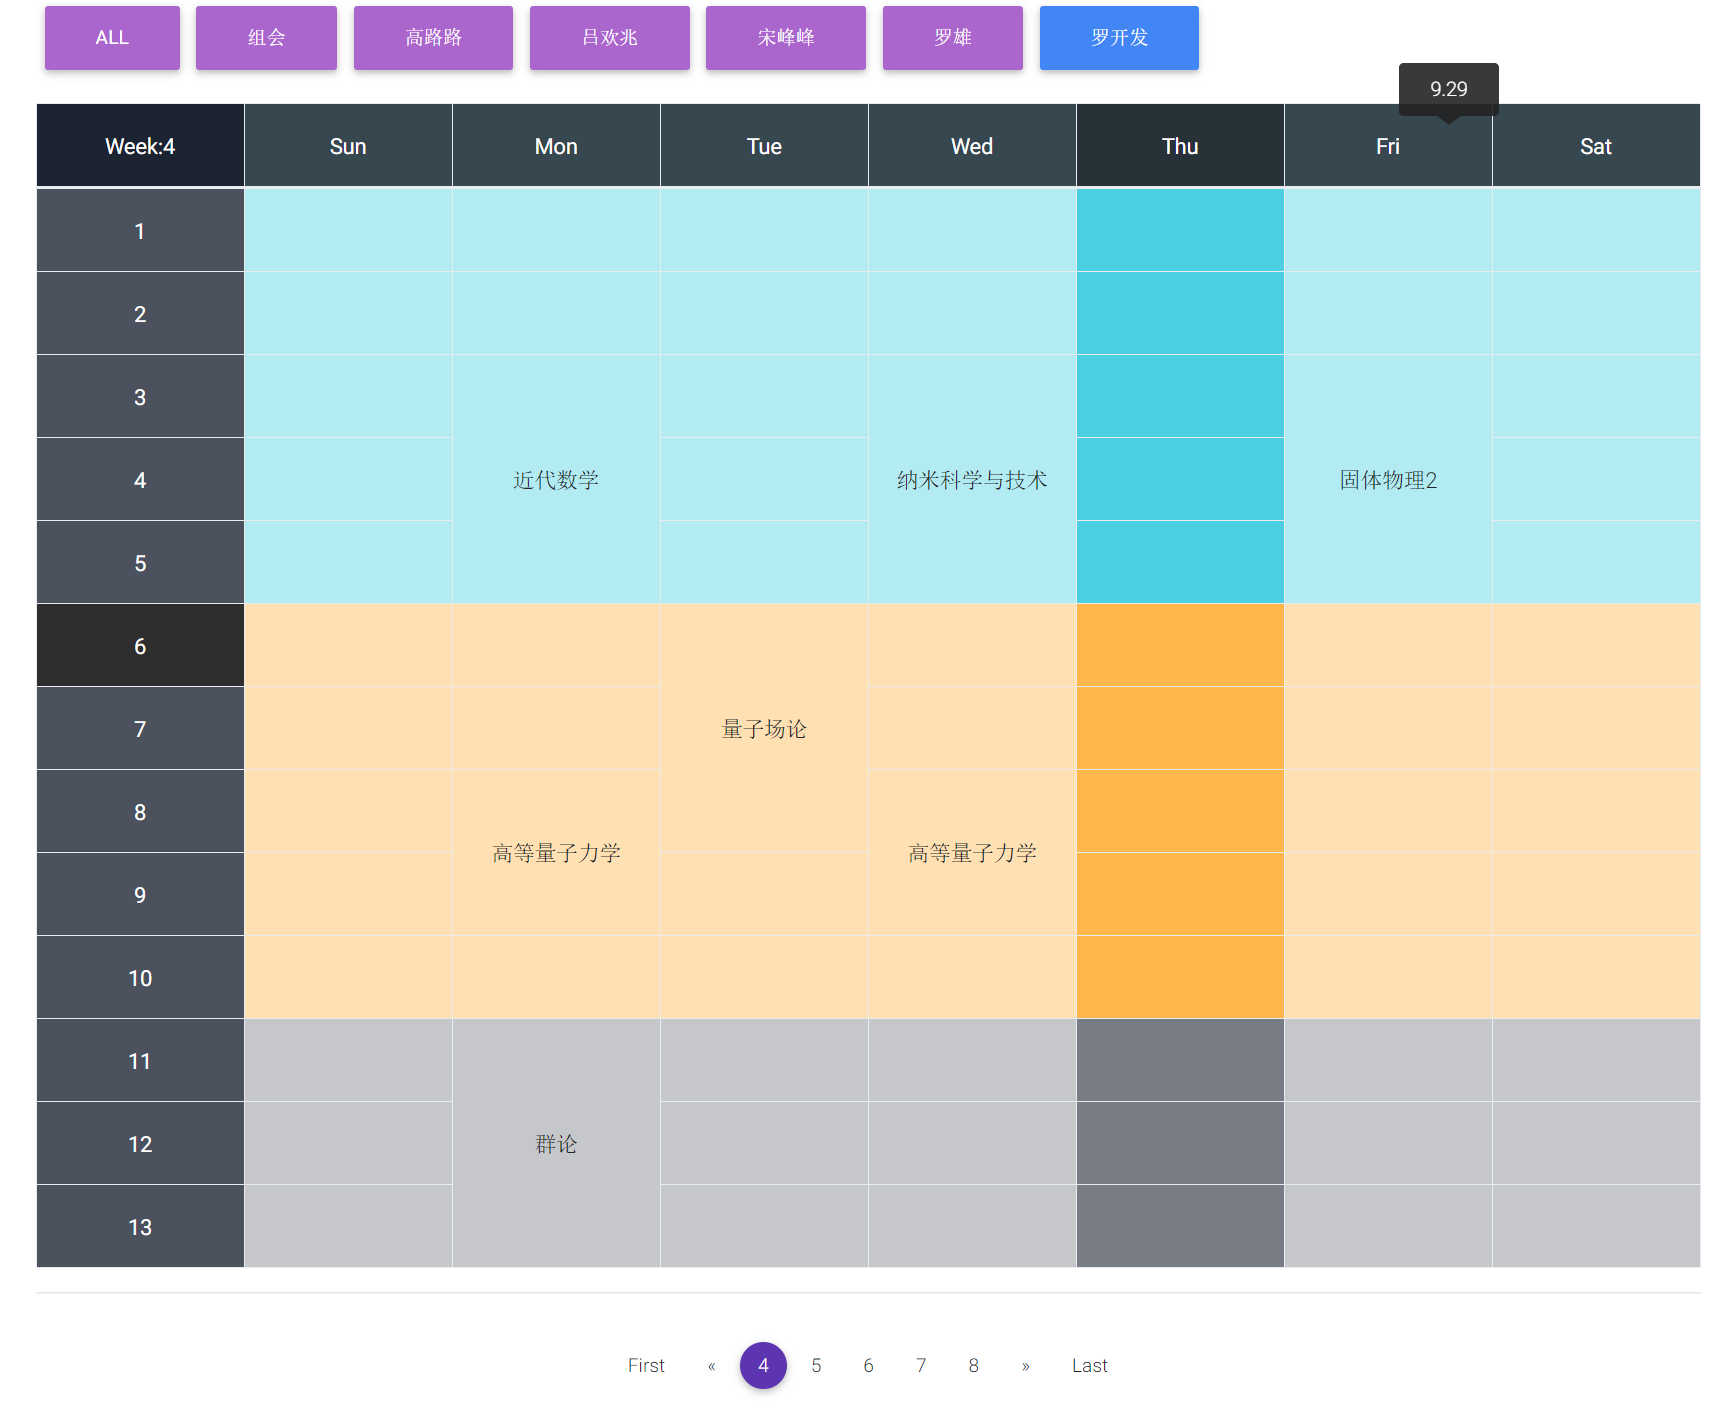
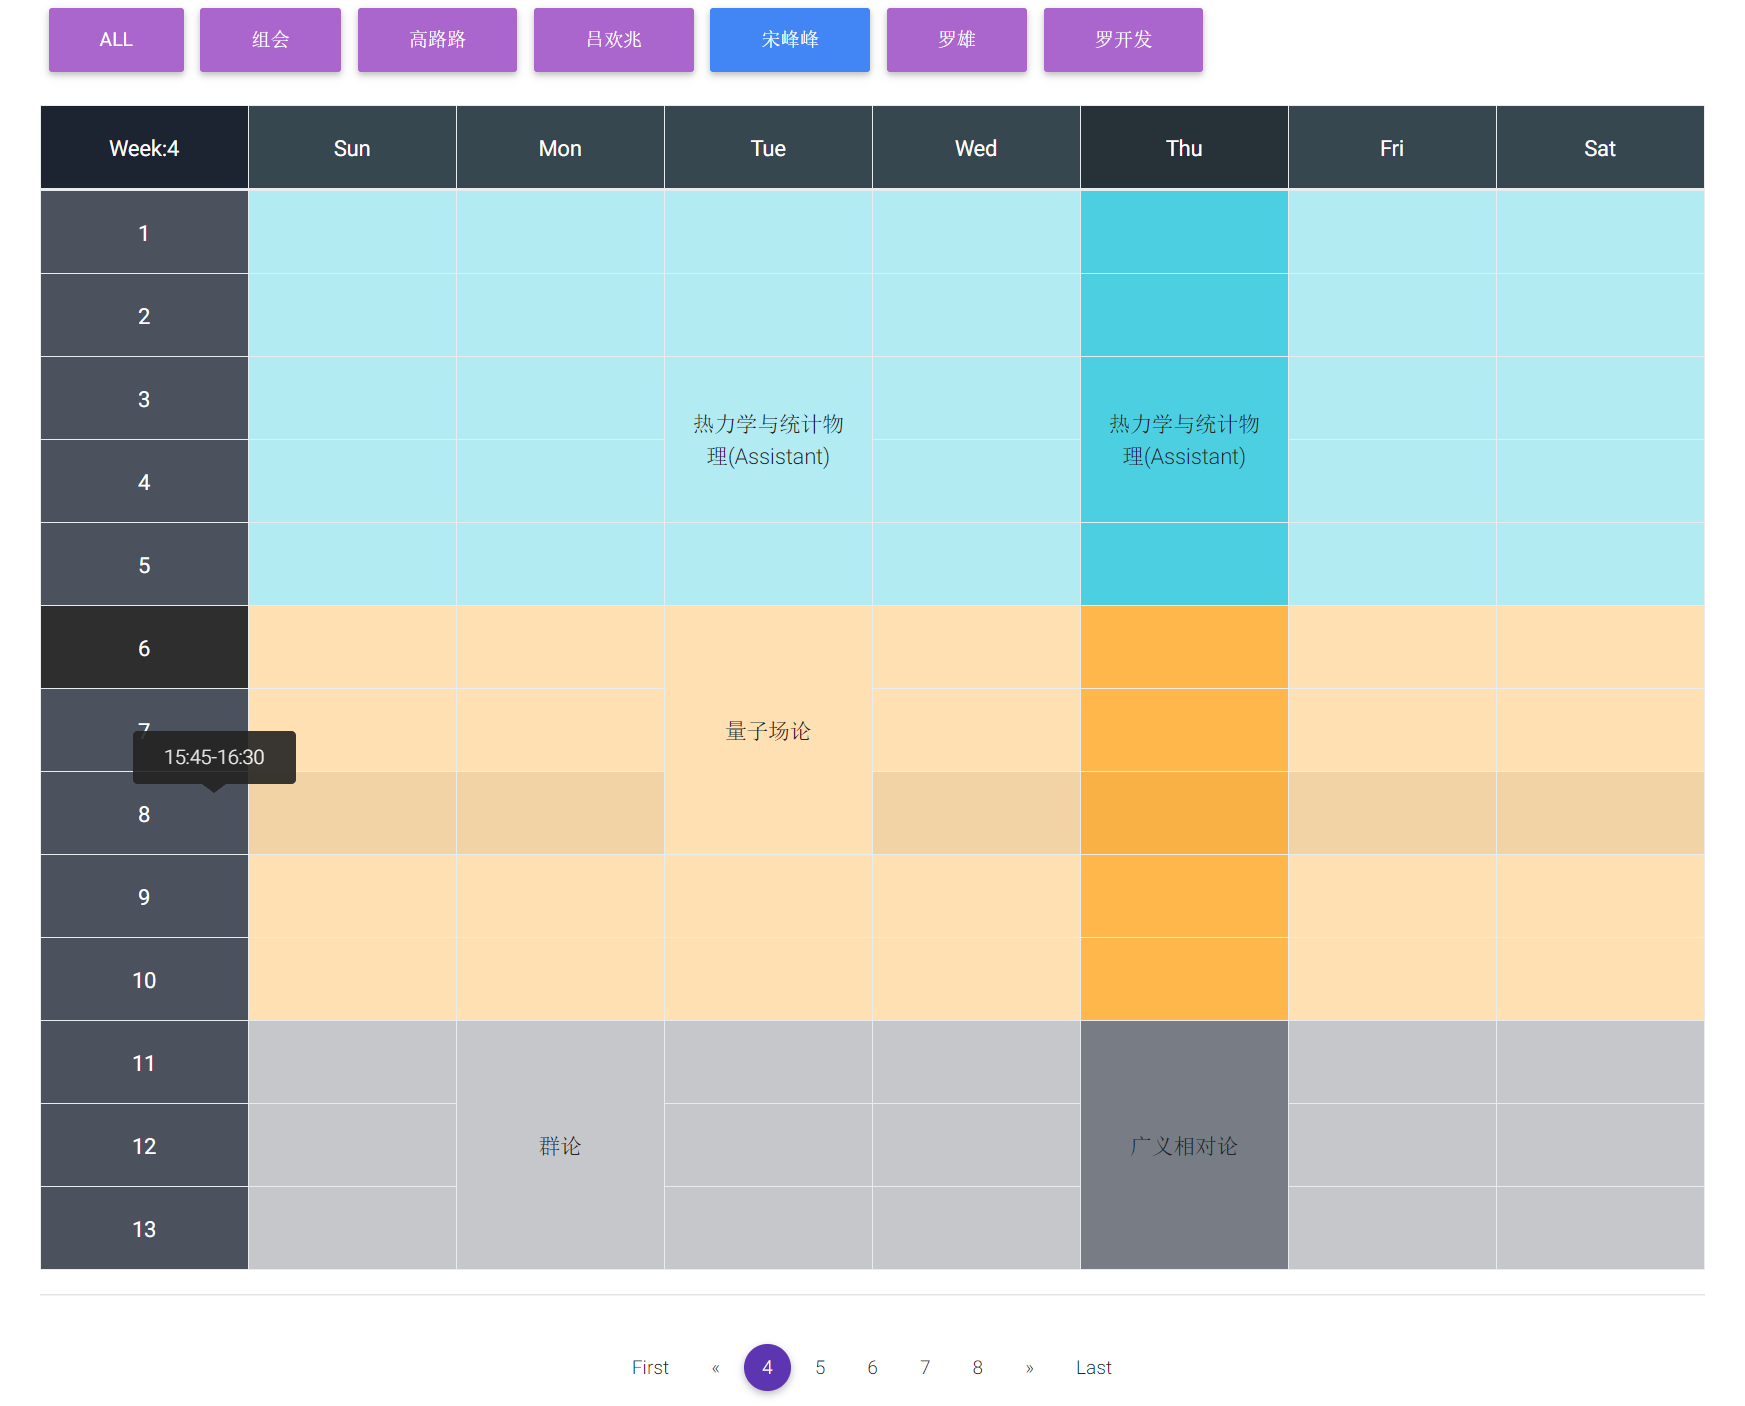
a simple class schedule built by React.js
You can view the demo here.
Without Name buttons above if only one person's info is given

Create a class schedule App is divided into two steps:
- configurate, build and test the App locally.
- publish this App at https://myusername.github.io/schedule.
Take it easy, it is really a piece of cake :)
Open you terminal, go to the dir you want put this App, then run
git clone https://github.com/Mageluer/schedule.gitNote: you should have git installed. learn more about Git and here are some guide: gittutorial - A tutorial introduction to Git, Git教程- 廖雪峰的官方网站, online tutorial, git - 简明指南.
After clone, your project should look like this:
schedule
├── demo/
├── LICENSE.md
├── package.json
├── public
│   ├── favicon.ico
│   ├── index.html
│   └── manifest.json
├── README.md
└── src
    ├── configuration
    │   ├── schedule-config.js
    │   └── schedule-file.js
    ├── css/
    ├── font/
    ├── img/
    ├── index.js
└── js/Go to the schedule/ directory
cd scheduleThen run npm install, this may take a couple of minutes.
npm install react-scripts react react-dom react-tooltip gh-pages --save-devNote: check that you have node and npm installed, if not you can get it from Nodejs, and learn more about npm. some guide: NPM 使用介绍, A Beginner’s Guide to npm — the Node Package Manager.
Note: Ifnpm installgoes very slow, trynpm --registry=https://registry.npm.taobao.org install react-scripts react react-dom react-tooltip gh-pages --save-dev.
After the installation you will see there is a directory named node_modules under the schedule directory where the node modules are stored.
In the project directory, you can run:
Runs the app in the development mode.
Open http://localhost:3000 to view it in the browser.
You can try it and have a preview of the App site.
The page will reload if you make edits.
You will also see any lint errors in the console.
Launches the test runner in the interactive watch mode.
See the section about running tests for more information.
Builds the app for production to the build folder.
It correctly bundles React in production mode and optimizes the build for the best performance.
The build is minified and the filenames include the hashes.
Your app is ready to be deployed!
For the project to build, these files must exist with exact filenames:
public/index.htmlis the page template;src/index.jsis the JavaScript entry point.
But here you should not worry about it because you only need to edit the files in configuration directory.
The two files
configuration/
├── schedule-config.js
└── schedule-file.js
schedule-config.js is the configuration of global settings and schedule-file.js contains all your class infomation.
By running npm start you can see your classes schedule at http://localhost:3000.
Note: Be careful when you input your classes, especially { and }. This App support one our more persons class schedule, that is you can put one or more this kind of structure
{
    name: 'my name',
    classList: [
        {
            title: 'subject-1',  // subject title
            weekRange: [1, 18],  // week range of this subject, from begin to end
            time: {
                1: {  // the number indicate the weekday, from 0 to 6 representing Sunday to Saturday
                    sectionRange: [11, 13],  // the section range is like the range of a subject in a weekday
                    address: '1区, 3-304',  // where you take the lesson, leave it an empty string like: '' if you don't have a address
                },
            },
        },
        {
            title: 'subject-2',
            weekRange: [5, 12],
            time: {
                2: {
                    sectionRange: [6, 8],
                    address: '1区, 3-402',
                },
            },
        },
        {
            title: 'subject-3',
            weekRange: [1, 18],
            time: {
                2: {
                    sectionRange: [3, 4],
                    address: '1区, 3-204',
                },
                4: {
                    sectionRange: [3, 4],
                    address: '1区, 4-201',
                },
            },
        },
    ],
},
between
const CLASS_INFO = [
    ......
];
The configuration of schedule-config.js is as simple as the one above.
After editing is done, run npm start and you get it.
learn more about Github and GitHub Pages
learn more aboutGitis helpful: Git 基础 - 远程仓库的使用, Git远程操作详解
how to add you local repo to github: Adding an existing project to GitHub
Take it easy, all you need to do is such simple thing as following
- Create a new repository named schedule on GitHub. To avoid errors, do not initialize the new repository with
README,license, orgitignorefiles. You can add these files after your project has been pushed to GitHub. - Open Terminal.
git config --global user.name <your github username>  # These info is required when you push this repo to your own github.
git config --global user.email <your email address used to register github>
cd schedule  # Change the current working directory to your local project.
rm -rf .git/ # Remove the old git from where you clone
git init  # Initialize the local directory as a Git repository.
git remote add origin https://github.com/my-user-name/schedule.git  # Add the URL for the remote repository where your local repository will be pushed
git remote -v  # Verifies the new remote URL
git add .  # Adds the files in the local repository and stages them for commit.
git commit -m "First commit" # Commits the tracked changes and prepares them to be pushed to a remote repository.
git push origin master  # Pushes the changes in your local repository up to the remote repository you specified as the origin.
Note: use
git statusget the current state
The step below is important!
If you skip it, your app will not deploy correctly.
Open your package.json(schedule/package.json) and add a homepage field(change my-user-name to your github username):
"homepage": "https://my-user-name.github.io/schedule",This React App uses the homepage field to determine the root URL in the built HTML file.
Note:
deployscripts have already been added, you check whether they exist.
Now, whenever you run npm run build, you will see a cheat sheet with instructions on how to deploy to GitHub Pages.
Add the following scripts in your package.json:
  "scripts": {
+   "predeploy": "npm run build",
+   "deploy": "gh-pages -d build",
    "start": "react-scripts start",
    "build": "react-scripts build",
The predeploy script will run automatically before deploy is run.
Then run:
npm run deployFinally, make sure GitHub Pages option in your GitHub project settings is set to use the gh-pages branch:
You can configure a custom domain with GitHub Pages by adding a CNAME file to the public/ folder.
You open https://myusername.github.io/schedule in your browser and you see it!
Each time you make some modifications to you schedule-file.js, you can run npm start to view the changes locally.
Then you just need to run
git add .
git commit -m "some descriptions"
git push origin master
to push it to your github master branch.
And run
npm run deployto publish it online.
MIT


