
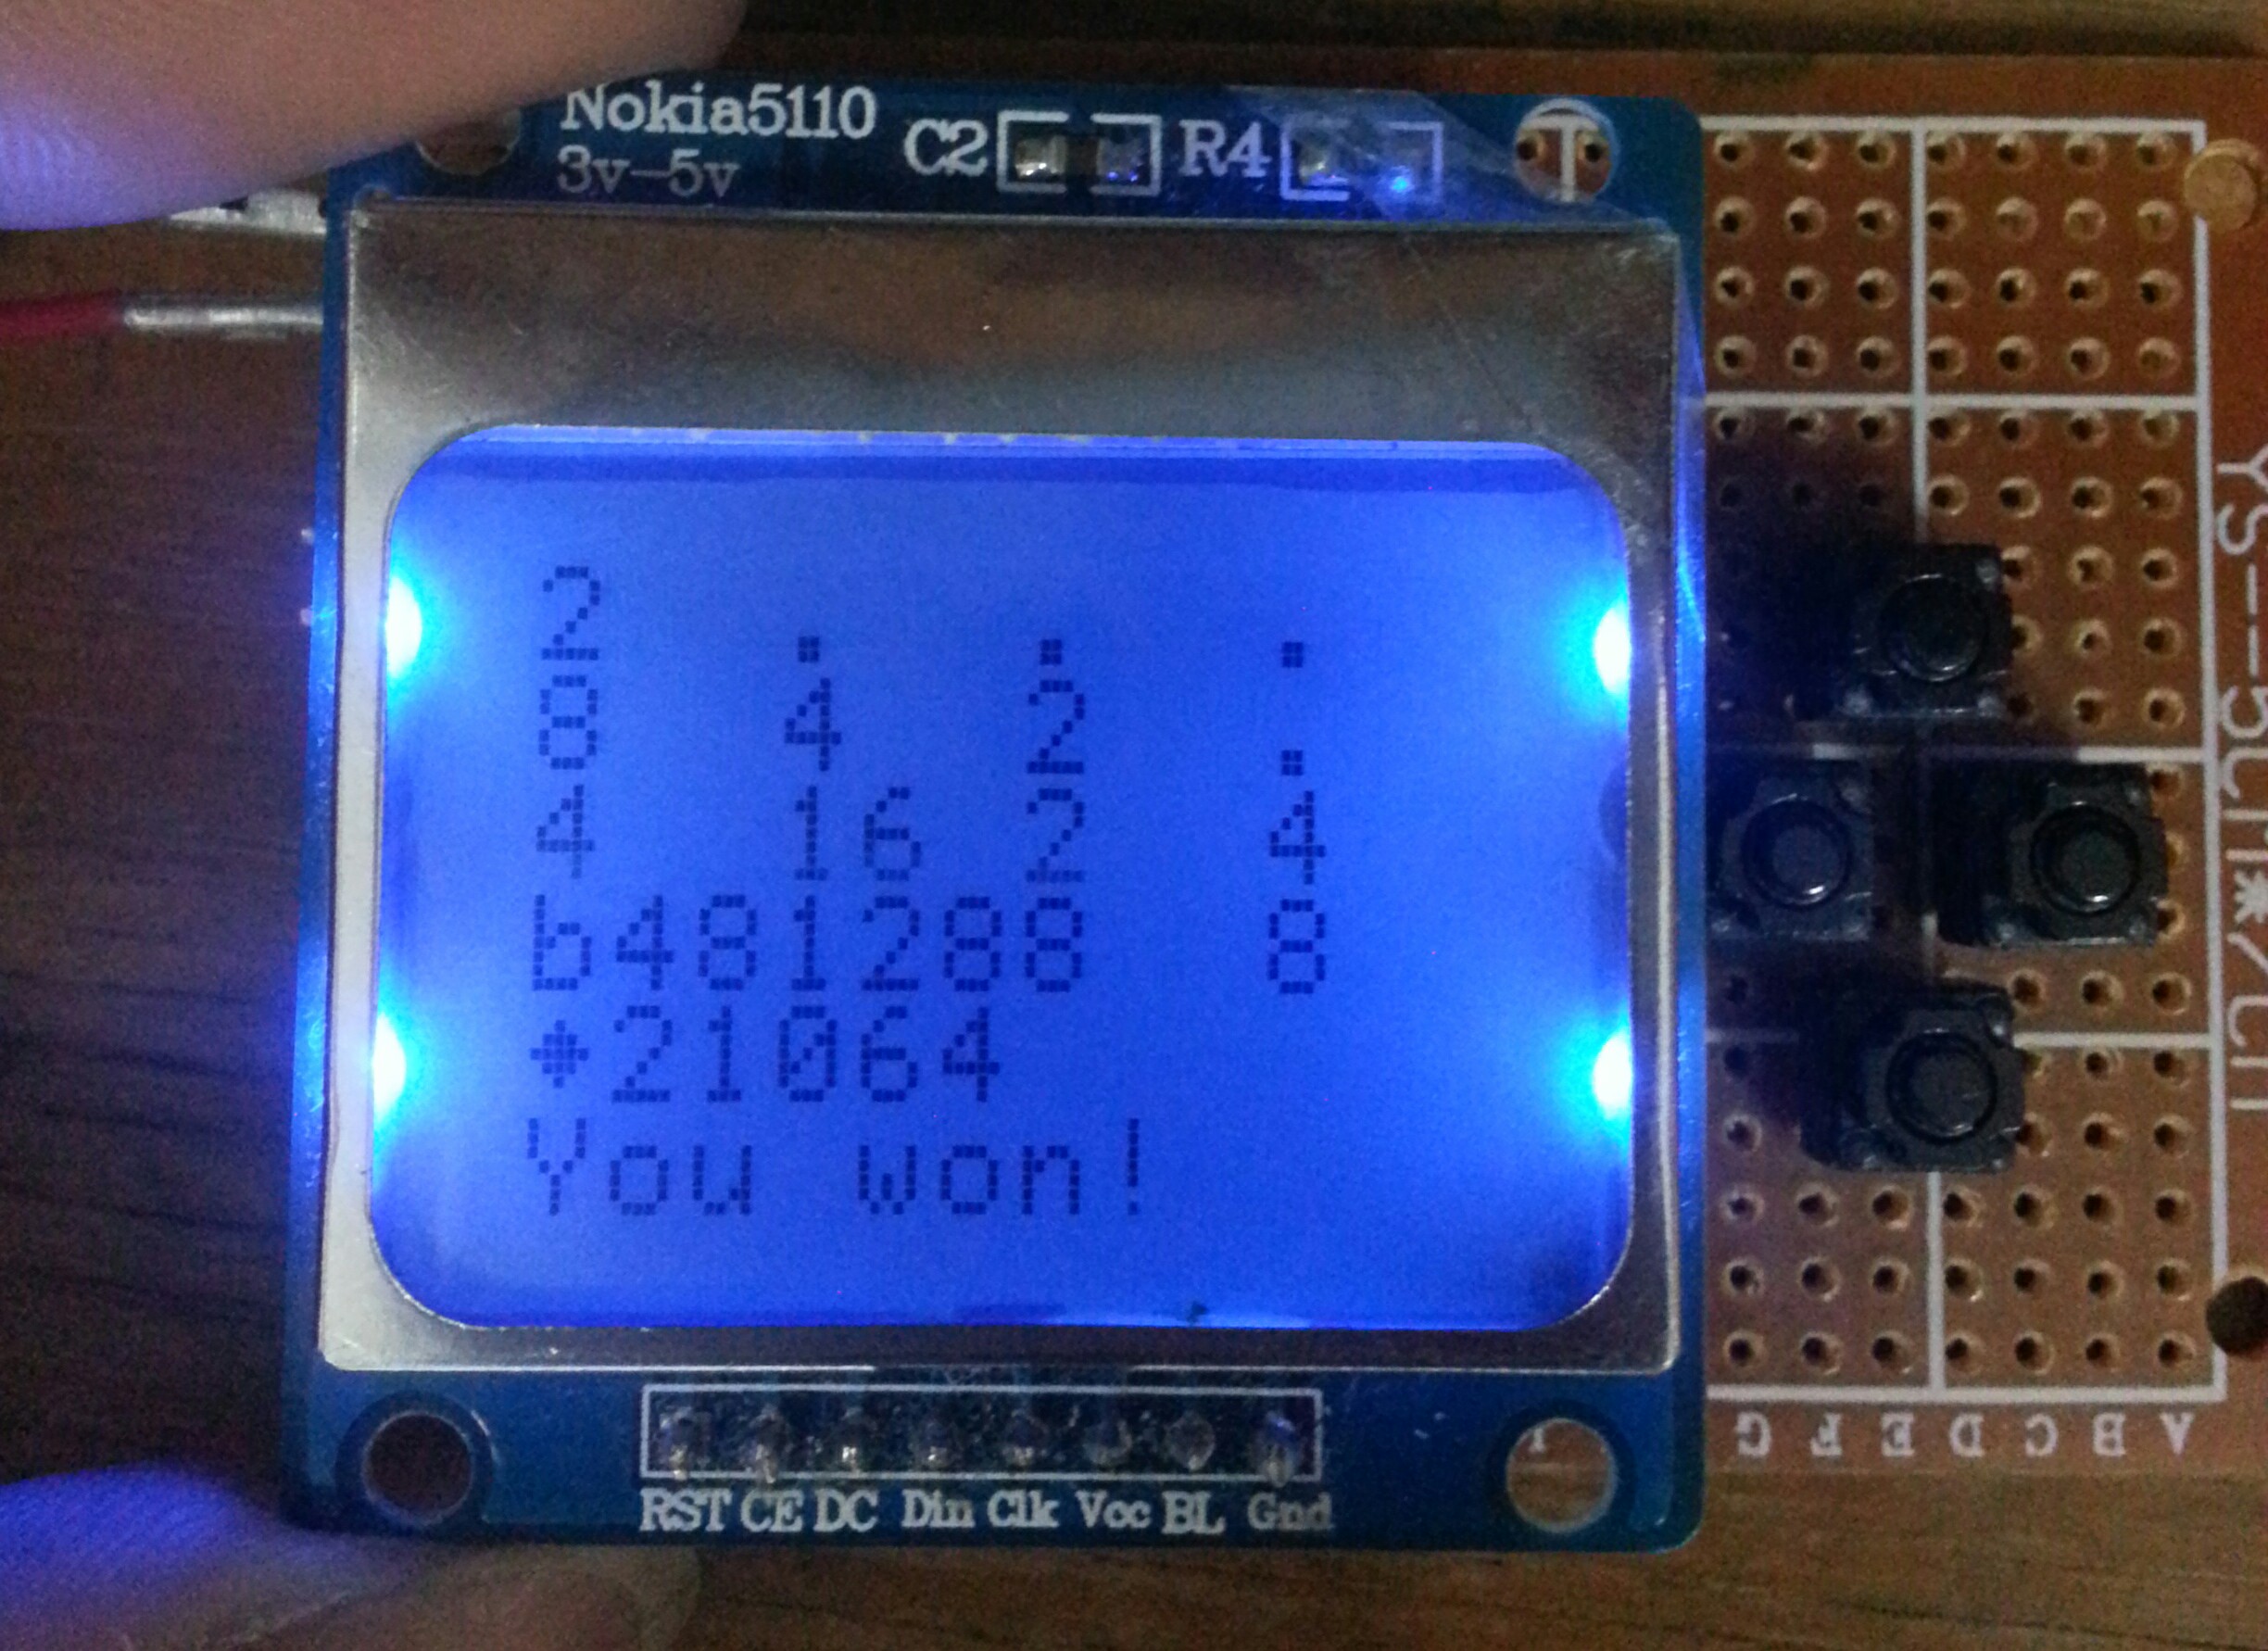
A clone of the popular tile-joining game 2048 for the Arduino platform. A PCD8544 LCD screen (The one used on the "indestructible" Nokia 3110 and 5110) is used as its display, and four buttons are used for controlling. After achieving 2048, the player can go on for even larger tiles (up to 32768). The program fits inside an ATmega8, when serial interface is disabled.
A picture of it in action:
- Download the source code by cloning the repo, or downloading the zipped version.
- Edit the configuations in
config.h. - If you have
enableBounceLibraryset to 1, download and install the Bounce library from Bounce-Arduino-Wiring.
Building with Arduino-Makefile is recommended,
since the enclosed Makefile contains the -mcall-prologues flag which can save approximately
200 bytes of flash. To build with the Arduino IDE, you may need to rename the directory to
_2048 and 2048.ino to _2048.ino, or the IDE may complain about the file naming.
To build with the Makefile, open Makefile with your favourite text editor and edit the
parameters in the file. Finally, execute the make command and the resulting .hex file
will be placed under a directory named after your board tag, in the build directory. You
can also use make upload or make ispload to upload the firmware to your Arduino/AVR directly.
- Connect the PCD8544 LCD screen according to your configuations in
config.h. - Connect the buttons to the coressponding pins, with the other end grounded.
If you got everything right, the game is now playable. Move the numbers in four directions with the buttons and watch your score go up! To enable backlight, hold the right button when powering up. Tiles bigger than 512 are displayed as following: 1024 = "a24", 2048 = "b48", 4096 = "c96", 8192 = "d92", 16384 = "e84", 32768 = "f68".
To adjust the contrast level (set lcdContrastAdjustable to 1), enter the debug mode by
holding the down button when powering on, and press the left button to enter the adjustment mode. Press left
and right to adjust the contrast, up to reset the contrast to the default level (lcdDefaultContrast).
Note that if you have enableDebugMode set to 0, holding the down button when powering on will take
you directly to the adjustment mode.
If you have enableGameSave set to 1, the game is automatically saved every time you reach
a larger tile above 256 (adjustable in saveThreshold). To restore your game, enter the debug mode and press right.
Please double check you connections first. Leave the GND pin unconnected, or connect it to ground
via a 10uF cap. It's also possible because you have a contrast too low to display anything set. Try
setting a higher value for lcdDefaultContrast in config.h. Some cheap displays bought online have a bad contact,
try pressing hard on the upper frame. If you are using a 40-pin ATmega chip, you need to have JTAG disabled
for pins in Port C to work. See the AVR datasheet for details.
A dot is displayed every time the initialization enters a new stage. Stuck only with some dots displayed means the program is stuck when starting up. The dots mean:
- One dot: I/O directions set, backlight enabled.
- Two dots: Debouncers initialized.
- Three dots: The board is initialized and two random tiles have been placed.
The battery meter is not displayed if the measured voltage is lower than the lowest voltage of
the battery (defined in batteryLowestVoltage), or the meter is disabled (enableBatteryMeter).
Please check your configuations in the ADC and Battery meter sections.
The program runs best at 8MHz and above. If you have a external crystal attached, check if you have the correct fuse bits set.
You can play the game on your PC! There is demo.cxx demistrating the use of the platform-independent code in the project. Just build it with g++ -o demo demo.cxx. Use "wasd" to move the numbers.
You are welcome to make changes to the source code! Simply fork the repo, make your changes and submit a pull request. Thank you for your contributions!
- The main .ino contains only the main routines
base.hcontains the core logicsconfig.hcontains the configuationsboard.hcontains a platform-independent implementation of the tile moving logicrandom.hcontains the random number generation routinesformat.hcontains platform-independent string formatting routinesgamesave.hcontains game saving routinesbattery.hcontains the battery meter codedisplay.hcontains an edited version of the excellent PCD8544 driver from the Arduino wiki http://playground.arduino.cc/Code/PCD8544serial.hcontains a wrapper for the standard Serial librarybitmap.hcontains the logo bitmapbutton.hcontains the button handling routinesdemo.cxxcontains a quick-and-dirty wrapper ofboard.h, intended to be run on your PCtests/contains unit tests forboard.handformat.h
The project is not possible without:
- open-source 2048 game by Gabriele Cirulli
- Bounce library by Thomas Fredericks
- PCD8544 driver by kuk and Sylvain Bissonnette
- Random number generation code by David Pankhurst
- Arduino libraries by the Arduino project
The source code is licesed under the BSD 2-Clause License. See LICENSE for details.