开发环境 AS2022.1.1 ,kotlin 1.8.10,java11,gradle7.6
方法1:直接点击菜单中help->Edit Custom VM Options,然后在最后一行添加 -Dfile.encoding=UTF-8
方法2:打开AS的安装目录,在bin目录下找到这两个文件(studio.exe.vmoptions,studio64.exe.vmoptions) 在最后一行添加 -Dfile.encoding=UTF-8
//安装目录位置 C:\Users\用户名\AppData\Local\JetBrains\Toolbox\apps\AndroidStudio\ch-0\版本\bin
为了开发调试方便
我们经常需要网络调试
蛋疼的是
每次关机又要重新打开网络调试
很麻烦,而且容易被累死
所以我开发了这
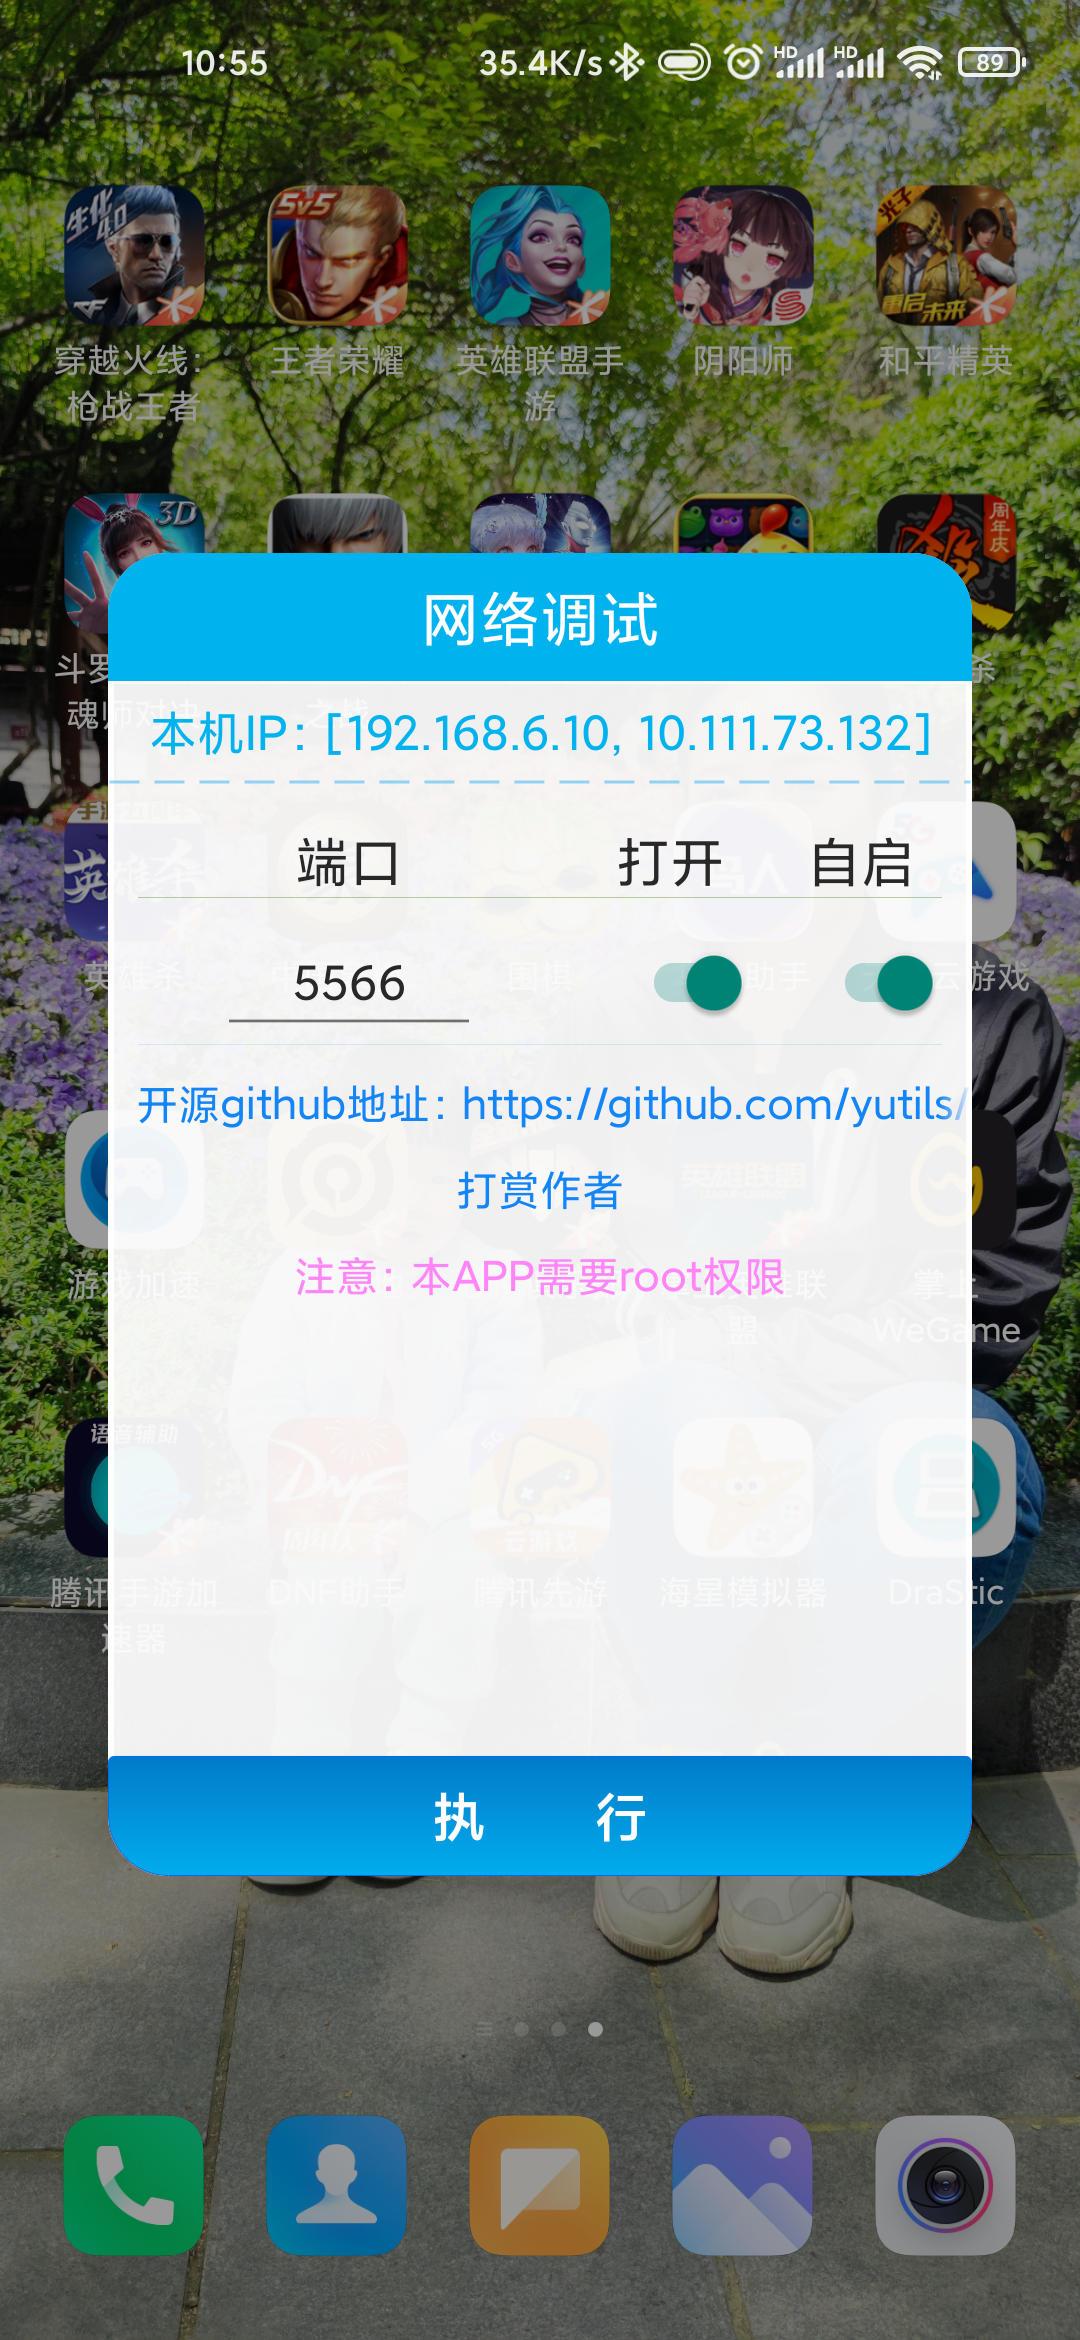
另外,此APP需要root权限
如果失败,那就USB连接电脑adb
运行:"adb tcpip 5555"
adb连接举例:"adb connect 192.168.1.6"
1.把MainActivity做成了1像素,而且透明。打开网络调试后就关掉,这样用户就无感
2.桌面APP图标长按弹出对话框,进行端口设置
  /**
     * 打开网络调试
     * @return 是否成功
     */
    fun openNetworkDebugging(port: String): Boolean {
        var os: DataOutputStream? = null
        return try {
            val process = Runtime.getRuntime().exec("su")
            os = DataOutputStream(process.outputStream)
            os.writeBytes("setprop service.adb.tcp.port $port\n")
            os.writeBytes("stop adbd\n")
            os.writeBytes("start adbd\n")
            os.flush()
            true
        } catch (e: Exception) {
            false
        } finally {
            try {
                os?.close()
            } catch (e: IOException) {
            }
        }
    }

    /**
     * 关闭网络调试
     * @return 是否成功
     */
    fun closeNetworkDebugging(port: String): Boolean {
        var os: DataOutputStream? = null
        return try {
            val process = Runtime.getRuntime().exec("su")
            os = DataOutputStream(process.outputStream)
            os.writeBytes("setprop service.adb.tcp.port $port\n")
            os.writeBytes("stop adbd\n")
            os.flush()
            true
        } catch (e: Exception) {
            false
        } finally {
            try {
                os?.close()
            } catch (e: IOException) {
            }
        }
    }