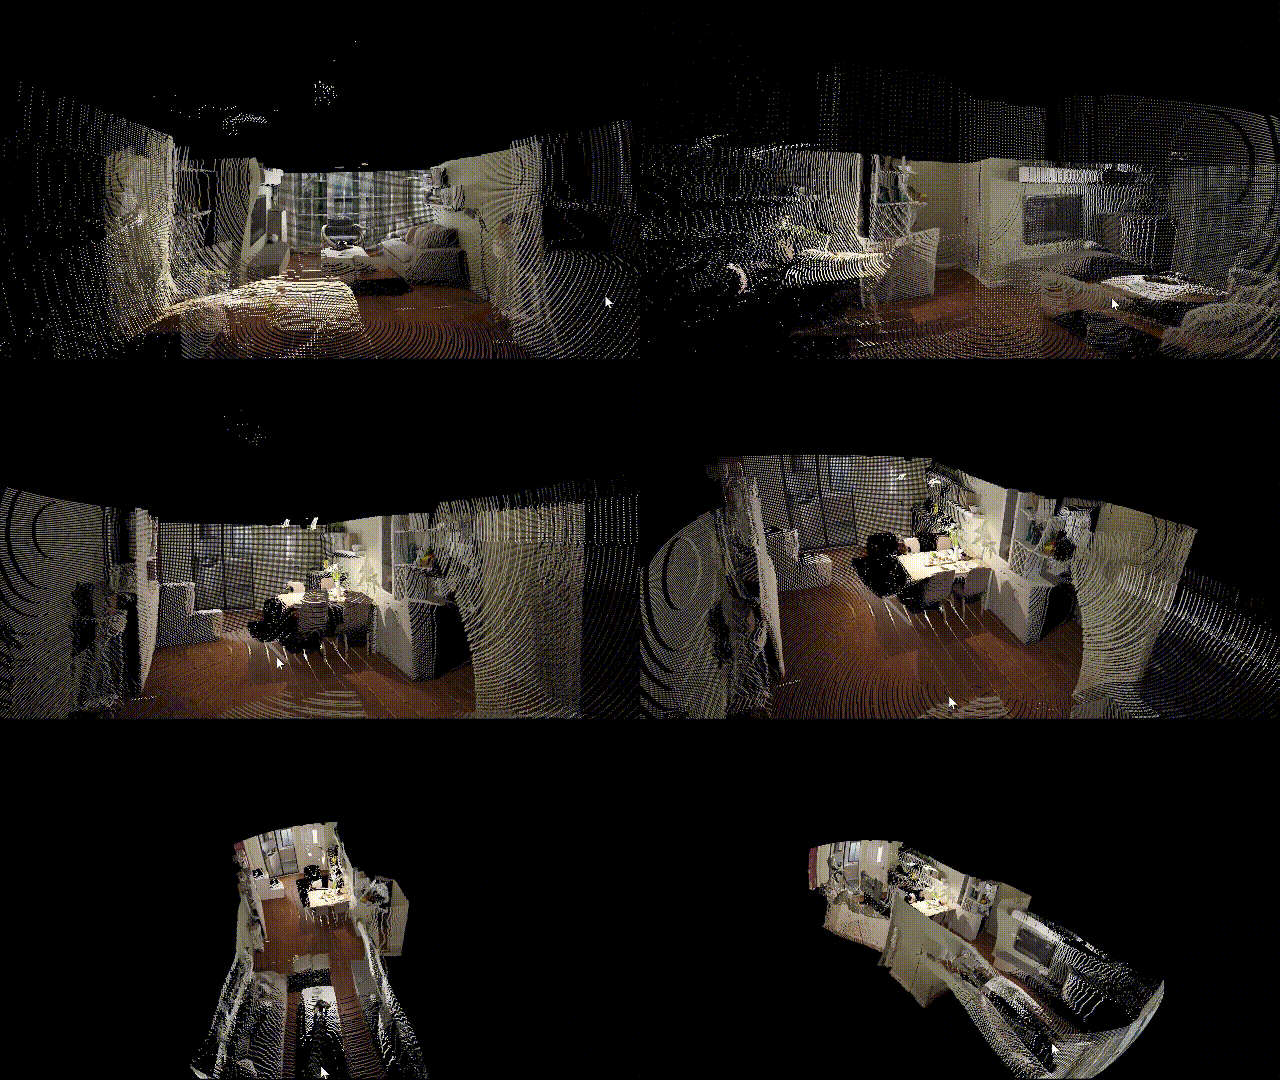
This repository contains the code of the paper
"EGformer: Equirectangular geometry-biased transformer for 360 depth estimation."
Ilwi Yun, Chanyong Shin, Hyunku Lee, Hyuk-Jae Lee, Chae Eun Rhee.
ICCV2023
Our codes are based on the following repositories: CSWin Transformer, Panoformer, MiDaS, Pano3D and others.
We'd like to thank the authors providing the codes.
[23/09/27] Initialize repo & upload experiment report.
[23/10/18] Upload inference/evaluation codes.
[23/11/06] Upload training codes.
[24/01/08] Upload visualization code.
[24/02/22] Upload codes for layout estimation.
[24/02/25] Upload codes for semantic segmentation.
To check the reproducibility, we re-trained some models in the paper under slightly different environment, and log the training progress of them. Some additional experiments are also conducted for further analysis, which can be found in this 📘 EGformer Report.
If you want to test Layout estimation or Semantic segmentation tasks under our experimental setup, refer to the link below.
These codes are tested under PyTorch (1.8) with a 4 NVIDIA v100 GPU.
By using Anaconda pacakge, environment can be set. Open the depth_1.8.ymal file and modify the 'prefix' according to your environment. Then, do the followings.
conda env create --file depth_1.8.yaml
conda activate depth_1.8
'openexr' package in depth_1.8.ymal may not be required (not tested though).
Then, move the downloaded files (e.g., EGformer_pretrained.pkl) in pretrained_models folder.
🔔 NOTE: Currently, some unnecessary parameters (~4mb) are included in EGformer pretrained model. Because they do not affect the other metrics (depth,FLOPs), you can use this version until we provide the clean one.
We use Structure3D and Pano3D dataset for experiments (refer to Technical Appendix for more details). In our opinion, it looks like Structure3D is the most appropriate dataset to evaluate 360 depths in temrs of quality and quantity.
Download each dataset and pre-process them.
- Structure3D : Create train/val/test split following the instructuions in their github repo. Data folder should be constructed as below. We use rgb/raw_light samples. Refer to their github repositoiries for more details.
├── Structure3D
   ├── scene_n
        ├── 2D_rendering
            ├── room_number
                ├── panorama
                    ├── full
                        ├── rgb_rawlight.png
├── depth.png- Pano3D : Create train/val/test split following instructuions in their github repo. We use
Matterport3D Train & Test (/w Filmic) High Resolution (1024 x 512)dataset for training & evaluation.M3D_highfolder should be located in another folder as below.
├── Pano3D_folder
├── M3D_highTo get the experiment report as above, you should set up the wandb environment. If not required, skip this part.
cd evaluate
mkdir test_result
bash scripts/inference_scripts
Then, check if depth results are generated in test_result folder.
Put "folders" containing custom images in INFER_SAMPLE folder & run the script below.
cd evaluate
mv Custom_image_folder INFER_SAMPLE
bash scripts/inference_scripts
Then, the depth results will be saved in test_result folder. More details about configurations can be found in evaluate_main.py
🔔 NOTE: Input resolution is fixed to 512x1024. If input image resolution is not 512x1024, you should resize them manually.
To reproduce the experimental results below, follow the instructions.
| Model | Testset | Training Set | abs. rel. | Sq.rel | RMS | delta < 1.25 |
|---|---|---|---|---|---|---|
| EGformer_pretrained | Structure3D | Structure3D + Pano3D | 0.0342 | 0.0279 | 0.2756 | 0.9810 |
| Panoformer_pretrained | Structure3D | Structure3D + Pano3D | 0.0394 | 0.0346 | 0.2960 | 0.9781 |
| Model | Testset | Training Set | abs. rel. | Sq.rel | RMS | delta < 1.25 |
|---|---|---|---|---|---|---|
| EGformer_pretrained | Pano3D | Structure3D + Pano3D | 0.0660 | 0.0428 | 0.3874 | 0.9503 |
| Panoformer_pretrained | Pano3D | Structure3D + Pano3D | 0.0699 | 0.0494 | 0.4046 | 0.9436 |
Go to evalute folder & modify the scripts/eval_script file based on your purpose and environment.
For example, redefine --S3D_path configurations according to your environment.
Run the scripts below, and you can get the results above.
cd evaluate
bash scripts/eval_script
When using Pano3D dataset, use OPENCV_IO_ENABLE_OPENEXR=1 option if required.
cd evaluate
OPENCV_IO_ENABLE_OPENEXR=1 bash scripts/eval_script
🔔 NOTE: Sigmoid activation function is added at the output layer of Panoformer unlike the original version. Details can be found in 📘 EGformer Report.
1) Run the scripts in 'train_scripts' folder to reproduce EGformer/Panoformer results in 📘 EGformer Report.
To train EGformer, do
bash train_scripts/script_EGformerafter modifying the script according to your experimental environment.
Then, you will get similar EGformer/Panoformer results in 📘 EGformer Report.
🔔 NOTE: Training environment is slightly different with the paper. However, as shown in EGformer_report, similar results will be obtained.
🔔 NOTE: As discussed in the Technical Appendix, we failed to train some models from the scratch under our experimental setup. Therefore, we initilize the weights of convolution layers in EGformer/Panoformer by utilizing their pre-trained models.
2) Modify the scripts or model codes to reproduce other results in 📘 EGformer Report or others.
For example, to train using (S3D + Pano3D) data, set 'train_set' configuration as 'Concat'.
🔔 NOTE: Current cleaned training codes are not tested for all cases. Let us know if there is any problem. Thank you.
To visualize the estimated depths using point cloud format as shown above, go to visualization folder & run the visulization code below.
cd visualization
python vis_depth.py --img sample/S3D_img.png --depth sample\EGformer_depth.png
Modify --img and --depth configurations to visualize other samples.
vis_depth.py code is brought from this repository and modified slightly for our experimental environment.
- Experiment report
- Code for inference
- Code for evaluation
- Code for training
- Update codes & others for better usability + discussions.
@InProceedings{Yun_2023_ICCV,
    author    = {Yun, Ilwi and Shin, Chanyong and Lee, Hyunku and Lee, Hyuk-Jae and Rhee, Chae Eun},
    title     = {EGformer: Equirectangular Geometry-biased Transformer for 360 Depth Estimation},
    booktitle = {Proceedings of the IEEE/CVF International Conference on Computer Vision (ICCV)},
    month     = {October},
    year      = {2023},
    pages     = {6101-6112}
}
Our contributions on codes are released under the MIT license. For the codes of the otehr works, refer to their repositories.
