This repo would spin up an Ubuntu VM with Hashicorp Vault as a service, configured to unseal with Azure keyVault.
You can also do it directly from your favorite browser using GitHub Codespaces This is demonstrated with terraform, or with bicep.
As an ISVs using Vault for their secret storage, avoiding services which are not available across multiple clouds and their respective APIs. Instead I want to use the same SDK for my secrets management, and have an underline service control my seal/unseal of the vault.
Using Vault by hashicorp would allow my developers to focus on single set of API calls.
-
Clone this repo to your local machine
git clone https://github.com/yodobrin/vault -
Change directory to
../vault/deploy/bicep -
Modify the file
param.jsonand replace the values to match your settings. -
Run this command :
- az deployment group create --resource-group <your-rg-name> --template-file main.bicep --parameters @param.json
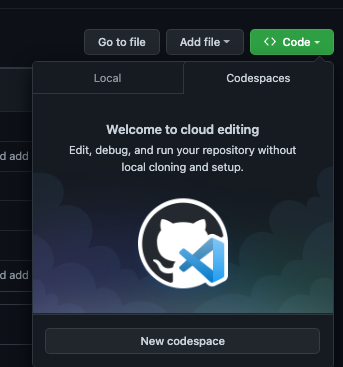
- Create a new code space
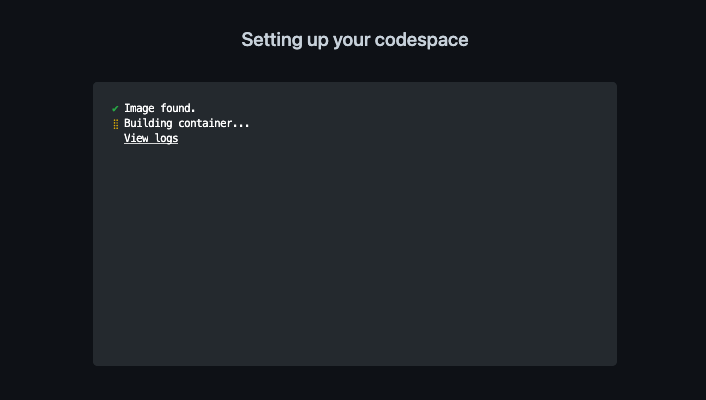
- Lunch the new space in your browser, the process will start with building the image you will be using
-
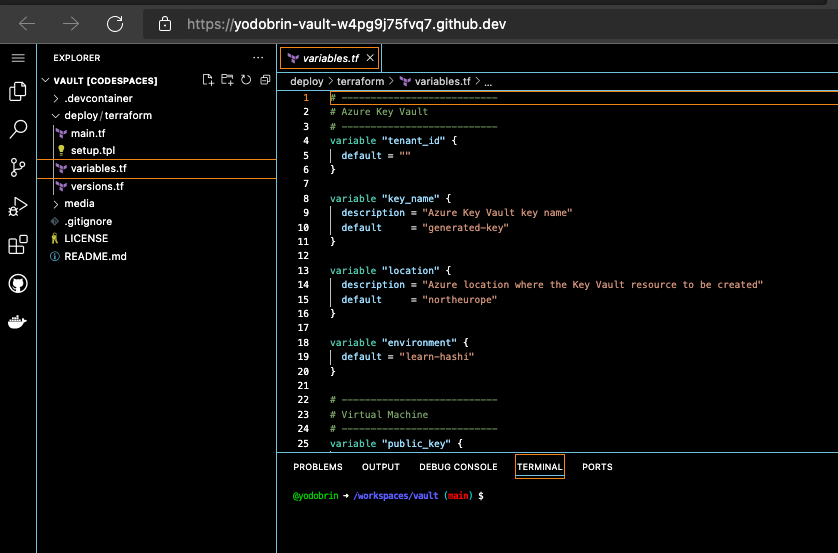
Update
variables.tffile with your subscription, tenant, resource group -
Perform login to you Azure subscription - this is to ensure successful login to your account. Follow the instructions. For further reading check this document
az login --use-device-code- Follow the rest of the instructions as if running from your local machine:
cd deploy/terraform
terraform init
terraform plan -out hashi.plan
terraform apply "hashi.plan"If you running this for learning purposes, using your own identity (provided it has contributer role on your subscription) is enough. If you prefer using a service principle for the resource provisioning, please follow the steps 1 through 39 in the Quick Start.
In the case your user is enough, make sure to perform:
az login
In the case you have multiple subscriptions, you will need to set the right one by using this command:
az account set --subscription <Your Subscription>
Clone this repository to your local machine, by running the following command:
git clone https://github.com/yodobrin/vaultChange directory to deploy/terraform.
Then use the provided variable.tf file for your subscription, by editing it in your IDE. (are you using VS Code?)
TODO explain more on the sshkey
Once the variable file is updated you will need to run the following command to initialize the Terraform deployment:
terraform initA Note for Apple M1 Chip Users:
If you're using macOS on an Apple M1 chip (Darwin Arm64 architecture), you might get an error once you run
terraform init, since thetemplateprovider is deprecated and is incompatible with this architecture. You will require it nonetheless, as this provide is a dependency of other providers directly used in this example. You can work around this issue by installing m1-terraform-provider-helper. The following commands should installm1-terraform-provider-helperand thetemplateprovider using Homebrew:brew install kreuzwerker/taps/m1-terraform-provider-helper m1-terraform-provider-helper activate m1-terraform-provider-helper install hashicorp/template -v v2.2.0
Run the following commands to plan and apply the Terraform deployment:
terraform plan -out hashi-learn.plan
terraform apply "hashi-learn.plan"
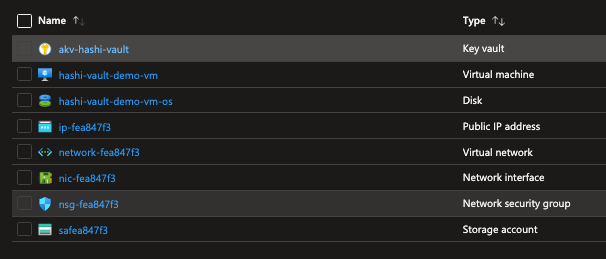
Post these commands, you should have a new resource group, with the name you specified in the variable file, KeyVault, Virtual Machine and storage account are created. Virtual network, subnet, nsg and rules are also created.
Your newly created resource group should look like this:
The terraform section was initialy taken from this GitHub repository. More information can be found ath this Website. The original repo was altered to match more recent providers versions and semantics.
While trying to implement the Quick Start it was noticed that dedicated project might be in order.
There are two ways you can allow the vault to access the KeyVault:
- Use dedicated SPN, grant it Get, Wrap & Un-Wrap roles.
- Use System Assigned managed identity of the VM hosting the vault - preffered method.
In this repo, the preffered option is outlined. (for both Bicep and terraform)
Verify that in the newly created KeyVault:
-
A key was created (witht the name outlined in the variable file).
-
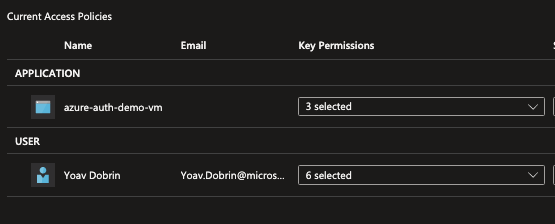
The access policy is allowing you (the user executing terraform) and the system assigned identity Get, Wrap & Unwrap roles.
Examine the KeyVault access policy, it should show something like this:
While the Bicep/terraform script provision all resources required (and configure them) the final steps are to be executed manually. One of the reasons is to enable the operator to aquire required tokens & recovery keys.
The steps are outlined in the Quick Start. For convienient purpose they are also listed here:
The user mentioned here might be diffrent from the one you create.
1.ssh to the vm ssh azureuser@<ip provided as output>
2.Check the vault status by vault status. You might need to restart the vault service (as it might finishined creation before the key in the keyvault) - sudo systemctl restart vault
3.Initilize the vault vault operator init this will output 5 recovery keys and an access token required to access the UI, save them. The output from this operation would look like this:
azureuser@hashi-vault-demo-vm:~$ vault operator init
Recovery Key 1: xxxxxxxxxxxxxxxxxxxxxxxxxxxxxxxxxxxxxxxxxxxx
Recovery Key 2: xxxxxxxxxxxxxxxxxxxxxxxxxxxxxxxxxxxxxxxxxxxx
Recovery Key 3: xxxxxxxxxxxxxxxxxxxxxxxxxxxxxxxxxxxxxxxxxxxx
Recovery Key 4: xxxxxxxxxxxxxxxxxxxxxxxxxxxxxxxxxxxxxxxxxxxx
Recovery Key 5: xxxxxxxxxxxxxxxxxxxxxxxxxxxxxxxxxxxxxxxxxxxx

Initial Root Token: xxxxxxxxxxxxxxxxxxxxxxxxxxxxx

Success! Vault is initialized

Recovery key initialized with 5 key shares and a key threshold of 3. Please
securely distribute the key shares printed above.
4.If you need to restart the vault use: sudo systemctl restart vault
5.To check logs you can run: sudo journalctl --no-pager -u vault
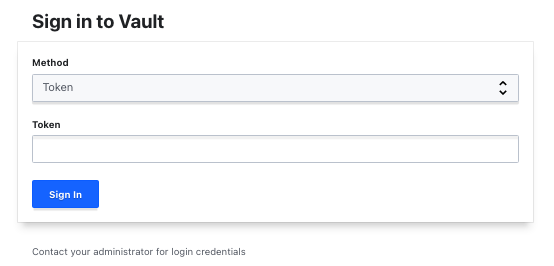
Accessing the UI can be done via: http://ip-of-the-vm:8200. Use the token saved earlier to access.
Bicep does not provide (yet) a destroy method. You can delete the resources created via the portal, or using cli.
Run the following command:
terraform destroyThis will clean all resources provisioned during the apply stage.
