yarn
以下に開発環境で環境変数を設定する場合は.dev.varsファイルを作って以下のように
HOGE = ""
https://developers.cloudflare.com/workers/runtime-apis/scheduled-event/
wrangler dev --test-scheduled
curl "http://localhost:8787/__scheduled?cron=*+*+*+*+*"
// prepare
wrangler d1 execute scheduled-merge-staging --local --file=schema.sql
// 本番反映
wrangler d1 execute scheduled-merge-staging --file=schema.sql
A Cloudflare Worker + GitHub App Example
The worker.js file is a Cloudflare Worker which is continuously deployed using GitHub Actions (see .github/workflows/deploy.yml).
The worker does 2 things
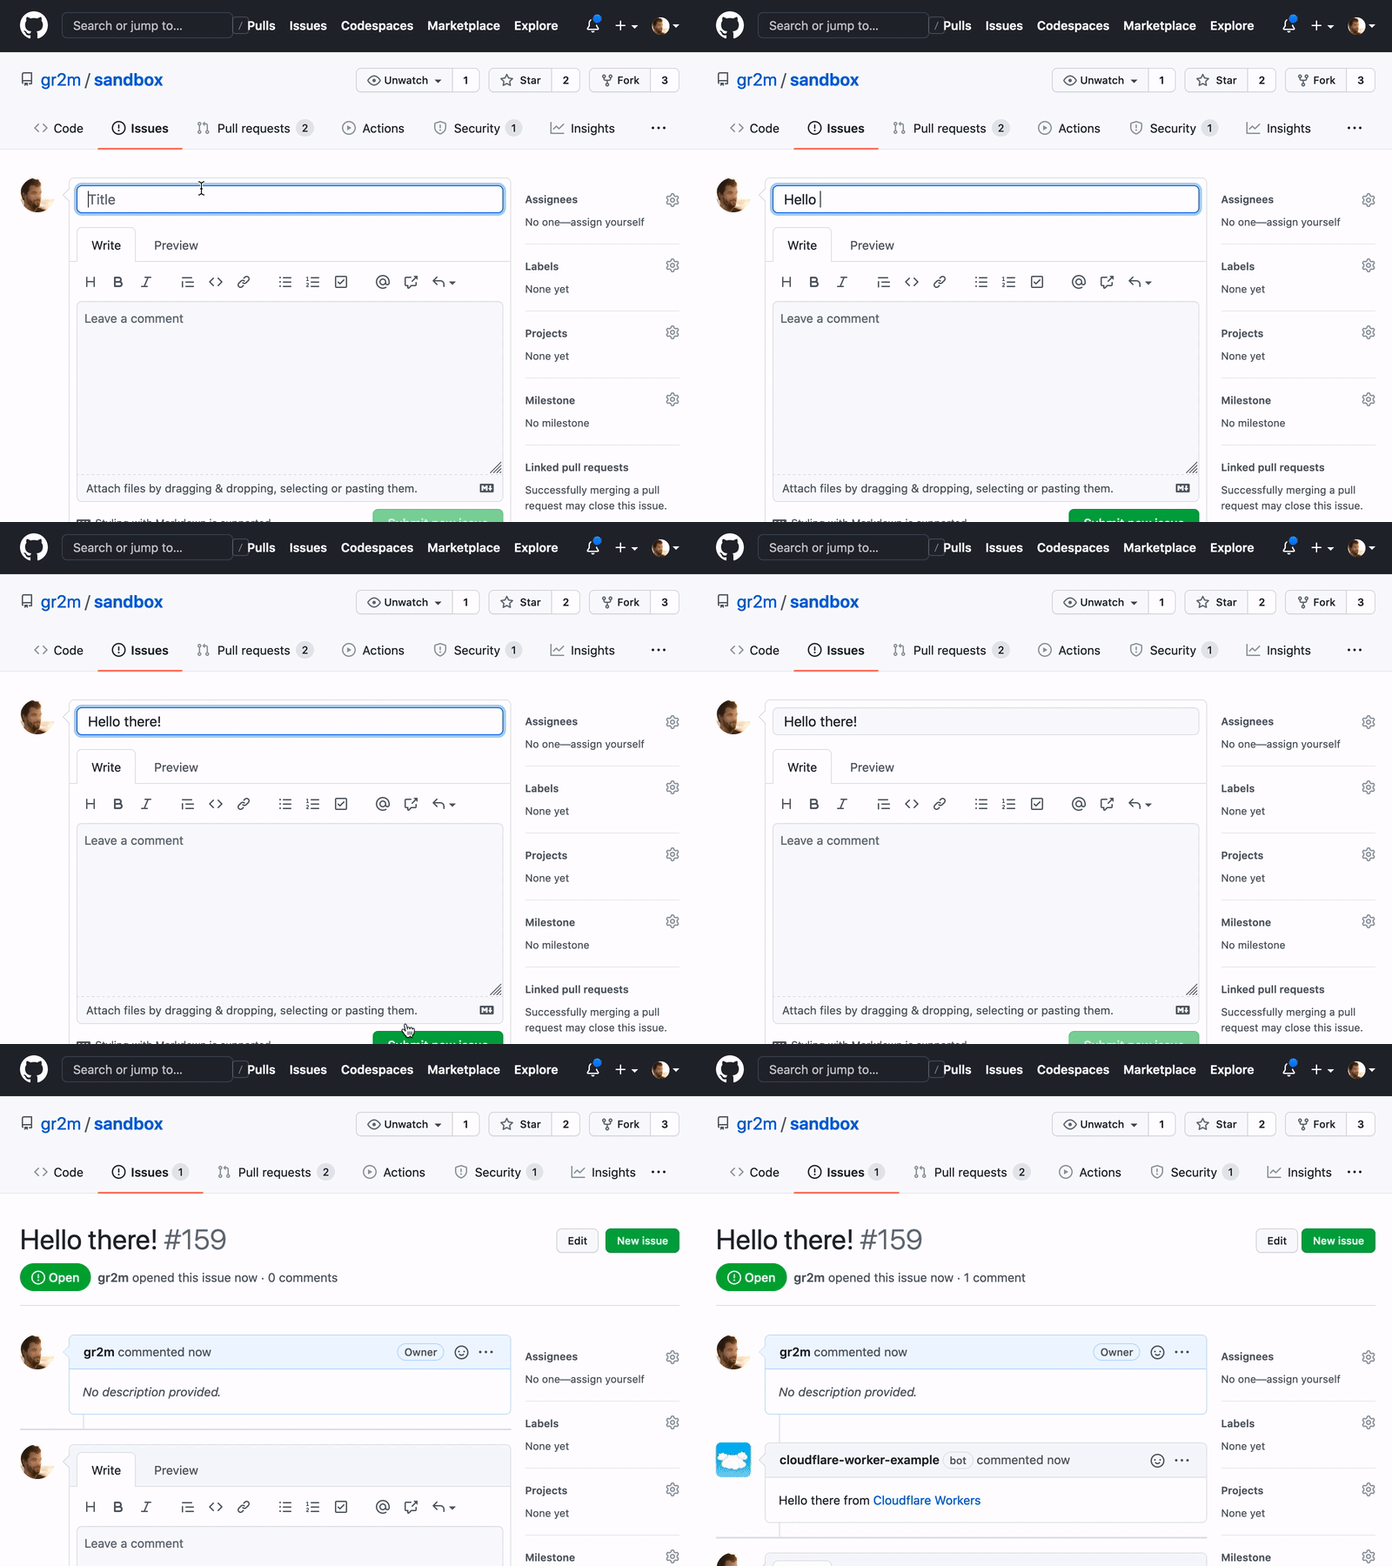
GETrequests: respond with an HTML website with links and a live counter of installations.POSTrequests: handle webhook request from GitHub
universal-github-app-jwt. For the time being, you could define a secret path that that webhook requests by GitHub are sent to, in order to prevent anyone who knows your workers URL from sending fake webhook requests. See #1
Note that you require access to the new GitHub Actions for the automated deployment to work.
-
Fork this repository
-
Create a Cloudflare account (it's free!) if you don't have one yet.
-
Install the
wranglerCLI and login with your accountnpm install --global wrangler wrangler login -
Edit the
wrangler.tomlfile, change the value foraccount_idto your own (select your account, then find your Account ID at the bottom of the side bar) -
Add the following secrets to your Cloudflare worker:
-
APP_ID: In your GitHub App registration's settings page, findApp IDwrangler secret put APP_ID -
WEBHOOK_SECRET: In your GitHub App registration's settings page, findWebhook secretwrangler secret put WEBHOOK_SECRET -
PRIVATE_KEY: Generate a private key (see the button at the bottom of your GitHub App registration's settings page).-
You will be prompted to download a
*.pemfile. After download, rename it toprivate-key.pem. -
Convert the key from the
PKCS#1format toPKCS#8(The WebCrypto API only supportsPKCS#8):openssl pkcs8 -topk8 -inform PEM -outform PEM -nocrypt -in private-key.pem -out private-key-pkcs8.pem -
Write the contents of the new file into the secret
PRIVATE_KEY:cat private-key-pkcs8.pem | wrangler secret put PRIVATE_KEY
-
-
-
Add the following secret in your fork's repository settings:
CF_API_TOKEN: Create a new token, use the "Edit Cloudflare Workers" template
That should be it. The worker.js file will now be continously deployed to Cloudflare each time there is a commit to master.
The OAuth App Avatar and this repository's social preview are using @cameronmcefee's cloud Octodex graphic ![]() 💖
💖
