
This repository contains some Python scripts that will let you create a final .pdf file to use with the Android Application OpenNoteScanner.
You can create the file by web API or by a single script. You go to PythonAnywhere and you'll see the web
application running and get you .pdf file from it.

With a given QR data, .pdf file name and a maximum amount of pages, it will create QR images of 512x512 Pixels with the QR data given plus a number ant the end of the data.
Once the QR images are generated the background images are created, these Background images are generated as:
- 1 main background (white)
- 1 middle image (black)
- 1 top image (white).
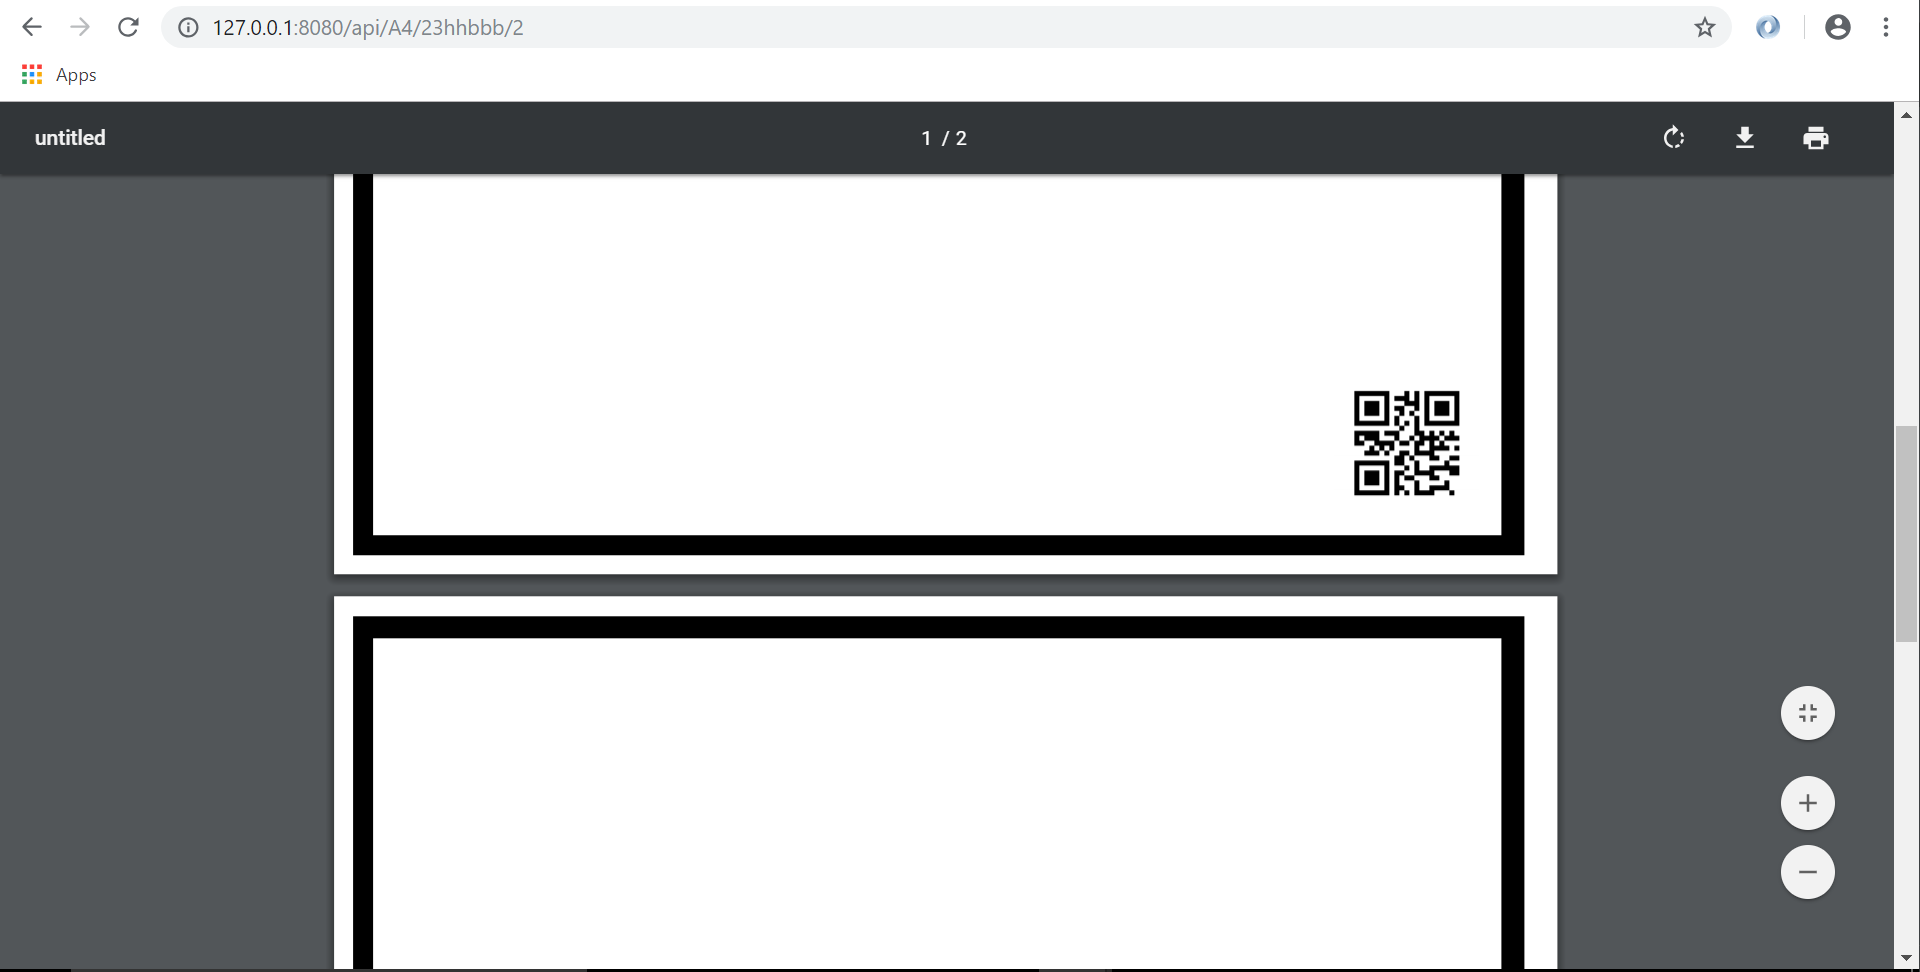
Those images are pasted together to have a final image with a "Black Border" with an A4 or letter size with a resolution of 300dpi.
Once all images are done, it will iterate over each QR image generated previously creating each page of the .pdf placing the QR images on the right bottom site of the page.
If you want more deep information please have a look at the auto generated documentation here.
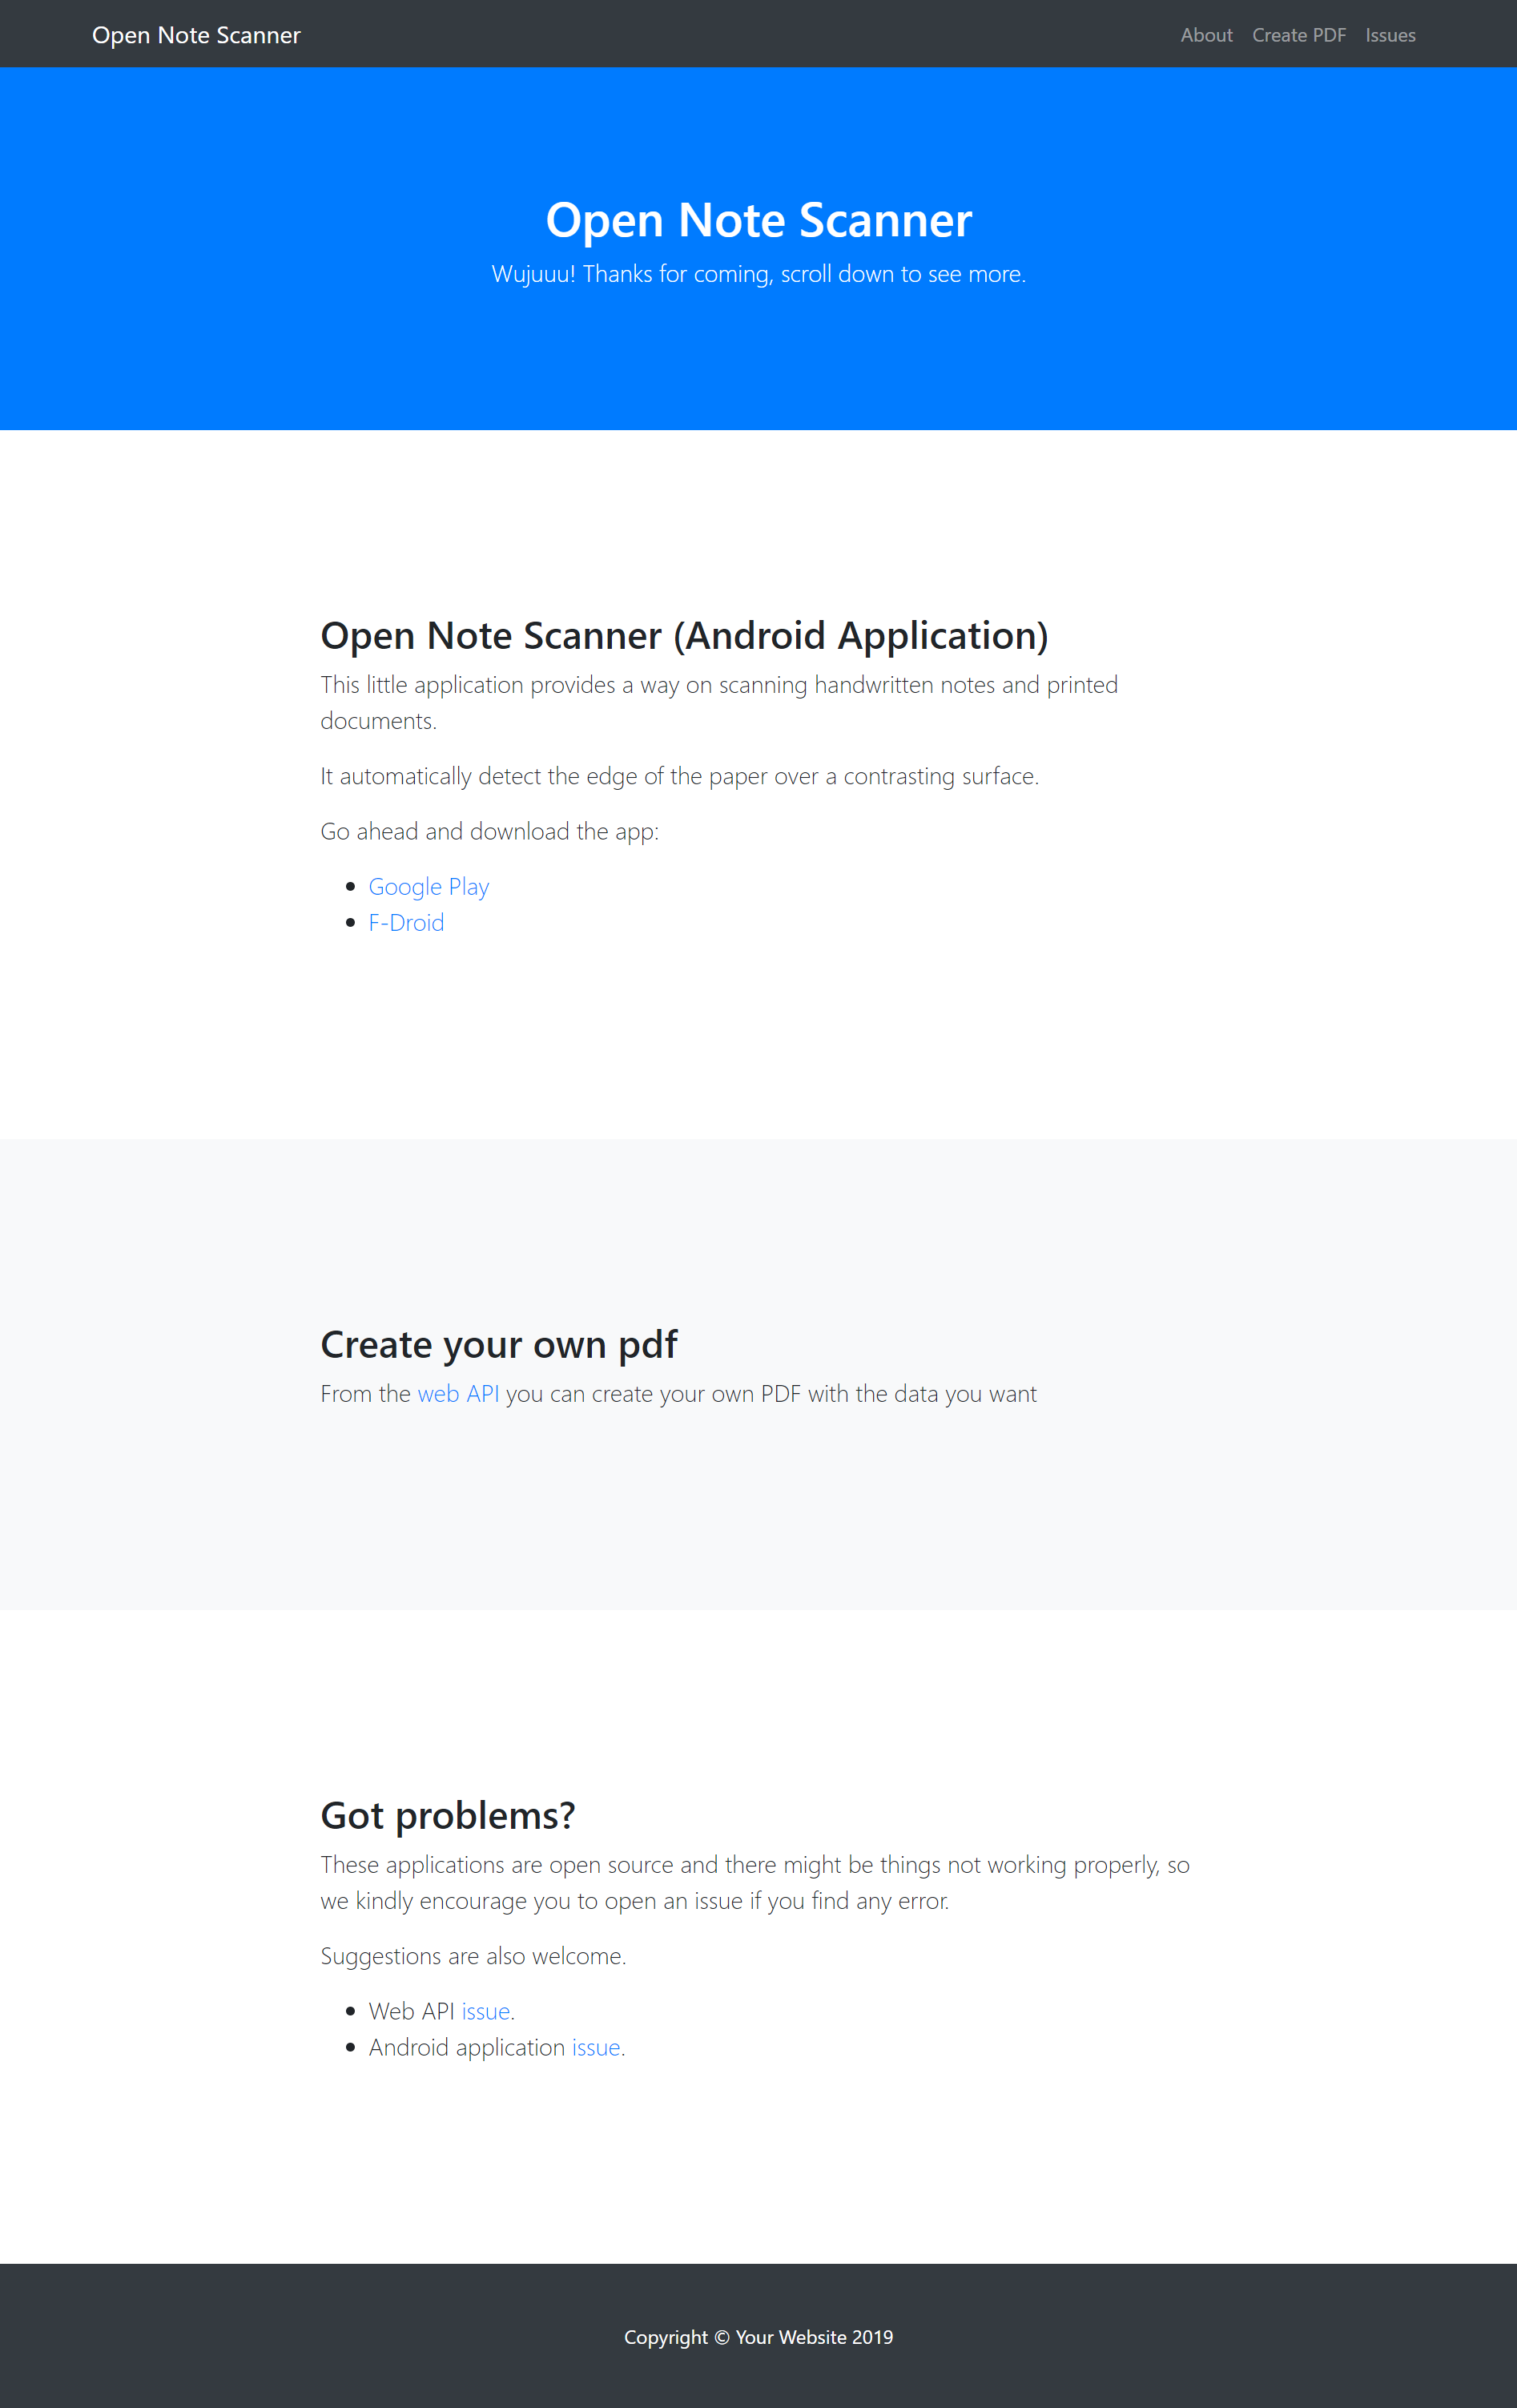
This server application is developed with Flask framework and it just have only 1 landing page (index.html) with some information about how to use the API and some other info.
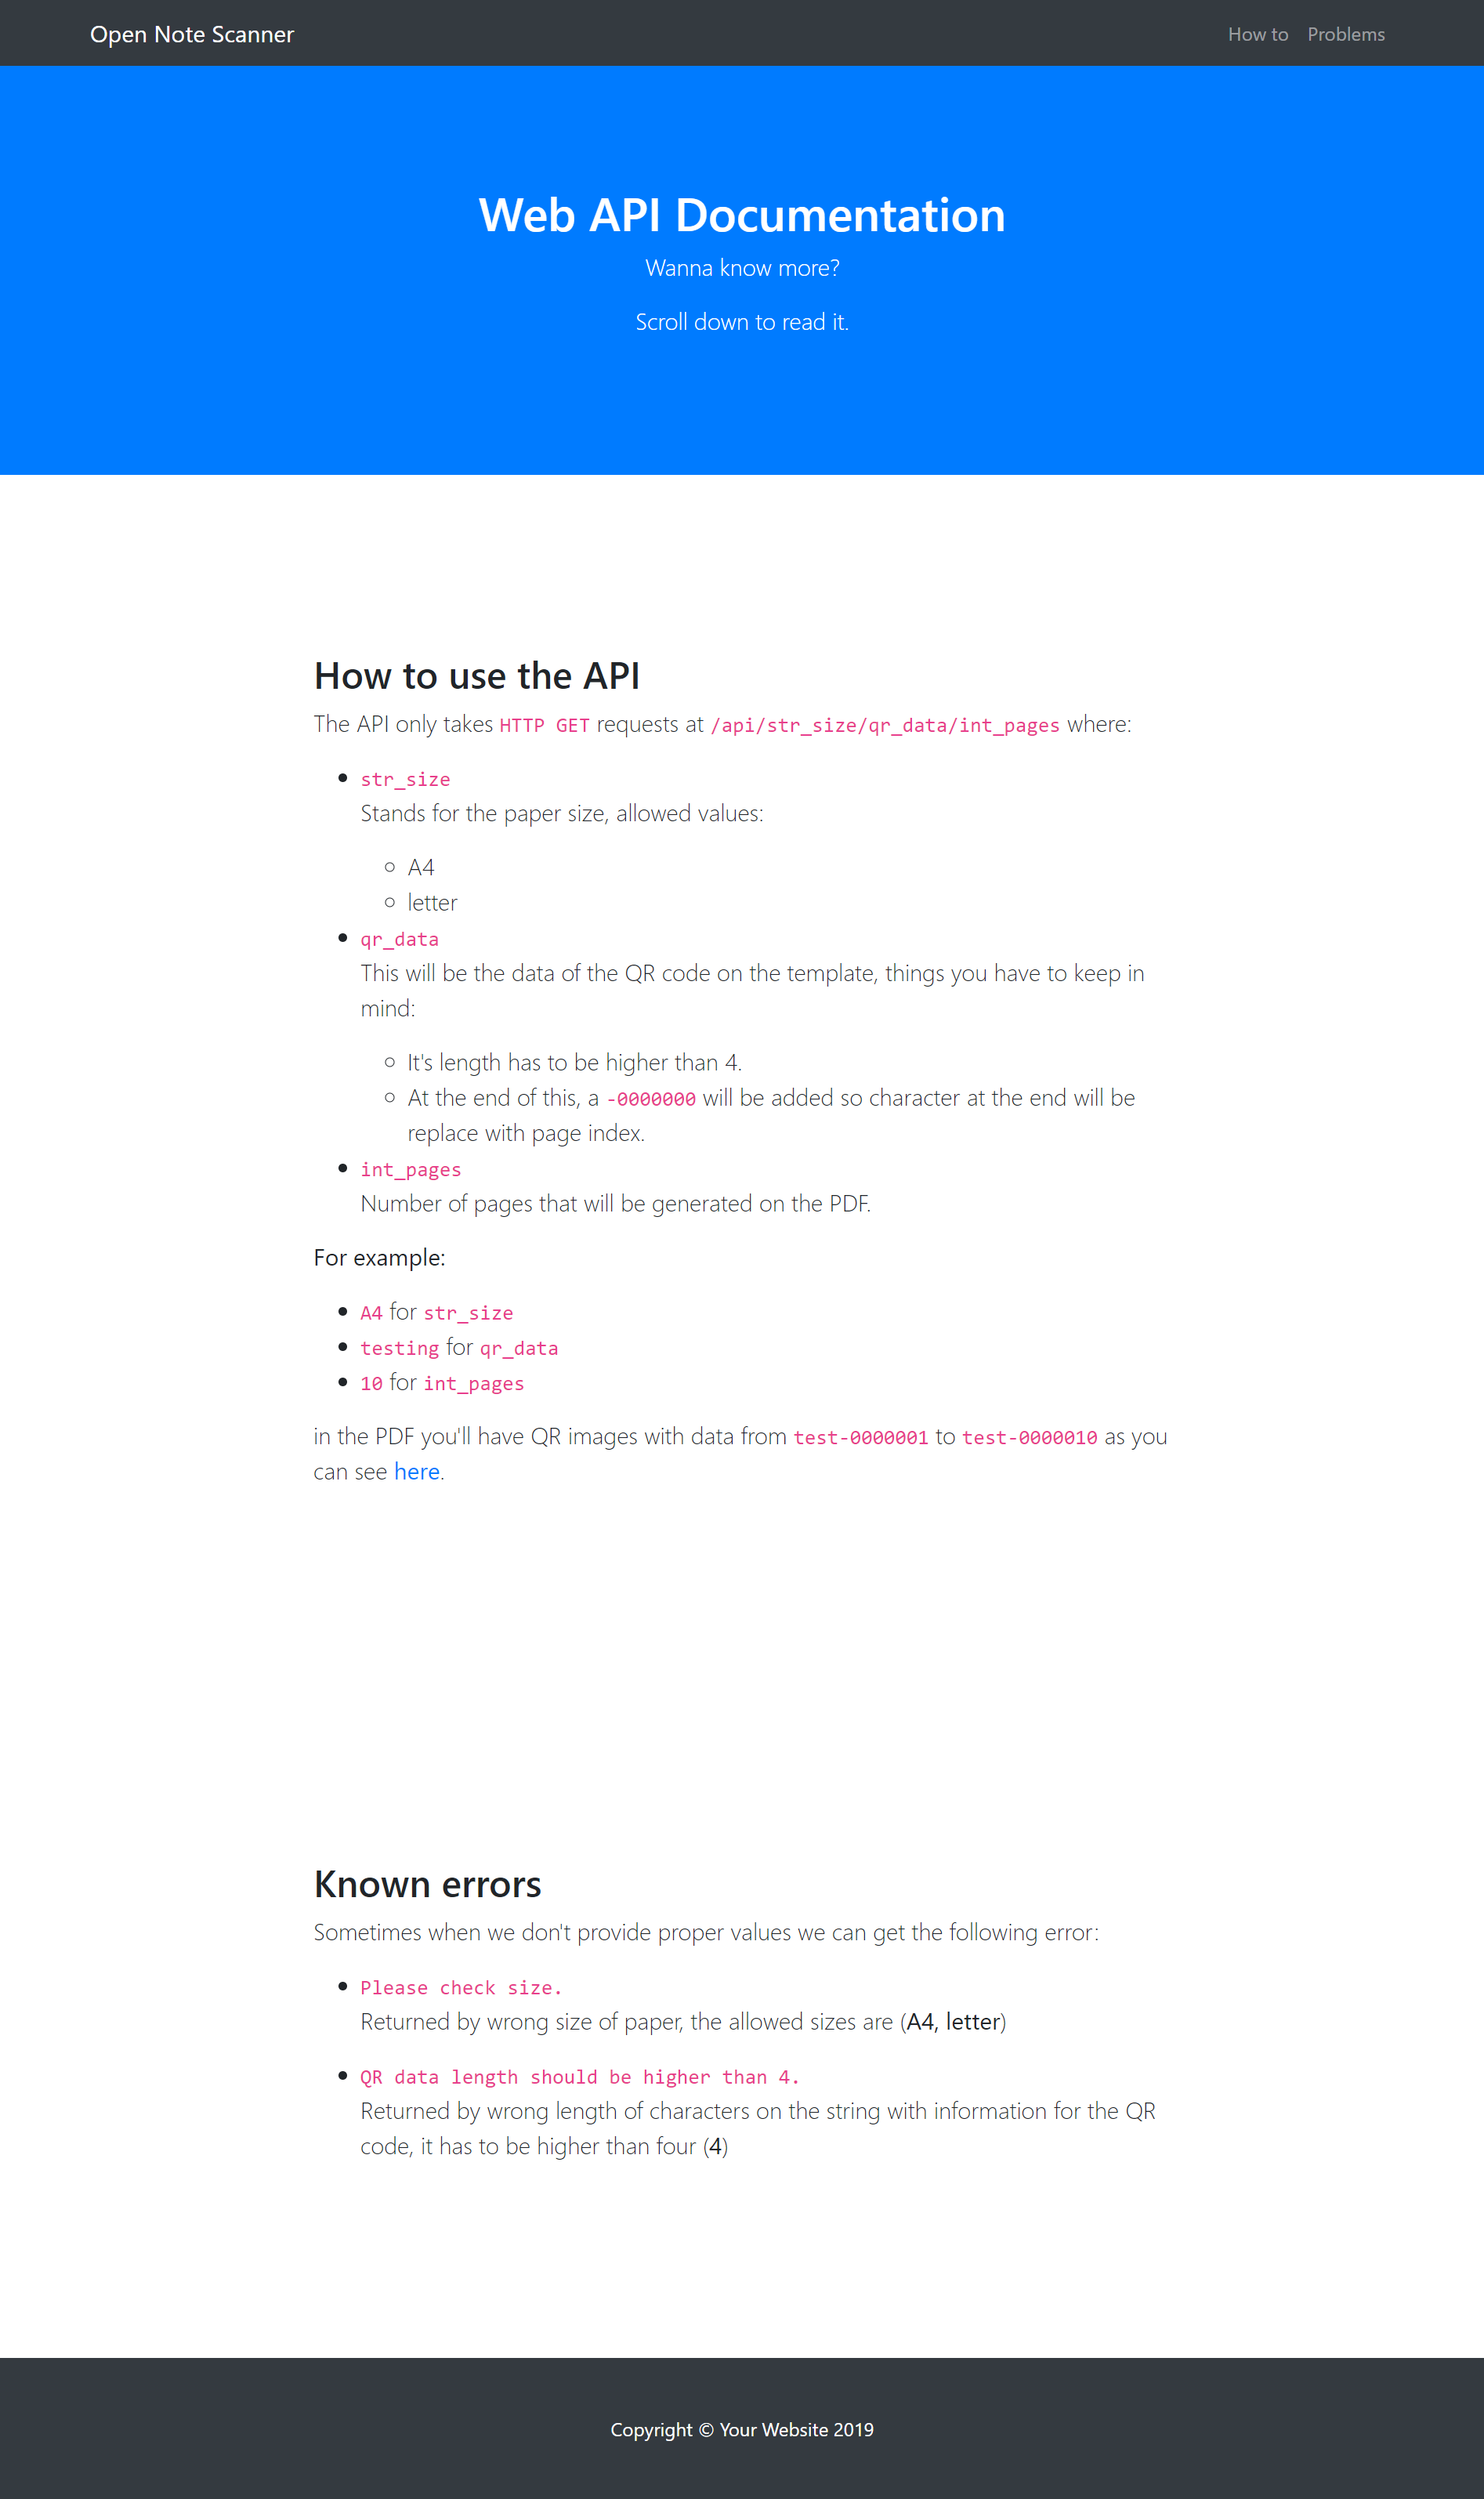
The API is pretty straight forward, it only have one endpoint which is in /api/<page_size>/<qr_data>/<int_pages> so an example will be something like /api/A4/P01_V05_S/50
and the API will return a .pdf file generated using the main pdf generator script with the following information:
- PDF size = A4
- QR data = Images from
P01_V05_S-0000000toP01_V05_S-0000050 - Number of pages =
50
-
Let's update our system:
sudo apt-get update sudo apt-get upgrade -
Let's install the modules needed:
We actually need some modules but some of them depend on other modules so for this I have upload a file called
requirement.txtwhich has all packages installed on my computer but you don't need all this modules on you computer, so you have two options to install the packages.- Option 1:
sudo pip install Pillow sudo pip install reportlab sudo pip install qrcode- Option 2:
sudo pip install -r requirement.txt -
Let's test the code and the modules
let's go to the
Testdirectory and let's execute one of the files. Execute this on the terminal:python Multiple_QRcodes.pyorpython Single_QRcode.py -
We are ready to run the script and get the PDF file
Run the code by typing on the terminal the following command:
python generate_single_pdf.pyorsudo python generate_single_pdf.pyThis will generate the.pdffile on thePDFdirectory and the final images used on the.pdffile in theQRdirectory.
-
Follow steps for CLI operations first to that code is working properly
-
So now let's just run the server
Run the server by the following command:
python run_server.pyorsudo python run_server.pyNow we can open up a browser tab or window and go to the
127.0.0.1:800/api/<page_size>/<qr_data>/<int_pages>where:-
page_size = Should be either
A4orletterIf not the application will return the message
Please check size. -
qr_data = The data you want to have on the QR image
You have to have a data length higher than 4 character because if you do not do it you'll get the error
QR data length should be higher than 4. -
int_pages = Integer with the numbers of the pages you want the
.pdffile to have.
This will be pages of the server:
-
-
Print it!
If you followed the steps above you should have gotten the pdf file on the browser like this:
now you just have to print it.


Note: If you want the server running on the background just and an ampersand (&) at the end of the command when you execute the server.
If you did it correctly you should get a .pdf file like this:

In this link you can see the final .pdf file created.
@BlackrockDigital BootStrap template.