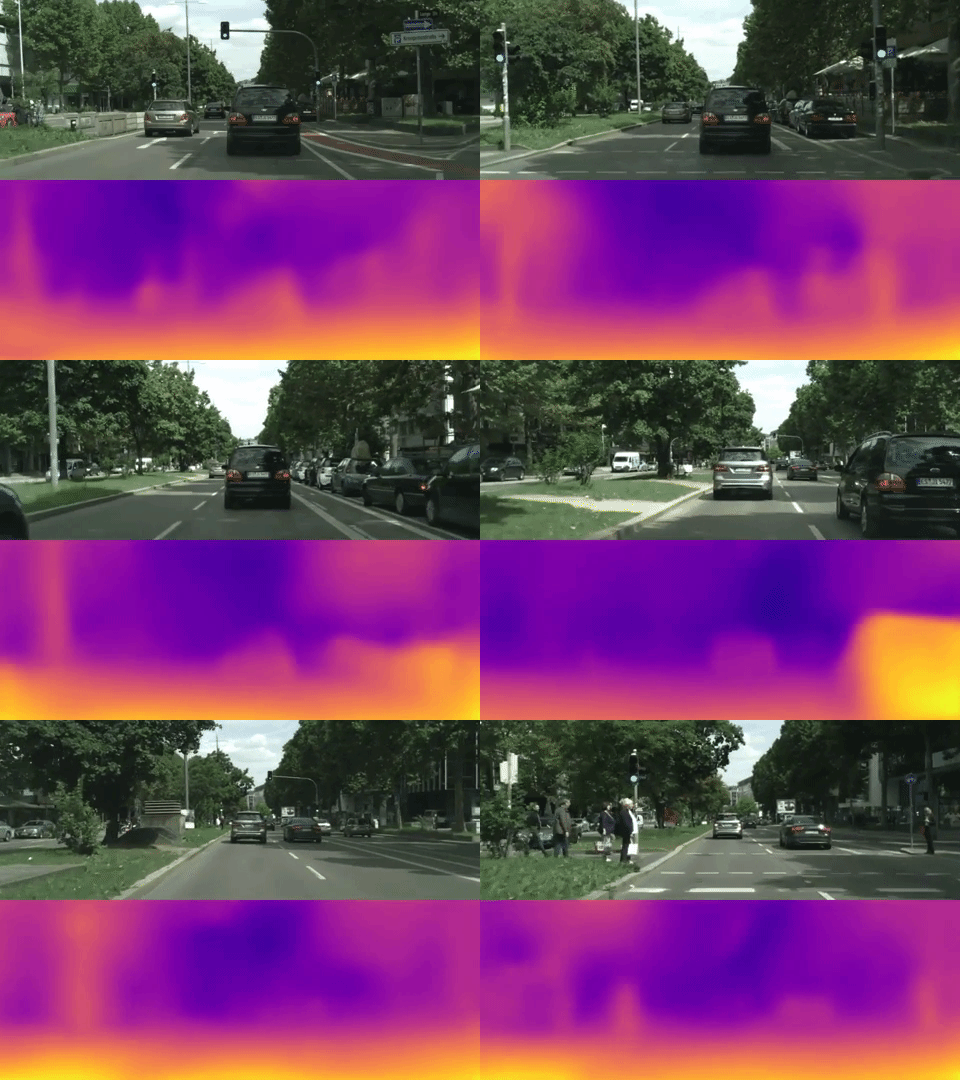
This codebase implements the system described in the paper:
Unsupervised Learning of Depth and Ego-Motion from Video
Tinghui Zhou, Matthew Brown, Noah Snavely, David G. Lowe
In CVPR 2017 (Oral).
See the project webpage for more details.
Original Author : Tinghui Zhou (tinghuiz@berkeley.edu) Pytorch implementation : Clément Pinard (clement.pinard@ensta-paristech.fr)
This codebase was developed and tested with Pytorch 0.2, CUDA 8.0 and Ubuntu 16.04. Original code was developped in tensorflow, you can access it here
[sudo] pip3 install -r requirements.txtor install manually the following packages :
pytorch 0.3
scipy
argparse
tensorboard-pytorch
tensorboard
blessings
progressbar2
path.py
It is also advised to have python3 bindings for opencv for tensorboard visualizations
- Training has been tested on KITTI and CityScapes. Convergence is reached, although with a different set of hyperparameters.
- Dataset preparation has been largely improved, and now stores image sequences in folders, making sure that movement is each time big enough between each frame
- That way, training is now significantly faster, running at ~0.14sec per step vs ~0.2s per steps initially (on a single GTX980Ti)
- In addition you don't need to prepare data for a particular sequence length anymore as stacking is made on the fly.
- You can still choose the former stacked frames dataset format.
- Pose evaluation code, along with thorough comparison between tensorflow and pytorch version
- For some reason, original hyperparameters does not seem to make the models converge, some investigations need to be done
Preparation is roughly the same command as in the original code.
For KITTI, first download the dataset using this script provided on the official website, and then run the following command
python3 data/prepare_train_data.py /path/to/raw/kitti/dataset/ --dataset-format 'kitti' --dump-root /path/to/resulting/formatted/data/ --width 416 --height 128 --num-threads 4 [--static-frames /path/to/static_frames.txt]For Cityscapes, download the following packages: 1) leftImg8bit_sequence_trainvaltest.zip, 2) camera_trainvaltest.zip. You will probably need to contact the administrators to be able to get it. Then run the following command
python3 data/prepare_train_data.py /path/to/cityscapes/dataset/ --dataset-format 'cityscapes' --dump-root /path/to/resulting/formatted/data/ --width 416 --height 171 --num-threads 4Notice that for Cityscapes the img_height is set to 171 because we crop out the bottom part of the image that contains the car logo, and the resulting image will have height 128.
Once the data are formatted following the above instructions, you should be able to train the model by running the following command
python3 train.py /path/to/the/formatted/data/ -b4 -m0.2 -s0.1 --epoch-size 3000 --sequence-length 3 --log-outputYou can then start a tensorboard session in this folder by
tensorboard --logdir=checkpoints/and visualize the training progress by opening https://localhost:6006 on your browser. If everything is set up properly, you should start seeing reasonable depth prediction after ~30K iterations when training on KITTI.
Disparity map generation can be done with run_inference.py
python3 run_inference.py --pretrained /path/to/dispnet --dataset-dir /path/pictures/dir --output-dir /path/to/output/dirWill run inference on all pictures inside dataset-dir and save a jpg of disparity (or depth) to output-dir for each one see script help (-h) for more options.
Disparity evaluation is avalaible
python3 test_disp.py --pretrained-dispnet /path/to/dispnet --pretrained-posent /path/to/posenet --dataset-dir /path/to/KITTI_raw --dataset-list /path/to/test_files_listTest file list is available in kitti eval folder. To get fair comparison with Original paper evaluation code, don't specify a posenet. However, if you do, it will be used to solve the scale factor ambiguity, the only ground truth used to get it will be vehicle speed which is far more acceptable for real conditions quality measurement, but you will obviously get worse results.
