![]()
![]()
![]()
![]()
![]()
![]()
Welcome to the README for the SEP4 Greenhouse Environment Monitoring System! This project focuses on developing a cloud hosted IoT-system that can retrieve and visualize sensor data. This project is a collaborative effort by three teams: frontend, backend, and iot. Each team plays a crucial role in the development and operation of the system, working together to create a seamless user experience and efficient control mechanisms.
This repository contains project backend, which is responsible for:
- Retrieving data from IoT >> processing and storing in database >> sending to Frontend
- Retieving data (settings to apply in device) from Frontend >> processing and storing in database >> sending to IoT
To access the repositories for the different components of the SEP4 Greenhouse Environment Monitoring System, please use the following links:

Following section describes how to set up your own version of development environment for the project.
Solution has been designed with preference for JetBrains Rider as the environment for editing, building, testing, analysing, refactoring, managing database & version control system. It is also available for all platforms.
This results in particular set of functionalities that include (but are not limited to):
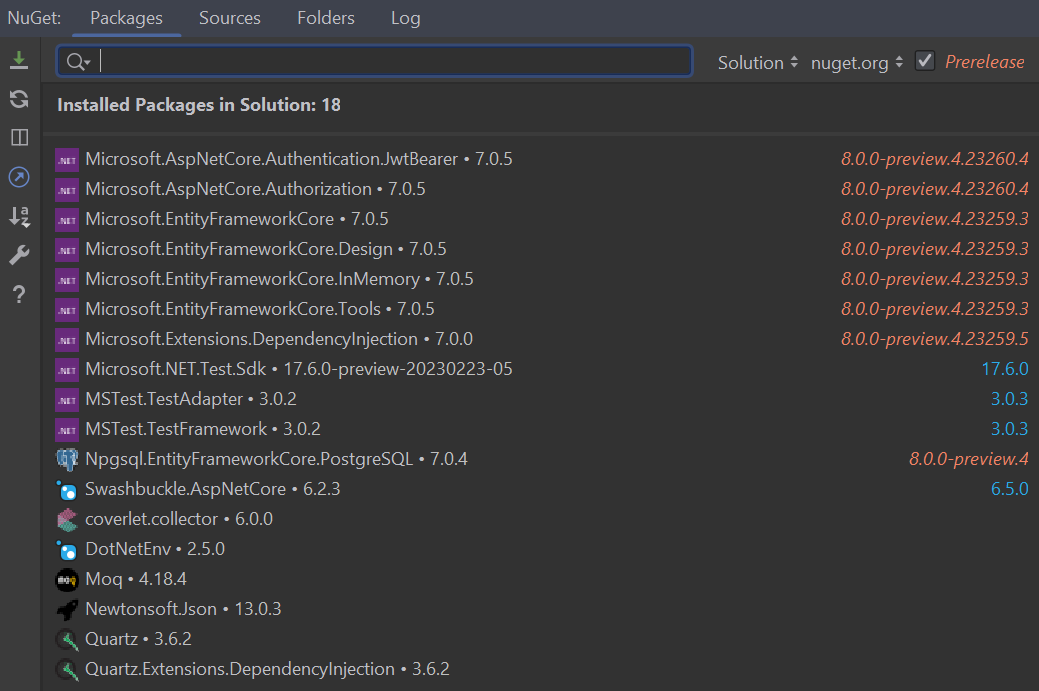
- NuGet packages:
Set of NuGet packages that are needed to run the project, if not installed.

- Install Git here
- Install .NET SDK here
- Clone the repository: Open terminal and navigate to a directory, where you want to clone the repository. Then paste the following command in terminal:
git clone https://github.com/xoxkoo/greenhouse-backend.git- Build the project: Change directory into the cloned repository, using following command:
cd greenhouse-backendThen run this command:
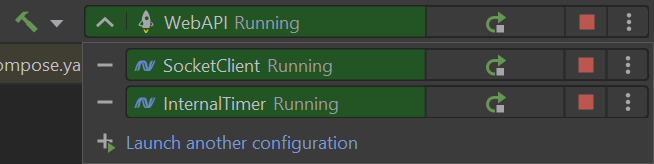
dotnet build- Start the application: once the project is built and configured, you can run the application using rider:
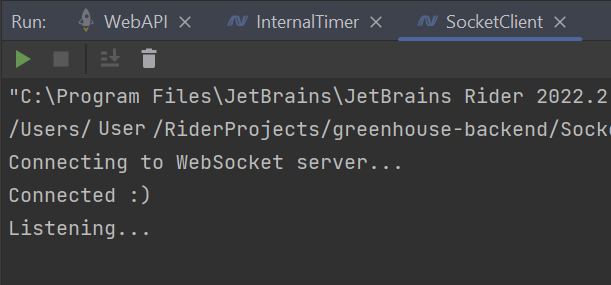
- Check terminal, if SocketClient displays the following messages:
- Check terminal, if WebAPI displays the following messages:
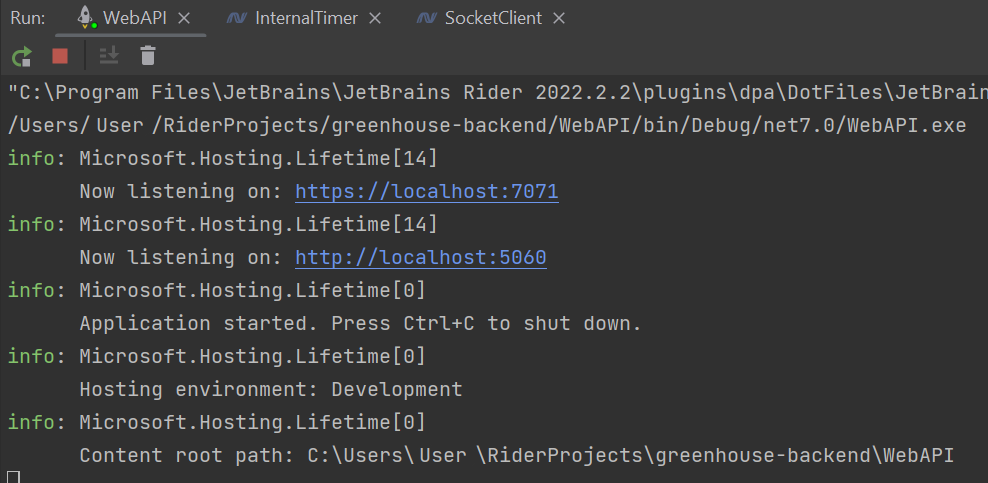
- Application can be tested using Swagger. Take first address from step 3 and add "/swagger" at the end. For example:


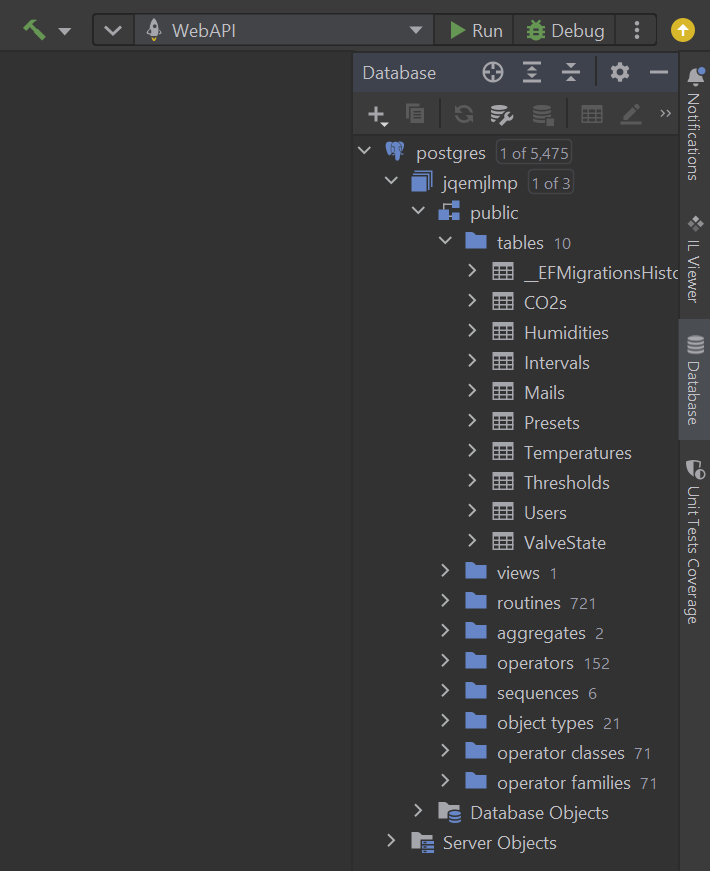
https://localhost:7071/swagger- Database can be accessed inside Rider. Click "Database" button in most left column of the application. Tables can be found in root as image shows:
- Credentials can be found in the appendices.

- Install Docker here
- Open terminal and navigate to project directory.
- Build the Docker image using the Dockerfile provided in the repository:
docker-compose buildThis command builds the Docker image and tags it with the name greenhouse-backend. 4. Run the Docker container: After the Docker image is built, you can run the application in a Docker containers using the following command:
docker-compose upThis command starts a Docker containers from the greenhouse-backend images. 5. Access the application: Once the Docker container is running, you can access the application by opening a web browser and navigating to http://localhost:8080 (or the corresponding host and port). You should see the application running.
Test coverage for main is always available at projects' GitHub Pages page.


