This was a group project made for coursework (Software Engineering). Please find details on process, technical discussion and individual contribution below.
This readme contains details for the quiz app, team members, meeting minutes, how to run the code the UML diagrams, and the attributions section.
- Team H Quiz App
The project comprises a quiz app where students can log in or sign up to the portal and take or retake quizzes and see their marks displayed. There is also an option for an admin. The admin can create, delete, and update quizzes.
As of this moment, this is a web-based application.
The following is the list of technologies that have been used in building this project.
- MongoDB
- Next.js
- NextAuth
- Typescript
- Javascript
- React
- Chakra UI
- Mocha
| Member Name | Member Student ID | Member Role |
| Adithya | 202292768 | Team Facilitator
Backend Developer |
| Mehadi | 202287115 | Backend Developer |
| Majid | 202292752 | Database Logic & Backend Developer |
| Heshani | 202292233 | Frontend / Backend Developer |
| Sumrish | 202196728 | Frontend / Backend Developer & Designer |
The following are links to the meeting minutes.
Details regarding the team contributions and team processes can be found here
- A PR shall not be merged until all devs approve(either via commenting on the PR for code work and commenting on the story for non-code work)
- Any suggestions on the PR must be resolved before the PR can be merged.
- Code will be reviewed as per the DRY (Don't Repeat Yourself) and SOLID principles.
Once the branch is ready to merge in the master, a PR should be created for that and on the mean time the task from in Progress will be moved to Reviewed on the kanboard. Then the request for changes will be initiated on the same PR by adding comments to the PR, and have discussion related to that. Once the is changes the done, it's again committied on the same branch and the PR is updated accordingly. Once all the suggestions/reviews are done, than Approved status is given to that PR, and it's moved from to Done tasks on the board. Below is the rough draft of what's happening actually in terms of github.
 (The figure has been collected from here)
To maintain code review standards across developers, it's a good idea to have guidelines for what to focus on in code reviews. Here's what we recommend focusing on:
- Functionality: Does the code behave as the PR author likely intended? Does the code behave as users would expect?
- Complexity: Would another developer be able to easily understand and use the code?
- Tests: Does the PR have correct and well-designed automated tests?
- Naming: Are names for variables, functions, etc. descriptive?
- Comments: Are the comments clear and useful?
- Documentation: Did the author also update relevant documentation?
Developers shouldn't spend their time reviewing things that can be automatically checked. Like for the pdf files or .md files, there's no need for this check list as it is specifically for the Dev tasks.
The individual contributions for each team member can be found here:
- Adithya - Assignment 04 | Assignment 03 | Assignment 02 | Kanban Board
- Mehadi - Assignment 04 | Assignment 03 | Assignment 02 | Kanban Board
- Majid - Assignment 04 | Assignment 03 | Assignment 02 | Kanban Board
- Heshani - Assignment 04 | Assignment 03 | Assignment 02 | Kanban Board
- Sumrish - Assignment 04 | Assignment 03 | Assignment 02 | Kanban Board
All Done Tasks on the Kanban Board Grouped by User are available here
| Name | Issue | Merged to Master? |
| Adithya | Protect the master branch! (https://github.com/MUN-COMP6905/project-hteam/issues/149) | Yes |
| Decouple data layer via a middle layer to conform to DDD paradigm (https://github.com/MUN-COMP6905/project-hteam/issues/165) | Yes | |
| Majid | Implement Functionality for the Quiz Retake Button (https://github.com/MUN-COMP6905/project-hteam/issues/162) | Yes |
| Connect Email Check Functionality with Front-End Sign Up Page (https://github.com/MUN-COMP6905/project-hteam/issues/161) | Yes | |
| Test Cases for Email Verification Class (https://github.com/MUN-COMP6905/project-hteam/issues/174) | Yes | |
| Create Architecture Diagram for Project (https://github.com/MUN-COMP6905/project-hteam/issues/175) | Yes | |
| Passing Objects to the UI (https://github.com/MUN-COMP6905/project-hteam/issues/173) | No | |
| Mehadi | Integrate Student Dashboard and Quizbank with the backend (https://github.com/MUN-COMP6905/project-hteam/issues/135) | Yes |
| Integrating Backend for the Admin Dashboard (https://github.com/MUN-COMP6905/project-hteam/issues/153) | Yes | |
| Integrating backend for Sign Up Page (https://github.com/MUN-COMP6905/project-hteam/issues/155) | Yes | |
| Bugfix: Fixed the issue with empty input field and mark calculation (https://github.com/MUN-COMP6905/project-hteam/pull/180) | Yes | |
| Updated the main Readme file (https://github.com/MUN-COMP6905/project-hteam/issues/170) | Yes | |
| Sumrish | Removing the hardcoded parameters from the Take Quiz Scenario (https://github.com/MUN-COMP6905/project-hteam/issues/171) | Yes |
| Implement the functionality to read quiz answers from student input, check correct answer, submit quiz result to DB. (https://github.com/MUN-COMP6905/project-hteam/issues/157) | Yes | |
| Implement routing to Result page, fetch the quiz results to display to quiz result page and redirect to student dashboard (https://github.com/MUN-COMP6905/project-hteam/issues/159) | Yes | |
| Added unit test cases for Quiz submission and fetching marks from DB (https://github.com/MUN-COMP6905/project-hteam/issues/169) | Yes | |
| Integration branch of take a Quiz flow to be merged in master (https://github.com/MUN-COMP6905/project-hteam/issues/179) | Yes | |
| Heshani | Integrate Take a Quiz UI with database using data layer (https://github.com/MUN-COMP6905/project-hteam/issues/156) | Yes |
| Connecting QuizBank UI's Take Quiz button with Take Quiz UI passing required data (https://github.com/MUN-COMP6905/project-hteam/issues/167) | Yes | |
| Adding Uint test to the task - Integrating Take Quiz UI with database using data layer (https://github.com/MUN-COMP6905/project-hteam/issues/168) | Yes |
- To view the project running on Codesandbox Click Here and use these credentials.
To run the code locally, you’ll need to define your environment variables through the .env.local file or creating a .env file first. For a sample .env file, refer to .env.example. Use the same mongodb url (since it is set to the team mongodb instance url) and use your appropriate localhost url for the nextauth and host keys.
Update the NEXTAUTH_URL on the .env.local file to the appropriate host URL that the terminal gives after running the project.
For example if the project is being run on the port 3000 locally then the changes will look like this -
NEXTAUTH_URL ='http://localhost:3000'Once done, go to your console and run the following commands in the order specified.
This command will install all the prerequisite packages defined in the package.json file required to run the project and perform the testings.
npm install This command will run the project in dev mode:
npm run dev(make sure to update the env file with the correct NEXTAUTH_URL)
To run the test cases make sure you have installed all the libraries and then:
npm install
npm run testSign in with the credentials:
- Admin: Email:
mehadi@mun.caand password:1234 - Student: Email:
adi@mun.comand password:1234


- A data layer was added to separate the UI code from the backend.
- UI layer now needs to import a concrete MongoQuizData obejct to reach the database. Therefore, the db code has been removed from the UI code.
- The data layer implements two interfaces so that in the future we can replace mongo with another db client which implements the same interface.
- Quiz, Questions and User collection has been used in the MongoDB to support the application.
- Unit tests were written for the data layer as well as other business class that yet to be integrated end to end.

- The UML attempts to provide a glimpse of the 3 layered architecture we've decided on. They are: the UI, the middle/business layer and finally the data layer. Each of them ideally stay separate and decoupled. We acheive this using the Domain Driven Design (DDD) paradigm, where the core of the project is the domain (which is independent of all else), around which everything else, including the app layer and data layer circles, in the shape of an onion, giving the DDD paradigm its pseudonym called the "onion" architecture.

-
In our project, the UI layer only depends on the QuizDataService, which lies in the domain(middle) layer. The datalayer, which contains code that calls MongoDB apis, also depends on this same domain layer. Thus, we're able to make both the app layer and data layer independent of each other by making them function via the implementing the same interfaces. An object of the class QuizDataService is imported and made available to any caller who wants to call the datalayer to get the data it needs, without ever knowing anything about MongoDB. Thus, this data layer can be implemented using any db technology.
-
"In the Layered Architecture, as understood by the majority of people, virtually all layers can depend on the infrastructure layer. This causes some bad coupling. A change in the infrastructure layer like changing some library or switching a database provider could spill changes all over your business logic. Onion Architecture is about protecting the business logic, hence the dependency rule." - https://dzone.com/articles/onion-architecture-is-interesting
-
We have therefore, by using the Onion principle, resorted to the Dependency Inversion principle from an architectural layer perspective. Thus, the most important code in our application (domain layer) depends on nothing, and instead, everything depends on the domain layer. This is, therefore, controlled and directed coupling.
- For example, we'd make a SQLServerQuizData class that implements the same interfaces that currently is implemented by MongoQuizData(the concrete implementation that contains mongo code).
- Then, in dbservice(in the middle layer), we modify the body of the methods in QuizDataService class to use the SQLServerQuizData import (and property) instead of the MongoQuizData import.
- Thus by replacing what is returned form the middle layer(dbservice), the UI never needs to know the data layer implementation ever changed to use SQLServer.
- The user starts at the landing page.
- A new user can create an account with the role of Admin or Student. Emails with domain ending at
mun.caare allowed to register. - Sign in with the credentials. If you log in using the Admin credentials (
email: mehadi@mun.caandpassword: 1234) it should redirect to the Admin home page and if logged in with the student credentials (email: adi@mun.caandpassword: 1234) the user will be redirected to the student dashboard. - If logged in as admin; user can see the list of available quizzes and delete the quizzes if required
- If logged in as student; user can see all the quizzes that they has taken (New users will see empty table).
- If the student user navigates to the Take a Quiz tab from the student dashboard, and takes a quiz that already appears on the student dashboard, then a new quiz with the score obtained on the latest attempt is added to the student dashboard.
- If the student user navigates to the Home tab of the student dashboard, and 'retakes' a quiz, then a new quiz with the score obtained on the latest attempt is added to the student dashboard and the older attempt's score is invalidated, i.e, set to -1.
- If the user presses
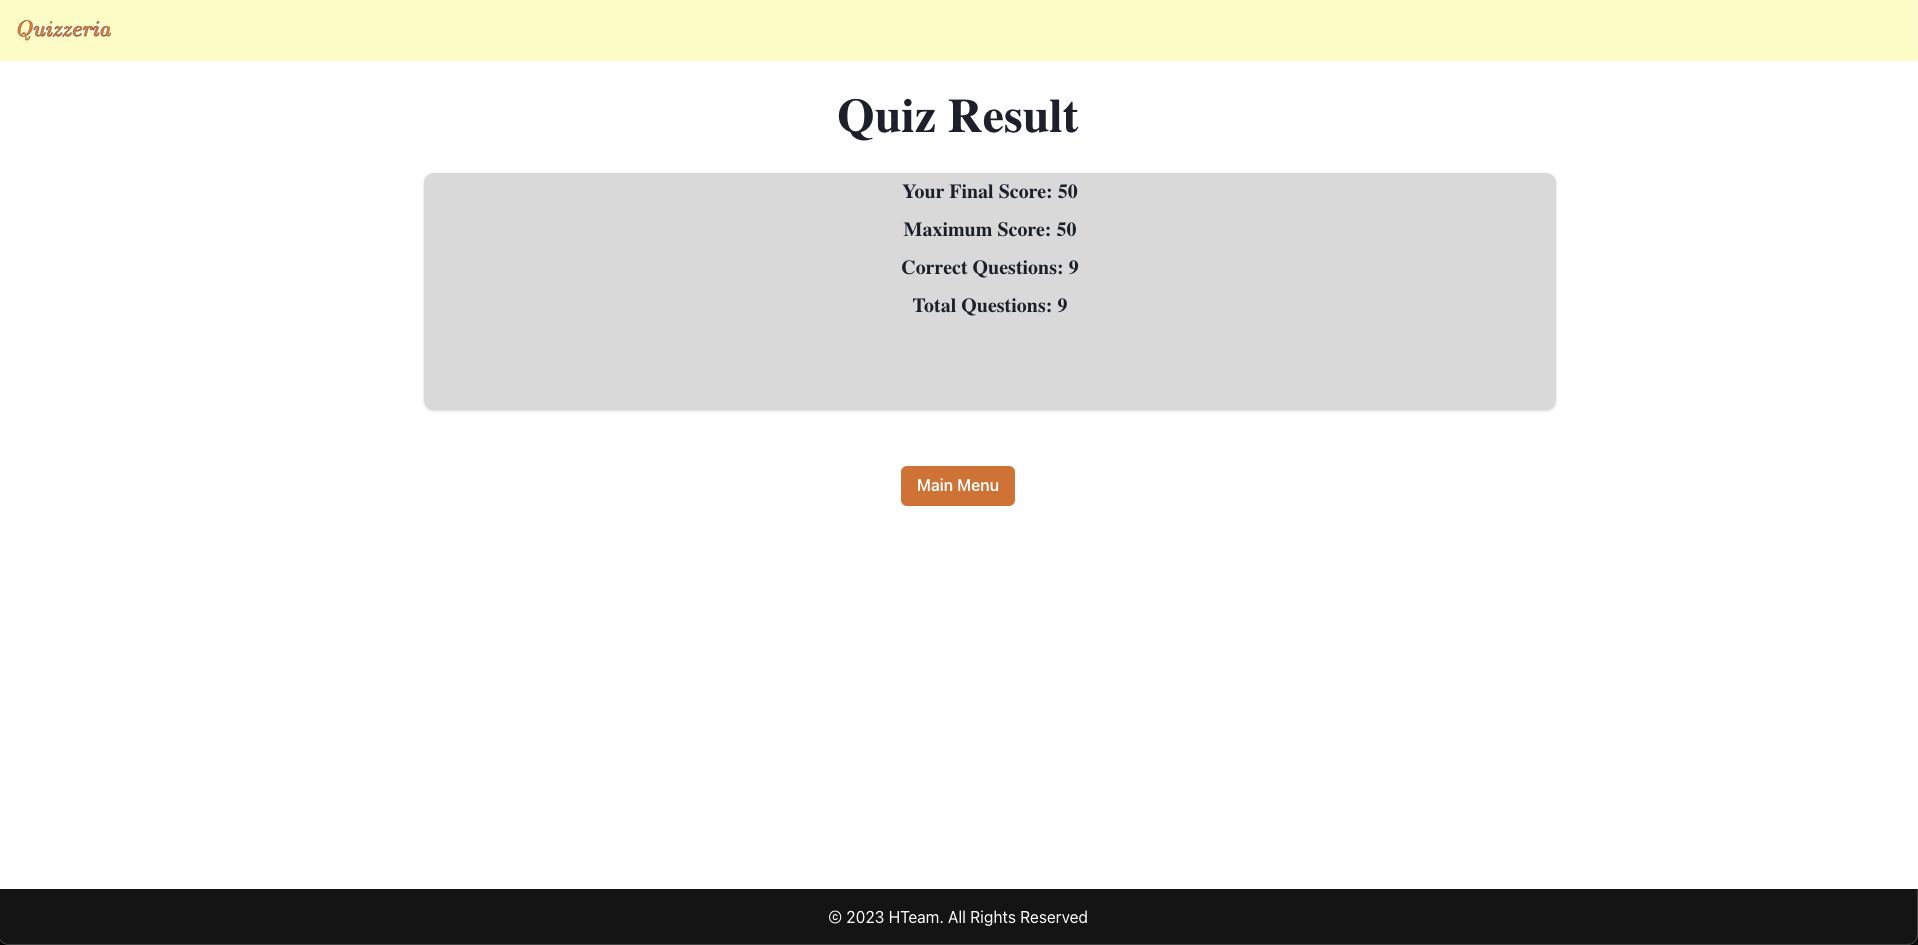
Take a quizfrom the navbar it will show all the available quizzes and upon pressingTake Quizbutton the user will taken to the quiz page - From the quiz page user will be available to answer the questions and upon submission it will show the results on the result screen. Upon clicking "Main Menu" from here, it will take the quiz taker back to the student dashboard, where a new row will have been added with the same score as shown on the result screen.
- User session has been implemented where user can login, logout and cannot access protected pages without being logged in with the right account.
-
Login Page: This is the login page where both the admin and students can sign in to their accounts.
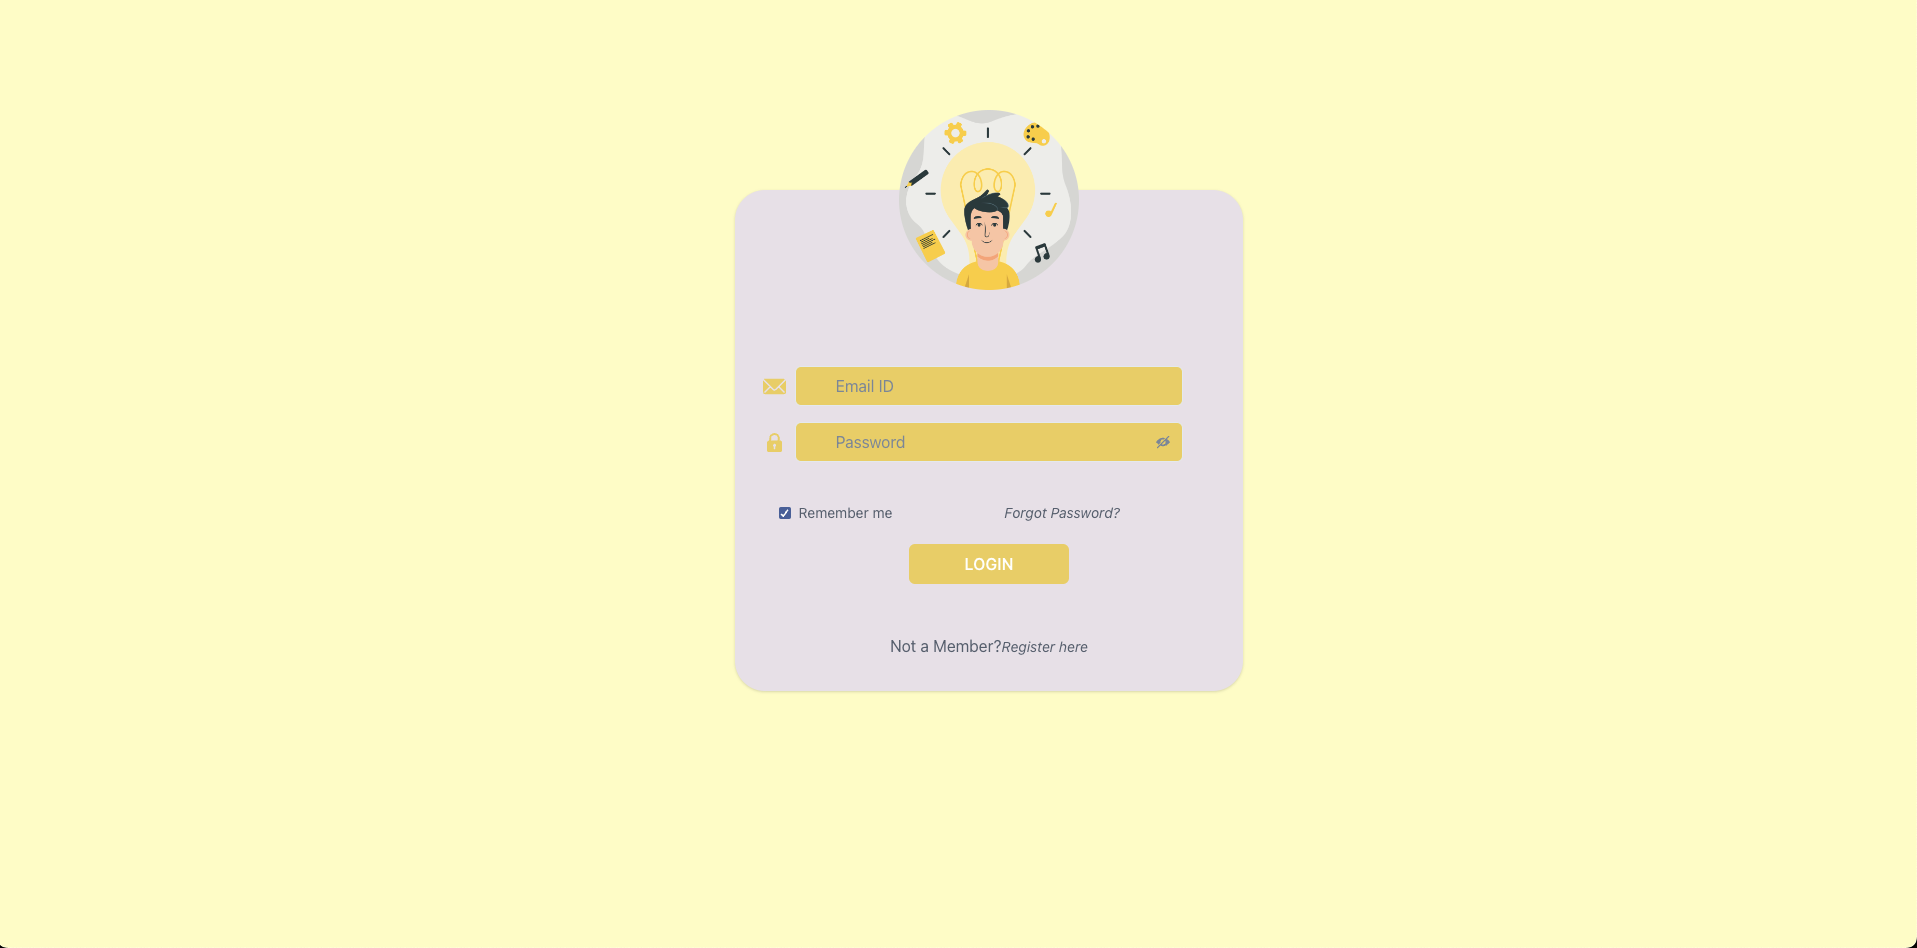
-
Sign up Page: This is the sign up page where both the admin and students can create a new account.
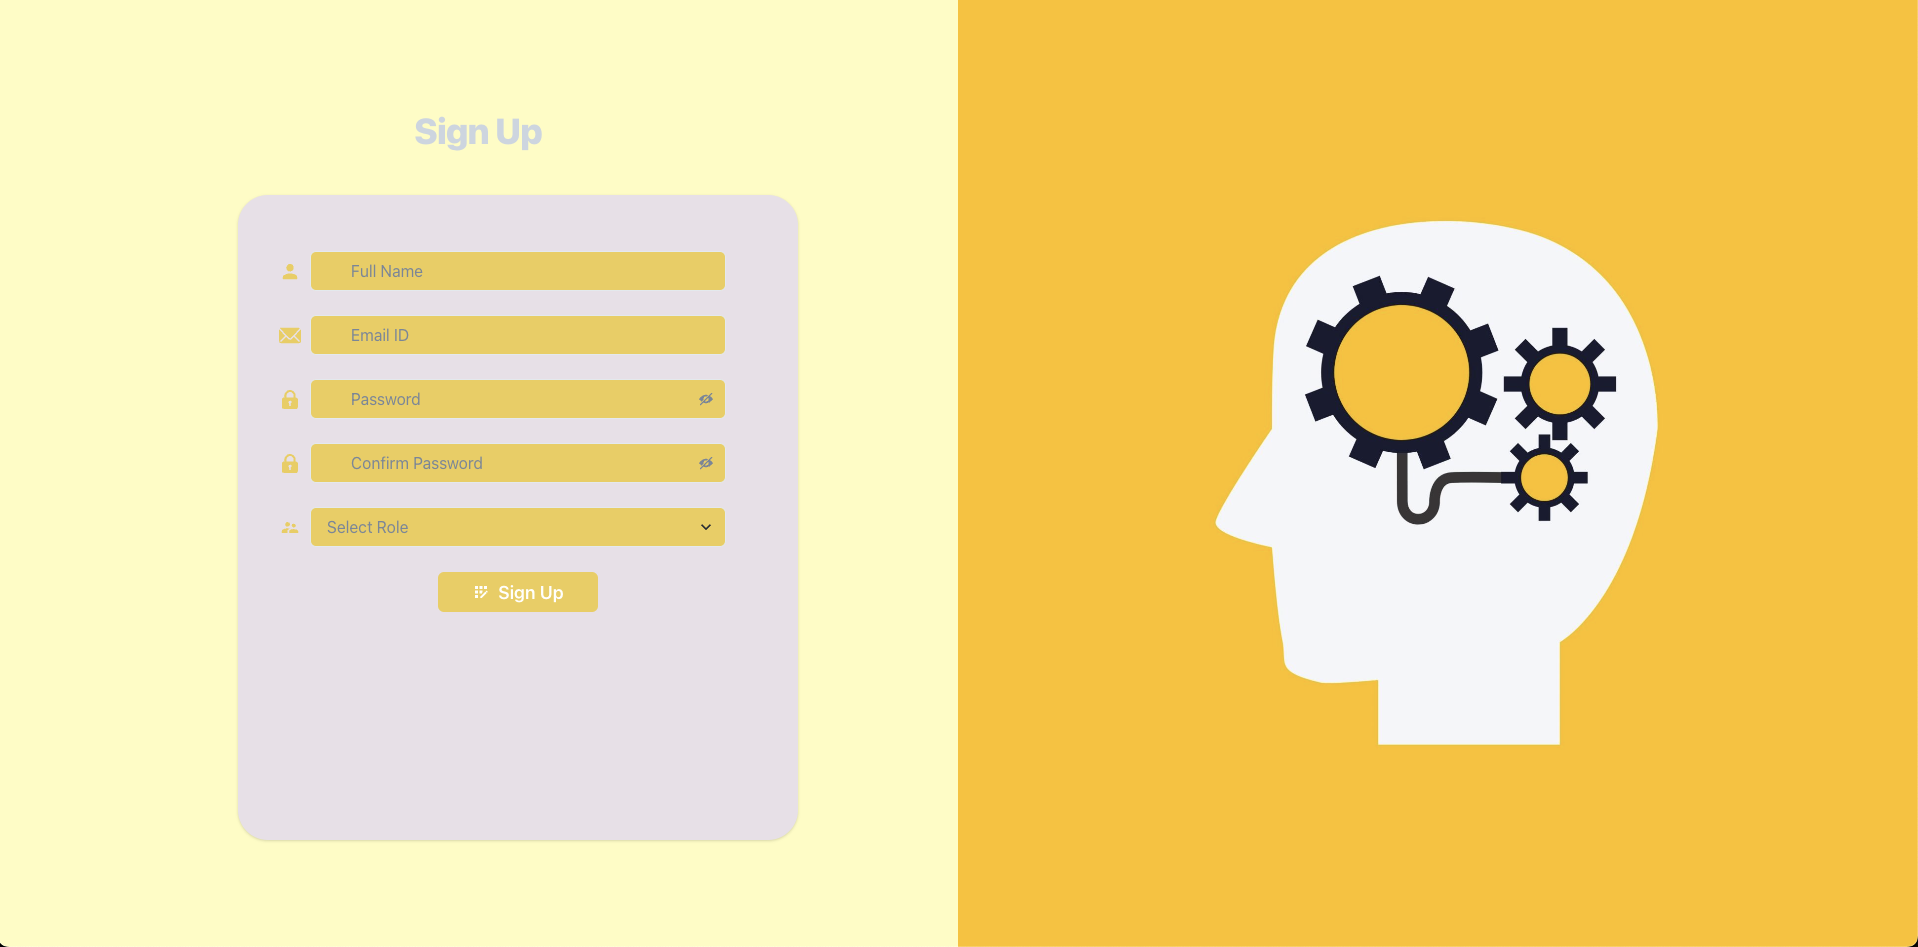
-
Admin Dashboard: This the the dashboard that an admin sees when they login.

-
Student Dashboard: This the the dashboard that a Student sees when they login.
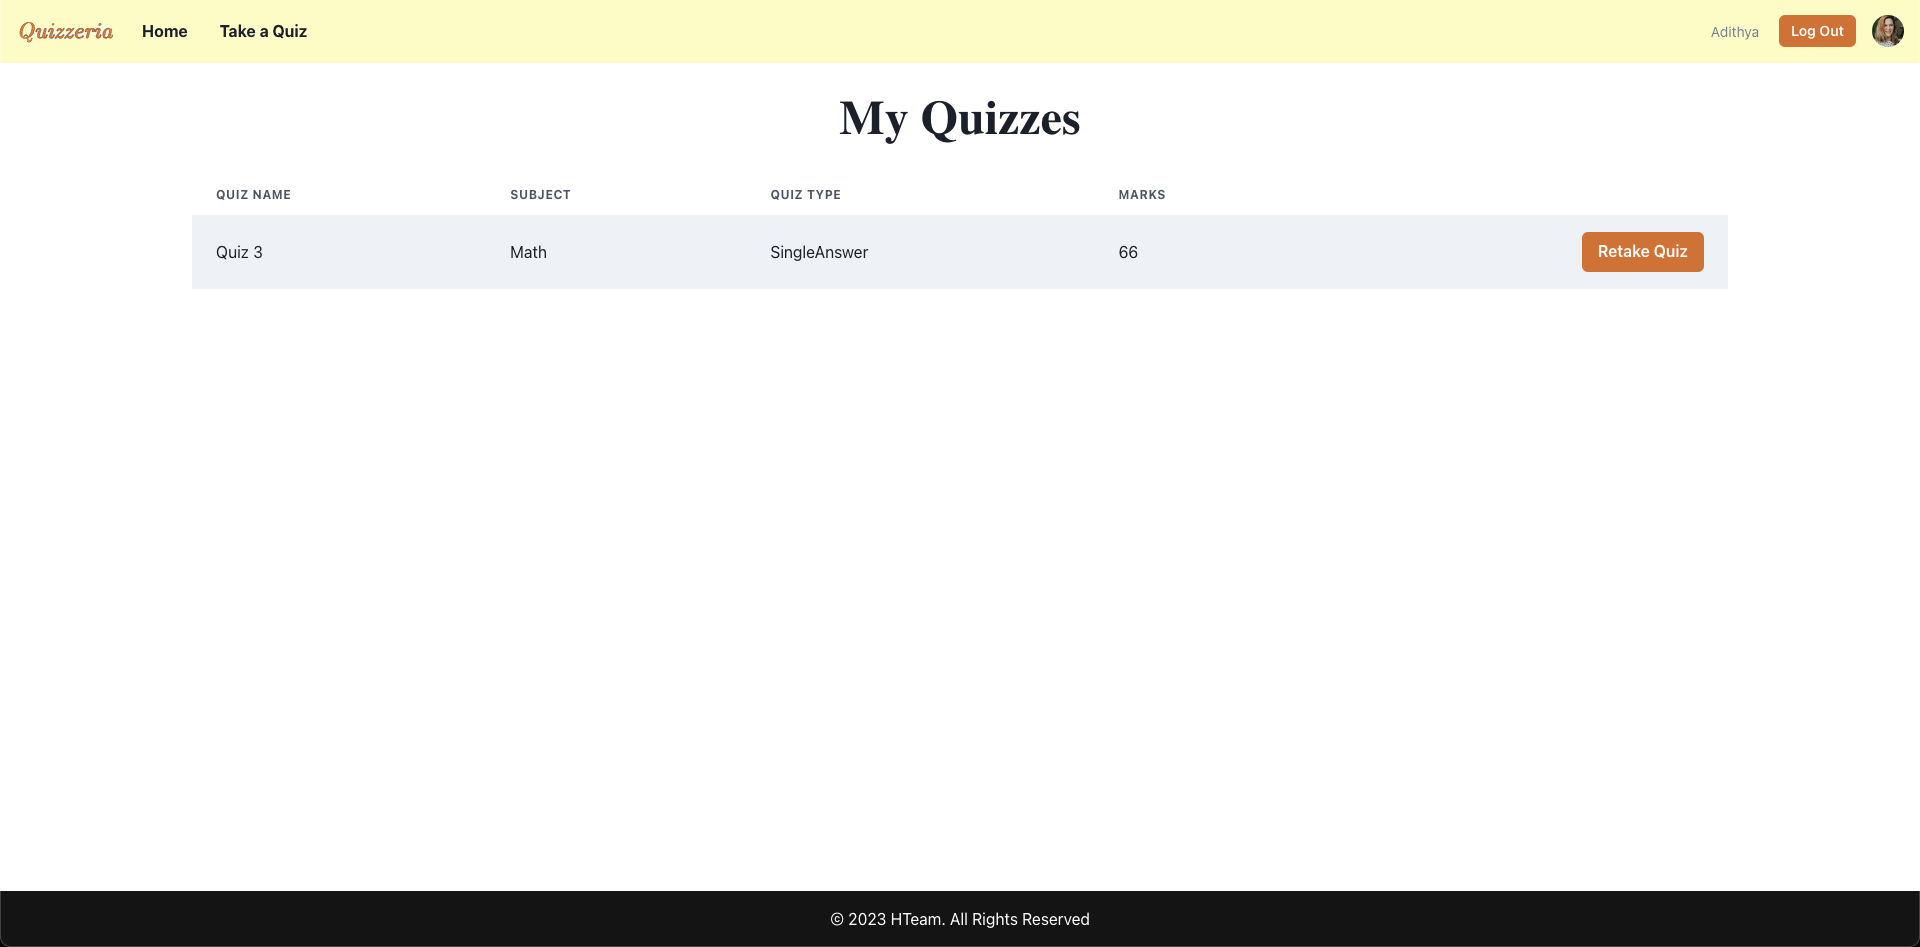
-
Quiz Bank: This the the quizbank page where the students can see available quizzes that they can participate.
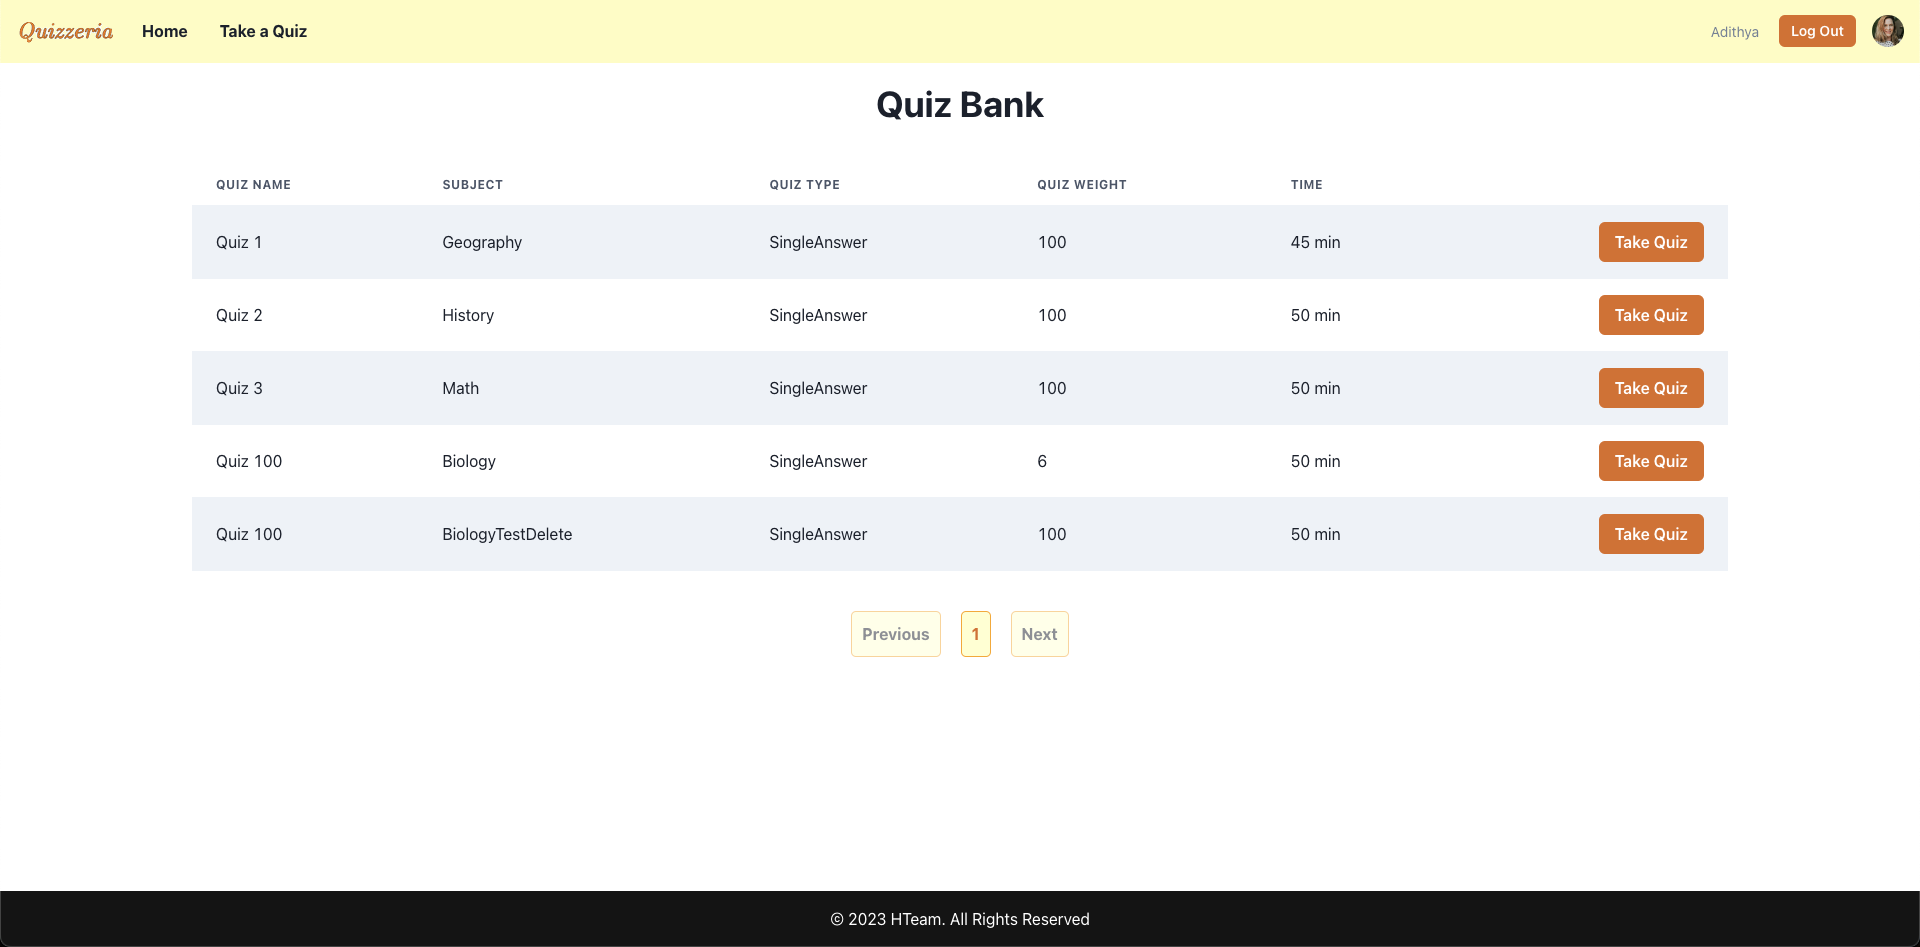
-
Take Quiz: This the the page where the students can see participate in taking the quiz and submit there answers.

-
Result Page: This the the page where the students can see there results once they submit the quiz.


Here is a video presentation on how to run the project and navigate throughout the application
Each developer reviewed the other developers performances out of 1 to 5 in the following criteria -
- Communication: How willing the team member was in communicating with others and was updated on all the team discussions
- Technical Contribution: How sound the team member was in the technical part
- Timely Delivery: How efficiently the team member submitted on time.
You can find the performance reviews here
You can find the issue tracker/kanban board for the project here.
Inspiration for this project was taken from the following resources: