Redwood Open3D 3D Reconstruction using RGB-D Images
An example project using Open3d for 3d reconstruction with RGB-D images
This is implemented by using the open-sourced tools Open3D. Souce code is available at (https://github.com/intel-isl/Open3D)
And the codes are heavily borrowed from the source github repo.
System requirements:
- Ubuntu 16.04 (not support 16.04+)
- Anaconda 4.7.11
- Python 3.6
- OpenCV
- Open3D 0.9.0 (not support 0.9.0+)
Set up environment
# Clone the project to local machine
$ git clone https://github.com/xdeng7/redwood_open3d_3dreconstruction.git

# Install packages, need to install Anaconda if it is not installed
$ conda create -n o3d_py3.6 python=3.6 Anaconda
$ conda activate o3d_py3.6
$ python3 -m pip install --user open3d-python
$ conda install -c conda-forge opencv
Download data
Any RGB-D dataset should work. In this repo, the open-sourced dataset Redwood is used.
Data can be download at (http://redwood-data.org/3dscan/dataset.html).
Unzip the .zip file, and put the data under the folder
'ROOT_DIR/Open3D/examples/python/reconstruction_system/datasets/YOUR_DATA_FOLDER'For exmaple, my data dir is
'/home/xdeng7/Open3D/examples/python/reconstruction_system/datasets/redwood_0036'Under the data folder, the depth and rgb data should placed into two different folders.
Please download config.json available at Google Drive
!! Modify line 3 in config.json with your dataset folder name.
Please follow the directory structure as follows to create your own dataset:
├── reconstruction_system

├── ├── datasets

│   │   ├── redwood_0036
│   │   │   └── depth   # depth data
│   │   │   └── rgb     # rgb data
│   |   |   └── config.json  # experimental hyperparameters
│   |   |   └── ...
│   |   ├── ...
├── ...
Quick start
Four steps to build 3D reconstruction with your RGB-D data.
- make
- register
- refine
- integrate
# The tools is in examples
cd Open3D/examples/python/reconstruction_system
# 1) create fragements
python run_system.py datasets/config.json --make
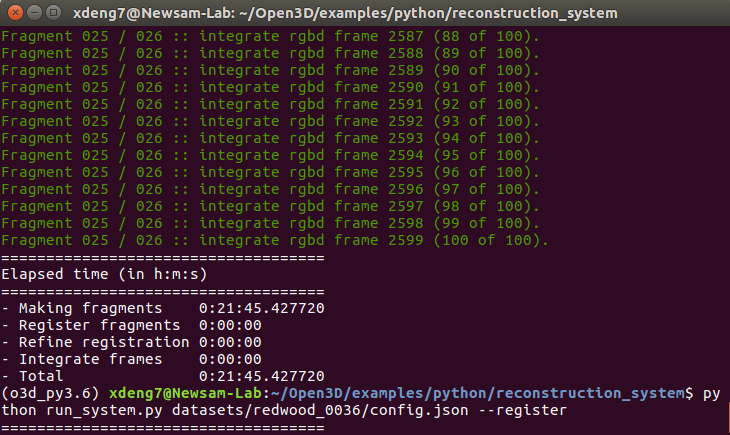
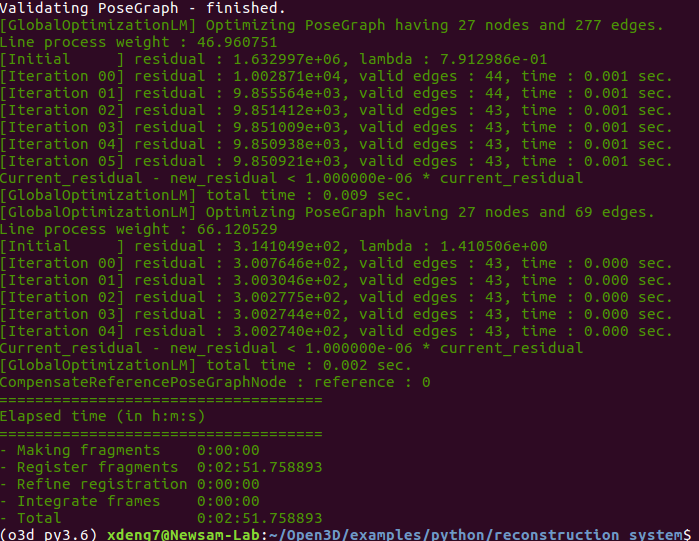
# 2) register fragements
python run_system.py datasets/config.json --register# 3) refine fragements
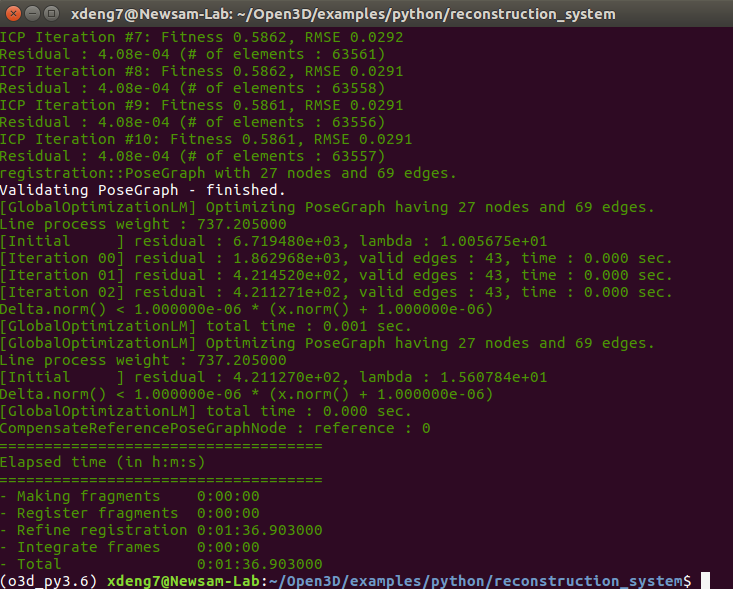
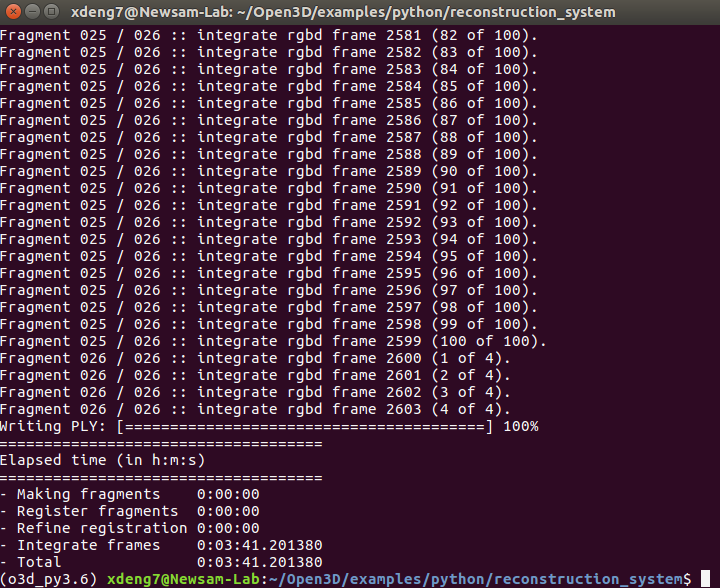
python run_system.py datasets/config.json --refine# 4) integrate and create the 3d mesh scene
python run_system.py datasets/config.json --integrateAt last, the generated 3d ojbect is located in the
'datasets/YOUR_DATA_NAME/scene/integrated.ply'Visualize 3D objects
MeshLab is suggested to install and use to view the 3D object.
You can use the mouse to drag to view the object in different perspectives.
Ubuntu 16.04 seems to have problem using MeshLab.
Tested on Mac OS.
The generated 3D object (integrated.ply) and ground truth (0036.ply) are avaiable at Google Drive
Download the files and use your mouse to drag the angel to view the created 3D mesh object with MeshLab.
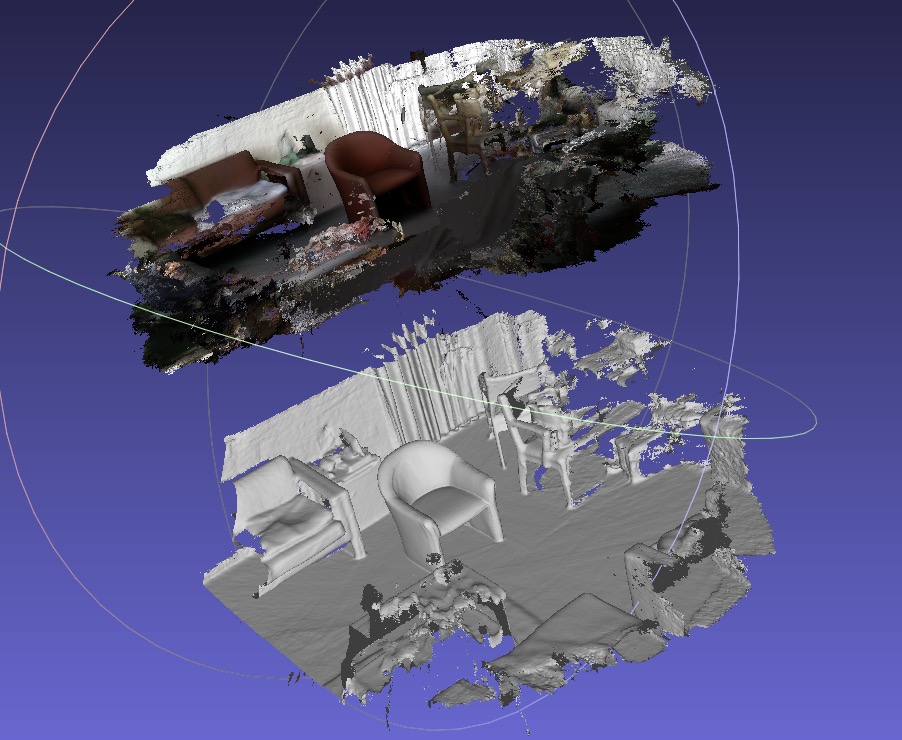
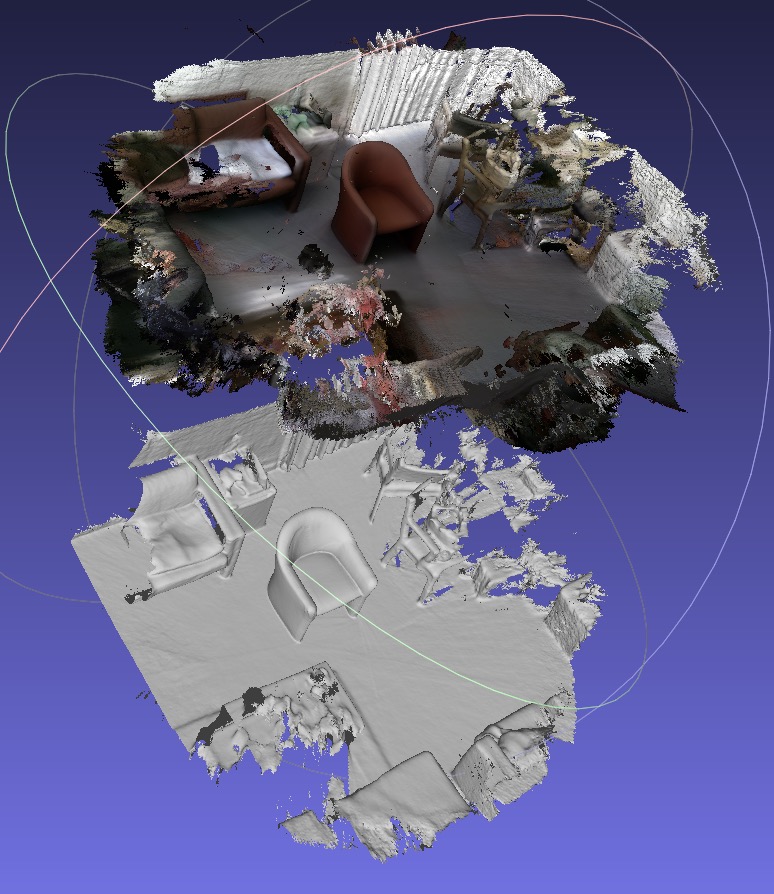
The integraed mesh object viewed in different perspectives is as follow
A comparison is made between integrated (colored) and ground truth (gray) as below
