English | 中文
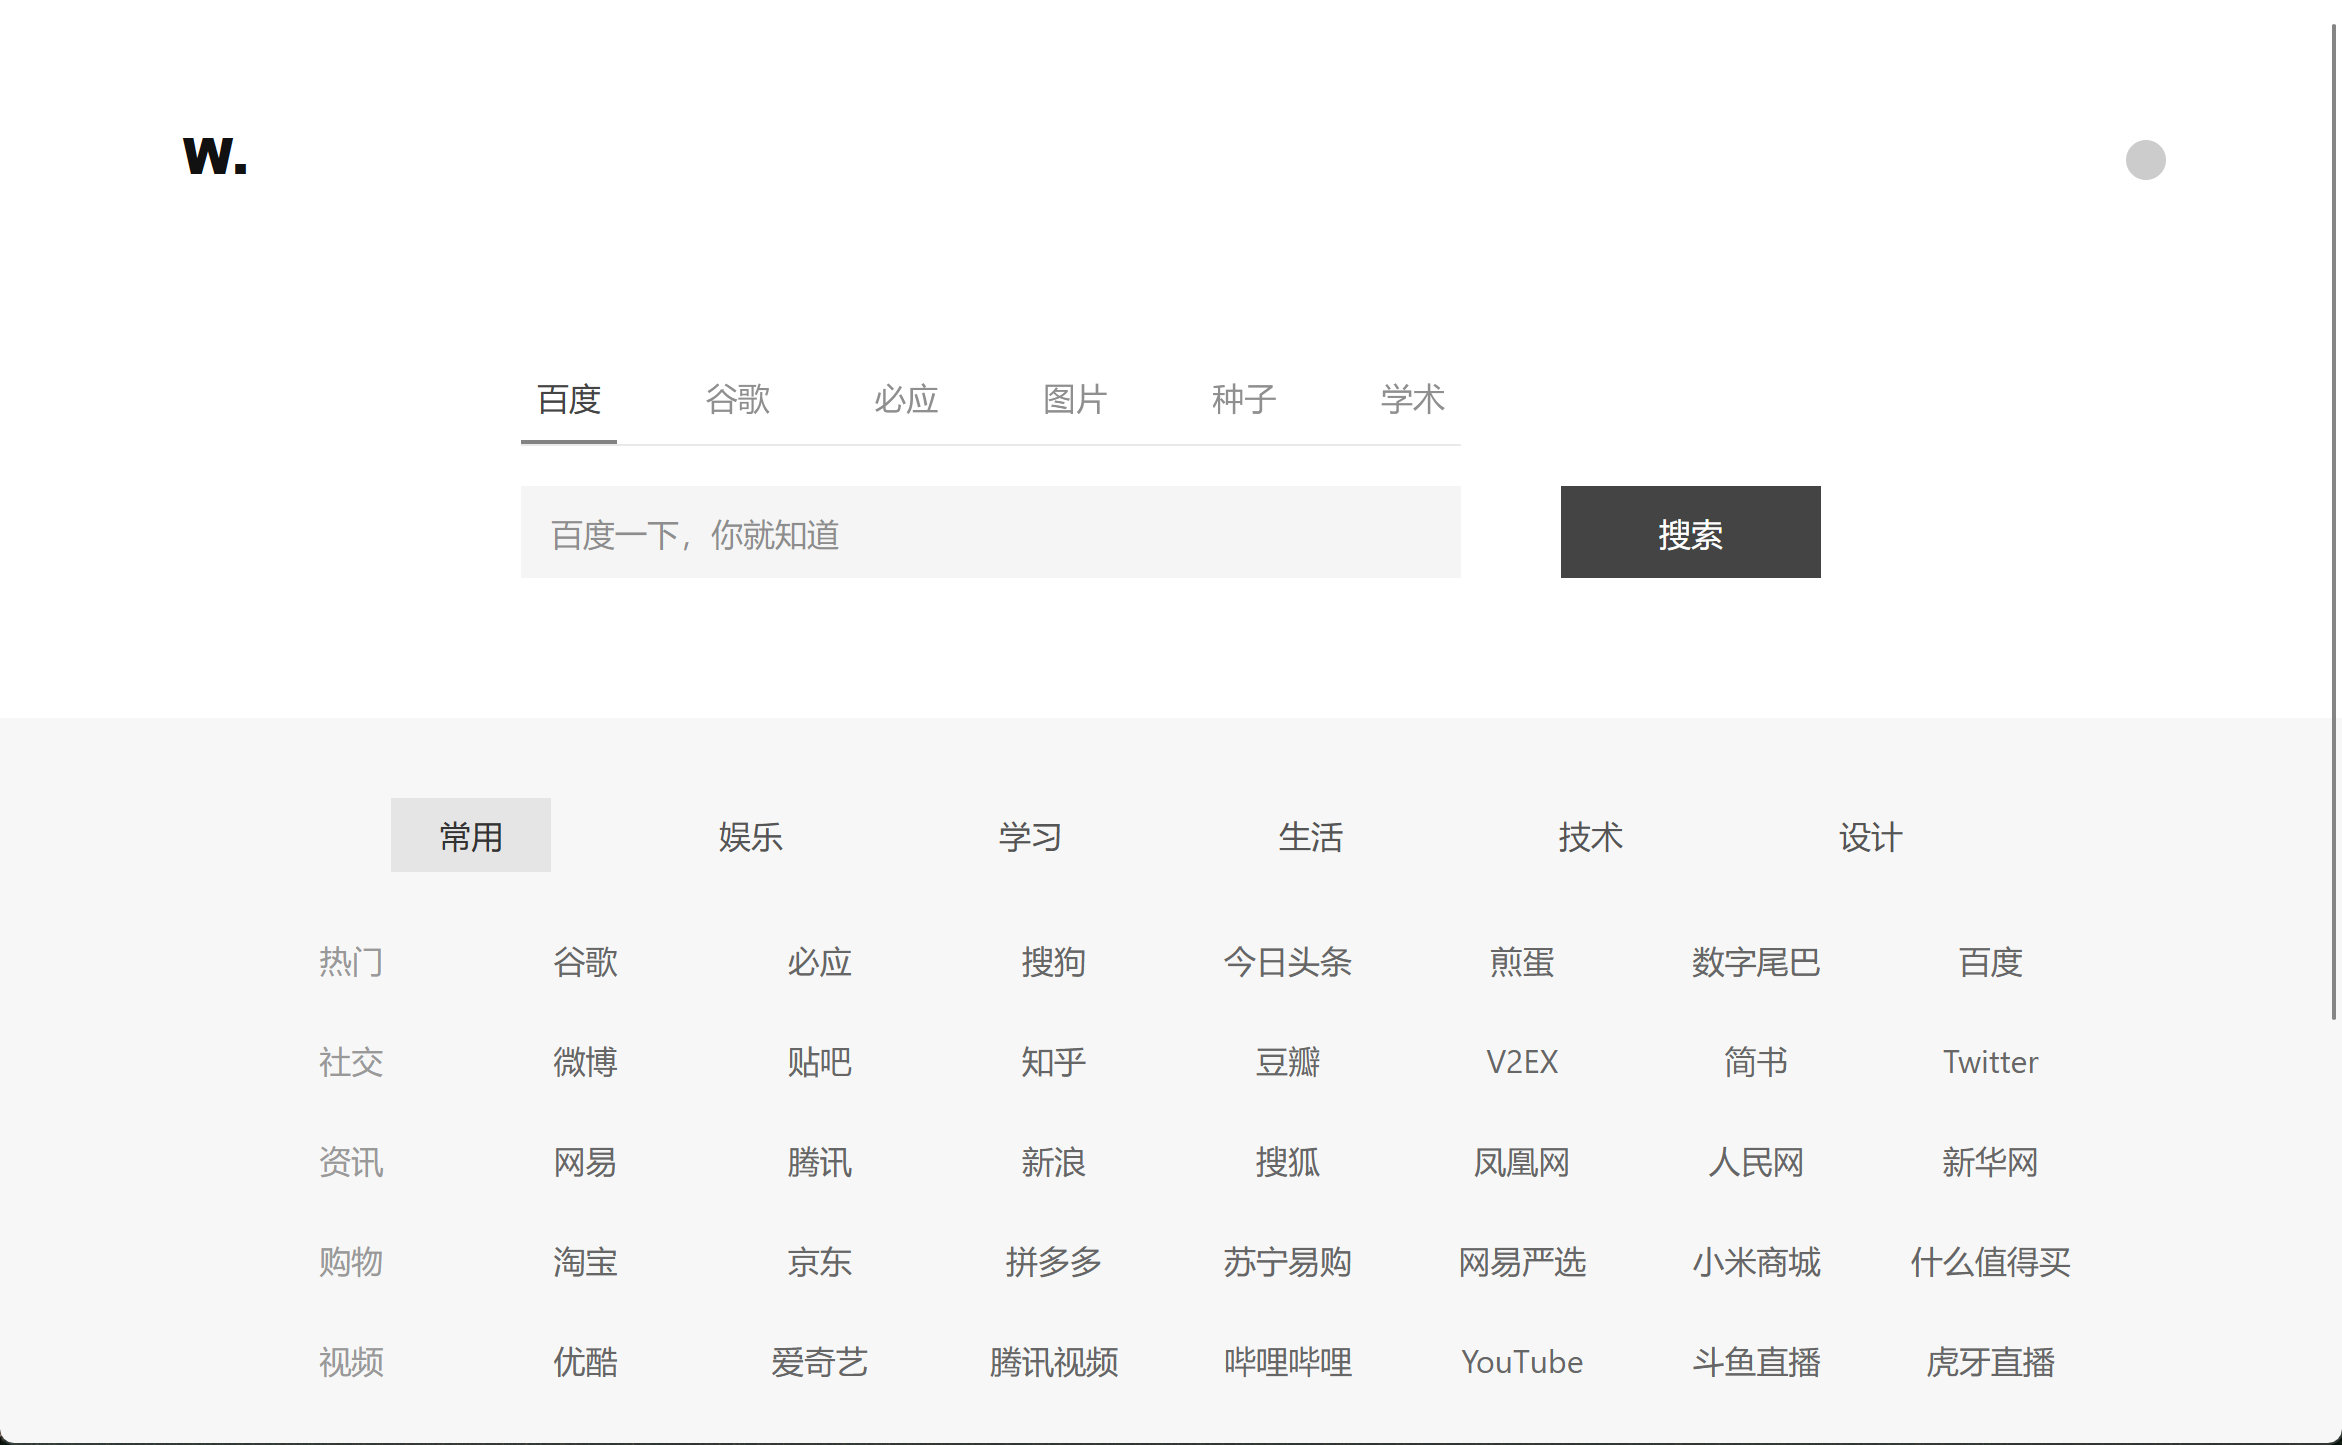
This is a navigation bar created using HTML + CSS + JavaScript. I created it to have a better navigation for EtherDream/jsproxy because its default navigation is too simple (:
I added a switch in the top right corner to quickly enable proxy mode.
-
First, deploy the cf-worker to CloudFlare Worker according to jsProxy CloudFlare Worker.
-
Set a custom domain for your successfully deployed CloudFlare Worker (Go to the Workers & Pages interface, add your domain under Triggers > Custom Domains).
-
Fork this project and modify the content of js/index.js proxy_url:
// Modify this
var proxy_url = "https://your-deployed-domain/-----";

// For example, if my deployed domain is: proxy.abc.com
// Then you should fill it like this (keep the "/-----" at the end):
var proxy_url = "https://proxy.abc.com/-----";
-
Create a CloudFlare Pages, select the forked repository, set the Production branch to "main", and Framework preset to "None". Follow the steps until the deployment is complete.
-
Set a custom domain for CloudFlare Pages (After deployment, find "Custom domains" and enter your custom access domain).
-
Congratulations! The deployment is complete.
You can configure your own navigation links by modifying the content of comm_list in js/index.js and index.html of the forked project. For example:
Related code in index.html:
<div class="tab">
    <span class="class1">Title 1</span>
	......
</div>
Related code in js/index.js:
var comm_list = [
  {
    slug: "class1",
    list: [
      {
        tag: "Left Tag",
        link: [
          { name: "Website Name", url: "Website Link" },
          { name: "Google", url: "https://www.google.com/" },
          ......
        ],
      },
    ],
  },
  ......
];
Note that the html class="class1" should correspond to javascript slug: "class1", and the website link should include "https://".
Thanks to EtherDream/jsproxy
Thanks to Jquery
Thanks to JavaScript Cookie Tools
