- Table of Contents
- Requirements
- Notes on installation
- Instructions
- 1. rip the video to
.m4v - 2. convert container to
.mkv - 3. identify and extract audio track from the video
- 4. convert movie audio to
.wav(and 5.1 sound to stereo) - 5. create new
Audacityproject with movie audio - 6. compress movie audio
- 7. import RiffTrax audio to the
Audacityproject - 8. trim RiffTrax intro
- 9. initial RiffTrax sync
- 10. silence Disembaudio
- 11. balance riff and movie volume
- 12. auto-duck the movie
- 13. merge the audio and export to
.mp3 - 14. multiplex (mux) the movie and audio
- 15. check the final output
- Summary
- 1. rip the video to
- Extras
Audacity- for audio editingffmpeg- for audio extraction and final construction of the video (installable withbrew)Handbrake- to rip the video from the original media source (if necessary)Homebrew- to install packages on the Macmkvtoolnix- for inspection of media files (installable withbrew)
I'll be using the movie Gravity as an example, but you should change filenames, accordingly.
As the focus of RiffTrax is really the jokes, we take some liberties with the movie audio - compressing the loud and quiet sections, and mixing down from surround/5.1 to stereo.
For these instructions, ffmpeg needs to be built with the Fraunhofer AAC codec libfdk_aac. Since version 2.0, homebrew no longer allows installation/compilation options for core packages, so this needs to be installed from a third-party tap. On the Mac, this can be done in homebrew using
brew tap homebrew-ffmpeg/ffmpeg
brew install homebrew-ffmpeg/ffmpeg/ffmpeg --with-fdk-aacIf you need to do this, HandBrake may be useful.
ffmpeg -i Gravity.m4v -codec:v copy -codec:a copy Gravity.mkvUse mkvinfo to identify the relevant track. You are looking for a track with Codec ID of A_AAC. It may have 2 tracks (stereo) or 6 (5.1). We want to identify the track ID for mkvmerge & mkvextract track number.
$ mkvinfo Gravity.mkv
+ EBML head
|+ EBML version: 1
|+ EBML read version: 1
|+ EBML maximum ID length: 4
|+ EBML maximum size length: 8
|+ Doc type: matroska
|+ Doc type version: 4
|+ Doc type read version: 2
[...]
| + A track
|  + Track number: 2 (track ID for mkvmerge & mkvextract: 1)
|  + Track UID: 2
|  + Lacing flag: 0
|  + Language: eng
|  + Default flag: 0
|  + Codec ID: A_AAC
|  + Track type: audio
|  + Audio track
|   + Channels: 6
|   + Sampling frequency: 48000
|   + Bit depth: 16
|  + CodecPrivate, length 2
[...]
Here, we have identified track 1, and can extract it to the file audio.ac3 with mkvextract:
You can get straight to the track info with the following command:
mkvinfo Gravity.mkv | grep -A 6 mkvextractmkvextract tracks Gravity.mkv 1:audio.ac3For import into the Audacity audio file editor, convert the movie audio to .wav with ffmpeg:
ffmpeg ‐i audio.ac3 ‐ac 2 audio.wavThe command above also converts the input audio to two channels (stereo).
- Open
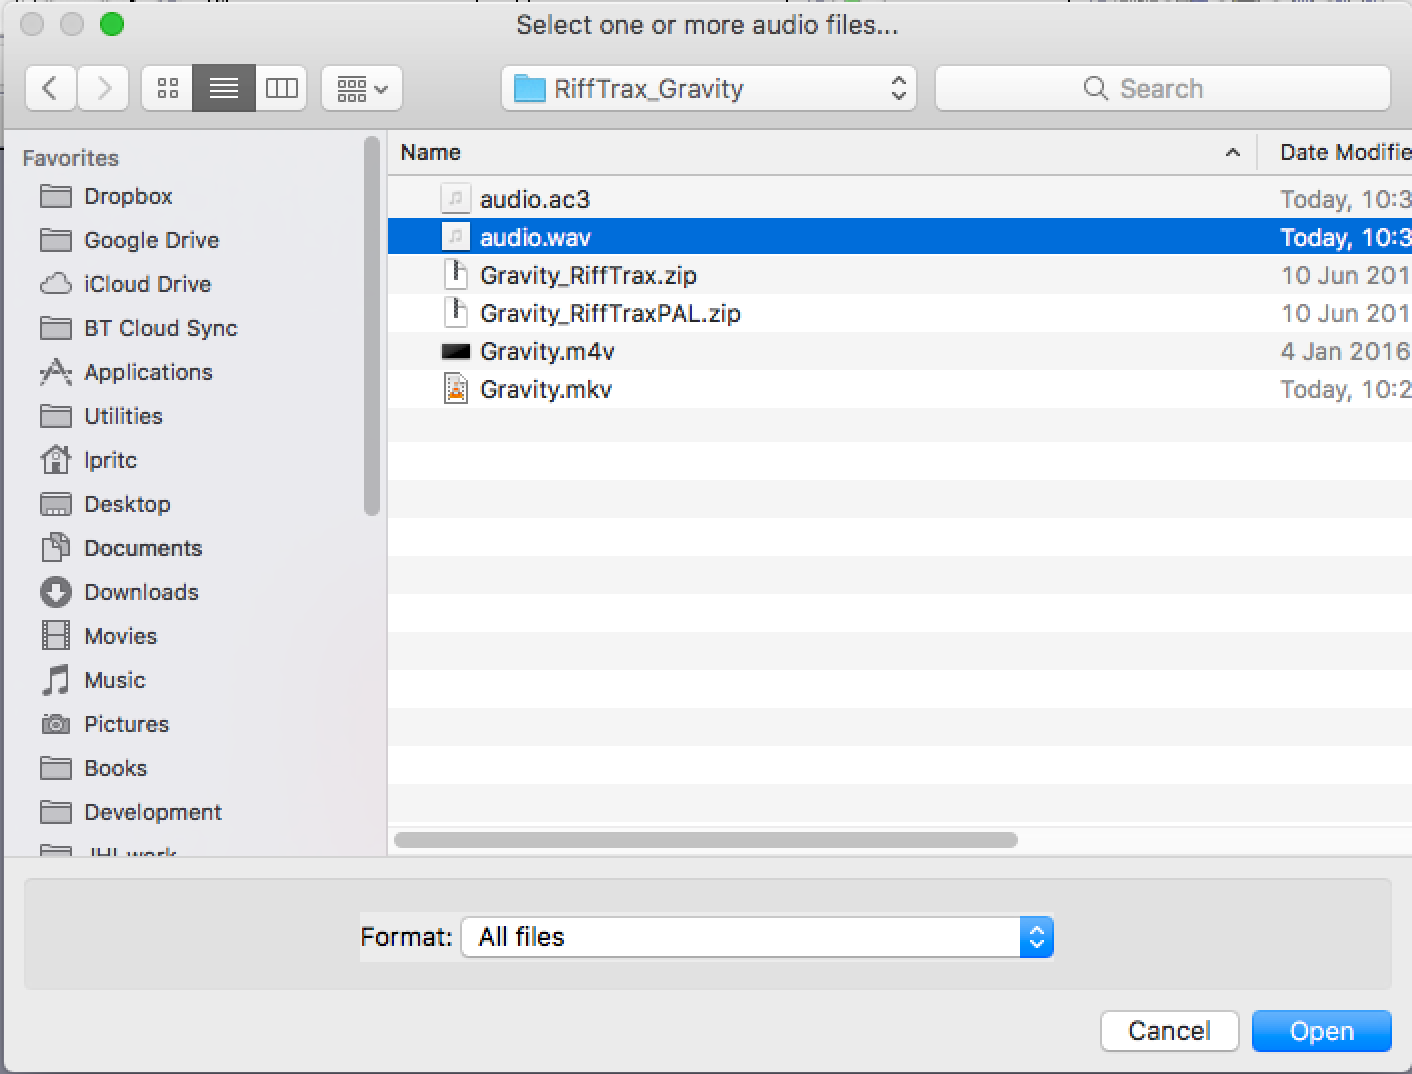
Audacity(this will create a new project) - Import movie audio
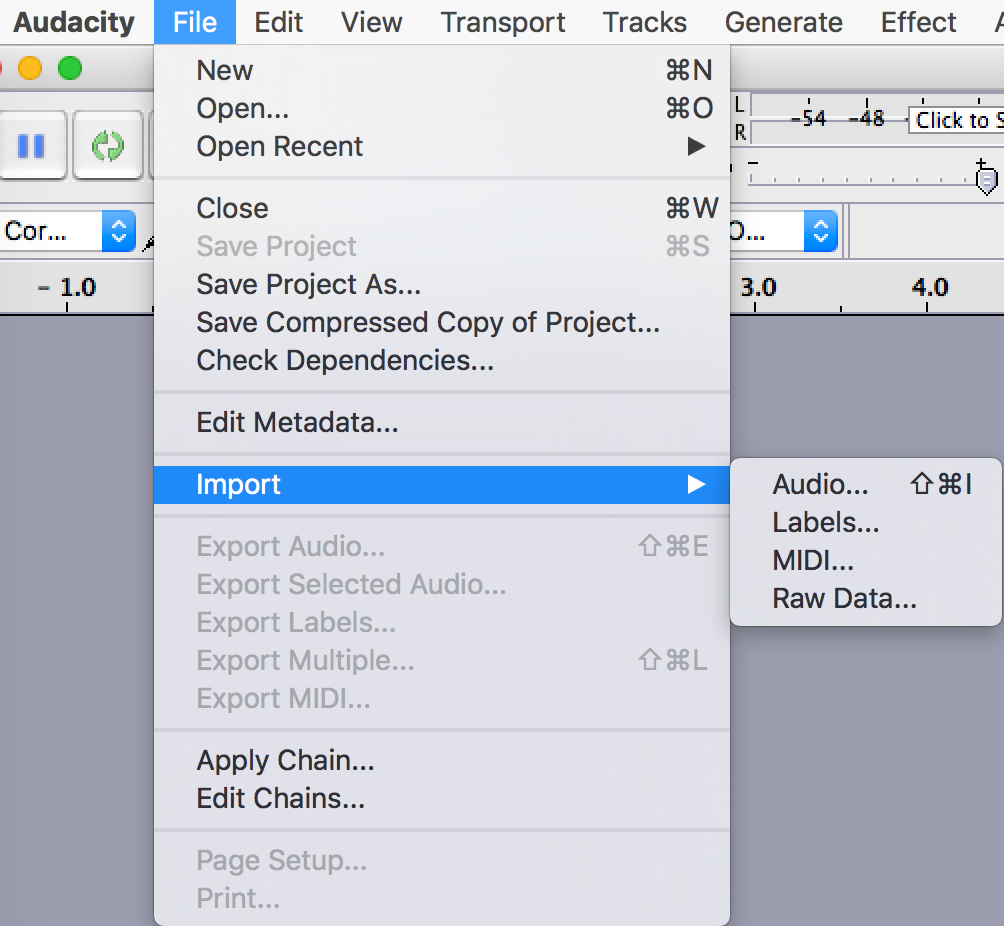
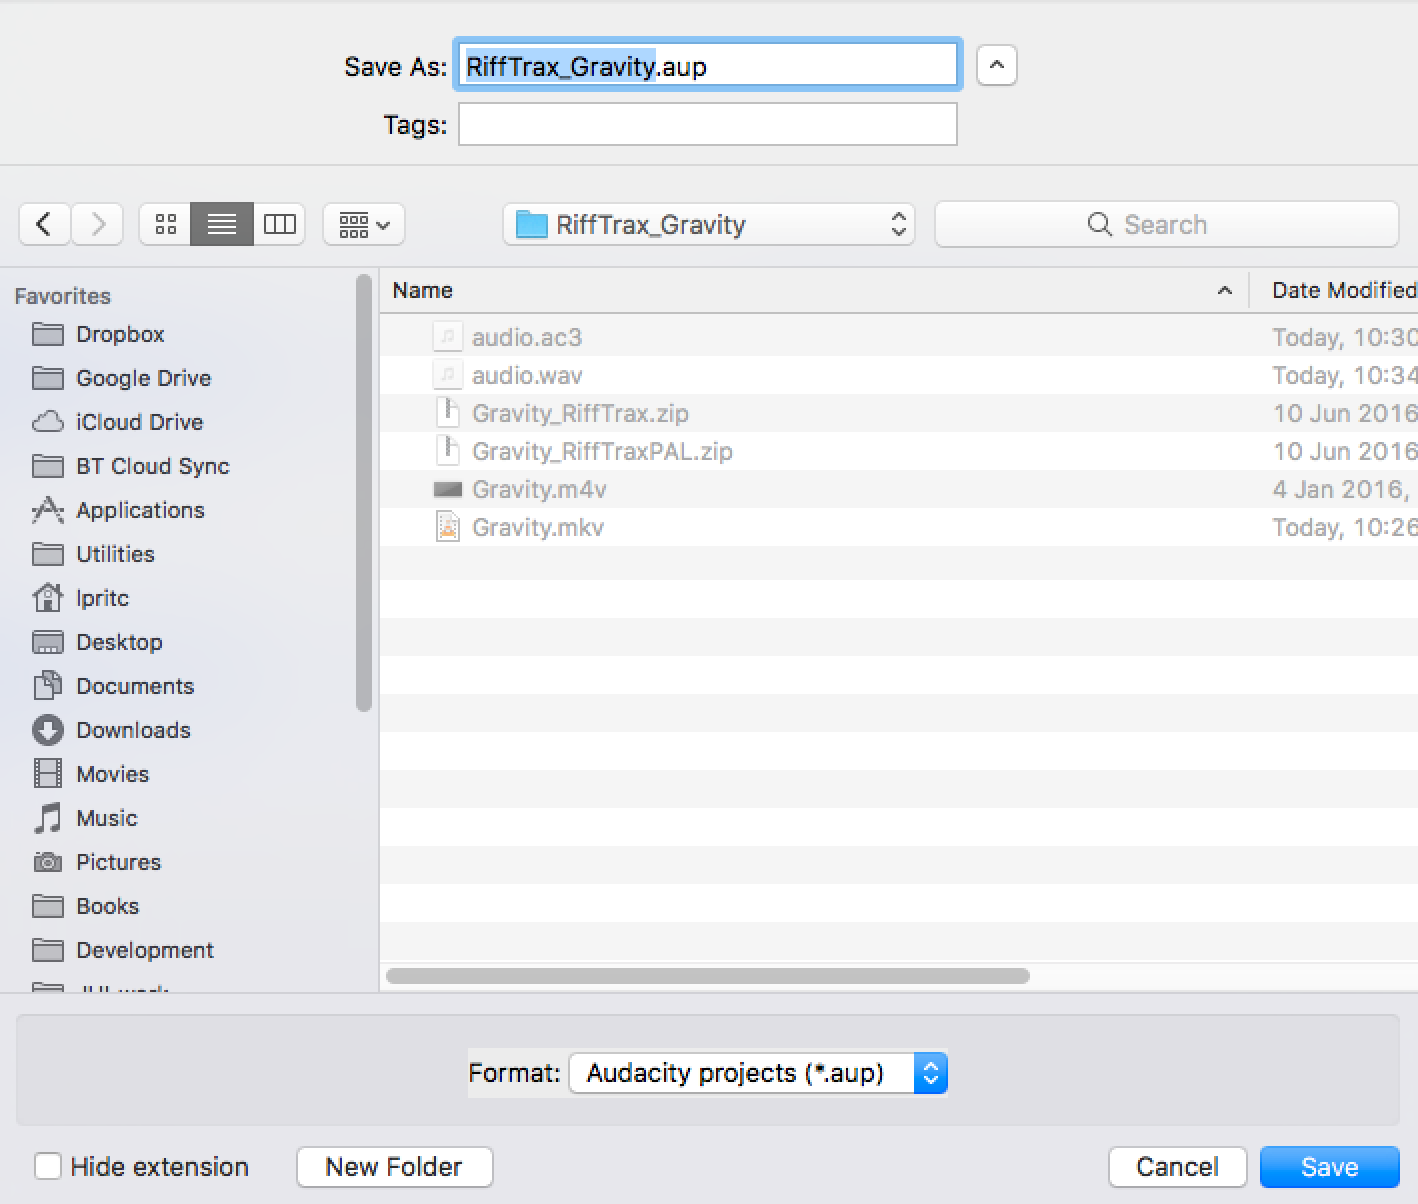
- Save project


To even up the loud and quiet parts of the movie track, we use compression.
- Select the movie audio track
- Use
Effects->Compressor...to compress the movie audio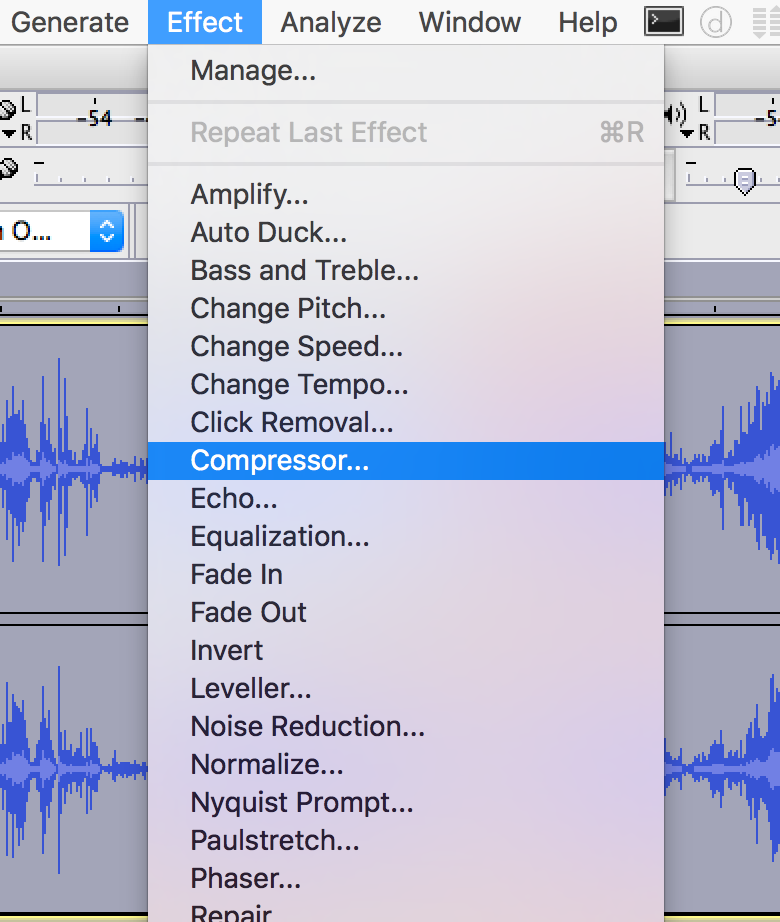
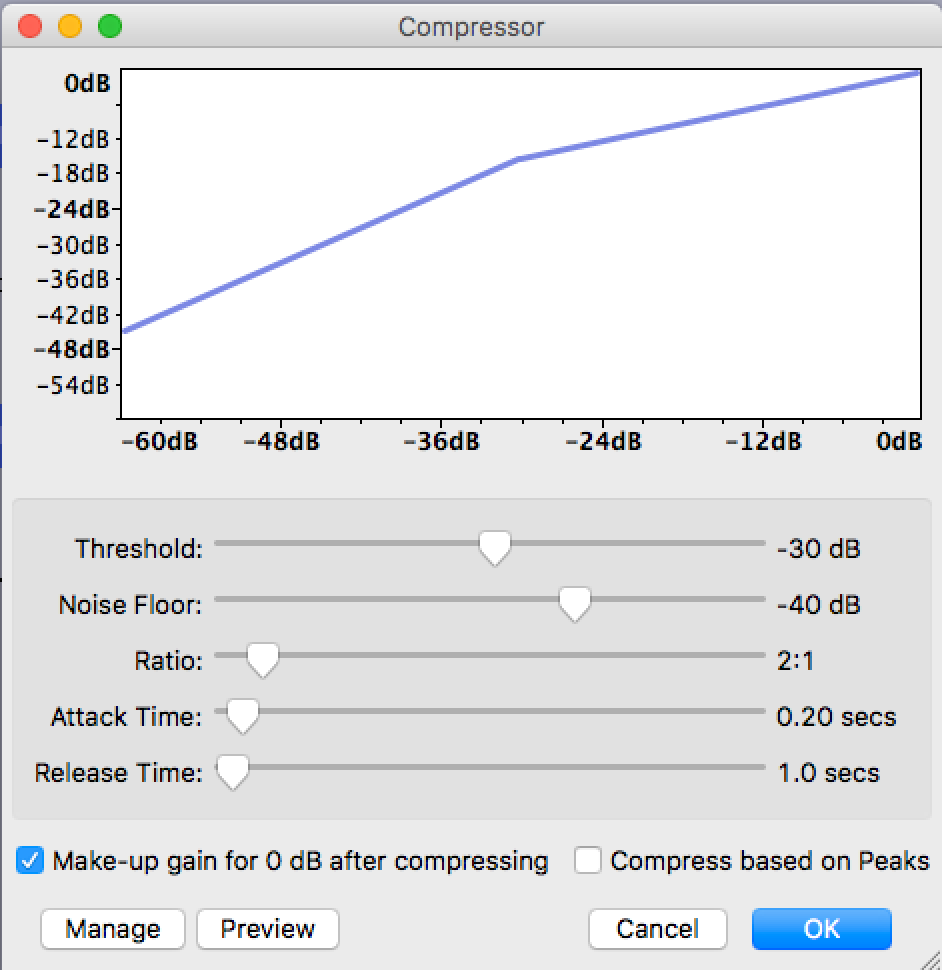
- The image shown is a first pass at compression. Eventually I settled on a 7:1 ratio as the initial dialogue is so quiet.


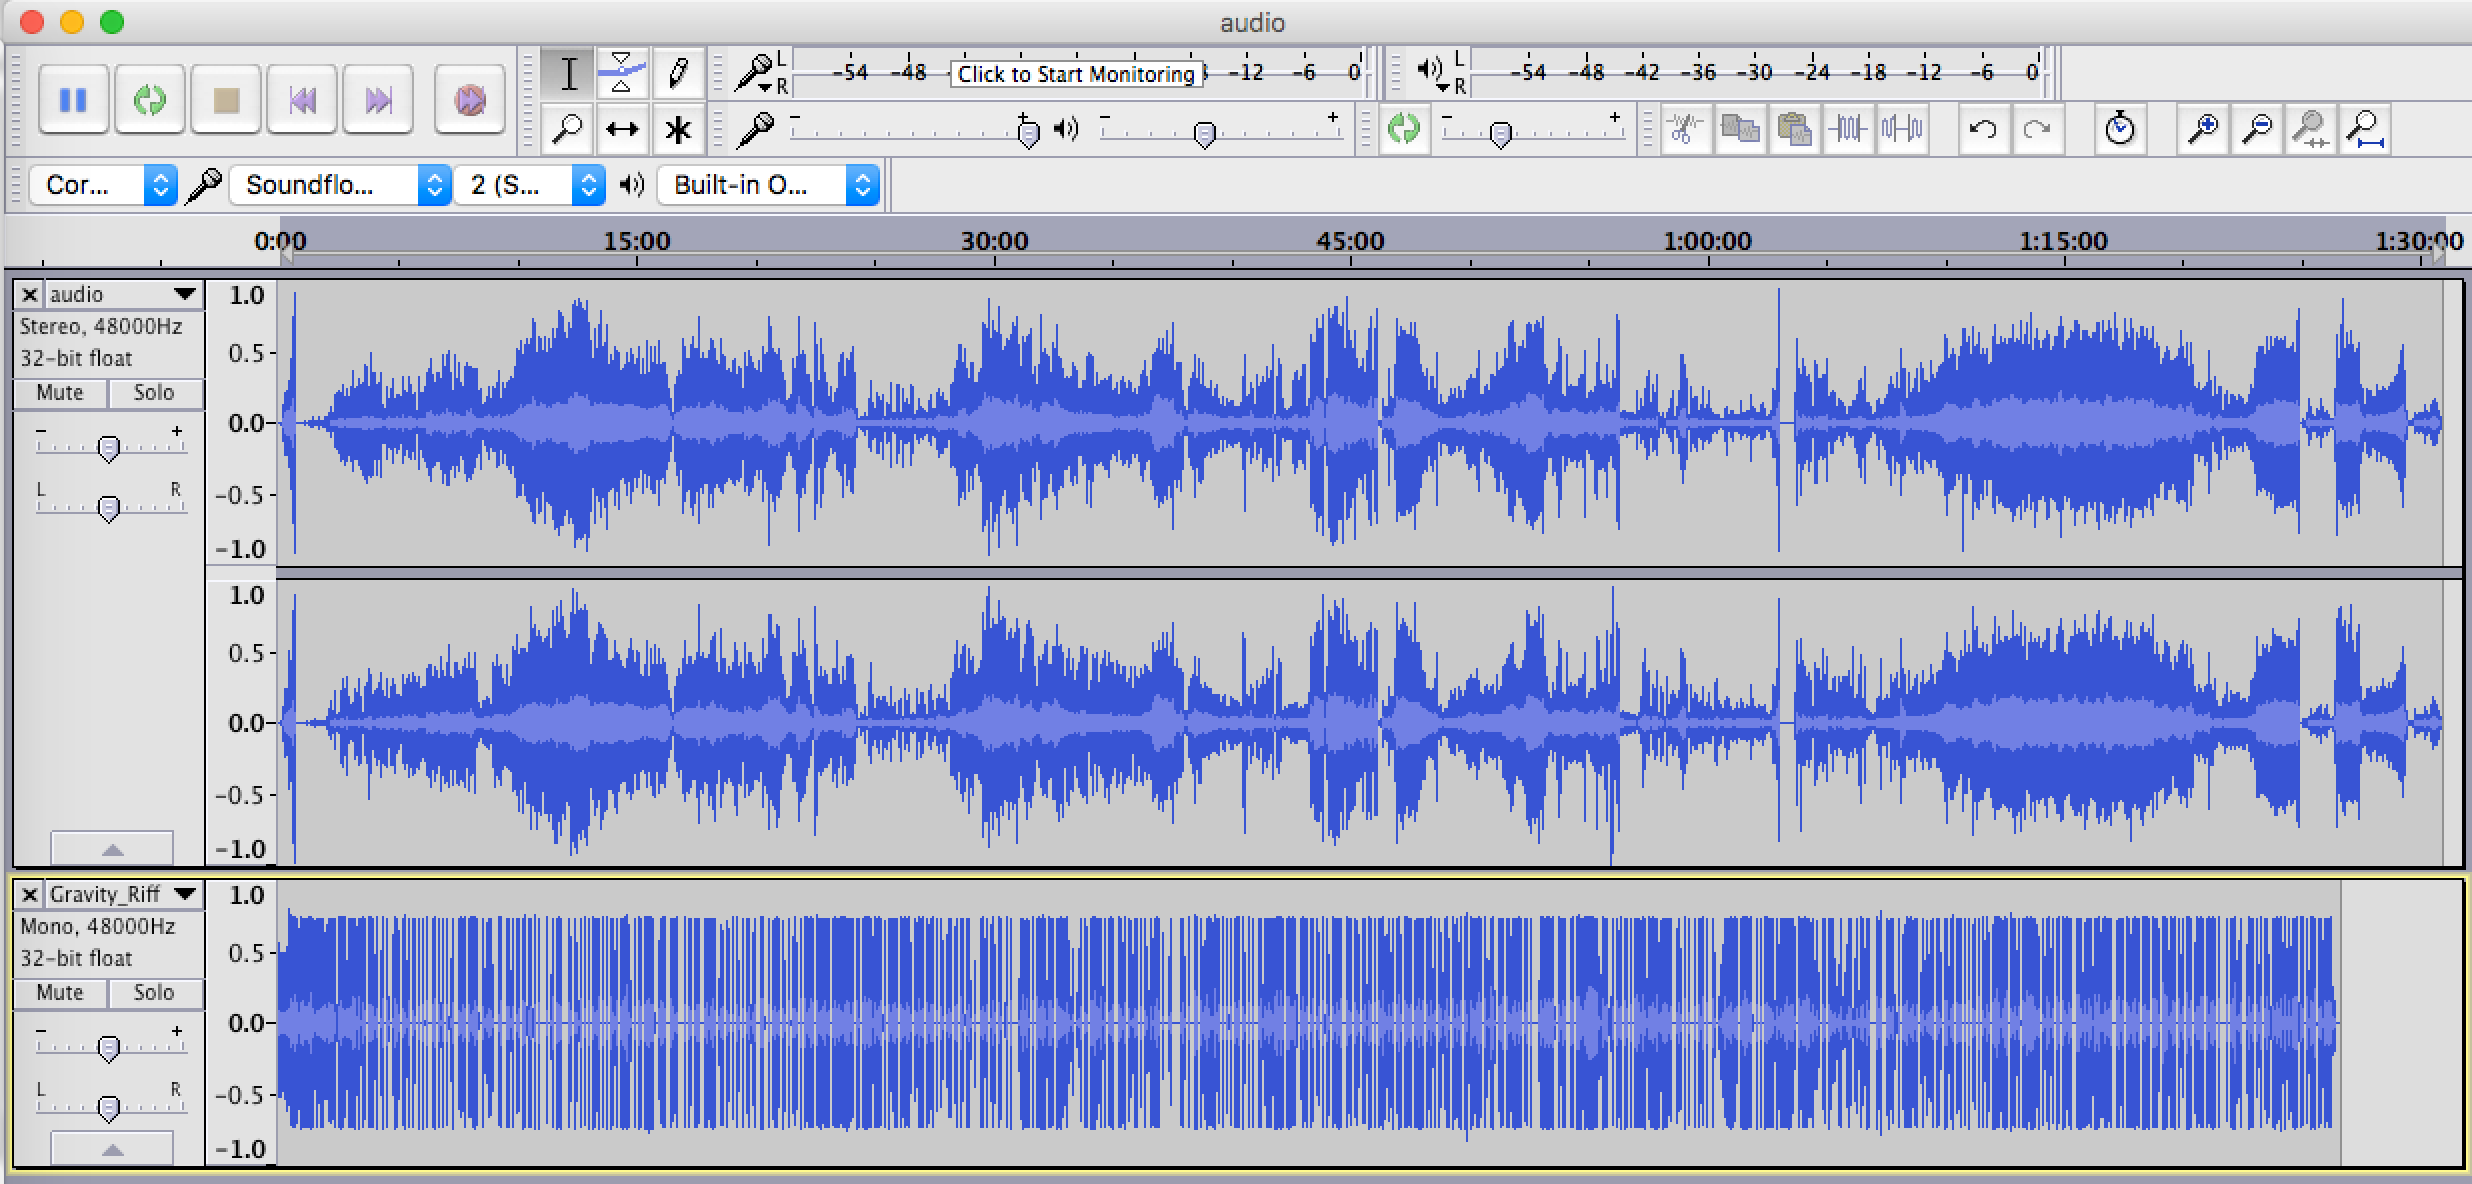
- Import the appropriate RiffTrax
.mp3file. I've found that the US.mp3s work best for blu-ray, and the PAL.mp3s for DVD.
- Make sure that the RiffTrax commentary is the lower of the audio tracks - this is important for ducking, later.
- From this point on, the RiffTrax
READMEfile for the movie is very useful, and it's handy to have it open in a text editor window


- It can be useful to
solothe RiffTrax audio for this stage
- Locate the "and we're back" phrase in the RiffTrax audio, and place the cursor just ahead of that phrase (here, it's at 2:13.171).
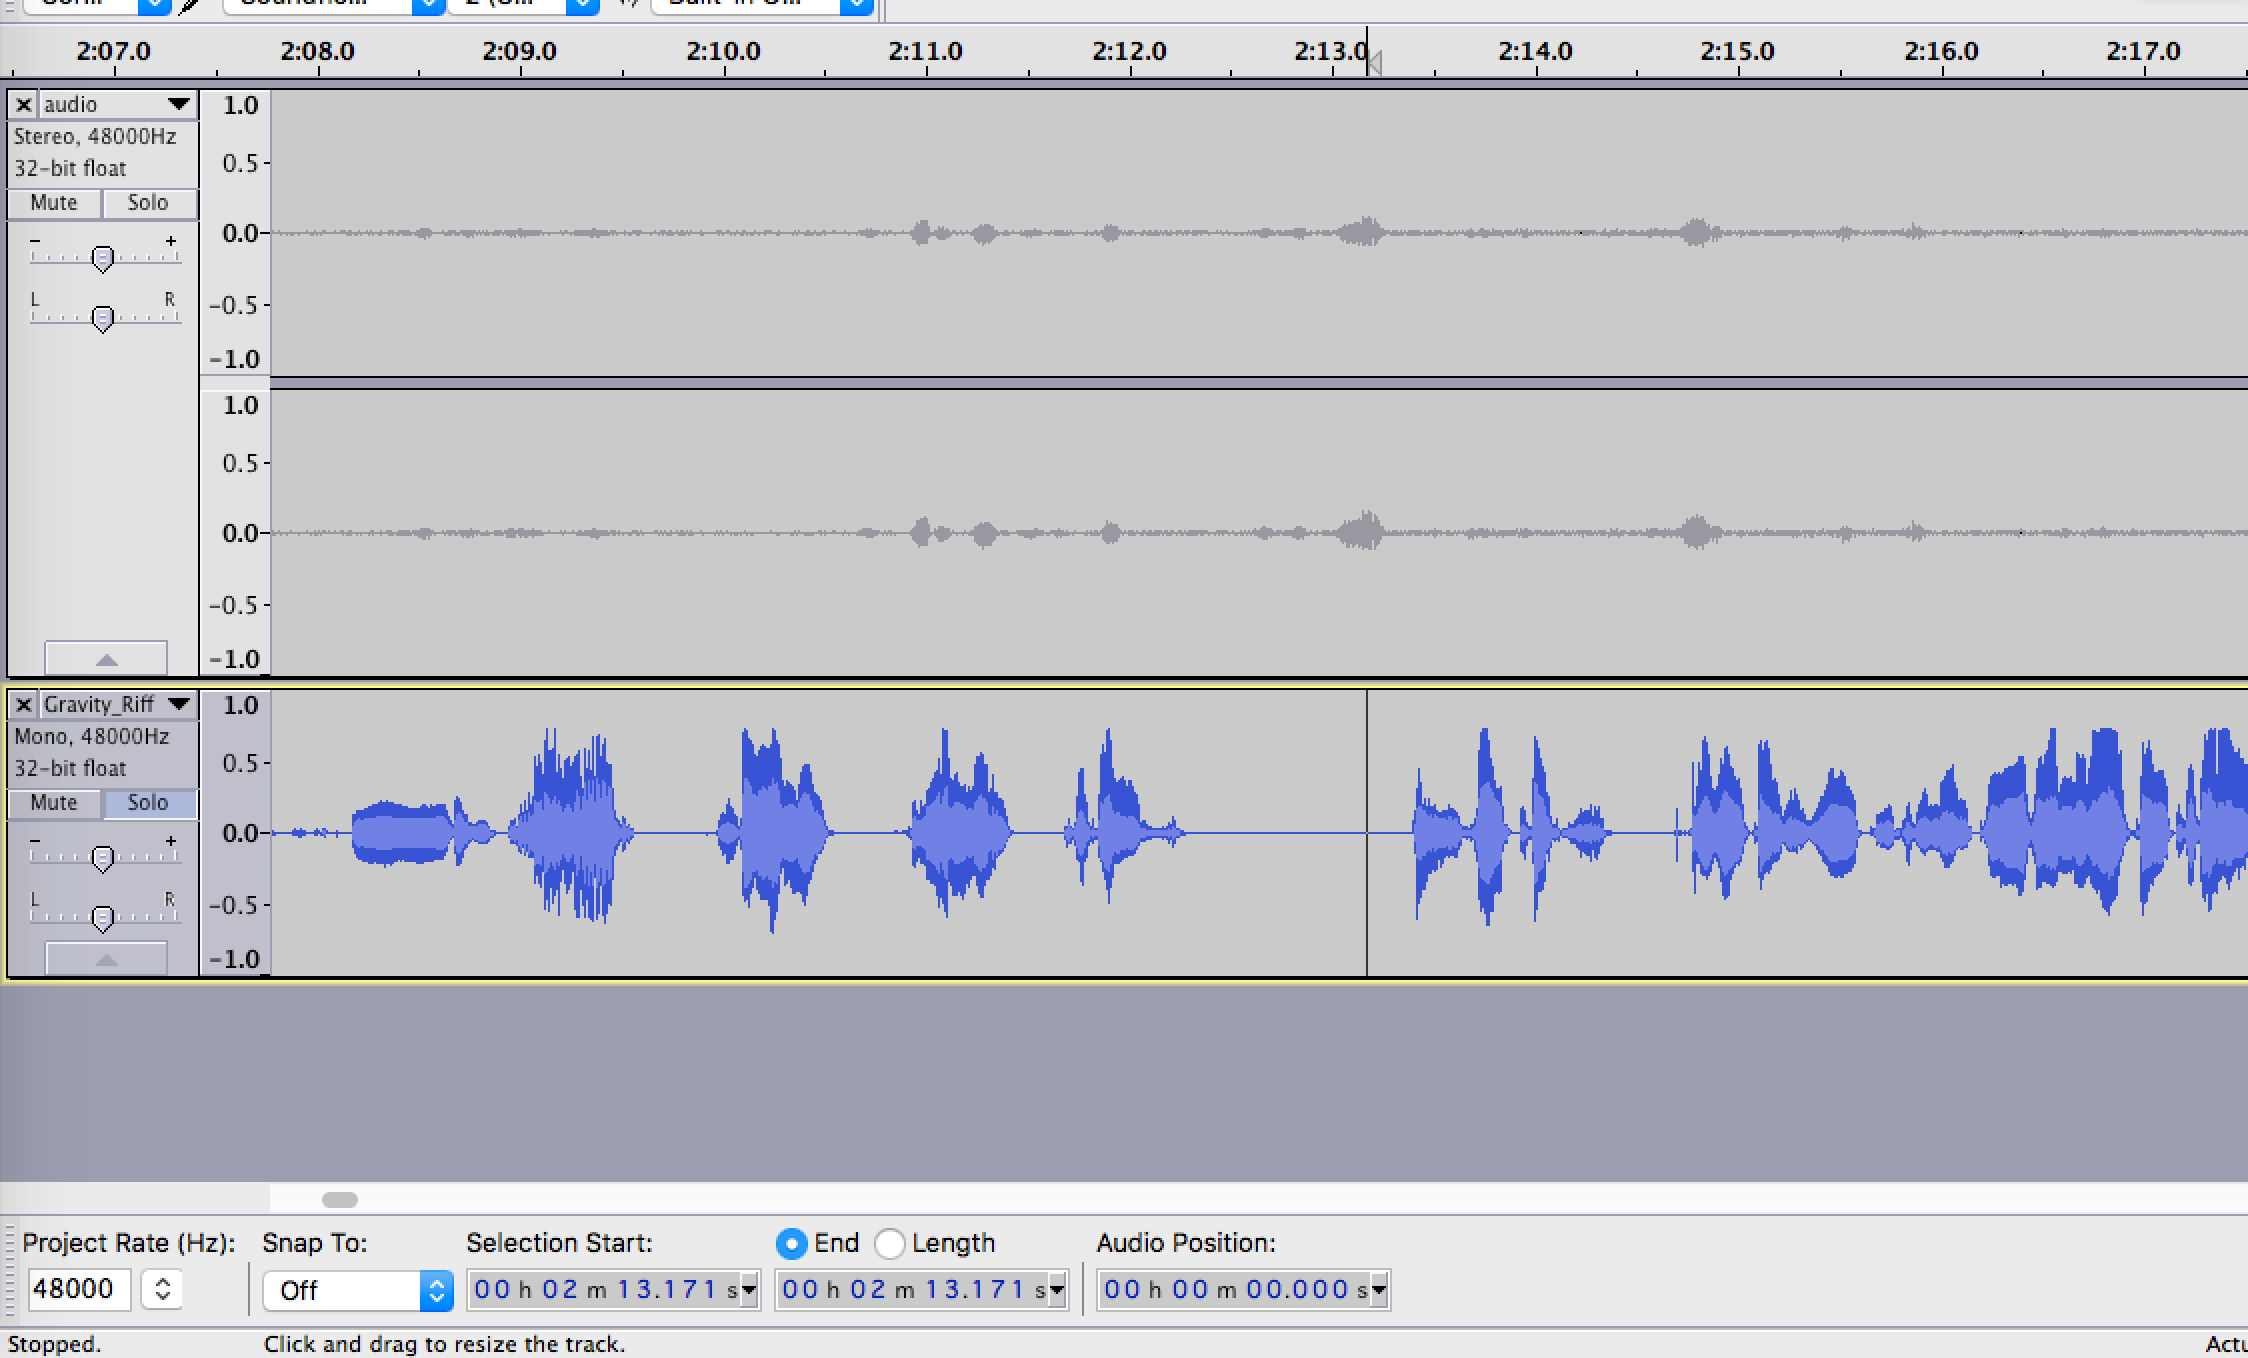
- Set the
Selection Startmanually to zero and cut the section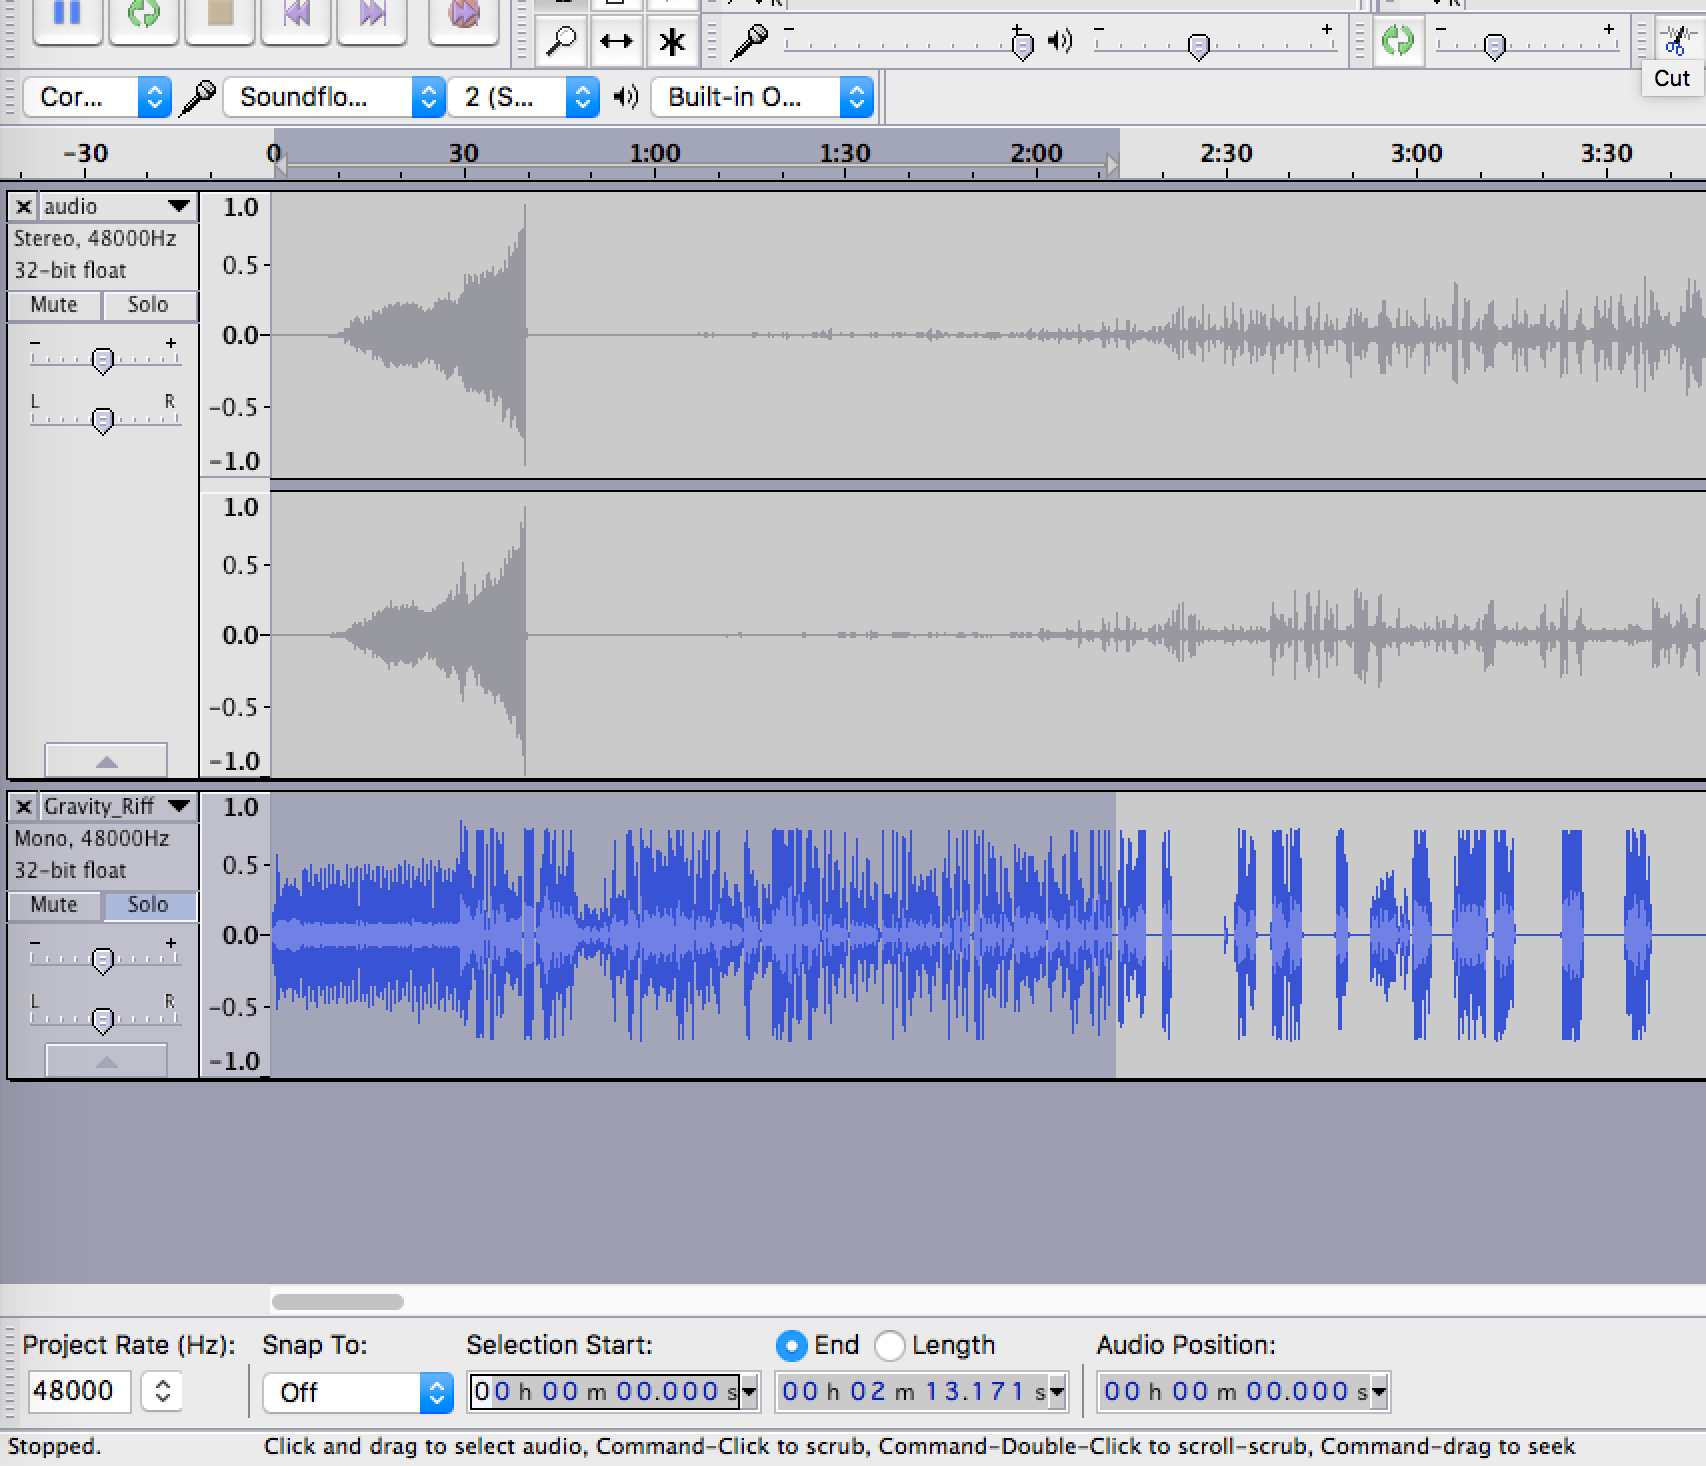
- optionally: create a new track (
Tracks->Add New->Mono Track) and paste in the audio you cut, then export the selected audio to a new file (e.g.rifftrax_intro.wav), if you want to preserve it. Then delete that track.


-
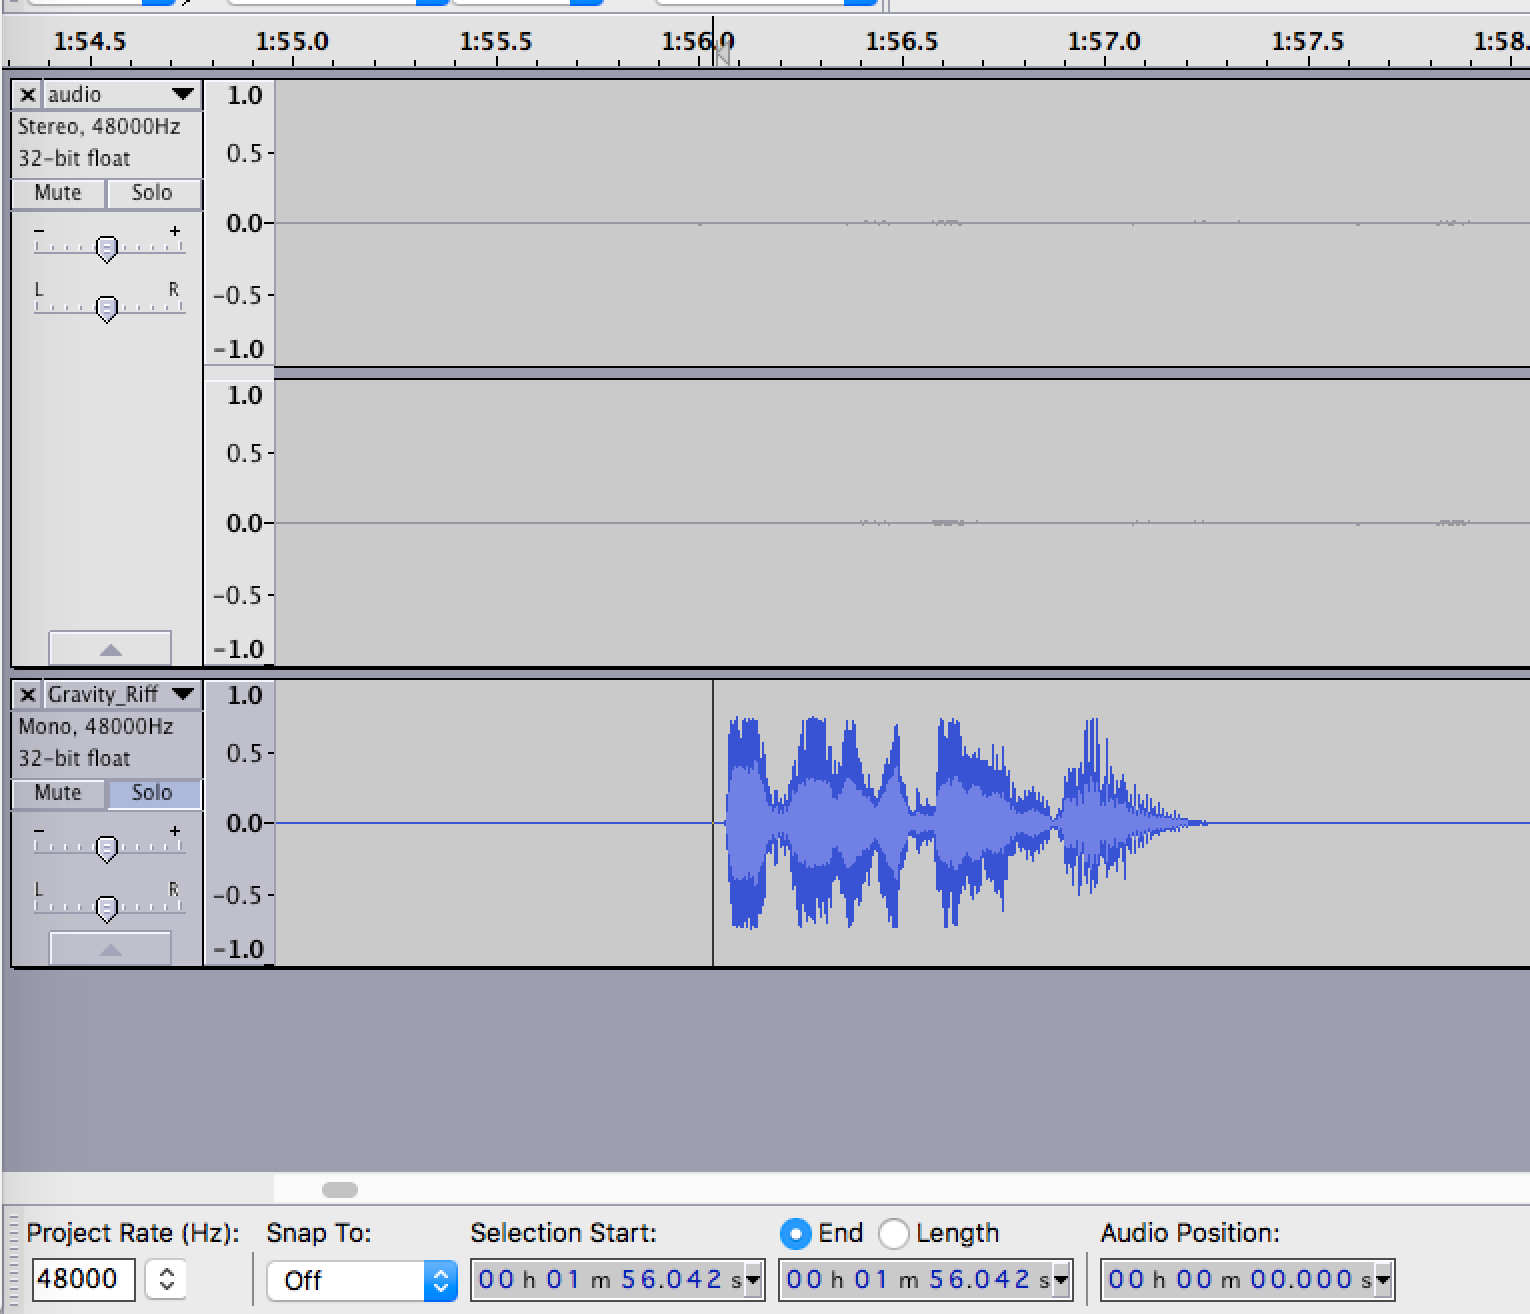
Using the RiffTrax
README(hereGravity_RiffTraxReadme.txt) locate the first Disembaudio line
-
Here, this is at 1:56.042 (after trimming, it tends to be slightly earlier than the movie time)
-
Solo the movie audio, and identify the line in the movie - here it is at 2:05.125

-
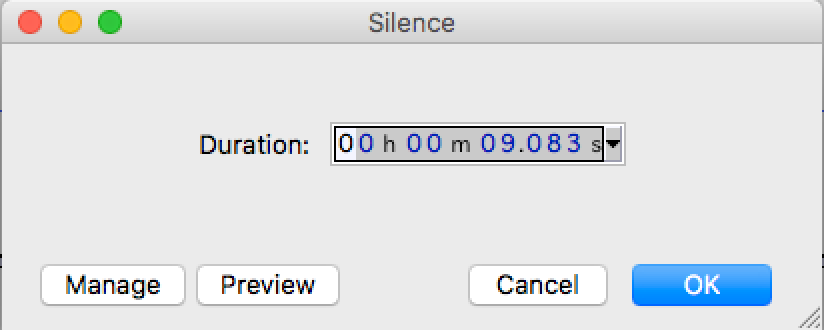
Now we can calculate an initial offset for syncing the tracks: 2:05.125 - 1:56.042 = 9.083s.
-
Select the zero point at the start of the Rifftrax
-
Add 9.083s of silence at the beginning of the RiffTrax audio using
Generate->Silence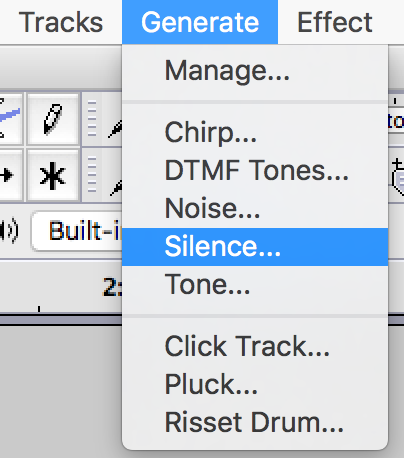
-
Check manually that the audio matches. It can be useful to test the first and last couple of Disembaudio lines, to see if there's any drift during the track. To correct for noticeable drift, you can delete or insert short periods of silence at the earliest noticeable drift point, to keep the audio in sync.


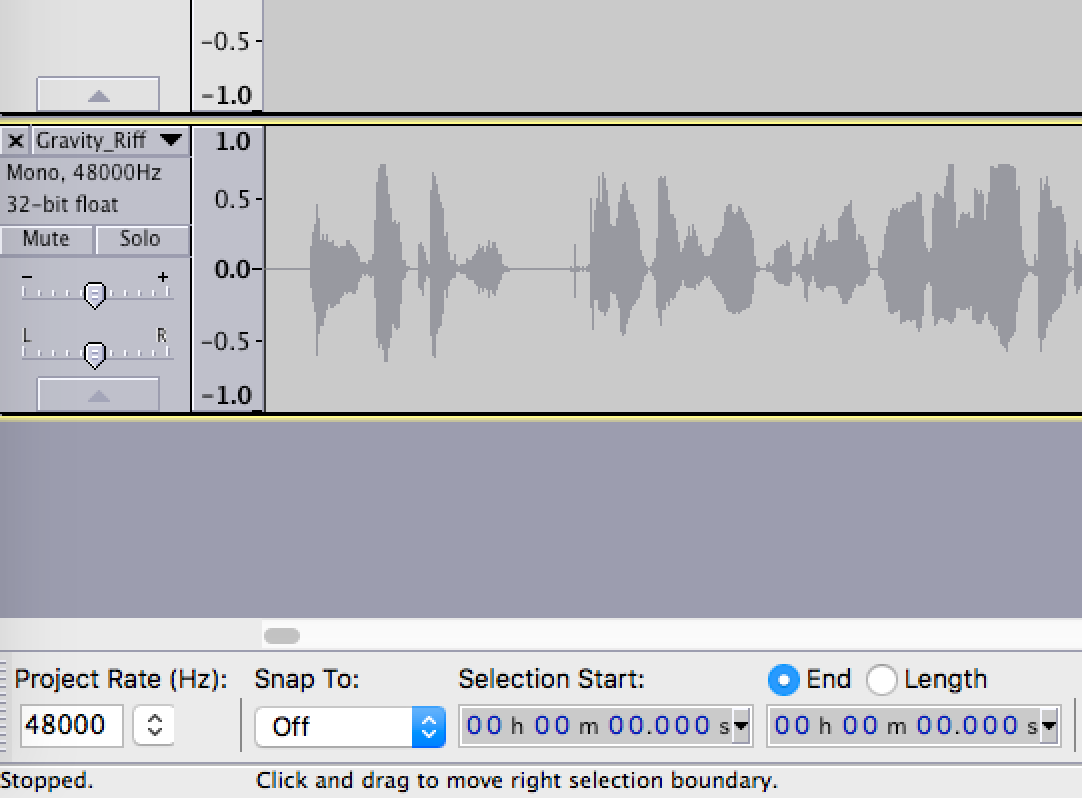
- Using the
READMEfile, locate and select each Disembaudio line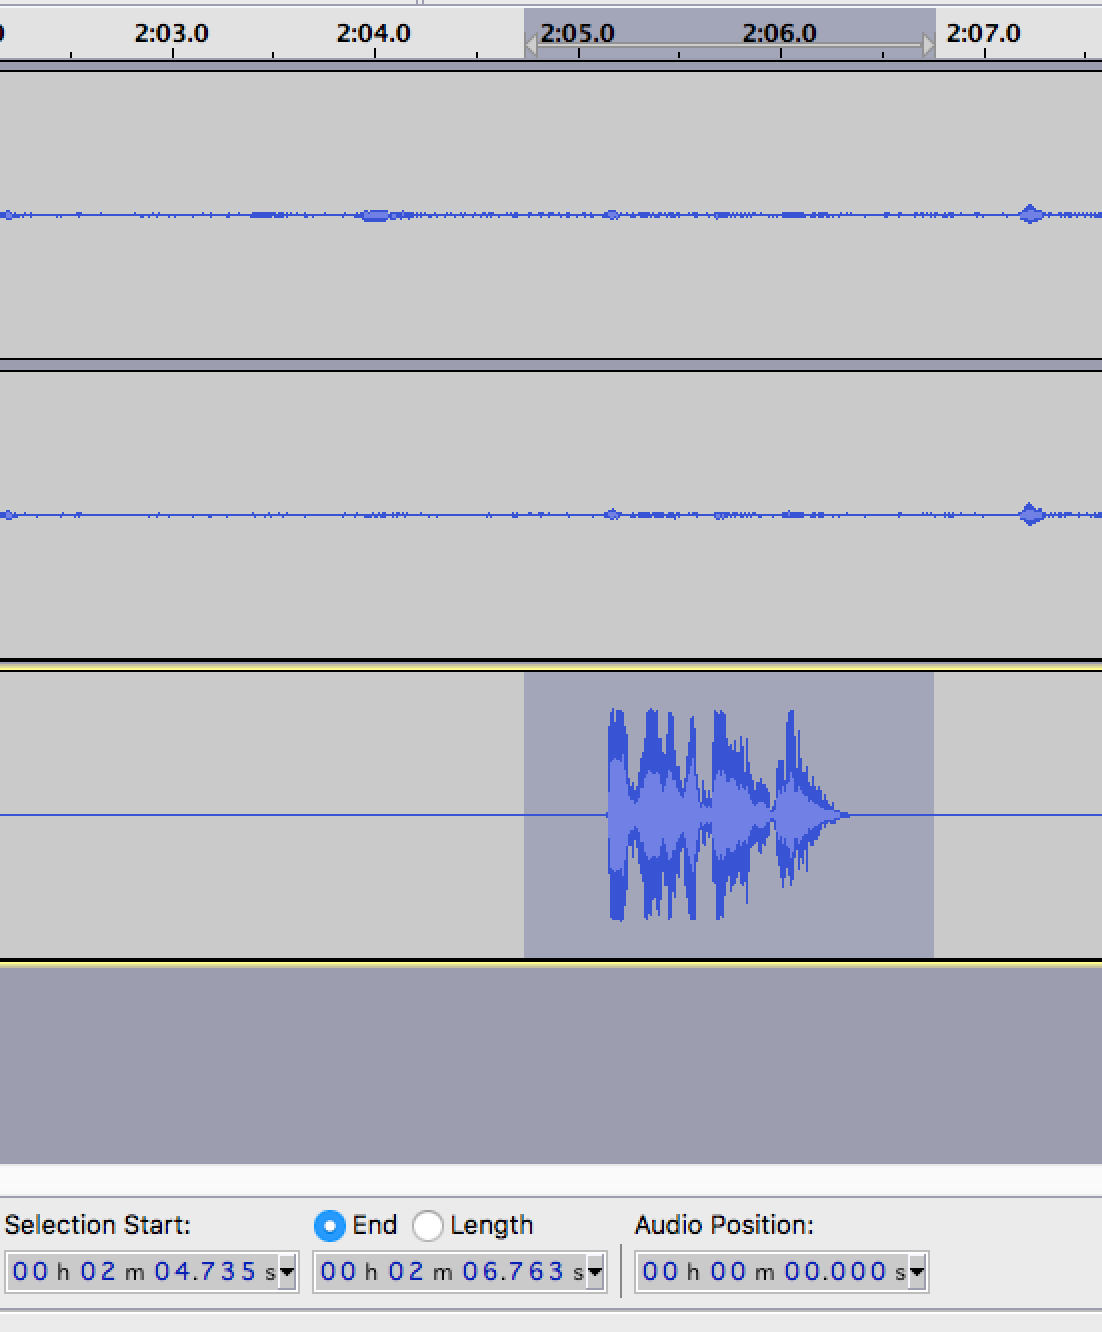
- Silence each selection with
Generate->Silencewhile the line is selected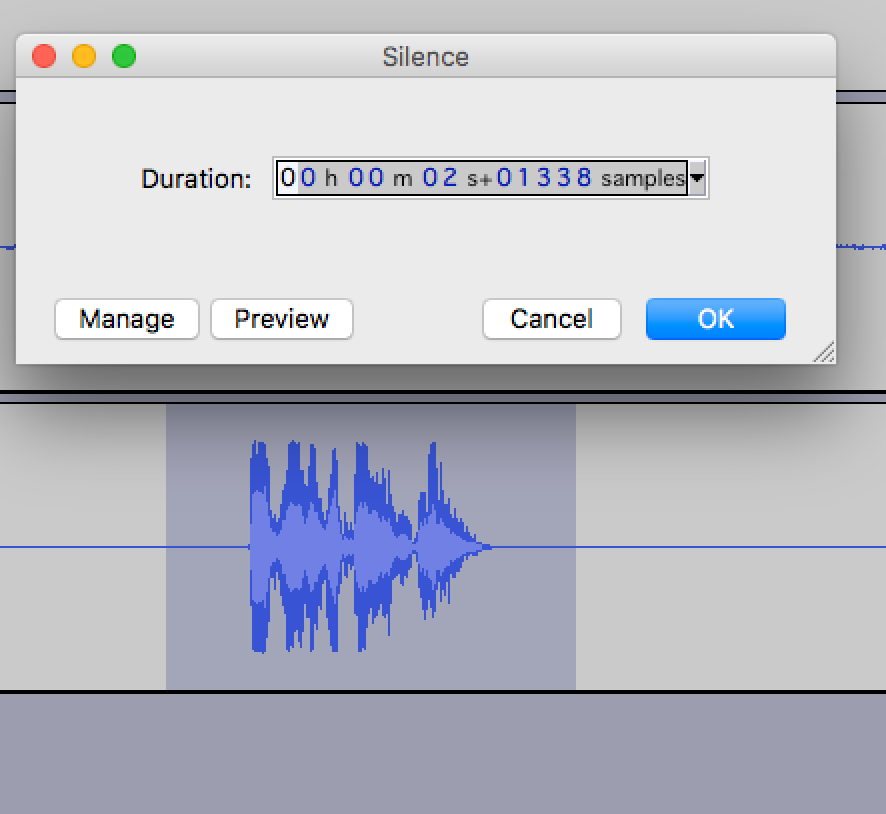
- Export the RiffTrax audio on its own, as a synced track


- Play several stretches of movie audio, and note the value in the dB meter when you do so (here, the value was around -10dB for loud sections, -12dB for quiet)
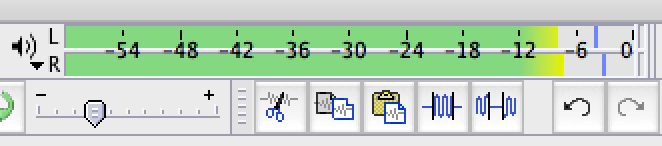
- Do the same for the RiffTrax audio (here, the value was around -2dB to -4dB)
- Now either increase the volume of the quieter track, or reduce the volume of the louder track, to even out the audio balance, by selecting the track you want to change, and using
Effect->Amplifyto add or remove gain.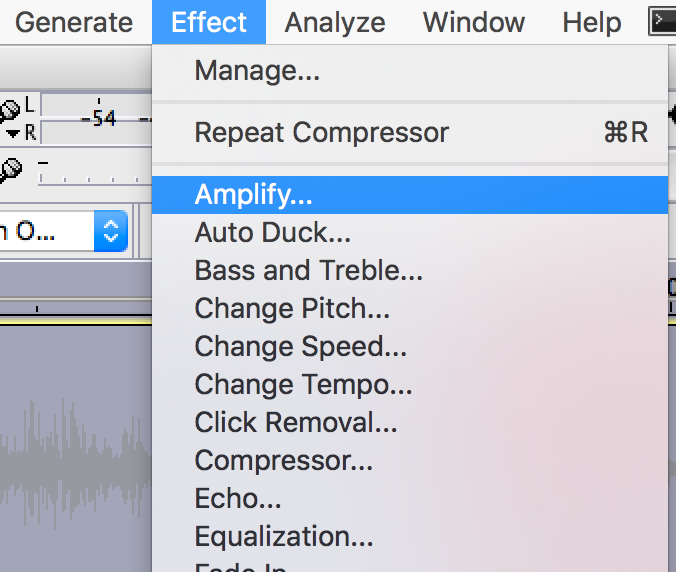

- Here I chose to reduce the RiffTrax gain by 6dB, as it was generally louder than the movie, but some sections of the movie audio were already at 0dB, and I wanted to avoid clipping. Play the movie/commentary tracks together to check that the effect is satisfactory (you can always undo).


- Use
Effects->Auto-duck...to quieten the movie track whenever the RiffTrax commentary audio is playing. For this to work, have the movie audio positioned above the RiffTrax audio in theAudacitywindow. - Select the movie track, then use
Effects->Auto-duck...and set the ducking parameters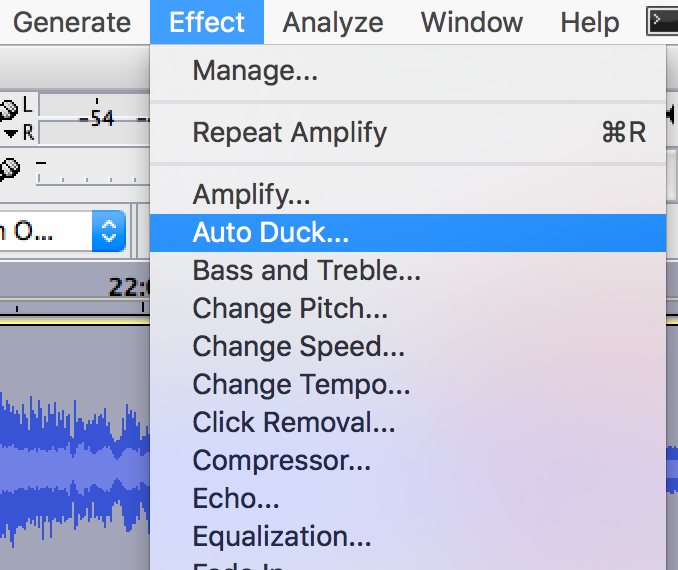
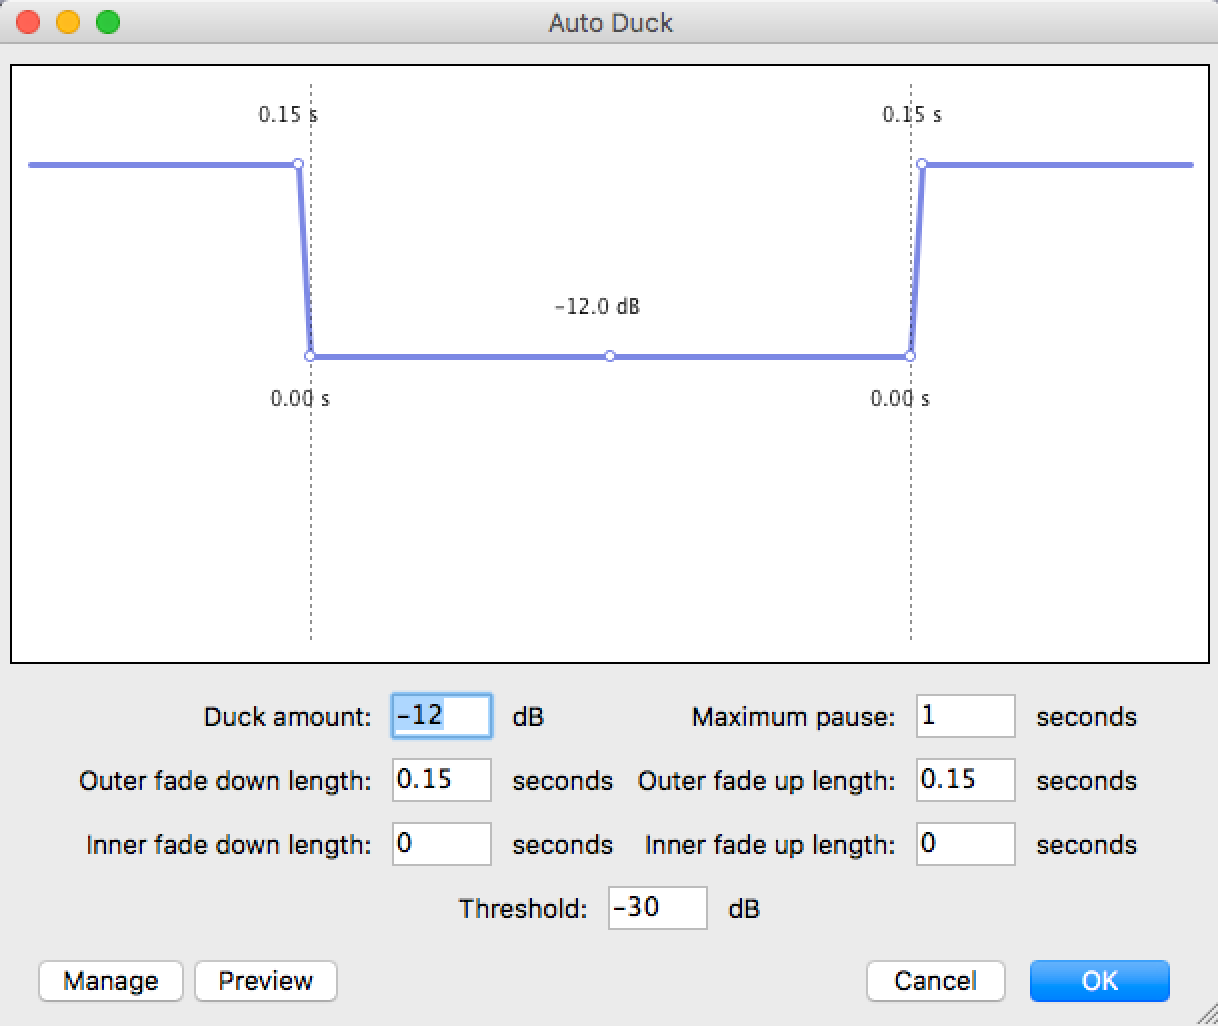
- Playback sections of the audio to check the effect is satisfactory


- Select both tracks, then use
Tracks->Mix and Render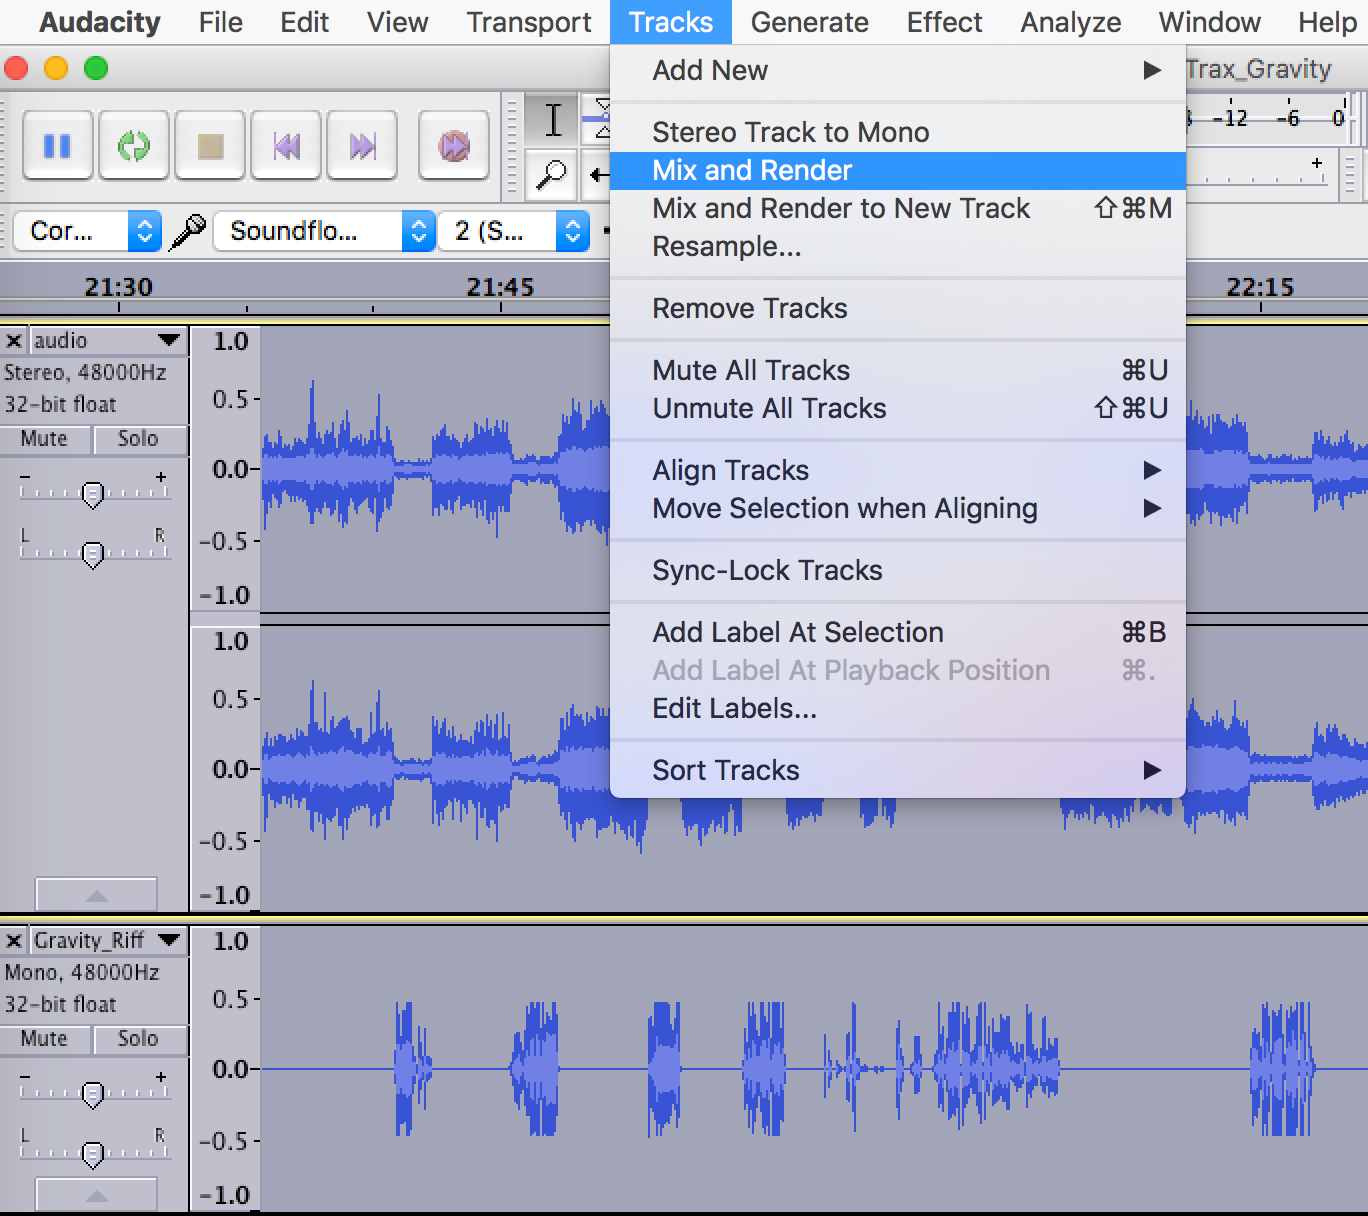
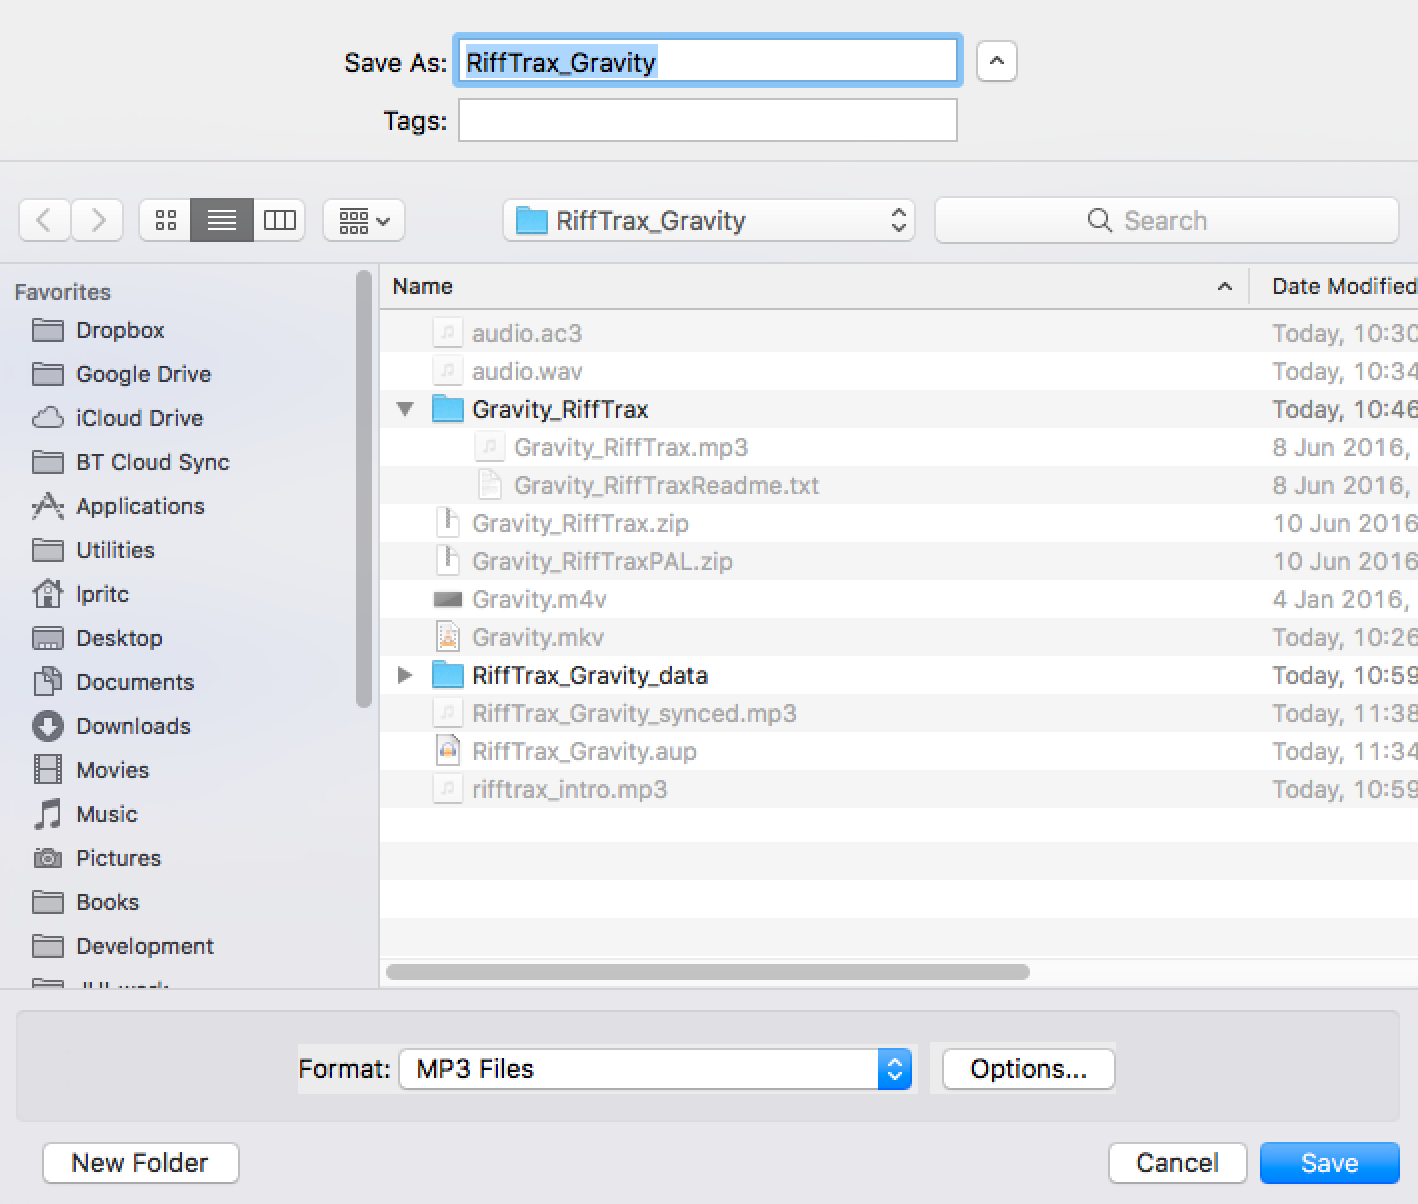
- This will generate a single track in the project. Export the audio to an
.mp3file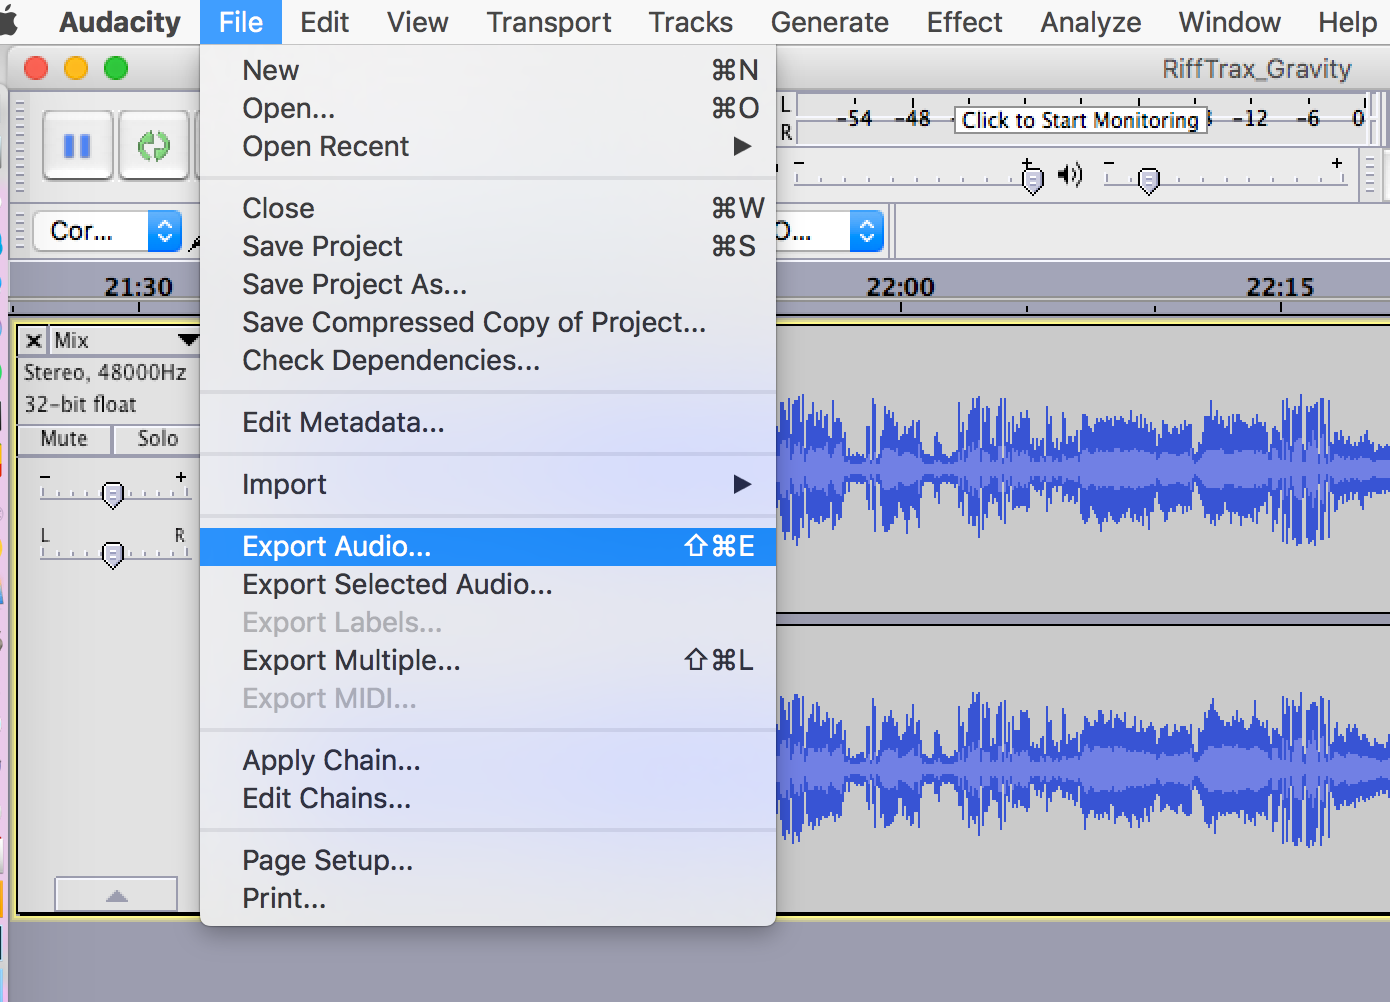


Use ffmpeg to take the original movie video stream, and your new mixed audio, and combine them in a new .mp4 movie
ffmpeg -i Gravity.mkv -i RiffTrax_Gravity.mp3 \
       -map 0:v:0 -map 1:a:0 \
       -c:v copy -c:a libfdk_aac \
       -metadata title="RiffTrax: Gravity" -y \
       RiffTrax_Gravity.mp4
The settings above do the following:
- merge the video file
Gravity.mkvwith the audio fileRiffTrax_Gravity.mp3 - produce an output file
RiffTrax_Gravity.mp4 mapthe video from input stream 0 (Gravity.mkv) to output stream 0 (RiffTrax_Gravity.mp4):-map 0:v:0mapthe audio from input stream 1 (RiffTrax_Gravity.mp3) to output stream 0 (RiffTrax_Gravity.mp4):-map 1:a:0- preserve the original video stream:
-c:v copy - convert the audio stream to AAC:
-c:a libfdk_aac - add a title:
-metadata title="RiffTrax: Gravity"
- Play the newly-muxed video in a suitable player and make sure everything's in sync
- If everything seems fine, you're done!
### Summary
ffmpeg -i <movie>.m4v -c:v copy -c:a copy <movie>.mkv
mkvinfo <movie>.mkv | grep -A 6 mkvextract
mkvextract tracks <movie>.mkv 1:audio.ac3
ffmpeg -i audio.ac3 -ac 2 audio.wav
ffmpeg -i <movie>.mkv -i audio.mp3 -map 0:v:0 -map 1:a:0 -c:v copy -c:a libfdk_aac \
-metadata title="RiffTrax: <Movie>" -y "RiffTrax - S01E0?? - <Movie>.mp4"In some cases, there is no PAL audio available for a RiffTrax commentary (e.g. single-disc Lord of the Rings, Part One). In these cases, it is possible to use the NTSC-synced audio, and speed it up in order to match PAL framerates.
- Import the NTSC
.mp3track - In
Audacity, useEffects -> Change Tempoand set the percentage change to4.271(if you want to convert PAL to NTSC, the change is-4.096) - Click
OK
Some RiffTrax PAL audio (e.g. Return of the King) is not quite synced with PAL DVDs. These often need a small speed-up, with a tempo change of ≈0.125 as above.