


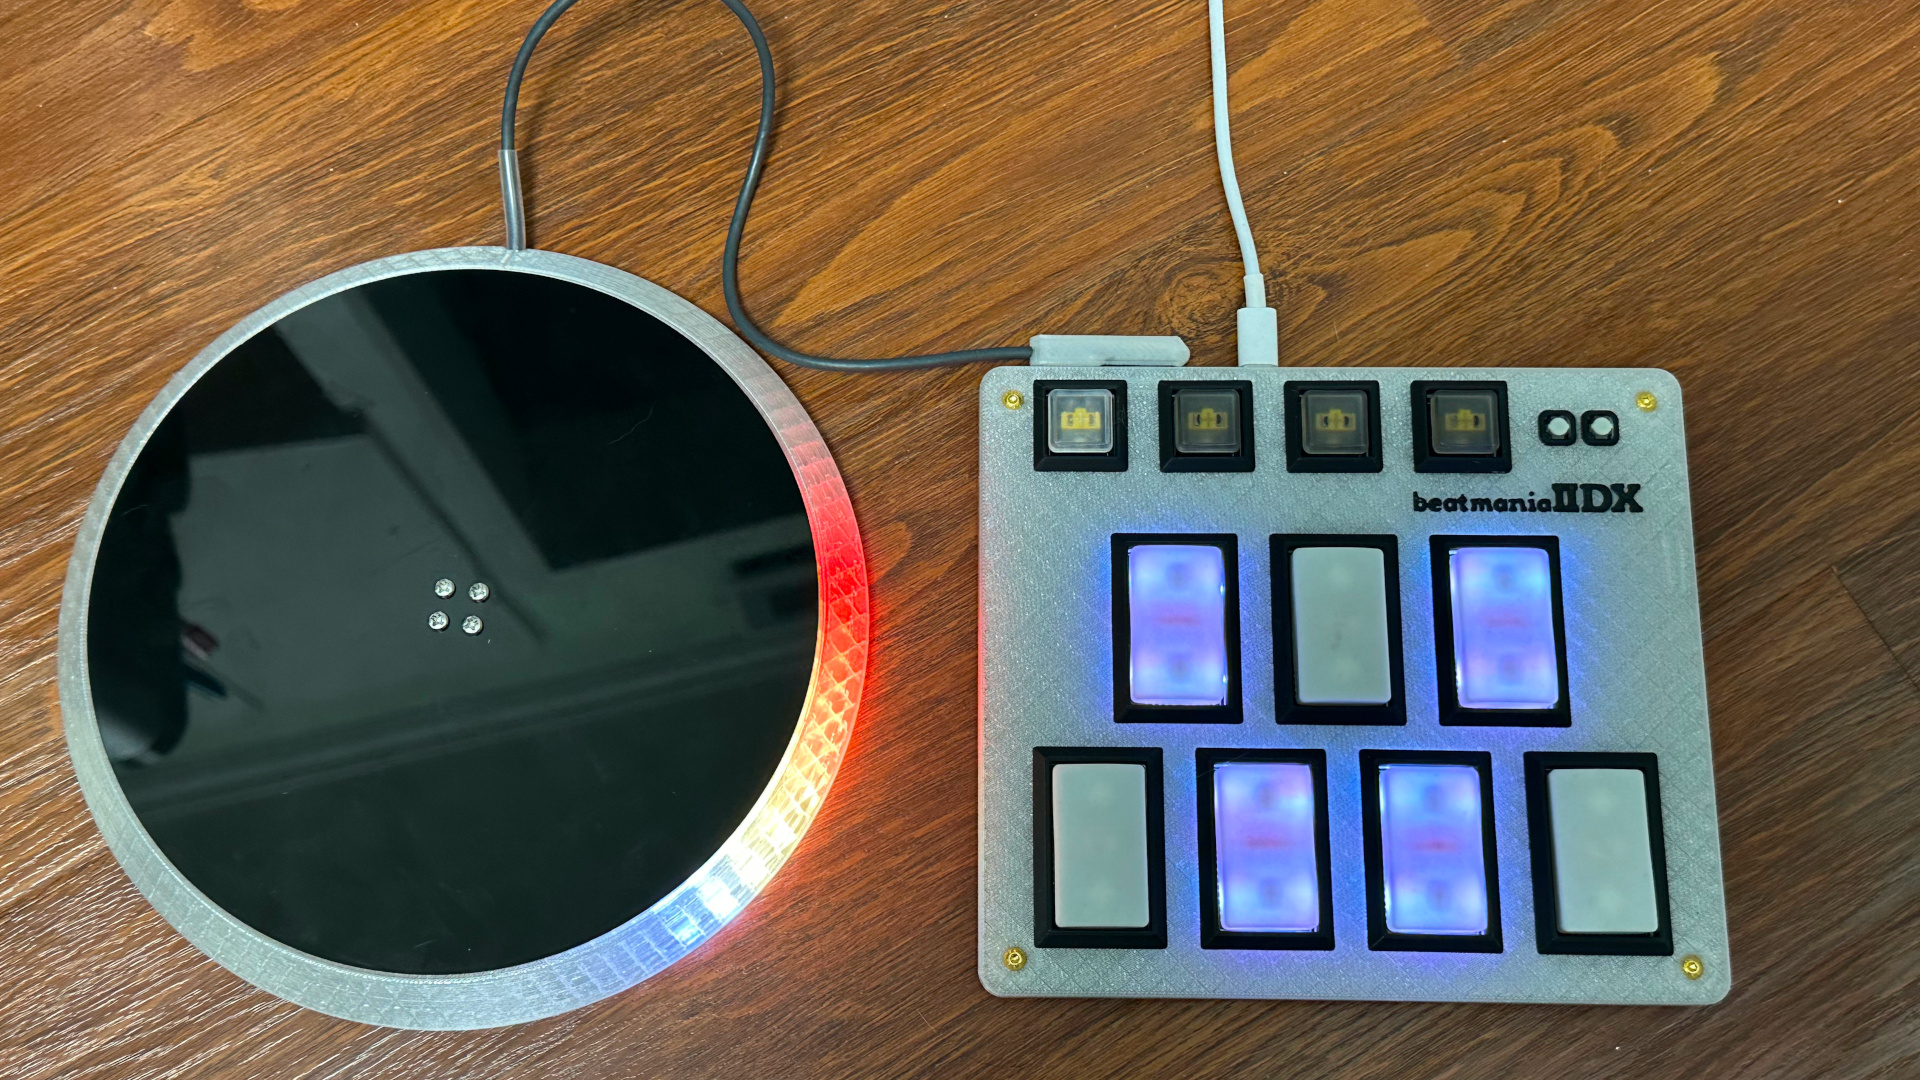
This is the a small brother of my previous Pico IIDX controller. Both Pico IIDX and this Teeny IIDX share the same firmware which is in Pico IIDX repo. https://github.com/whowechina/iidx_pico
Here's me playing Konami's Beatmania IIDX ultimate mobile with it. Yes, I'm a cat lover.
iidx_um_on_teeny.mov
Features:
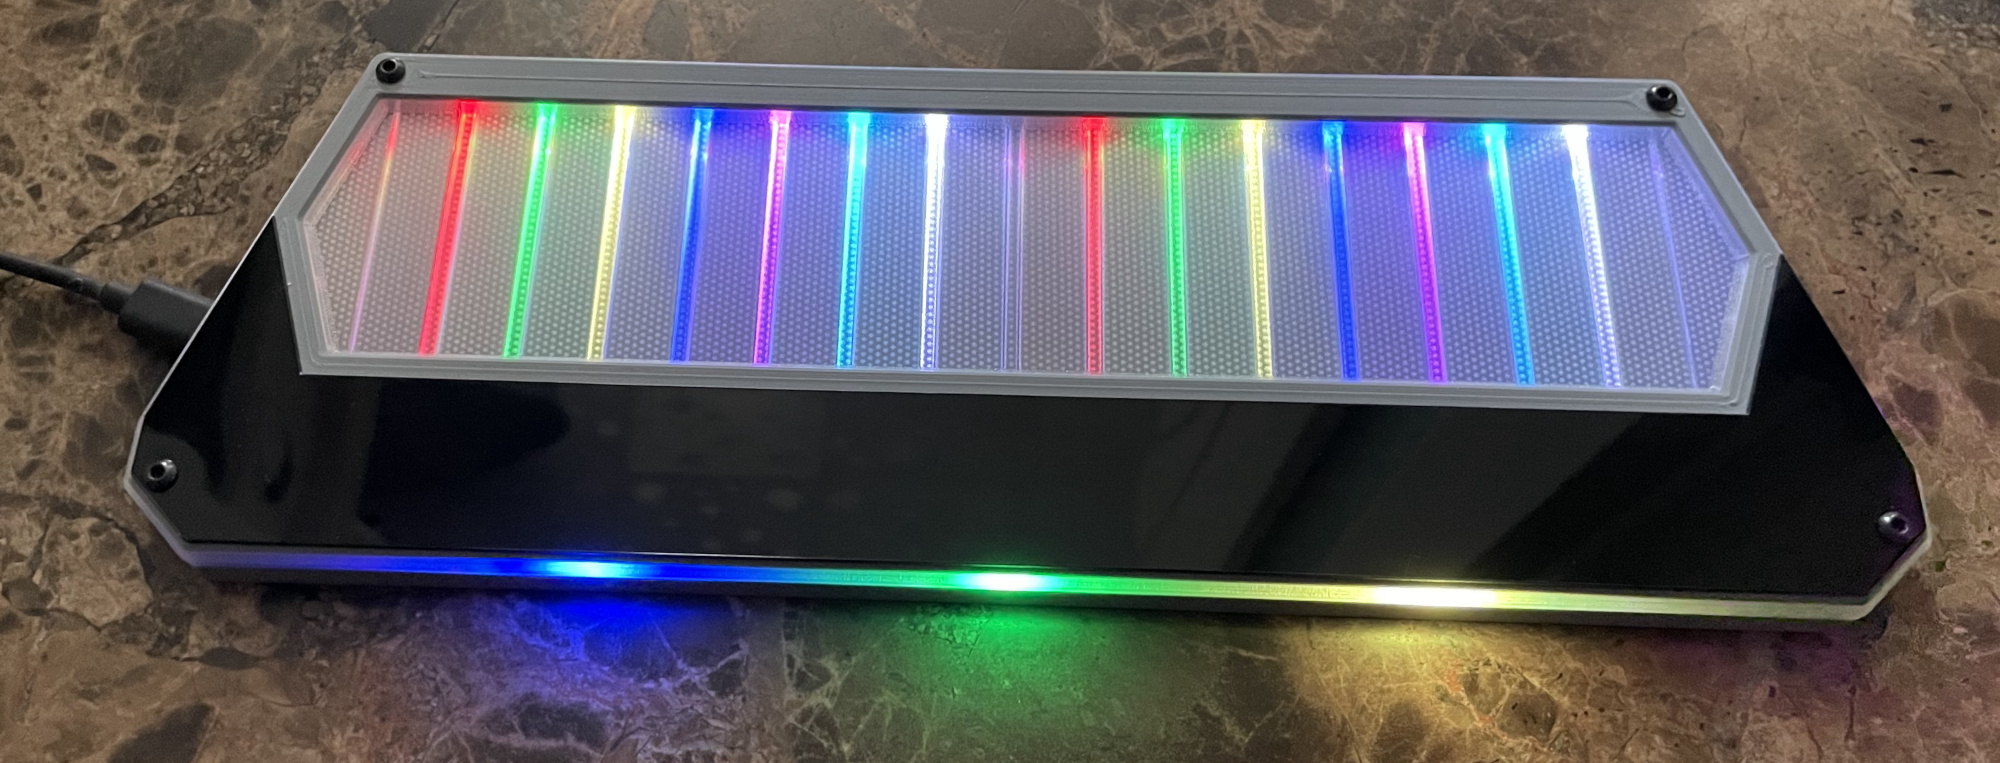
- It's thin, really really thin and foldable.
- HID lights, of course!
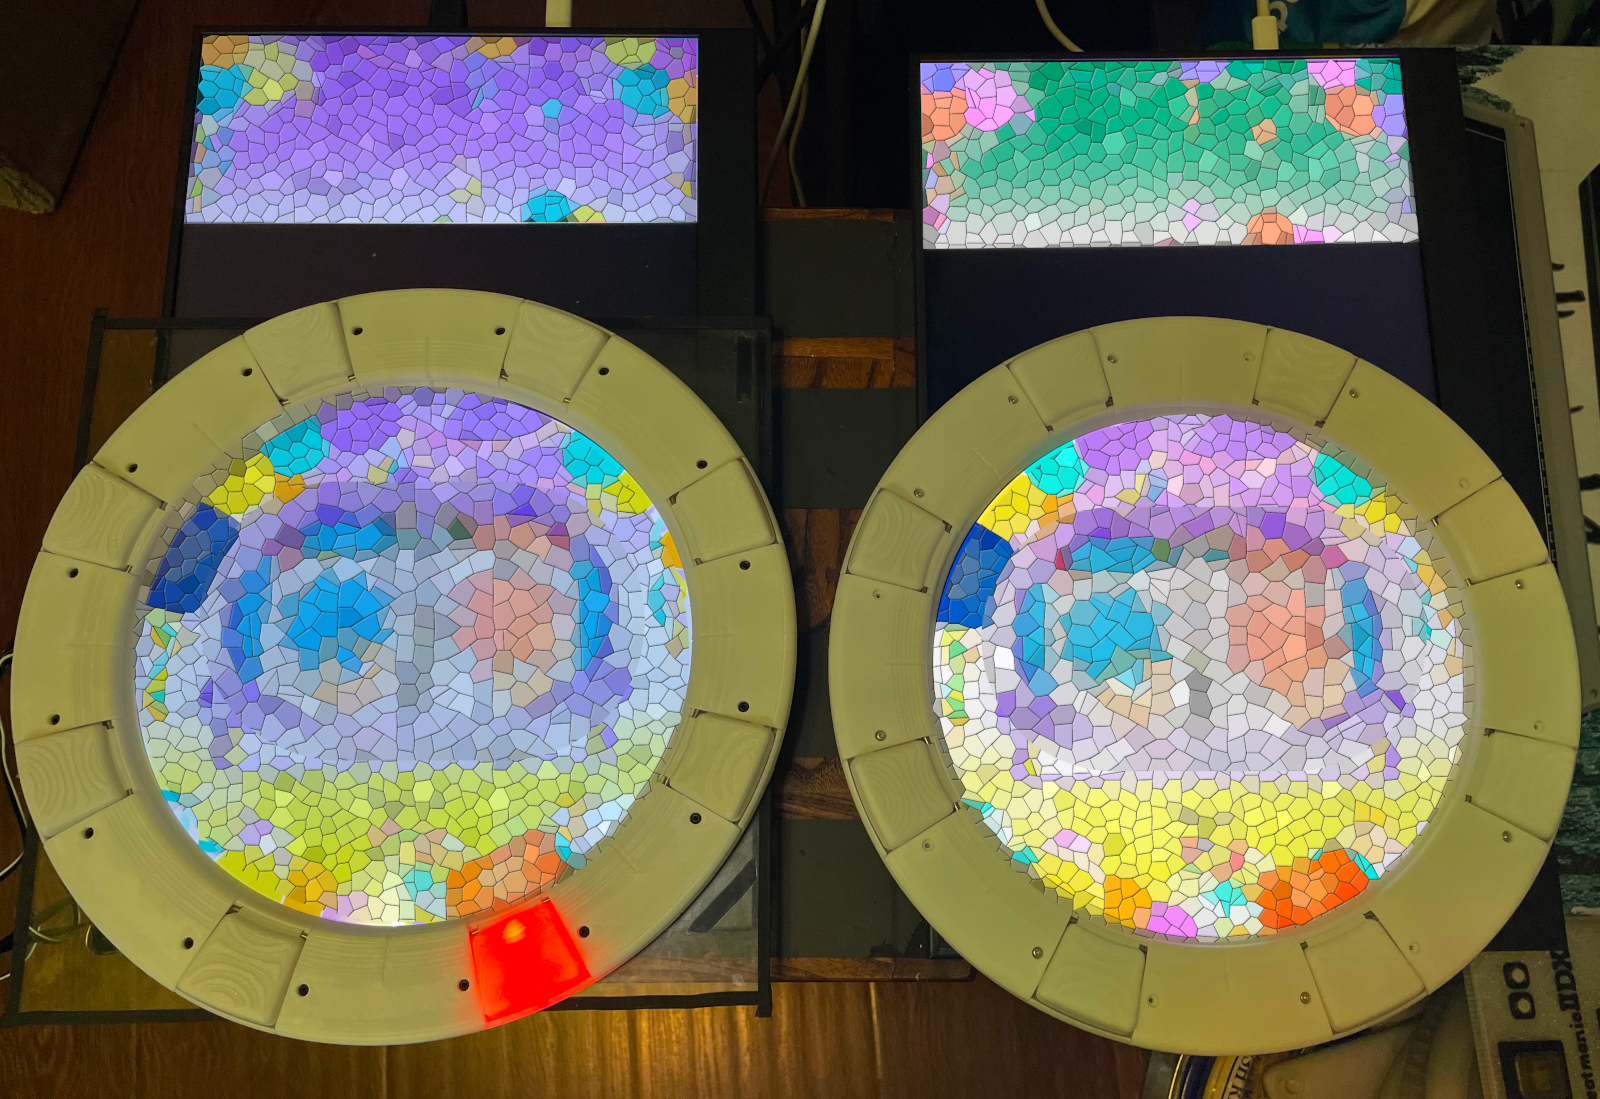
- Multiple turntable effects.
- Many live settings.
- All source files open.
- It's easier and more portable than IIDX Pico.
Thanks to many respectful guys/companies who made their tools or materials free or open source (KiCad, OpenSCAD, InkScape, Raspberry things).
This project heavily relies on 3D printing, and skills to solder tiny components and thin cables.
Also, you can check out my other cool projects.
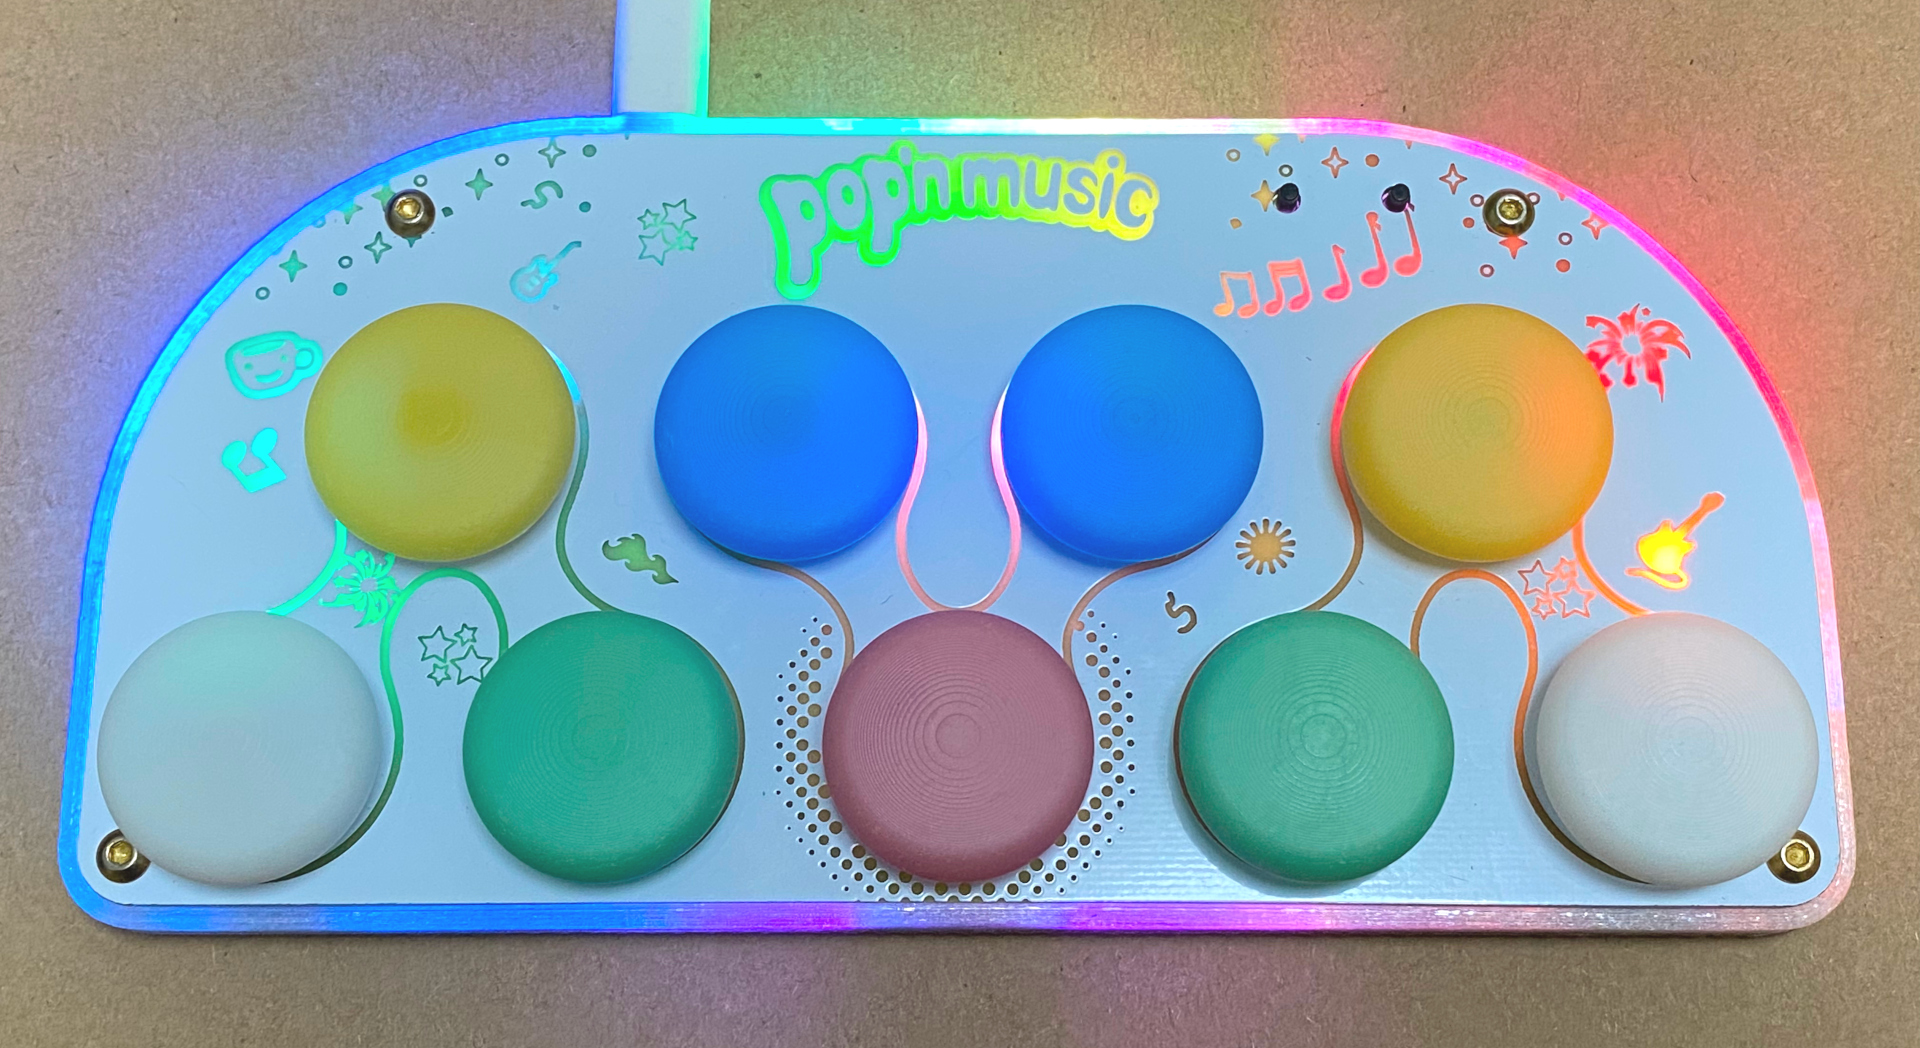
- Popn Pico: https://github.com/whowechina/popn_pico
- IIDX Pico: https://github.com/whowechina/iidx_pico
- Chu Pico: https://github.com/whowechina/chu_pico
- Mai Pico: https://github.com/whowechina/mai_pico
I made this project in my personal time with no financial benefit or sponsorship. I will continue to improve the project. I have done my best to ensure that everything is accurate and functional, there's always a chance that mistakes may occur. I cannot be held responsible for any loss of your time or money that may result from using this open source project. Thank you for your understanding.
- 1x AS5600 hall angular sensor board set (23mm*23mm)
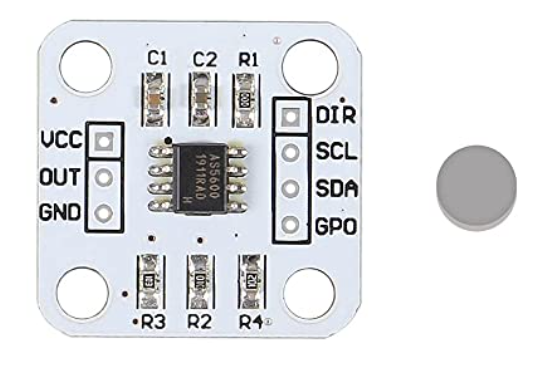
- 1x 6mm*2mm magnet (must be radially magnetized), normally comes with the AS5600 board set, you can use one with different size of course, but you need to modify the 3D file.
- 1x 61804-2RS deep groove ball bearing (20x32x7mm), normally < 5US$;
- 1x WS2812B LED ring board, or RGB LED strip (recommended). Choose ones with dense LED arrangement (better if >=24 LEDs per board, or >90 LEDS per meter for LED strip);
- 6x M3*6mm screws (large flat head is better) and hex nuts.
- Non slip self-adhesive silicon pads (7-8mm diameter, also for Keyboard).

- 1x Raspberry Pi Pico or Pi Pico W (if you need Bluetooth support).
https://www.raspberrypi.com/products/raspberry-pi-pico - 7x Kailh Choc v1 key switches, to get better play feel, 7 of them should be linear (35gf to 50gf).
https://www.kailhswitch.com/mechanical-keyboard-switches/low-profile-key-switches/burnt-orange-switch.html - 6x Panasonic 6mm square tactile switch EVQP1K05M or a similar Alps one.
https://www3.panasonic.biz/ac/e/dl/catalog/index.jsp?series_cd=3473&part_no=EVQP1K05M - 1x USB Type-C socket (918-418K2023S40001 or KH-TYPE-C-16P)
- 18x WS2812B-3528 RGB LEDs to light up the keys.
- 2x SN74LV1T34DBVR (SOT-23-5) level shifters.
- 2x 0603 5.1kohm resistors for USB.
- 5x 0805 1uF capacitors.
- 4x M3*6mm screws and hex nuts to fix parts together.
- 2x silicon shielded cables with 4 core cables (about 25cm each), one for the RGB LEDs and one for the sensor.
- 1x silicon tube, outer diameter 27mm, inner diameter 25mm, so the wall thickness is 1mm.
- Keyboard PCB
Just go JLC and make the order. Make sure the board thickness is 1.2mm, it's very very important!
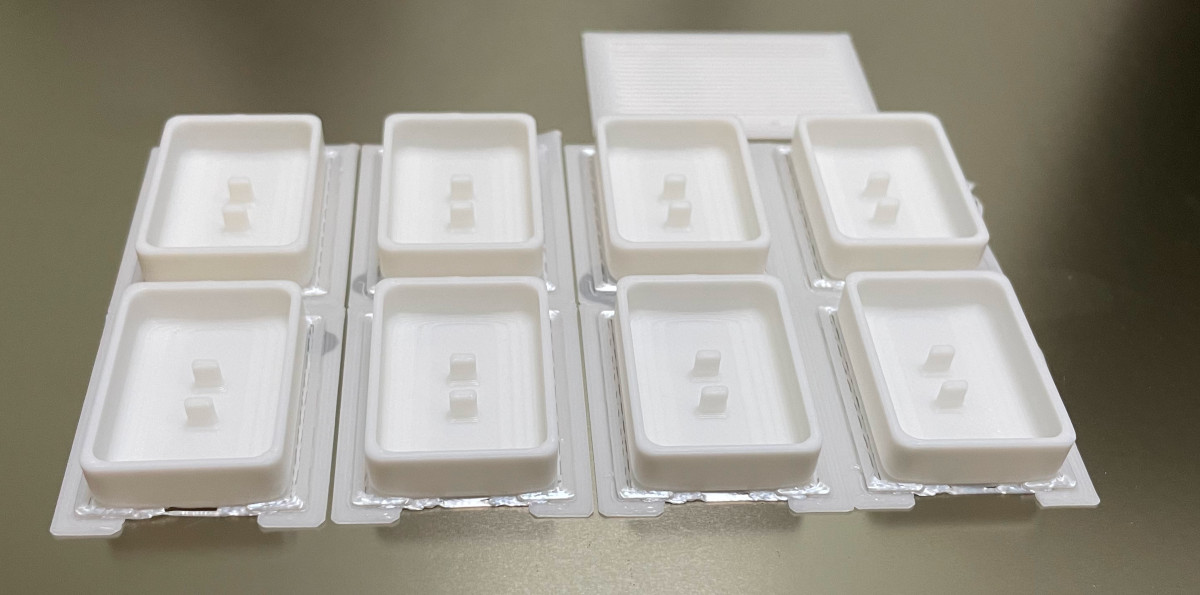
Print with PLA transparent materials, 0.2mm layer, 4 walls, using 0.4mm nozzle.
- PCB bottom (teeny_bottom_P1|P2.stl, choose one according to your 1P or 2P choice).
- PCB top (teeny_top.stl)
Bambu Lab's AMS system is highly recommended, use PLA black for 3.0mm+ layers. So you'll have cool looking logo and key frames.
Again, print with 0.2mm layer, using 0.4mm nozzle, 5 walls. "Seam Position" should be set to "Random" in your slicer, not only it looks better, it makes the bearing-flange coupling smoother and tension distributed more evenly.
- Base (teeny_tt.stl), PLA transparent.
- Bearing seat (teeny_bearing.stl), 20-60% fill, PLA white.
- Flange for disc (teeny_shaft.stl), 60% fill, PLA white.
- The disc (teeny_disc.stl), 60% fill, all fill patterns should be set to "Concentric".
- Print upside down, with easy-to-remove support materials.

It's similar to my previous Pico IIDX project, just read the documentation there. https://github.com/whowechina/iidx_pico
But there're something you need to pay attention:
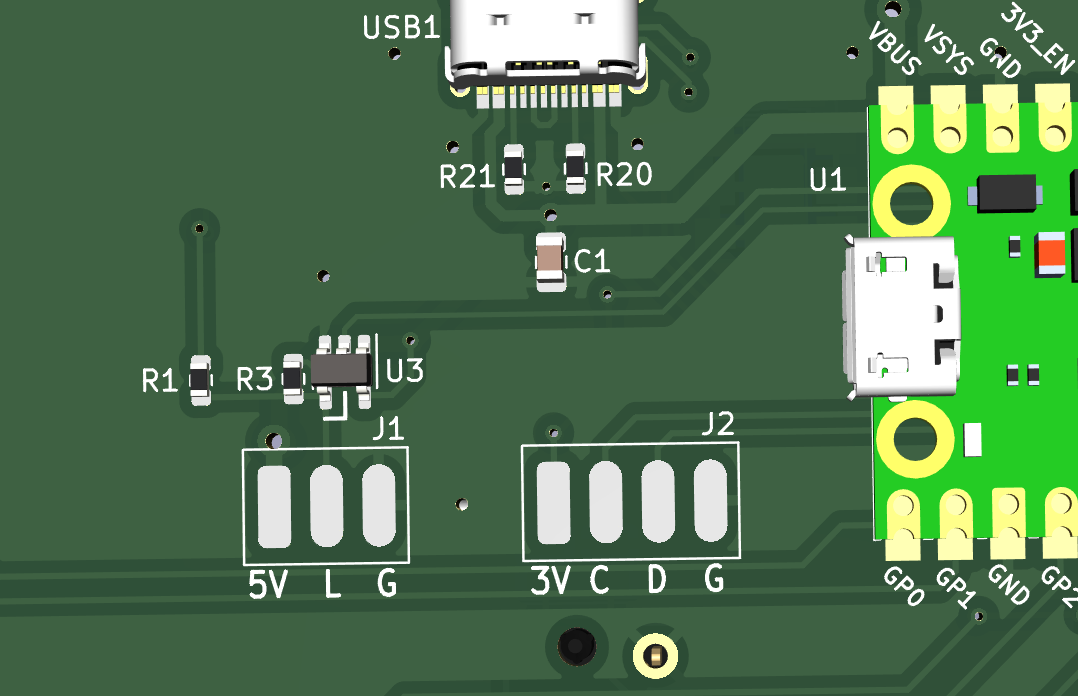
- On Teeny's PCB, there are 2 sets of soldering pads, 1 set is for AS5600, the other is for the WS2812 LED ring.
- J1 is for LED, 5V is the power, L is LED signal, G is ground.
- J2 is for AS5600, 3V is the power (actually 3.3V), S is I2C SCL, D is I2C SDA, G is ground.
 * Please use two seperate cables to wire LED and AS5600, both (or at least one) should be shielded to prevent crosstalk interference.
* Choose thin/soft cables, so they can fit. Get ultra thin USB cable or extract daughter cables from abandoned HDMI cables. 2mm diameter is the best.
* Solder either U3 (level shifter, recommended) or R3 (around 10ohm, works most time), but NOT both.
* Don't solder R1, it was reserved for some experiments and I forgot to remove it.
* Please use two seperate cables to wire LED and AS5600, both (or at least one) should be shielded to prevent crosstalk interference.
* Choose thin/soft cables, so they can fit. Get ultra thin USB cable or extract daughter cables from abandoned HDMI cables. 2mm diameter is the best.
* Solder either U3 (level shifter, recommended) or R3 (around 10ohm, works most time), but NOT both.
* Don't solder R1, it was reserved for some experiments and I forgot to remove it.
- There's a nice manual in IIDX Pico's repo, under doc folder. Follow the manual to set AS5600 to I2C mode and then do your LED ring setup.
https://github.com/whowechina/iidx_pico/tree/main/doc/Firmware_manual.pdf


It's CC-NC. So diy for yourself and for your friend, don't make money from it.