Mouse Wiggler is a tool that simulates movements of the mouse pointer so that no screen saver is activated and the PC or laptop is not put to sleep. Since the board can be used in many ways, it can also become a rubber ducky or a caps blocker with the additional firmware that is included. It is controlled via the touch key at the end of the board and displays its status via an addressable LED (NeoPixel).
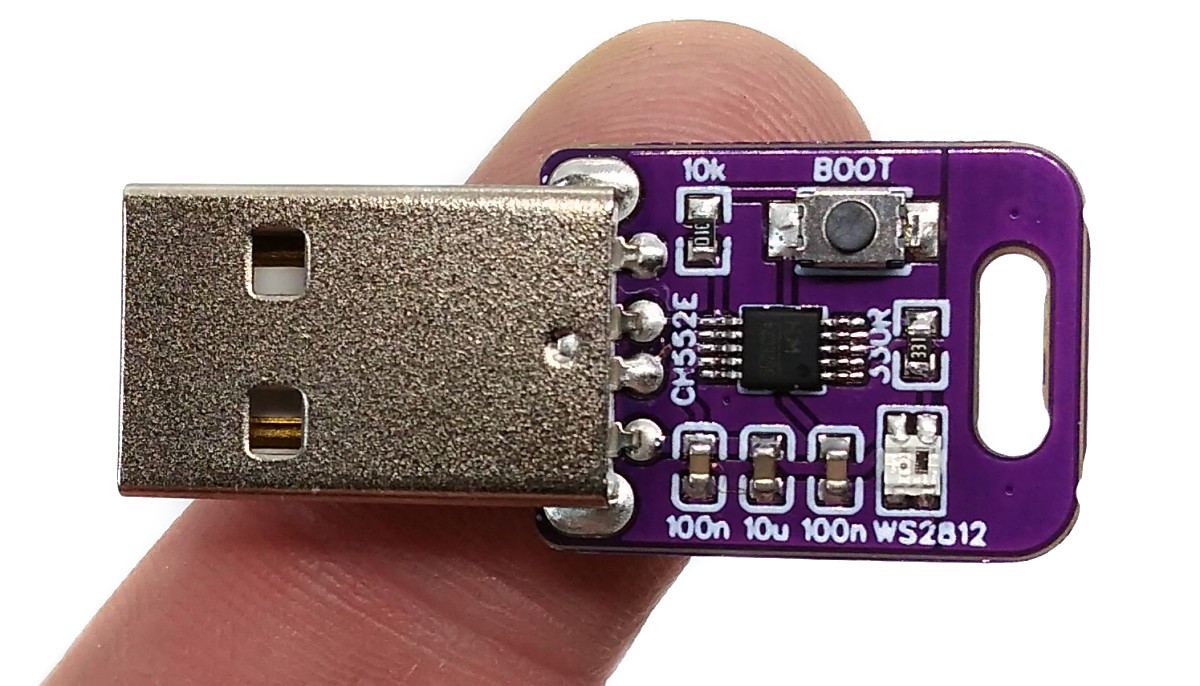

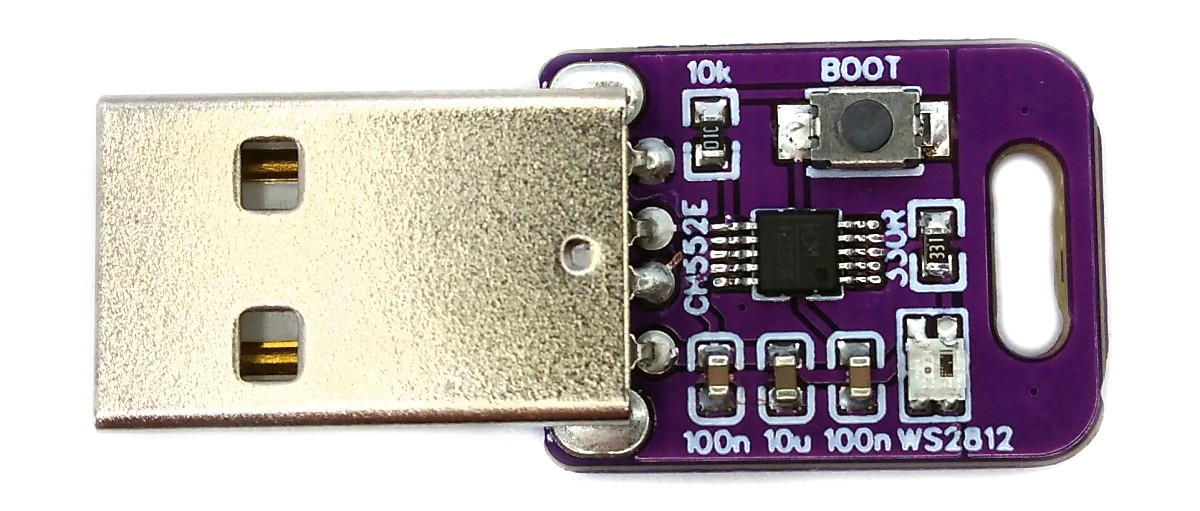
The CH552E is a low-cost, enhanced E8051 core microcontroller compatible with the MCS51 instruction set. It has an integrated USB 2.0 controller with full-speed data transfer (12 Mbit/s) and supports up to 64 byte data packets with integrated FIFO and direct memory access (DMA). The CH552E has a factory built-in bootloader so firmware can be uploaded directly via USB without the need for an additional programming device.

Mouse Wiggler is an incredibly useful tool that helps prevent your computer from going into sleep mode or activating a screensaver. It does this by simulating small, imperceptible movements of the mouse pointer, keeping your computer active and alert without disrupting your work flow. This feature is especially helpful for those who work in long stretches or for those who leave their computer on for extended periods of time, such as for download or rendering tasks. When the wiggle function is activated, the LED will begin to cycle through different colors, making it easy to know that the device is working.
Connect the board via USB to your PC. It should be detected as a HID mouse. Activate/deactivate the wiggle function by pressing the touchkey. The NeoPixel lights up and changes colors when the function is activated.
A USB Rubber Ducky is a small device that looks like a regular USB drive. It can be plugged into a computer and once plugged in, it can emulate a keyboard and inject keystrokes that can execute malicious code or exfiltrate data to the attacker. However, this version of the rubber ducky is completely harmless. It identifies itself as a USB HID keyboard and types a predefined message when the touchkey is pressed. This can be used for various purposes like automating repetitive tasks, controlling the PC via keyboard shortcuts, and more. The included rubber ducky firmware can be reprogrammed to customize the keystrokes and messages according to your needs.
Connect the board via USB to your PC. It should be detected as a HID keyboard. Open a text editor und press the touchkey on the board.
Tired of accidentally hitting the CAPS LOCK key and typing everything in uppercase? CAPS bLOCK is here to help you. Once plugged in, it identifies itself as a USB HID keyboard and constantly monitors the state of the CAPS LOCK key. If it has been accidentally activated, it immediately deactivates it. The device is designed to work seamlessly in the background. When the blocking function is activated, the LED will begin to cycle through different colors, making it easy to know that the device is working.
Connect the board via USB to your PC. It should be detected as a HID keyboard. Activate/deactivate the blocking function by pressing the touchkey. The NeoPixel lights up and changes colors when the function is activated.
TouchRaw is a powerful tool that allows you to fine-tune the sensitivity of the touchkey on your device. It works by transmitting the raw sample values of the touchkey to your PC via USB-CDC-serial connection. This allows you to see the exact values that the touchkey detection is producing in a serial monitor or serial plotter on your PC, and use them to determine the threshold values that are used in the configuration file (config.h).
Connect the board via USB to your PC. It should be detected as a CDC device. Open a serial monitor or a serial plotter and select the correct serial port (BAUD rate doesn't matter). The touchkey raw sample values are continuously transmitted via CDC. Press and release the touchkey, observe the change in the raw values and use them to determine the threshold values for config.h. Windows users may need to use the Zadig tool to install the correct CDC driver.
NeoTouch is a tool that allows you to easily control the color of the NeoPixel LED on the board by simply holding down the touchkey. It is a simple way to add some color and customization to your computer setup. To change the color of the LED, simply hold down the touchkey and release it when you have reached the desired color. This allows for a smooth and seamless color transition, making it easy to match the LED to your personal preferences or to the color scheme of your computer setup. Additionally, NeoTouch can be used as a simple USB light, providing a convenient source of light in low-light situations.
On Linux you do not need to install a driver. However, by default Linux will not expose enough permission to upload your code with the USB bootloader. In order to fix this, open a terminal and run the following commands:
echo 'SUBSYSTEM=="usb", ATTR{idVendor}=="4348", ATTR{idProduct}=="55e0", MODE="666"' | sudo tee /etc/udev/rules.d/99-ch55x.rules
sudo service udev restart
For Windows, you need the CH372 driver. Alternatively, you can also use the Zadig Tool to install the correct driver. Here, click "Options" -> "List All Devices" and select the USB module. Then install the libusb-win32 driver. To do this, the board must be connected and the CH55x must be in bootloader mode.
A brand new chip starts automatically in bootloader mode as soon as it is connected to the PC via USB. Once firmware has been uploaded, the bootloader must be started manually for new uploads. To do this, the board must first be disconnected from the USB port and all voltage sources. Now press the BOOT button and keep it pressed while reconnecting the board to the USB port of your PC. The chip now starts again in bootloader mode, the BOOT button can be released and new firmware can be uploaded within the next couple of seconds.
Install the SDCC Compiler. In order for the programming tool to work, Python3 must be installed on your system. To do this, follow these instructions. In addition pyusb must be installed. On Linux (Debian-based), all of this can be done with the following commands:
sudo apt install build-essential sdcc python3 python3-pip
sudo pip install pyusb
- Open a terminal.
- Navigate to the folder with the makefile.
- Connect the board and make sure the CH55x is in bootloader mode.
- Run
make flashto compile and upload the firmware. - If you don't want to compile the firmware yourself, you can also upload the precompiled binary. To do this, just run
python3 ./tools/chprog.py firmware.bin.
Install the Arduino IDE if you haven't already. Install the CH55xduino package by following the instructions on the website.
- Open the .ino file in the Arduino IDE.
- Go to Tools -> Board -> CH55x Boards and select CH552 Board.
- Go to Tools and choose the following board options:
- Clock Source: 16 MHz (internal)
- Upload Method: USB
- USB Settings: USER CODE /w 266B USB RAM
- Connect the board and make sure the CH55x is in bootloader mode.
- Click Upload.
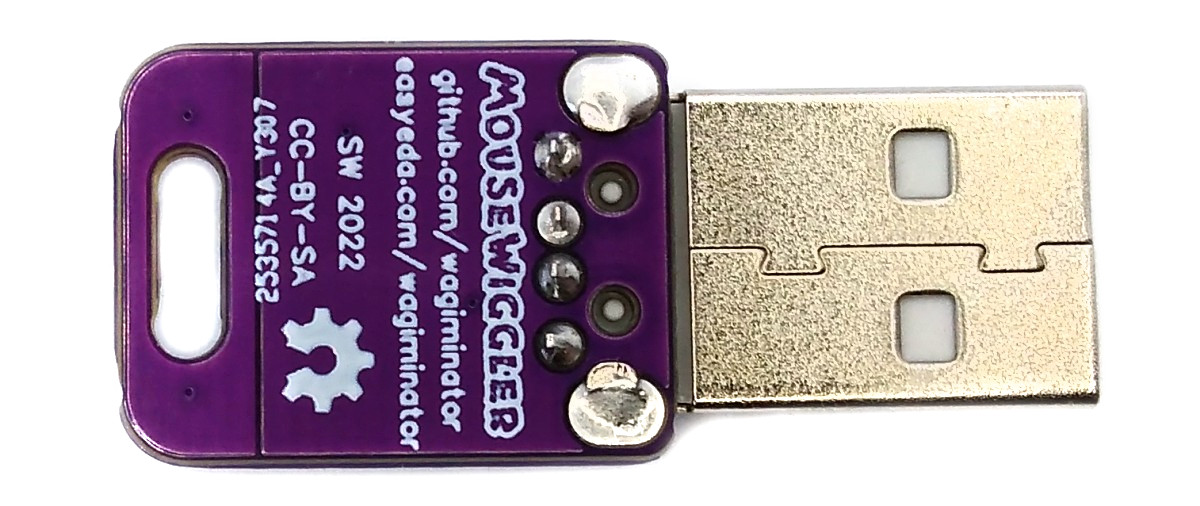

This work is licensed under Creative Commons Attribution-ShareAlike 3.0 Unported License. (http://creativecommons.org/licenses/by-sa/3.0/)