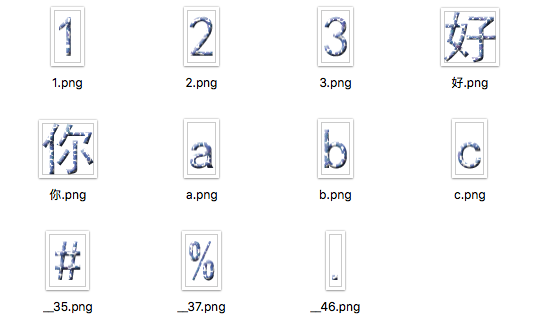
- Create a directory and use the name of the font you are generating
- Prepare character images for the BMFont, you should name the images with the corresponding character, like
1.png, 好.png, a.pngin the following figure, or alternately you can name the image file with two underscores followed by the unicode of the character(decimal base), like__35.png, __37.png, __46.png. - If necessary change some configurations in
gen_fnt.py, and the parameters are in classFntConfig - Put the character images for generating font and the script
gen_fnt.pyin the directory created in step 1, and then run the script you will get the BMFont including a fnt description file and one or more image(s) as texture
Python 3.x Pillow
- 新建目录,目录名称为将要生成的字体的名称
- 准备用于生成字体的字符图片文件,注意将图片命名为字符,如下图中的
1.png, 好.png, a.png,或将图片命名为双下划线加对应字符的unicode编码值(十进制),如下图中的__35.png, __37.png, __46.png - 根据需要,在
gen_fnt.py中修改配置参数,位于类FntConfig中 - 把用于生成字体的字符图片文件与
gen_fnt.py放置于第1步新建的目录下,运行脚本,即可生成字体文件,包含一个fnt字体描述文件及一个或多个图片纹理
Python 3.x Pillow
