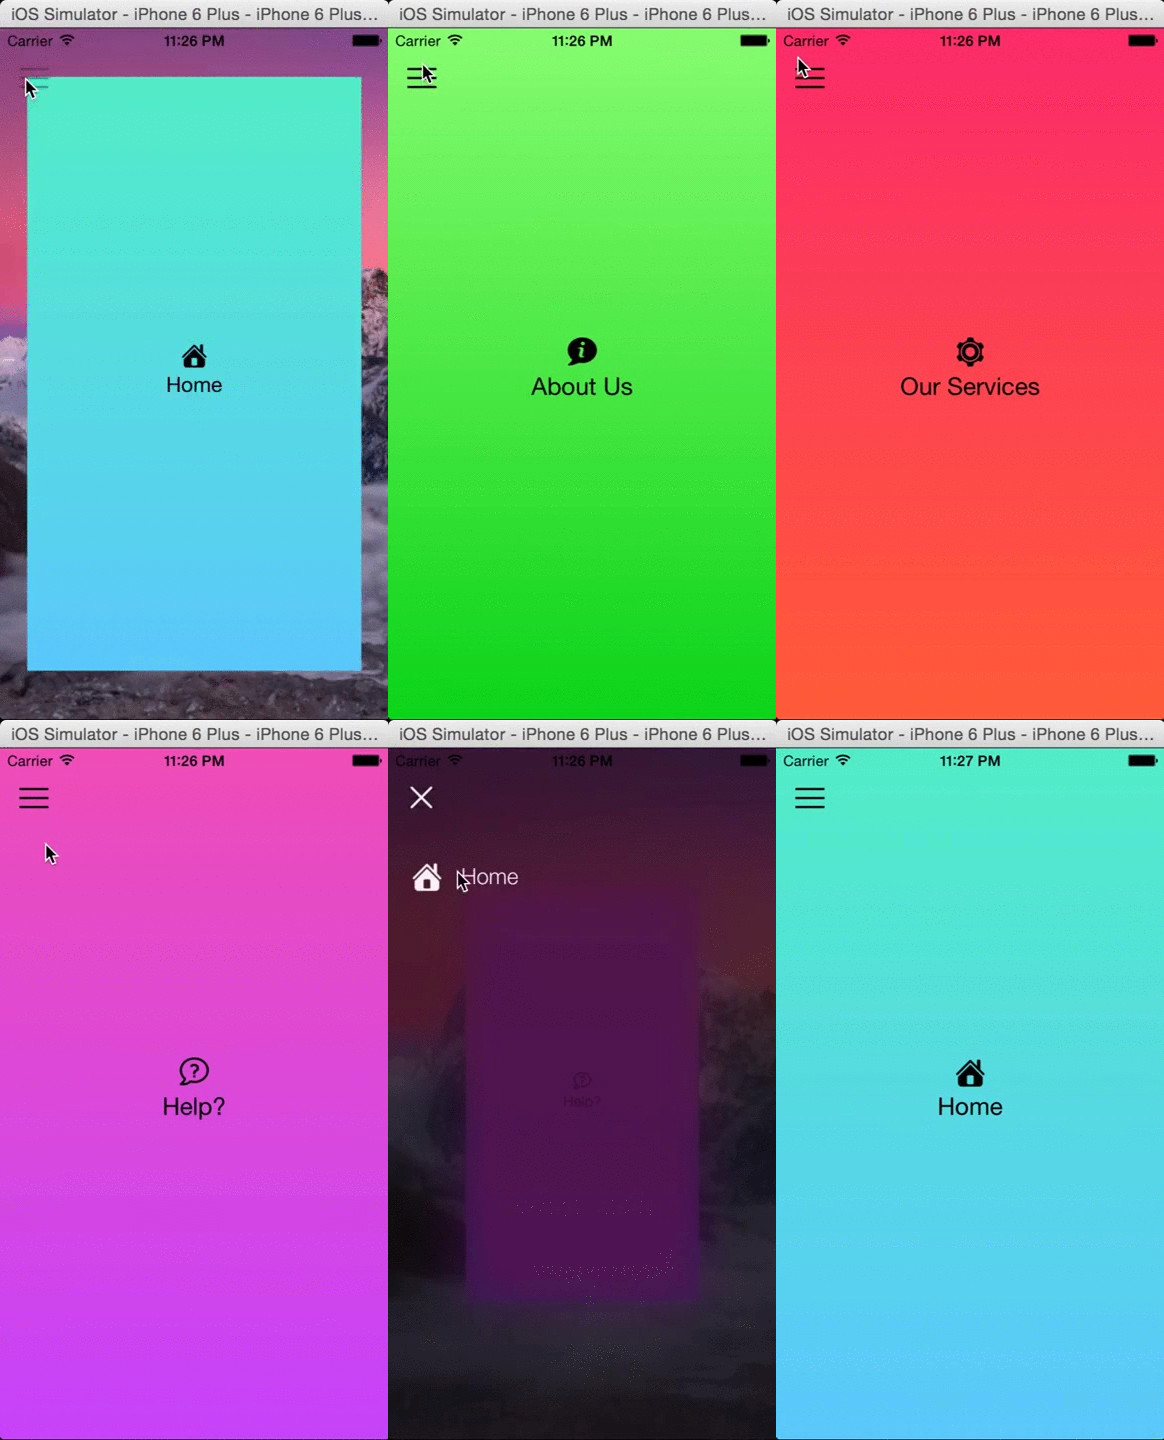
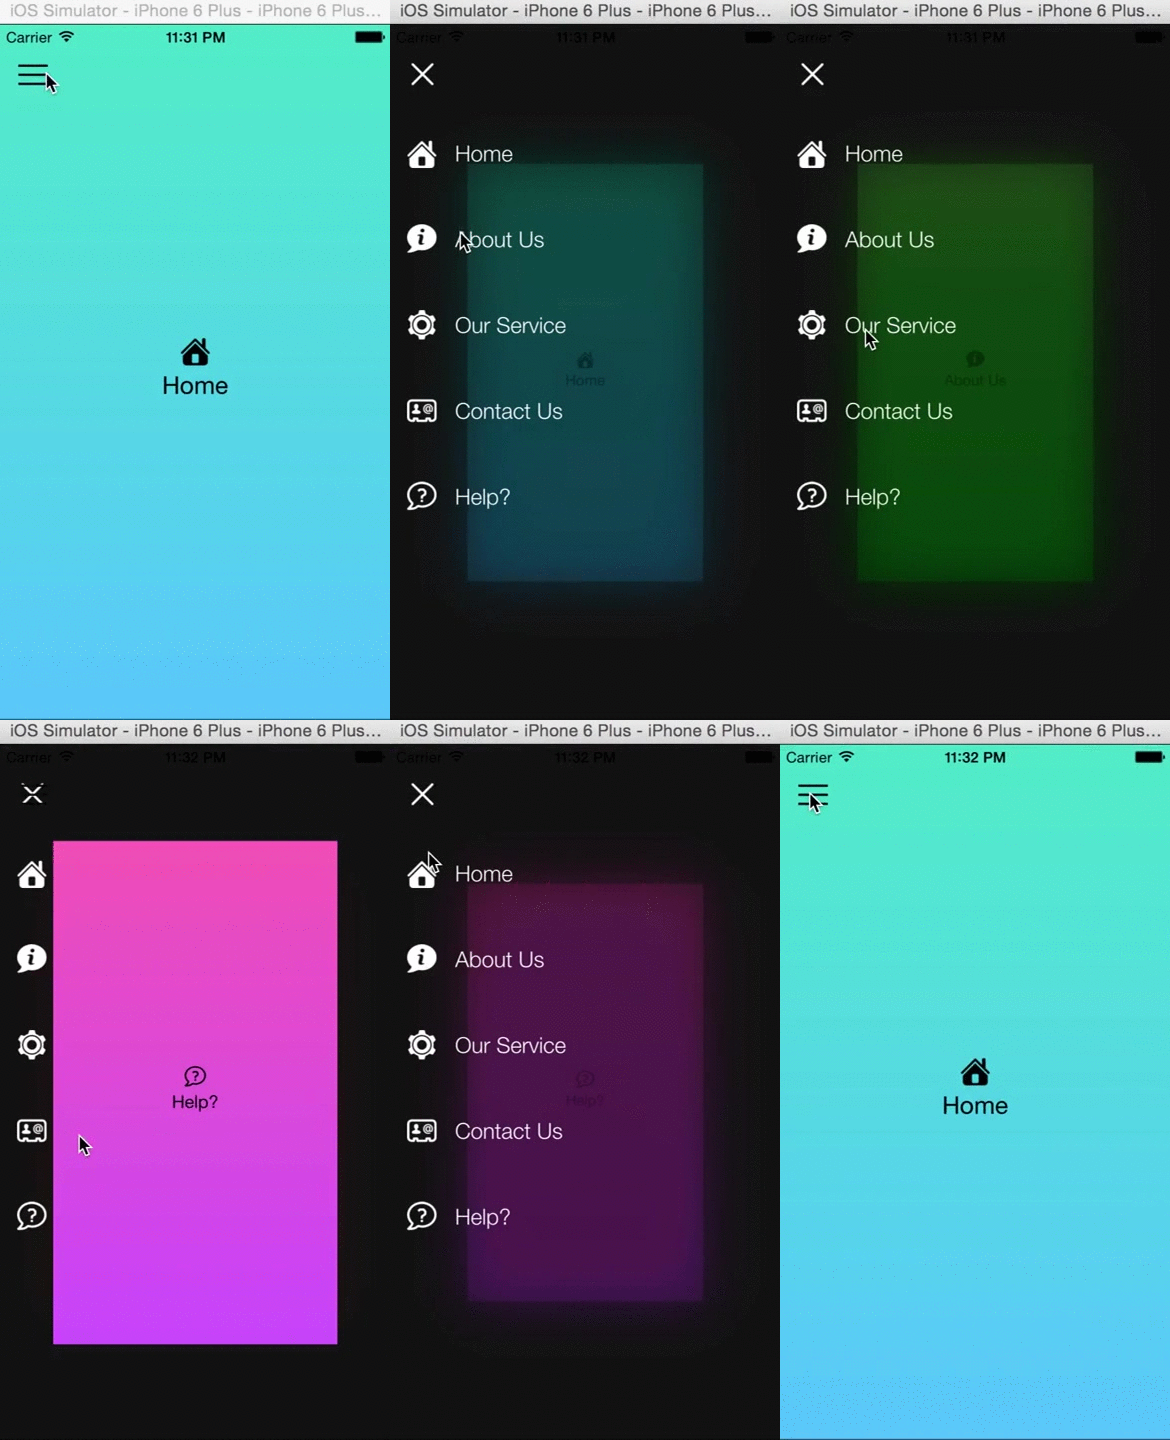
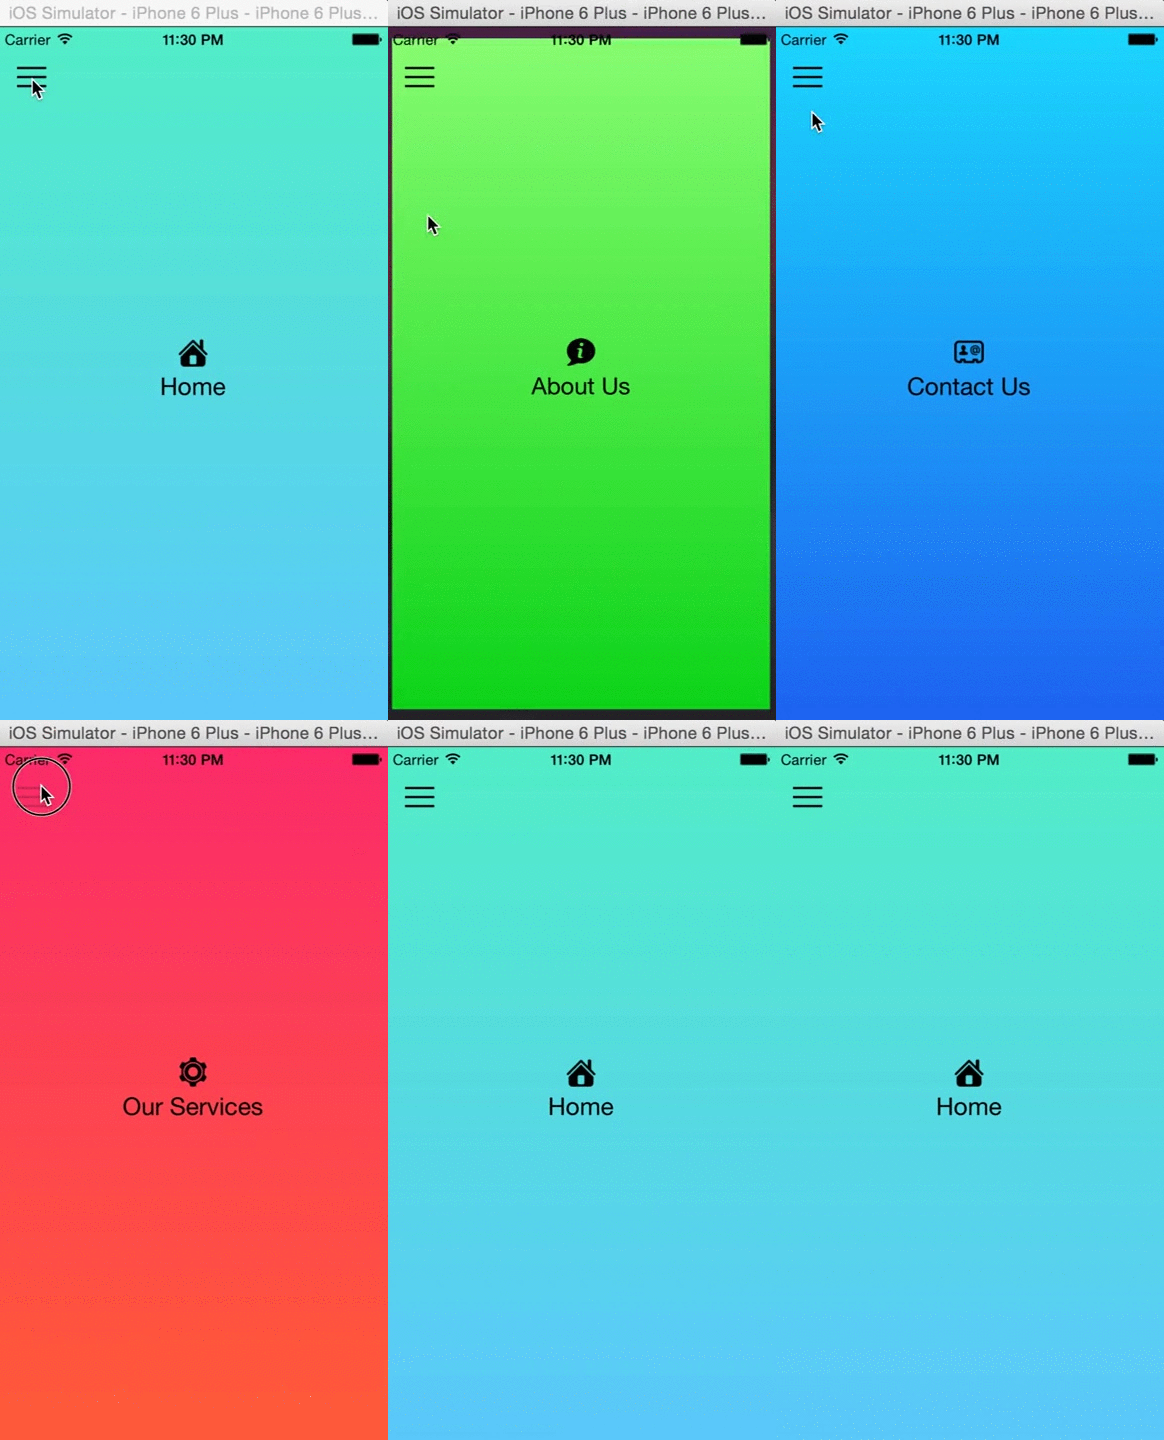
This is a simple menu controller where I tried to simulate the native iOS animation of switching between apps. It can be used in many different ways and you can also customize it to use your own animations.
To run the example project, clone the repo, and run pod install from the Example directory first.
Using JVMenuPopover with your own project.
-
Set your RootViewController in the your AppDelegate.m, you could follow my example project and see how I set a background image to the entire app if you are looking to follow that approach.
- I use one of my helper function in the pods to adjust the image to my device width and not show an expanded image.
- (BOOL)application:(UIApplication *)application didFinishLaunchingWithOptions:(NSDictionary *)launchOptions
{
    // Override point for customization after application launch.
    UIViewController *rootController = [[JVMenuRootViewController alloc] init];

    self.navigationController = [[UINavigationController alloc] initWithRootViewController:rootController];

    self.window = [[UIWindow alloc] initWithFrame:[[UIScreen mainScreen] bounds]];
    [self.window setRootViewController:self.navigationController];
    self.window.backgroundColor = [UIColor colorWithPatternImage:[JVMenuHelper imageWithImage:[UIImage imageNamed:@"app_bg1.jpg"] scaledToWidth:self.window.frame.size.width]];
    self.window.contentMode = UIViewContentModeScaleAspectFit;

    [self.window addSubview:self.navigationController.view];
    [self.window makeKeyAndVisible];

    return YES;
}-
Then, we set our navigation controller however we wanted it to be displayed
- Here, I set the menu image I want to display, the color of the menu button and small trick just in my case I wanted to have a transparent navigation bar.
- (void)viewWillAppear:(BOOL)animated
{
    [super viewWillAppear:animated];

    self.navigationController.delegate = self;
    self.navigationItem.leftBarButtonItem = [[UIBarButtonItem alloc] initWithImage:self.menuImg style:UIBarButtonItemStylePlain target:self action:@selector(showMenu)];
    self.navigationItem.leftBarButtonItem.tintColor = [UIColor blackColor];

    // make the navigation bar transparent
    [self.navigationController.navigationBar setBackgroundImage:[UIImage new]
    forBarMetrics:UIBarMetricsDefault];
    self.navigationController.navigationBar.shadowImage = [UIImage new];
    self.navigationController.navigationBar.translucent = YES;
    self.navigationController.view.backgroundColor = [UIColor clearColor];
    self.navigationController.navigationBar.backgroundColor = [UIColor clearColor];
}-
Finally but not least, I do the animation of the view controllers. So far I found better to take a screenshot after I have finished scaling the current view controller that I am animating.
- So, from the menu delegates I let the RootViewController know which of my view controller I would like to display, I could also have an NSArray with my controllers in it.
- After, I do the animations...
- (void)closeMenu:(JVMenuPopoverViewController *)JVMenuPopoverViewController
{
    [self.navigationController popToViewController:JVMenuPopoverViewController animated:NO];
}

- (void)setNewViewController:(UINavigationController *)navController fromIndexPath:(NSIndexPath *)indexPath
{
    if(indexPath.row == 0)
    {
        self.mainController = [[JVMenuRootViewController alloc] init];
        self.mainController.view.transform = CGAffineTransformScale(CGAffineTransformIdentity, 0.6, 0.6);
        [navController setViewControllers:@[self.mainController]];
    }
    else if(indexPath.row == 1)
    {
        self.secondController = [[JVMenuSecondController alloc] init];
        self.secondController.view.transform = CGAffineTransformScale(CGAffineTransformIdentity, 0.6, 0.6);
        [navController setViewControllers:@[self.secondController]];
    }
}

- (void)navigationController:(UINavigationController *)navigationController willShowViewController:(UIViewController *)viewController animated:(BOOL)animated
{
    [UIView animateWithDuration:0.3/1.5 animations:^{
        viewController.view.transform = CGAffineTransformScale(CGAffineTransformIdentity, 1.0, 1.0);
    } completion:nil];
}Developed and tested using iOS8+
JVMenuPopover is available through CocoaPods. To install it, simply add the following line to your Podfile:
pod "JVMenuPopover"
Contact me if you find any bugs or potential room for improvements, which I am sure there are. Jorge Valbuena (@JV17), jorgevalbuena2@gmail.com. BTW! You are welcome to help in supporting this pod or making improvements to it.
JVMenuPopover is available under the MIT license. See the LICENSE file for more info.


