- The JupyterHub will be active from 2018/12/21 18:30PM to 2018/12/22 07:30AM, please make use of the facility
- For live QA, please see this Gitter https://gitter.im/FOSS-Python-GeospatialAnalysis/community, github account can be used to access the chat
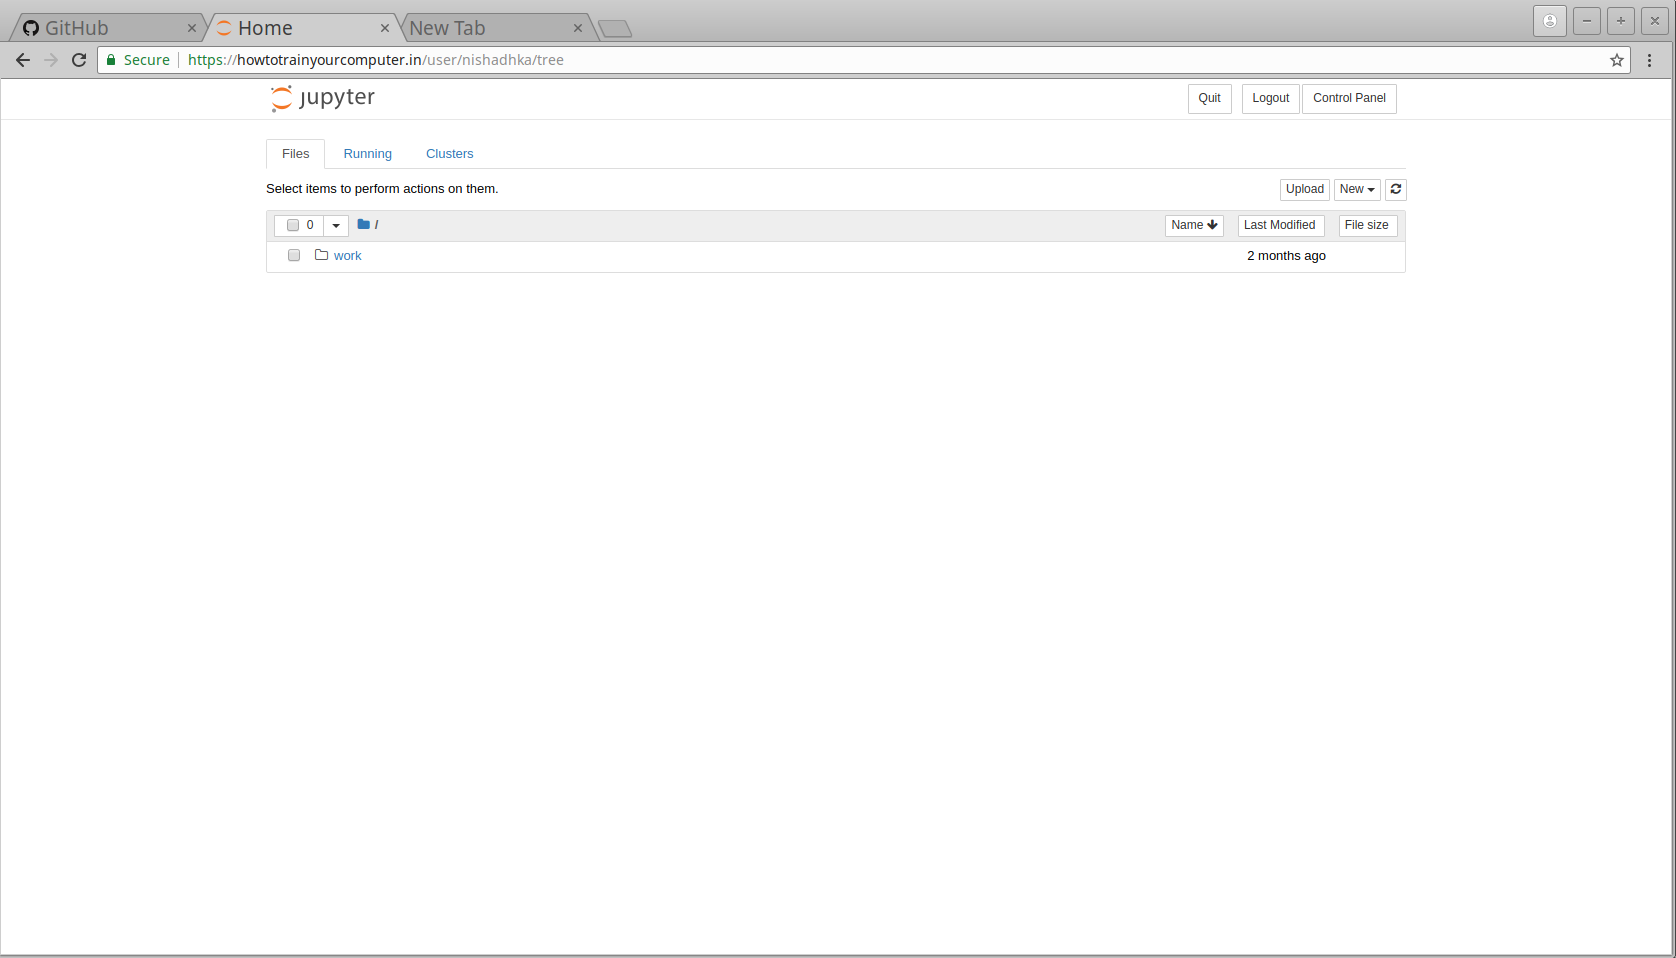
- Jupyterhub instance can be accessed in here
- After sign in, wait for Jupyterhub to load completely
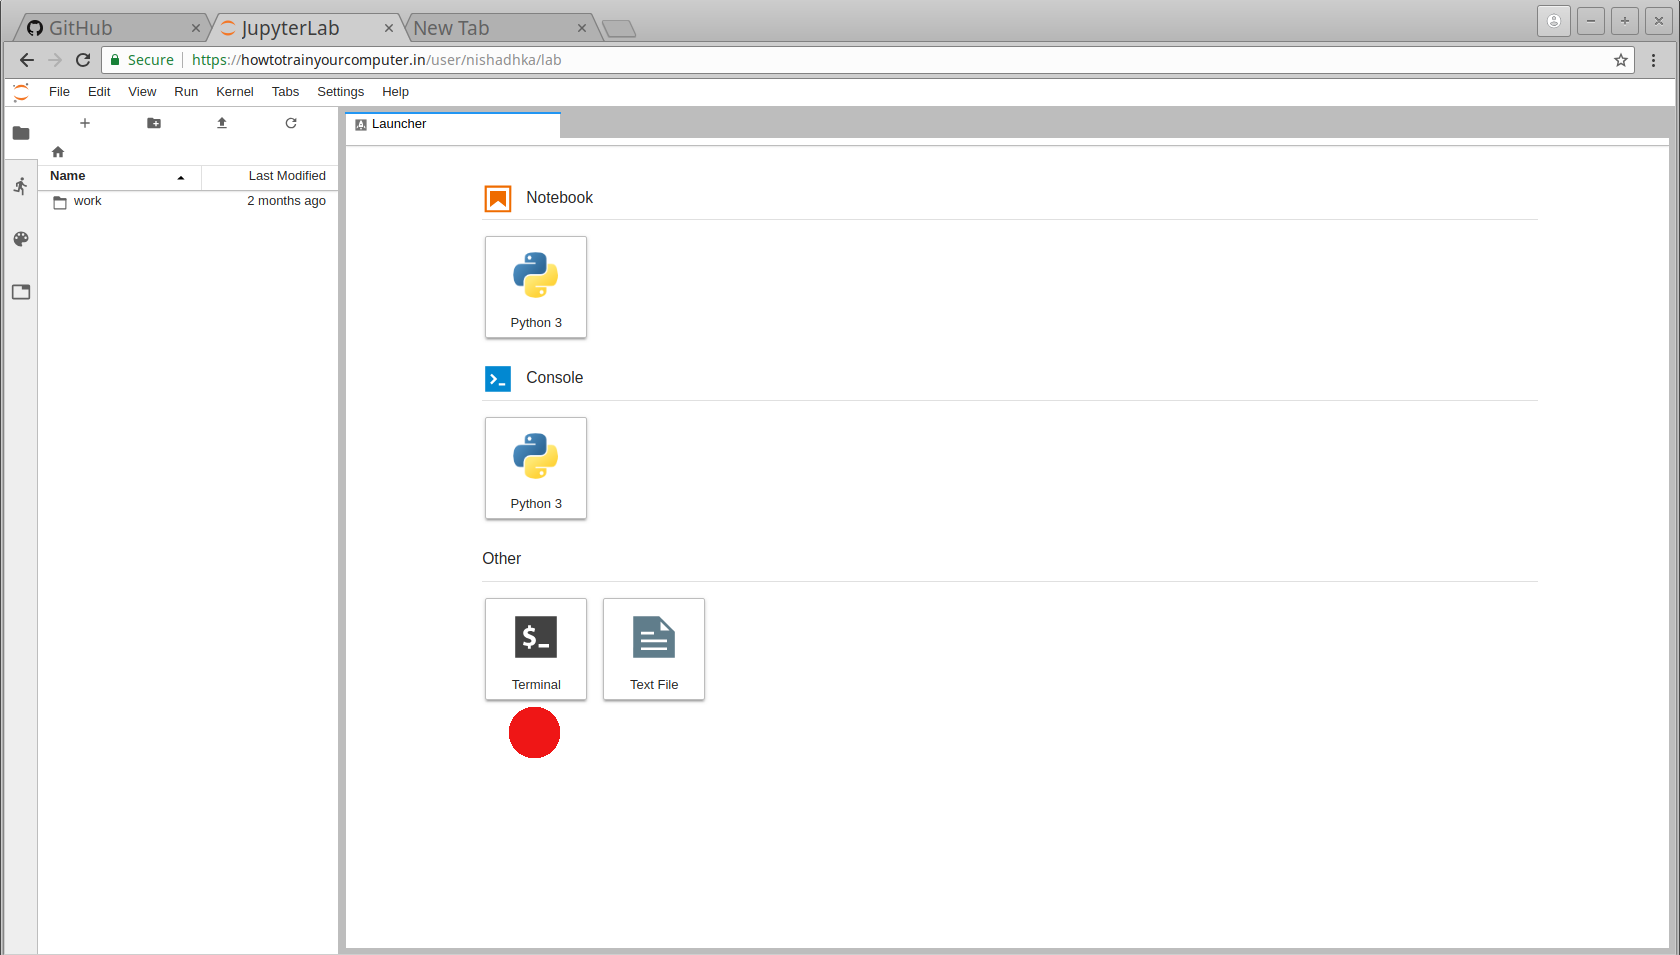
- Change the URL from tree to lab
 |
| 
- Open terminal and change directory into work to avoid permission issues later
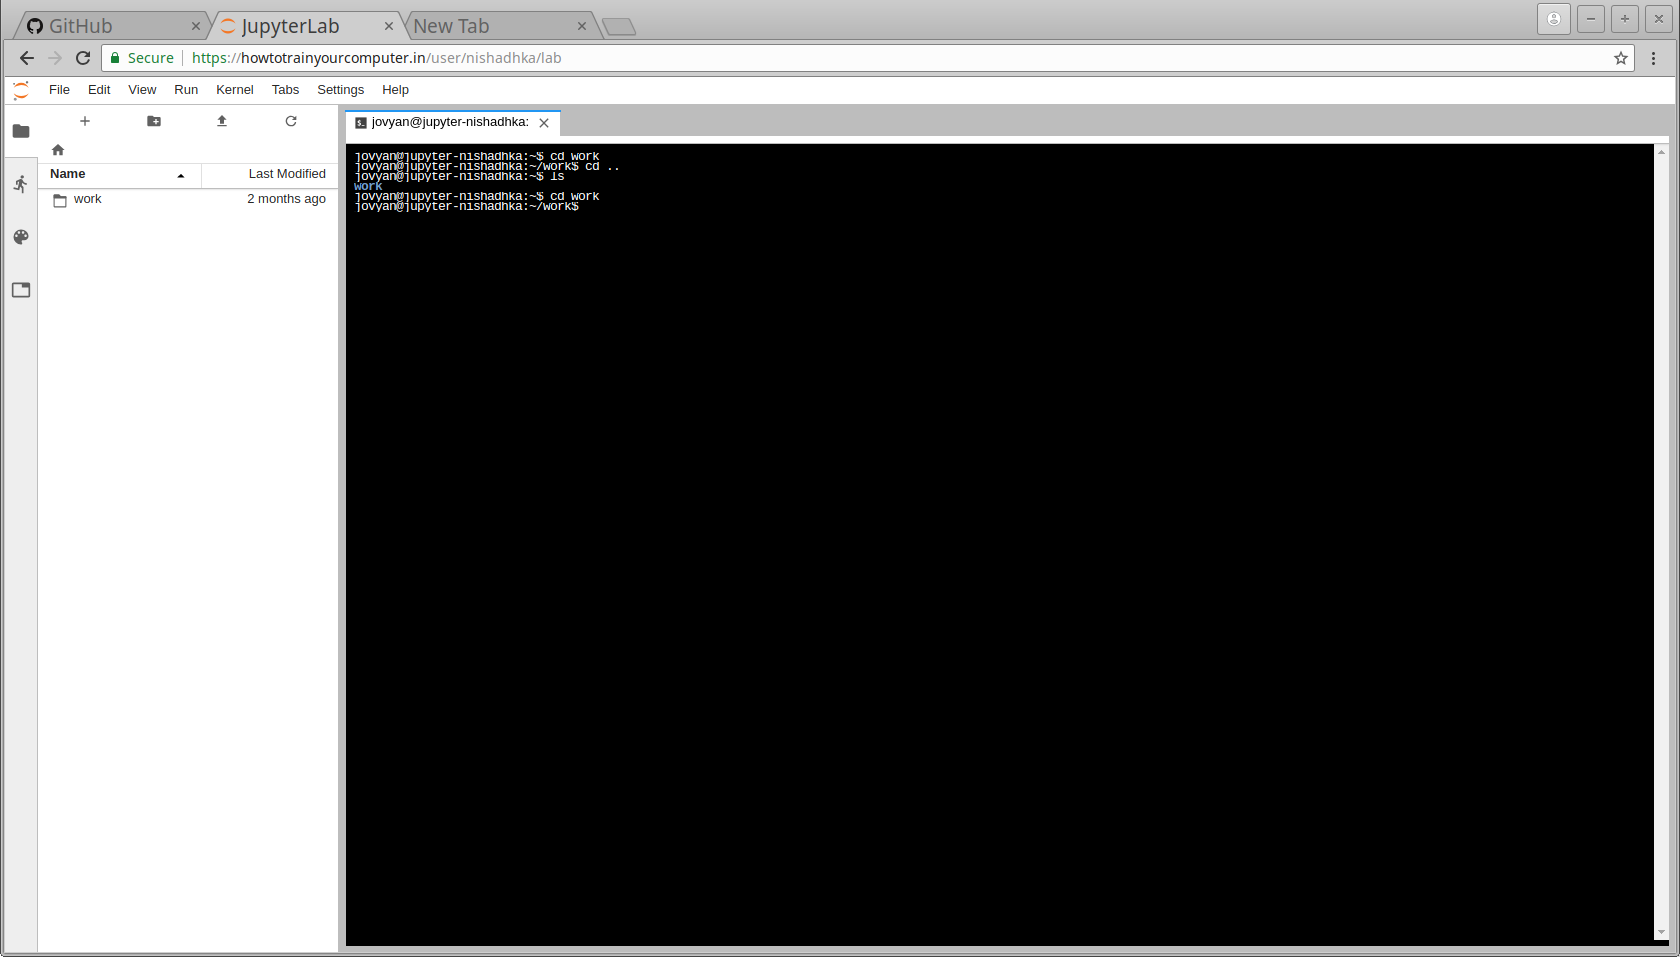
- From the terminal, clone the github repository by
git clone https://github.com/nishadhka/FOSS-Python-GeospatialAnalysis.git. To save your edits and improve upon the repo, fork it and clone your fork instead. - Using left side pane of Jupyter lab, open and work with Jupyter notebooks in folders helloworld, on_raster, on_vector
Free and Open Source libraries of Python for Geo spatial Analysis and Visualisation(Maps and Satellite imageries)
Geospatial representation are so prevalent in day to day life, such as even in simple travel related conversation to maps, aerial/satellite images etc. In digital era, geospatial data is extensively produced and consumed in ever growing proportion. Python with its free and open source libraries are giving wide variety yet simple and effective set of tools to visualise and analyse geospatial data. The current workshop is directed for beginners of Python programming language, who have basic understanding on computing and data formats. The primary objective of the workshop is to introduce and give hands on training on selected list of FOSS libraries for geospatial analysis. The workshop as a do it yourself fashion tries to solve two real world problems in Geographical Information System (GIS) and its geospatial data sources.
The workshop comprised of three components:
Component 1: Introduction
Python environment and work flow setup, an assisted task of setting up the Docker and Jupyter notebook setup. Setting up the Geographical Information System (GIS) environment with extended discussion. Setting up of GIS tools such as FOSS QGIS and Google earth. This component is comprised of four exercises. 1. Introduction to vector data, 2. Introduction to raster data, 3. binary and text file formats of geospatial data, 4. Introduction to tools of GIS, 5. Introduction to literal programming- Jupyter notebook
Component 2: work with vector data
- Geospatial data operations by Geopandas, Geometrical operations using Shapely
- Map plotting of vectors using matplotlib toolkit Basemap, video from maps
- Web mapping on vector data using Folium
Component 3: work with raster data
- Basic workflow on satellite imageries using Rasterio, NDVI and other indexing
- Map plotting of rasters using matplotlib toolkit Basemap
- Web mapping on raster data using Folium
- Accessing Google earth engine using its Python API
Note : There won't be any environment setup session separately, participants are requested to ensure below prerequisites are working properly.
Workshop Plan
- Component 1- 30 minutes
- Component 2- 45 minutes
- Component 3- 45 minutes
Workshop prerequisites
The hands-on exercises are in Jupyter notebooks available here
As workshop depends on multiple libraries which are time consuming to setup, there are two options to carry out hands-on.
Option 1
- There will be Jupyterhub to have hands on with notebooks. Accessible to participants during workshop which requires github account to signin.
- Participants are requested to ensure good internet connectivity, personal data card/hotspot as a contingency.
- There will be a Goolge form circulated short before workshop to collect participants github username. This is to whitelist participants github account to access the Jupyterhub. Participants are requested to check https://github.com/nishadhka/FOSS-Python-GeospatialAnalysis for the goolge form link before workshop
Option 2
- The docker imagery for the workshop is in dockerhub
- Have latest clone of workshop notebooks https://github.com/nishadhka/FOSS-Python-GeospatialAnalysis
- Use personal laptop and setup the docker with above image, use Jupyter notebook served from the docker, for a setup please go through below
Harware
-
Laptop 32bit/64 bit
-
Workshop material is tested on 64 bit computer, it is said to be working in 32 bit, lets experiment!
-
A copy of Docker container image from here, file from the link foss-pt-gsa_v3.tar.gz is 2.5 GB in size, will be using this container for DIY Linux
-
Install docker, I followed digital ocean install tutorial , which worked!.
-
Use docker to load downloaded tar into it as an container image, before that unzip the foss-pt-gsa_v3.tar.gz into foss-pt-gsa_v3.tar
docker load -i foss-pt-gsa_v3.tar -
To check the docker is loaded with new image, ensure the image
foss-pt-gsa/foss-pt-gsa:version3is listed by enteringdocker images -
To run the image, enter
docker run -dit foss-pt-gsa/foss-pt-gsa:version3 -
Get the CONTAINER_ID of the just started container by the command
docker ps -
To enter into the image bash
docker exec -it CONTAINER_ID bash -
After enter into the image’s bash terminal, enter following commands. the commands download the workshop github repo zip file into a working direcoty, then unzip it and get into the repo folder to start a jupter notebook server
cd /home/ubuntu/ wget https://github.com/nishadhka/FOSS-Python-GeospatialAnalysis/archive/master.zip unzip master.zip cd FOSS-Python-GeospatialAnalysis-master jupyter notebook --ip 0.0.0.0 --no-browser --allow-root -
Note down the link provided by the jupyter notebook such as example http://0.0.0.0:8889/?token=c8e944b8397b0bde97b4d9284e5e3ffc0136658fcca3ea1e
-
Logout from the docker image bash (by typing ctrl+q or closing the bash window) and in the host computer note down the image_ID of the workshop image running inside the docker by
docker ps -
Then inspect about the docker image to get to know the image’s IP address. Note down the ipaddress
docker inspect image_ID | grep "IPAddress" -
Edit the jupter server given link as into http://ipaddress:8889/?token=c8e944b8397b0bde97b4d9284e5e3ffc0136658fcca3ea1e
-
Open the link in host computer browser, it shows the Jupyternotebooks in the workshop repo and click on the file docker_test.ipynb, to run the notebook and execute its first cell to ensure all the libraries for the workshop is working properly
Windows
-
Local copy of Docker toolbox from here for windows 64 bit, for 32 bit Windows, follow this link.
-
Local copy boot2docker.iso from here, it is better to follow old method of docker toolbox instead of docker native software for Windows.
-
save the iso file in C:\Users\User.docker\machine\cache\boot2docker.iso
-
Open the program Docker quick start, It will make a separate virtual machine to run the docker container
-
Under the Docker quick start program, after the virtual machine run, check docker is working by entering command
docker ps -
Now, import the workshop container by
docker load -i foss-pt-gsa_v3.tar -
Then run the imported container image by
docker run --name jupyter1 --rm -it --user root -d -p 8080:8080 jupyter/r-notebook:version3 -
again check the command
docker ps, it would show the container is running by having a container ID -
To get into the running docker
docker exec -it container_ID bash -
After enter into the image’s bash terminal, enter following commands. the commands download the workshop github repo zip file into a working direcoty, then unzip it and get into the repo folder to start a jupter notebook server
cd /home/ubuntu/ wget https://github.com/nishadhka/FOSS-Python-GeospatialAnalysis/archive/master.zip unzip master.zip cd FOSS-Python-GeospatialAnalysis-master jupyter notebook --ip=0.0.0.0 --port=8080 --allow-root -
Note down the link provided by the jupyter notebook such as example http://0.0.0.0:8080/?token=c8e944b8397b0bde97b4d9284e5e3ffc0136658fcca3ea1e
-
Replace the 0.0.0.0 with default 192.168.99.100 address of docker toolbox as per this