Implementing end to end learning for self-driving cars using simulator based on Nvidia Paper : (https://arxiv.org/pdf/1604.07316v1.pdf)
Youtube Video :
The goals/steps of this project are the following:
- Use the simulator to collect data of good driving behavior
- Build, a convolution neural network in Keras that predicts steering angles from images
- Train and validate the model with a training and validation set
- Test that the model successfully drives around track one without leaving the road
- Summarize the results with a written report
My project includes the following files:
model.pycontaining the script to create and train the modeldrive.pyfor driving the car in autonomous modemodel.h5containing a trained convolution neural networkutils.pycontaining helper functions for augmentation and generator function for lazy augmentation on batch generationREADME.MDfor summarizing the resultsvideos/*- A videos recording of a vehicle driving autonomously for one lap around the track.
You can download the full data here (563 MB)
The data should be placed to _PROJECT_DIR_/data/
- python==3.5.2
- numpy
- matplotlib
- opencv3
- eventlet
- flask-socketio
- Tensorflow GPU : https://storage.googleapis.com/tensorflow/linux/gpu/tensorflow_gpu-0.12.1-cp35-cp35m-linux_x86_64.whl
- keras==2.0.6
For running this project you will need to install Udacity simulation which can be found on self-driving-car-sim git repository.
Using the Udacity provided simulator and my drive.py file, the car can be driven autonomously around the track by executing
python drive.py model.h5The code in model.py uses a Python generator located in utils.py, to generate data for training rather than storing the training data in RAM. The model.py code is clearly organized and comments are included where needed.
The model.py file contains the code for training and saving the convolution neural network. The file shows the pipeline I used for training and validating the model, and it contains comments to explain how the code works.
The overall strategy for deriving a model architecture was to use the simulator to capture images and track the steering angle while driving around the lanes, so later with using of a neural network, we can train the model to be capable to drive alone, which means to predict the steering angle based on image state. Three cameras are mounted in the car (center, left, right), and timestamped video from the cameras is captured simultaneously with the steering angle applied by the human driver. Below there is a High-level view of the data collection system.

Training data contains images captured from the simulator, paired with the corresponding steering angle. Training with data from only the human driver is not sufficient; the network must also learn how to recover from any mistakes, or the car will slowly drift off the road. The training data is therefore augmented with additional images that show the car in different shifts from the center of the lane and rotations from the direction of the road.
For augmentation, the following techniques are used :
- Random Flip
- Random salt and pepper noise
- Random Translate (Requires reconstruct of the steering angle after applying this viewpoint transformation)
- Random Shadow
- Random Brightness
- YUV Transformation
- Crop
Images are used as input into a CNN that then computes proposed steering angle as output. Convolution layers and filter are appropriate because the convolution emulates the response of an individual neuron to visual stimuli. Fully connected feedforward neural networks can be used to learn features as well as classify data, but it is not practical to fully apply this architecture to images. A very high number of neurons would be necessary, even in a shallow (opposite of deep) architecture, due to the very large input sizes associated with images, where each pixel is a relevant variable.
The training process is pretty simple,
The proposed angle is compared to the desired angle for that image, and the weights of the Convolutional neural network are adjusted to bring the CNN output closer to the desired output. The weight adjustment is accomplished using back propagation as implemented in the Keras machine learning package.
Below you can see the image, describing the training of neural network.

Once trained the model is ready for test drive and the network is able to generate steering angle commands from the images of a single center camera generated by the simulator.

Training data was chosen to keep the vehicle driving on the road. I used a combination of center lane driving, recovering from the left and right sides of the road ...
For details about how I created the training data, see the next section.
The training set was created based on the following scenario :
- Driving around lane1 to capture images with (30mph) till the model is enough good to drive at (15mph), It took me about 5 laps with using the mouse control.
- Driving around lane2 to capture images with (15mph) till the model is enough good to drive at (10mph), It took me about 2 laps with using the mouse control.
On each batch, we generate augmented images so the model can generalize better.
Storing augmented images for the whole data can be really expensive and can exceed our RAM limit, but with using of a generator function, we can store the augmented images on ram but only augmented images generated for the current batch.
On the picture below, you can see the whole augmentation flow :

Below, you can see the training set distribution :

In order to gauge how well the model was working, I split my image and steering angle data into a training and validation set. Below you can see the data distribution of the training and validation set. Please note that the batch data is generated by the generator and also all mentioned data augmentation operations are applied for the training set, but only flip and crop for validation.
| Set | Batch Example 1 | Batch Example 2 | Batch Example 3 | Batch Example 4 |
|---|---|---|---|---|
| Training |  |
 |
 |
 |
| Validation |  |
 |
 |
 |
The model used an Adam optimizer, so the learning rate was not tuned manually (model.py line 76).
I found that my first model had a low mean squared error on the training set but a high mean squared error on the validation set. This implied that the model was overfitting.
To combat the overfitting and to speed up the training process to converge, I modified the model so that I used the following techniques :
The model was trained and validated on different data sets to ensure that the model was not overfitting (code line 67,71). The model was tested by running it through the simulator and ensuring that the vehicle could stay on the track.
- Used To increase the stability of a neural network, batch normalization normalizes the output of a previous activation layer by subtracting the batch mean and dividing by the batch standard deviation.
- It reduces overfitting because it has slight regularization effects. Similar to dropout, it adds some noise to each hidden layer’s activations. Therefore, if we use batch normalization, we will use less dropout, which is a good thing because we are not going to lose a lot of information. However, we should not depend only on batch normalization for regularization; we should better use it together with dropout.
- Batch normalization accelerates training by requiring fewer iterations to converge to a given loss value. This can be done by using higher learning rates, but with smaller learning rates you can still see an improvement. The paper shows this pretty clearly.
- Using ELU also has this effect when compared to a sigmoid activation
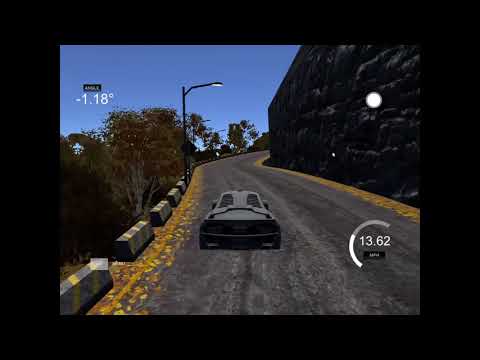
- The augmented images helped the model to generalize better so the car drives smooth on both lanes, and it also drives great on the third lane where I didn't provide any training data, but the model is robust to drive in an unknown lane.
My model consists of an enhanced version of Nvidia's End to End Learning for Self-Driving Cars architecture.

The ideal number of epochs was 18 as evidenced by loss graph, I used an Adam optimizer so that manually training the learning rate wasn't necessary.
Below, you can see the visualization of the training/validation cost during the training :

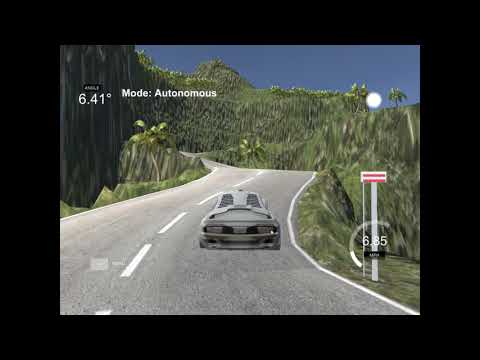
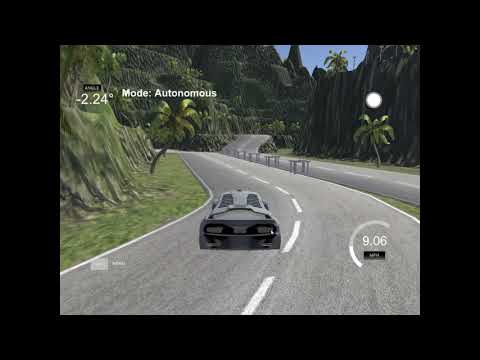
The final step was to run the simulator to see how well the car was driving around track one. At the end of the process, the vehicle is able to drive autonomously around the track without leaving the road.
You can watch the youtube videos bellow :
| Lane 1 | Lane 2 | Lane3 |
|---|---|---|
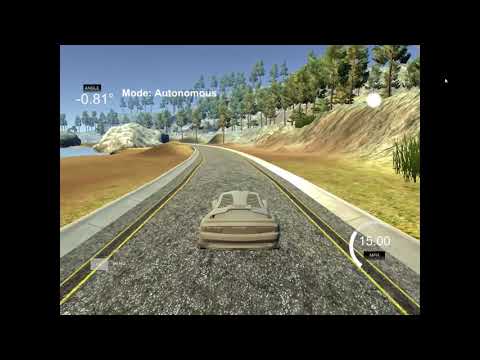 |
 |
 |