EtuUTT - API
The API that allows to interact with the database of the student site to consult, modify and delete some data according to the user's access.
Explore the docs »
View Demo
·
Report Bug
·
Request Feature
Table of contents
About the project
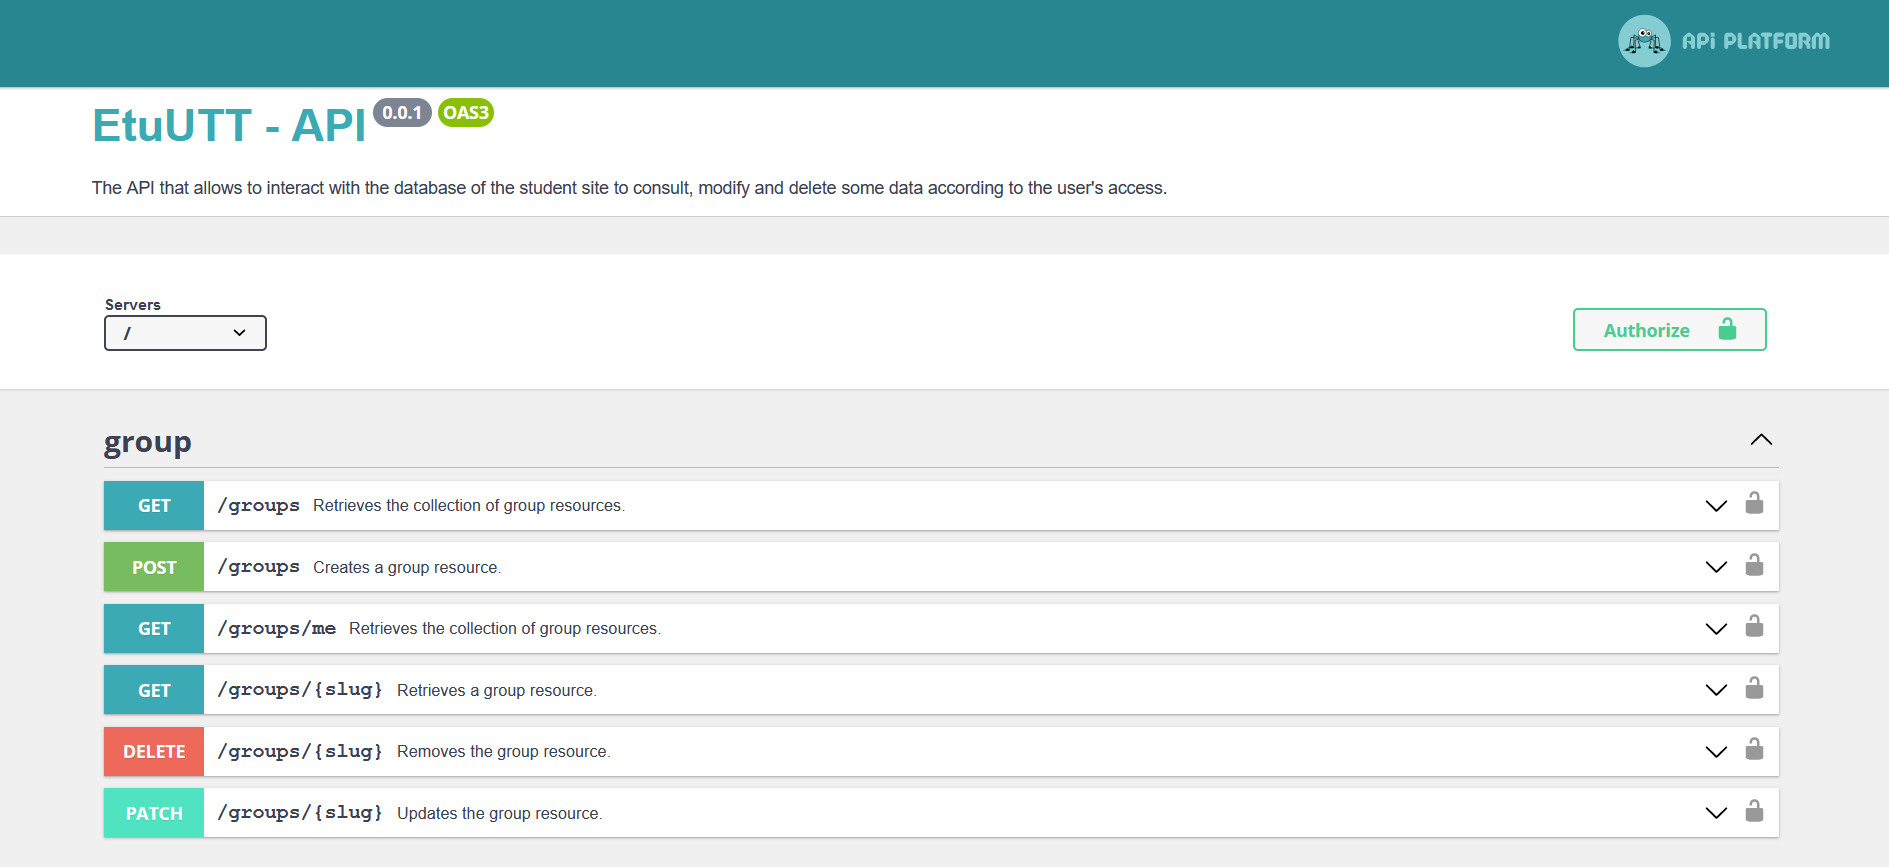
Here's a screenshot of the Swagger UI. It is the user friendly way to deal with the API, so that front teams want to offer us beers ! 🍻
It is also useful to test and debug new features.
You can go to that page by clicking on the image.
Built with
Getting started
This is the API documentation. The EtuUTT project documentation covers everything related to both the front and the back.
Read the project documentation first, and then refer to the following documentation for more specific informations about the API.
Prerequisites
To install the project on your machine, you just need to install WSL 2 if you are on Windows, install Docker and install Git.
Installation
- Make sure you followed all the steps listed in this part of the documentation.
- Clone the repo by opening a command prompt in the folder you want it to be.
git clone https://github.com/ungdev/etuutt-api
- Create a Docker network named
traefikto allow all components to communicate.docker network create traefik
- Tell Docker to download and setup everything for you. Run that command inside the
etuutt-apifolder that have just been created.docker compose -f docker-compose.yml -f docker-compose.dev.yml up
- Now that the server is running, we need to create the database and its schema.
- Open a terminal into the application's container.
docker container exec -it application /bin/bash- The database is already created by the Docker setup, we only have to create all tables and relations inside that database. To do so, run the following command inside the terminal of the container.
php bin/console doctrine:schema:update --force
- Optional : Fill the database with with fake data.
php bin/console doctrine:fixtures:load -n
Running the project
Now that everything is installed and ready to go, let the magic begin ✨
Run the following command into a command prompt inside the etuutt-api folder.
docker compose -f docker-compose.yml -f docker-compose.dev.yml upYou can now go to http://localhost/api to see the app !
Moreover, some app are running inside the development environment to help you doing magic with your computer 🎩🐇
| Service name | URL | Description |
|---|---|---|
| API | http://localhost/api | The API home page. You can read the functional documentation and try all endpoints. |
| Adminer | http://localhost/adminer | Adminer is a tool for managing content in databases : Seeing tables structures and content in a web app without writting SQL queries. Here are the credentials : System:SQL ; Server:database ; Username:etuutt ; Password:abcdef ; Databse:etuutt |
| Mailer | http://localhost/mailer | Mailer is a local SMTP server which catches any mail sent to it to display in a web interface. It allows our app to send test mails without spamming anyone. |
To stop the project, simply run that command into the etuutt-api folder.
docker compose -f docker-compose.yml -f docker-compose.dev.yml downFolder structure
./
├── .docker/                # Set of instructions used by Docker to install the project
├── .github/                # Files used to customize GitHub behavior
├── bin/                    # Executable files, called by CLI
|   ├── console             # The one we call to handle this Symfony project
|   └── phpunit             # The CLI to handle PHPUnit testing
├── config/                 # Configuration files for packages and services
├── docs/                   # Documentation files and images
├── migrations/             # DB migrations files, to version the DB without data loss
├── public/                 # All public files, includes the entry point
├── src/                    # The project's PHP source files
|   ├── Controller/         # Symfony controllers. It helps us to perform custom operations
|   ├── DataFixtures/       # Files that fill the DB with fake data to test
|   ├── DataProvider/       # Customized ways of retrieving data
|   ├── Doctrine/           # Doctrine custom tools (e.g. Listener)
|   ├── Entity/             # All Symfony entities
|   |   └── Traits/         # Properties and methods of entities factorized in PHP traits
|   ├── EventSubscriber/    # API Platform event listeners
|   ├── Filter/             # Filters on data applied by API Platform
|   ├── OpenApi/            # Swagger decorator for custom behavior
|   ├── Repository/         # Files to retrieve entities
|   ├── Security/           # Login process and Voters
|   └── Util/               # Static classes to centralize simple tasks
├── tests/                  # Automated tests (e.g. Unit tests)
├── var/                    # Generated files (cache, logs, etc)
├── vendor/                 # The third-party dependencies
├── .czrc                   # Git Commitizen configuration file
├── .dockerignore           # A Docker file to build image of the project
├── .env                    # Environment variables file. The content is accessible everywhere
├── .env.test               # Environment variables specific to the "test" environment
├── .gitignore              # The list of folders and files that will not be sent to GitHub
├── .php-cs-fixer.dist.php  # The set of rules and convention that PHP CS Fixer follows
├── .php-version            # Tells the Symfony CLI to use a specific version of PHP
├── .travis.yml             # Info and script for CI/CD
├── composer.json           # The list of dependencies and their versions
├── composer.lock           # The list of the dependencies's dependencies
├── docker-compose.dev.yml  # A Docker file to add development tools inside the container
├── docker-compose.prod.yml # A Docker file to add some prod specifications
├── Dockerfile              # A Docker file used only in prod to build the image
├── LICENSE.txt             # MIT license text
├── phpunit.xml.dist        # The configuration file of the PHP testing framework, PHPUnit
├── README.md               # This amazing documentation
├── rector.php              # The set of rules and convention that Rector use to refactor
└── symfony.lock            # A proper lock file for Symfony recipes
Usage
Make a request
The Swagger UI allows us to see endpoint documentation as well as sending request to test them, awesome 😍
Here is how to make a GET request via Swagger, but they all work the same.

In this example, we ask kindly to our API the list of all groups 😇
As you can see, there is a pagination system, that is why above the Execute button, we can see an input to specify the page number.
Dealing with other endpoints, you will have to fill a request body or more input parameters, to search for a specific entity for instance.
The magical part comes when we hit this Execute button. Swagger sends the HTTP request to our API using curl, a command line tool to send request. To help us, it shows the command line it processed. There it is :
curl -X 'GET' \
  'http://127.0.0.1:8000/groups?page=1' \
  -H 'accept: application/ld+json' \
  -H 'CAS-LOGIN: admin'
Then, we wait for a short time, and the response body is prompted.
The data we recieved comes with its metadata, this is the ld+json format.
Log a user
In some cases, some requests have to be sent by a specific user. To authenticate a user, type its CAS login in the Authorize section as shown in the following gif.
But first, some points to keep in mind 📝
- There is a user which CAS login is
adminthat has all the privileges. - Once the CAS login is filled in the authorize section, swagger will include a header containing this information in requests to the API.
- In production, this API is encapsulated in the gateway, so that users have to give their credentials to authenticate. More about gateway authentication in its documentation. Requests are sent to the gateway which forwards them to the API.

Useful commands
All following commands should be executed into the application's container. To do so :
docker exec -it application /bin/bashHere is a list of commands to interact with the database, entities, tests, php-cs-fixer, rector and composer.
- To update the database schema to match all entities without migrations.
php bin/console doctrine:schema:update --force
- To start the database seeding based on
DataFixtures.php bin/console doctrine:fixtures:load -n
- To create or update a Doctrine entity class, and optionally an API Platform resource.
php bin/console make:entity
- To run all tests written inside the
testsfolder.php bin/phpunit
- To call
php-cs-fixerto modify the PHP code of the project so that it follows the conventions described in the.php-cs-fixer.dist.phpfile.vendor/bin/php-cs-fixer fix
- To call
rectorto refactor the PHP code in bothsrcandtestsfolders so that it uses the latest PHP, Symfony and Doctrine features described in therector.phpfile.vendor/bin/rector --clear-cache
- To install all PHP dependencies.
composer install
- To update the current set of PHP dependencies.
composer update
Contributing
If this project sounds interesting to you, and if you are motivated to learn a lot of things meaningful for your internship, you can send us a mail at ung@utt.fr !
Or, if you just want to give us new ideas, you can simply open an issue with the label Feature request ✨, or Question 🙋♂️
Pssst... Don't forget to give the project a star 🤩
For those who are member of the team, there are the steps to add your changes to the dev branch.
- You will be added to the team, with admin access to the repo.
- Create your Feature Branch (
git checkout -b feature/AmazingFeature) - Write your code
- Let PHP-cs_fixer do its job (
vendor/bin/php-cs-fixer fix) - Commit your Changes using Commitizen (
cz) - Push to the Branch (
git push origin feature/AmazingFeature) - Open a Pull Request
License
Distributed under the MIT License. See LICENSE.txt for more information.
Contact
UTT Net Group - ung@utt.fr - UTT, Troyes, France
Project Link : https://github.com/ungdev/etuutt-api