-
The Decentralized Election System (DES) is a user-friendly website designed to conduct fair and online elections based on blockchain.
-
It allows the Registration of Voters, Political parties, and candidates for Indian elections. It will enable Candidate Registration according to the constituency, and Voters can vote anonymously during the election phase. Finally, after completing the election, we will compute and publicly display the results on our web App.
-
We utilize the fundamental concepts of blockchain, like immutability, security, transparency, to achieve our goals like counting votes correctly and conducting transparent and secure voting.
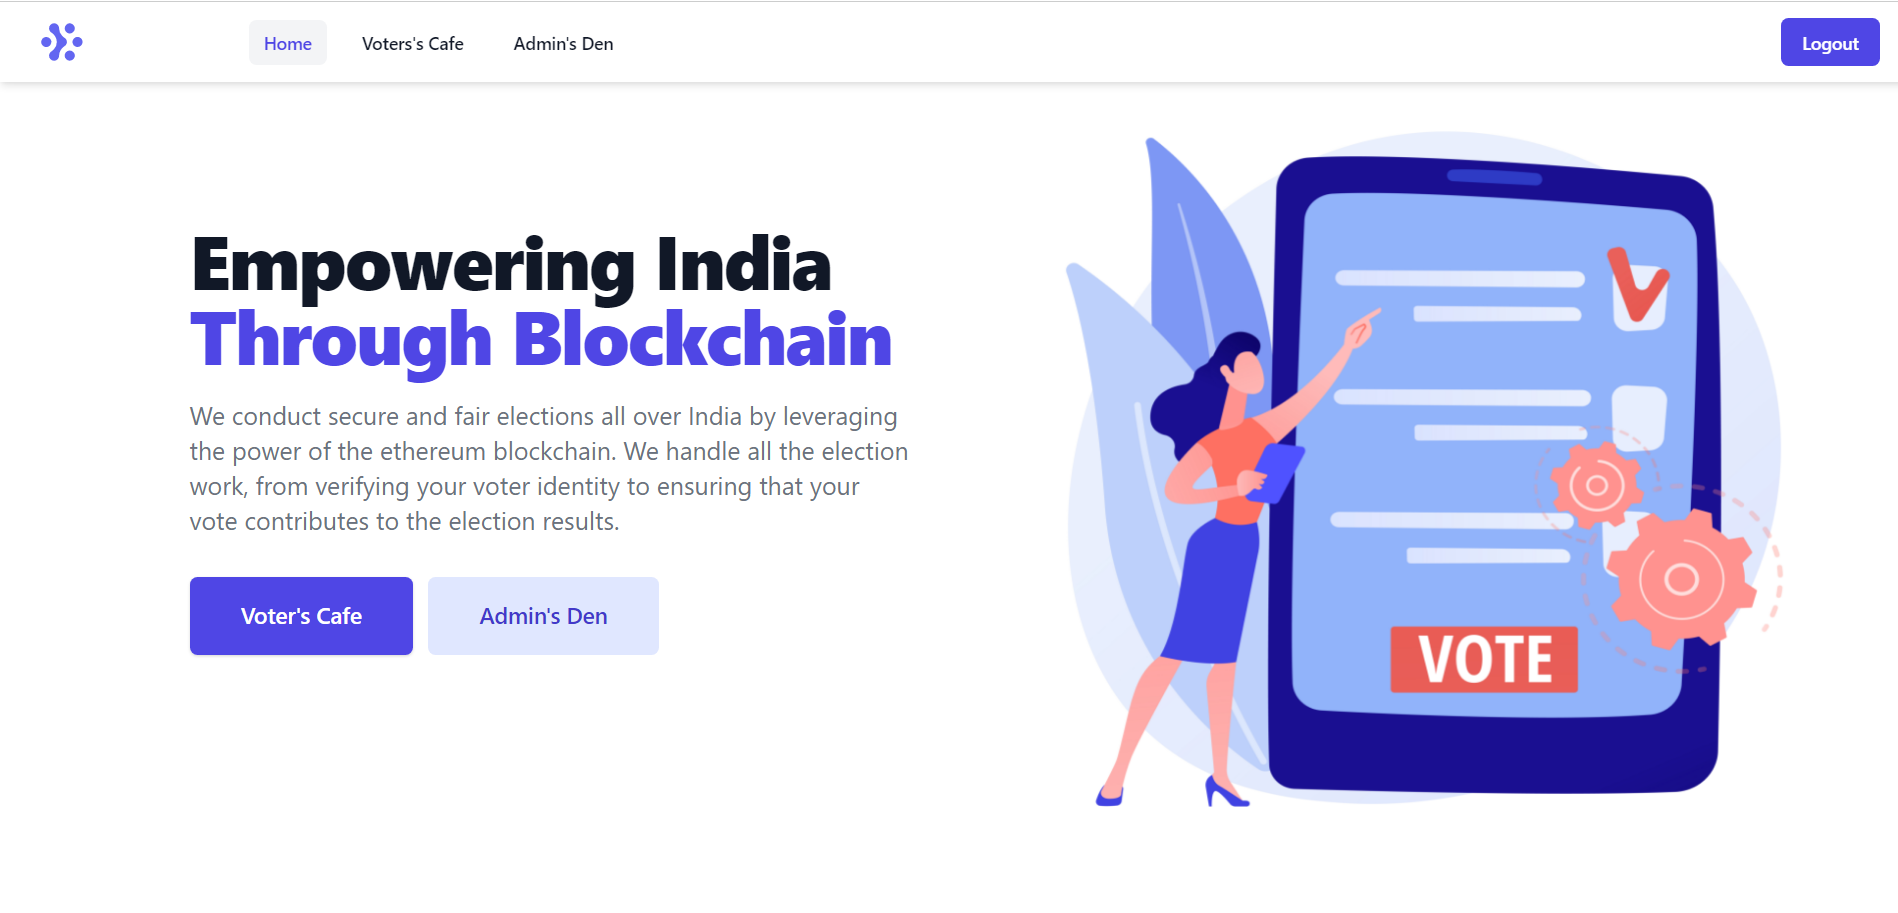
The main HomePage module is where the user lands after entering the hosted URL for the Decentralized Election System.
The top section of our web-app which has secured routes to navigate to voter and admin pages.
The Hero section has navigation buttons for the ease of our users. It also has the vision and a little introduction about our safe and secure election mission.
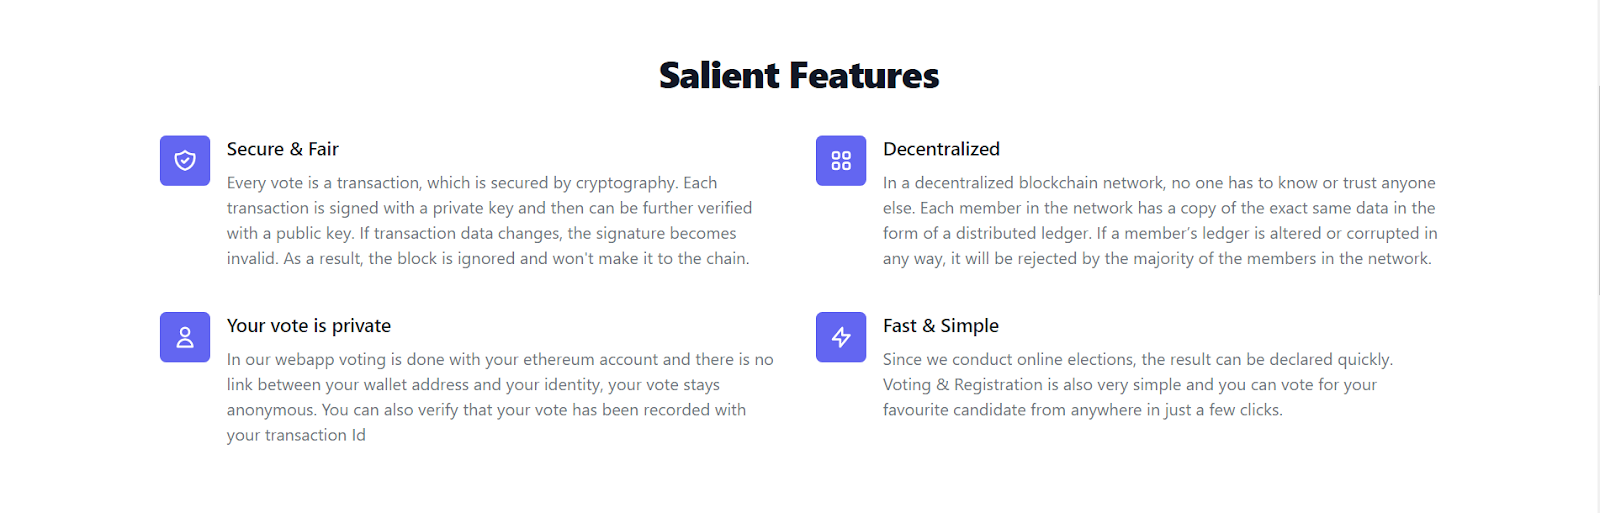
To gain the trust among Indian citizens, we have mentioned the salient features of the Decentralized Election System.
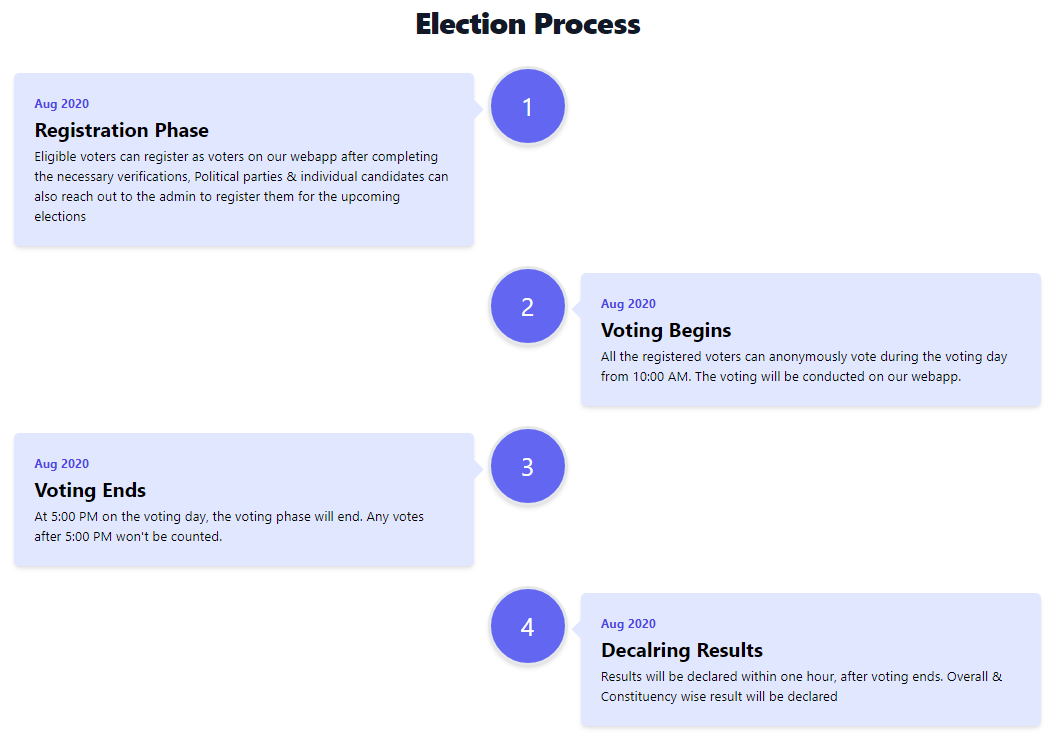
The complete start to the end of the election process is detailed in a timeline in this section.
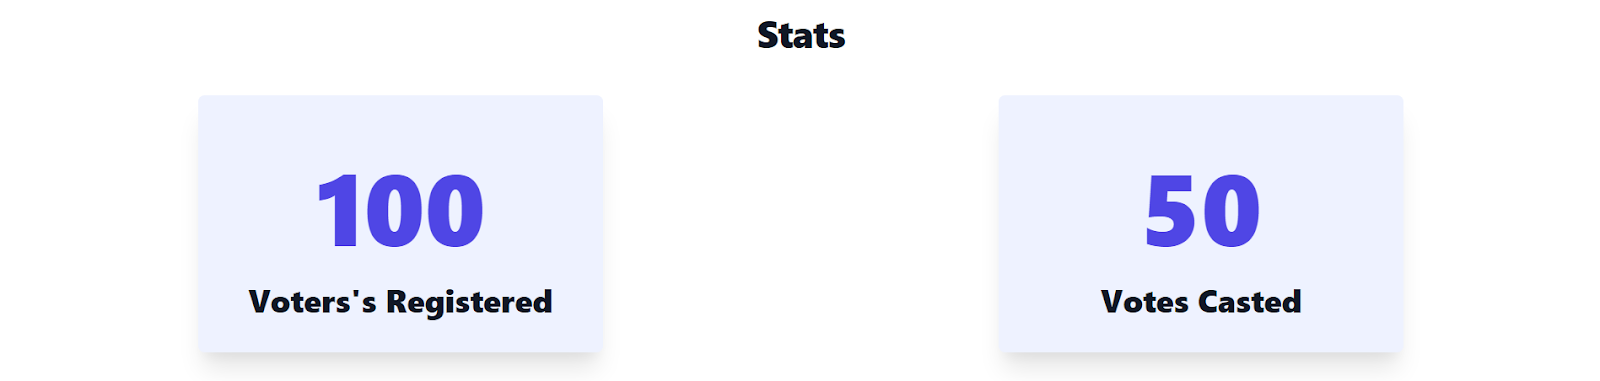
Statistics of Registered Voters and the votes cast can be found in this section of the landing page.
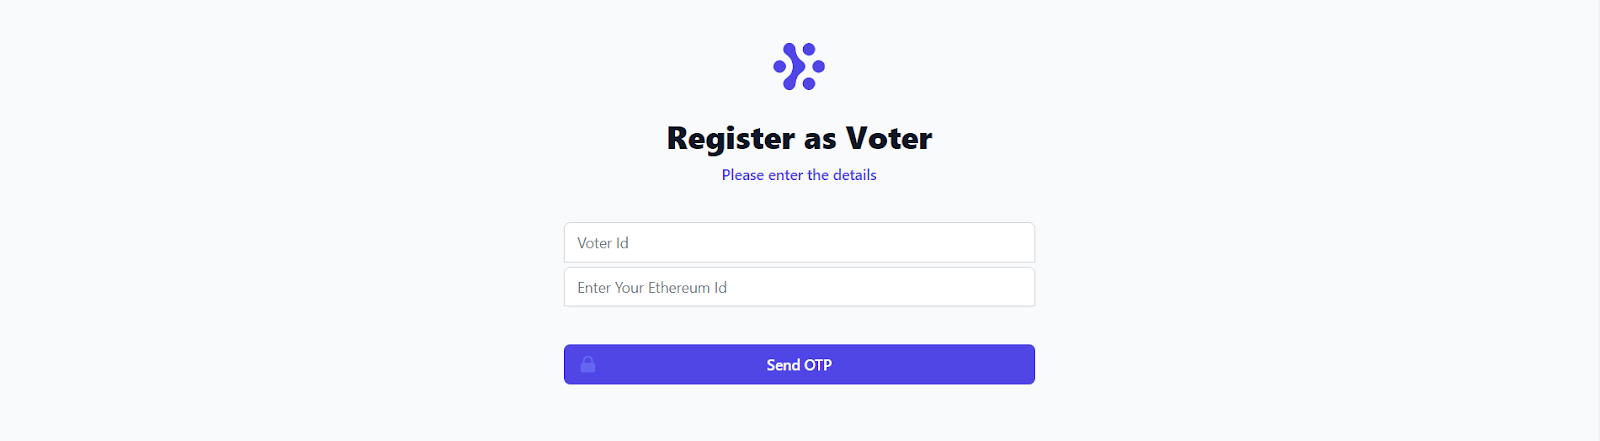
This module is for the voters, which depends on the current phase of the election system. The page is changed automatically.
The Metamask extension handles the signing of transactions to the blockchain.
First, the user is asked to enter their voter id and ethereum account address in the input boxes below. An OTP is sent to the voter’s registered mobile number.
Then the user is asked to enter their OTP in the input box.
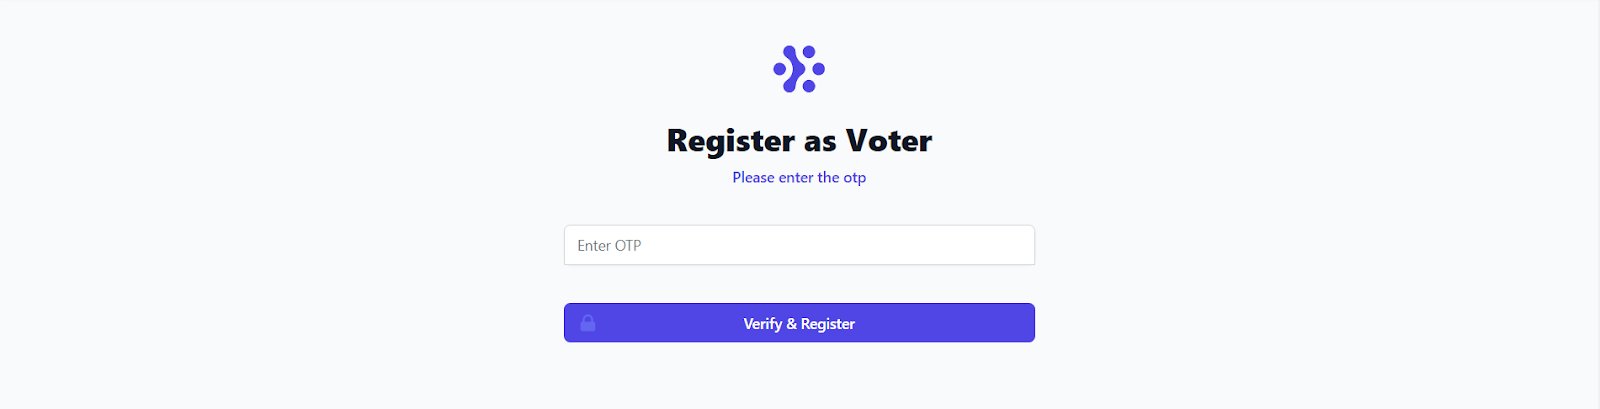
If the OTP were correct, the voter would be displayed a success message instead of an error message.

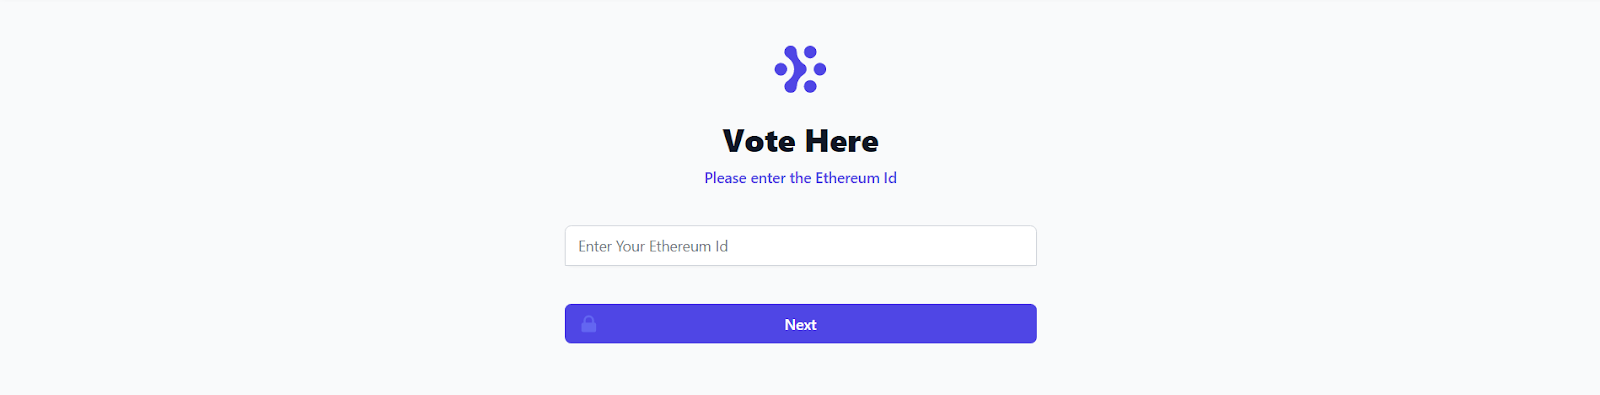
Initially, take Ethereum ID as input and show the candidates according to the district they belong in a list as shown in the above figure.
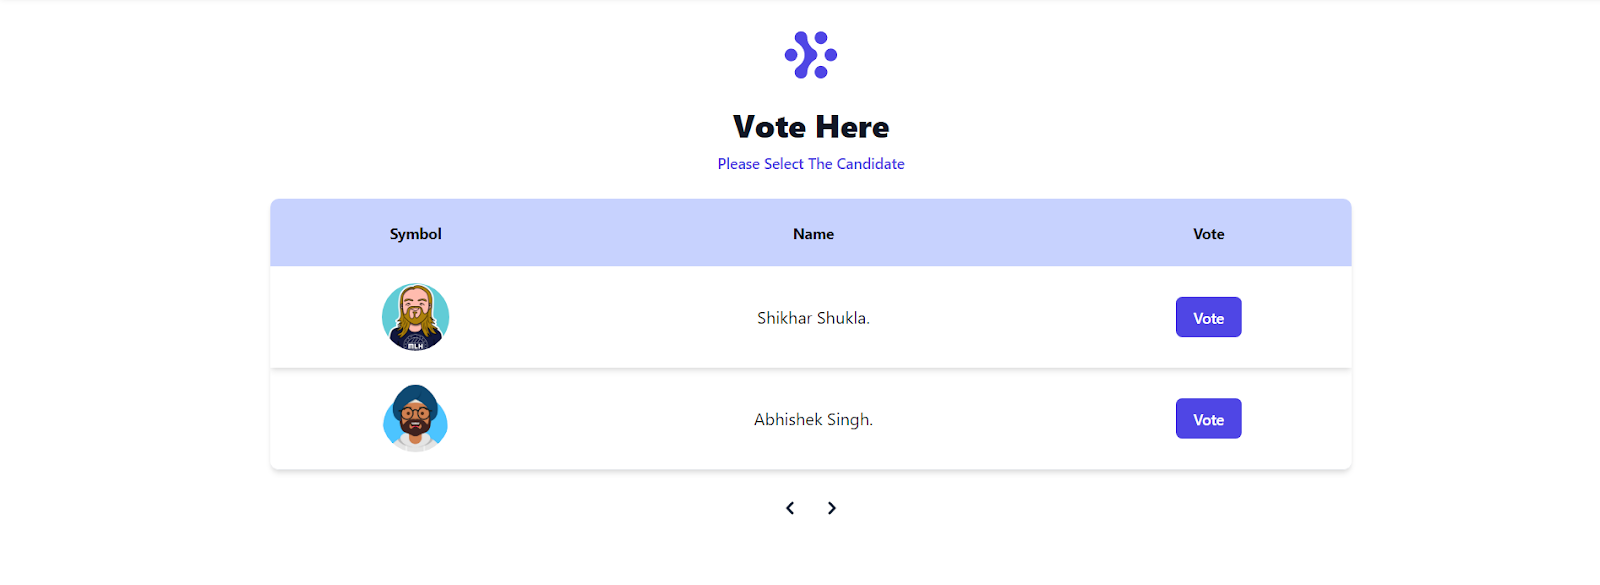
The voter can cast a vote to the candidate to his choices by clicking on the Vote button, the ethereum id is handled by the metamask, and an appropriate message is displayed to the voter.

After the declaration of results, the results will be displayed on the Voter’s Cafe Page.
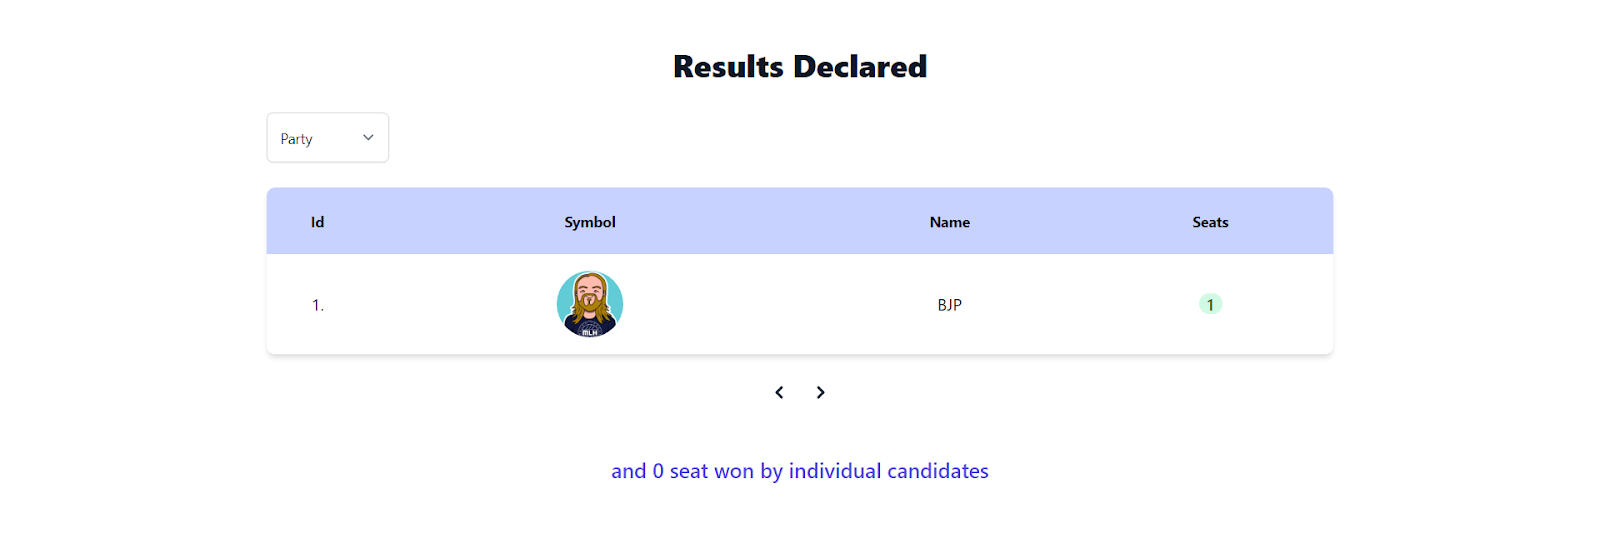
The leaderboard for the party-wise (overall) results will look as shown below. The results are sorted in decreasing order of seats. We will also show the seats won by individual candidates in a line below the leaderboard.
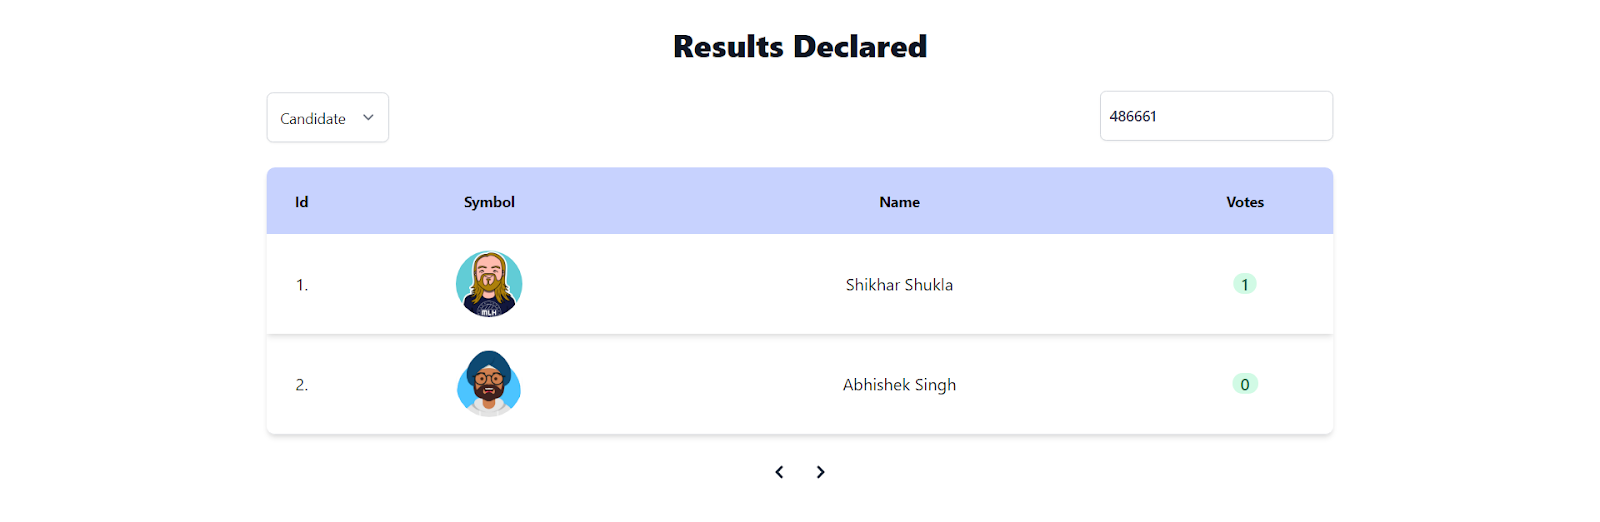
The leaderboard for the candidate-wise (constituency) results will look as shown below. The user needs to enter the pin code for the constituency to get its result. The results are sorted in decreasing order of votes.
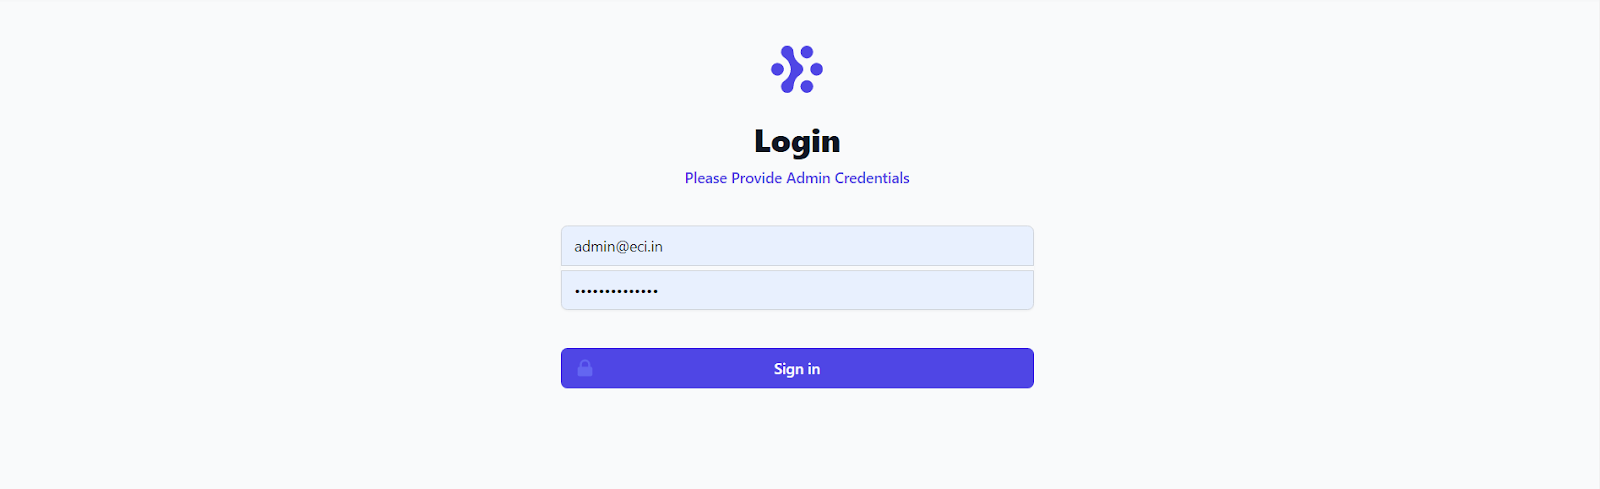
In this module admin is prompted to provide his Email Id and Password credentials to get access to the Admin Dashboard.
This module is denoted as Admin’s Den. After the admin login, he gets on the dashboard view.
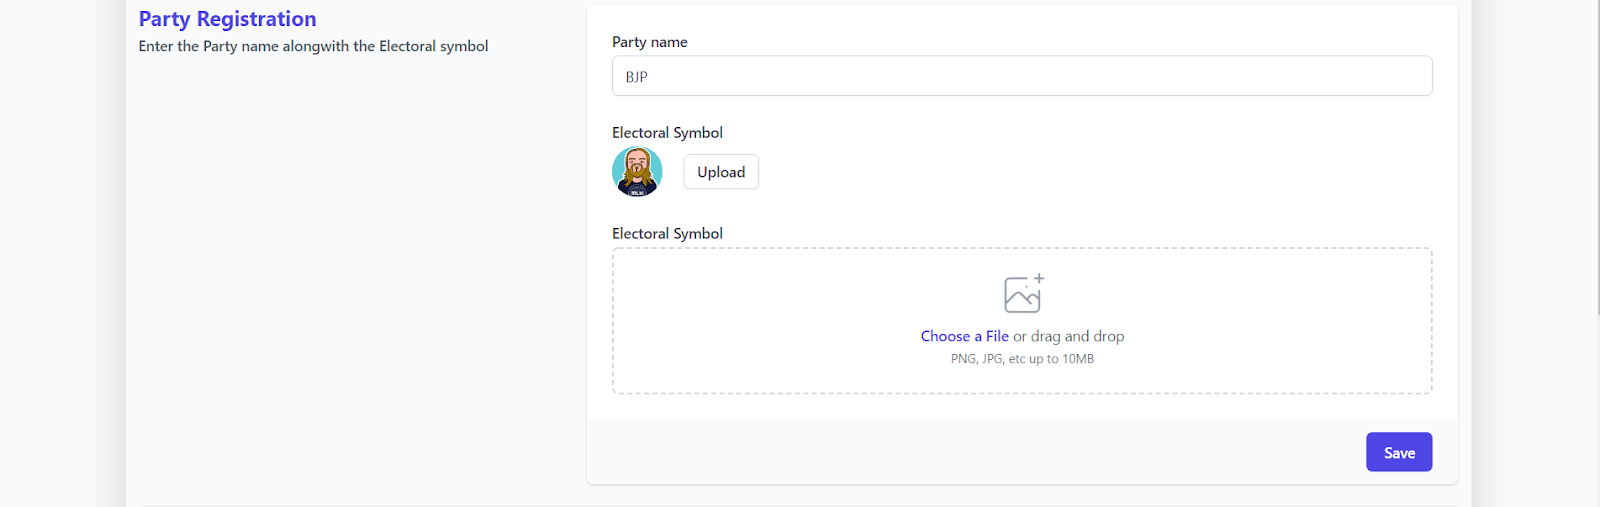
Form input is taken for the Party name and its electoral symbol. This electoral symbol image is uploaded to the Cloudinary API.
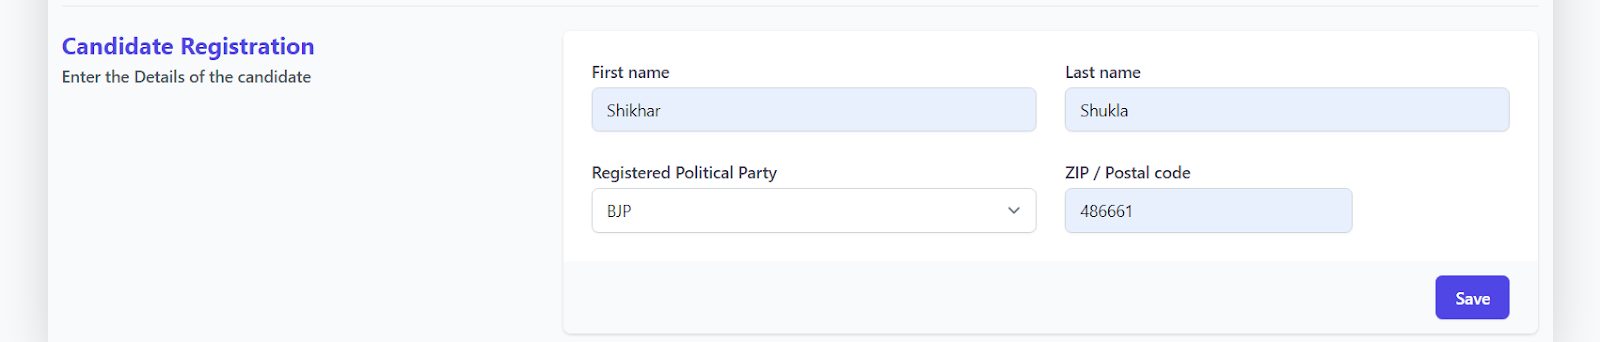
Form input is taken for the Candidate's name and the constituency he is standing from in the election. The candidate also chooses his party from a dropdown, and if he does not belong to any party, he selects his electoral symbol.
This button changes the election phase from Voter Registration to Voting Period.

This button declares the election result to be viewed on the web app. It is functional only after the set time interval for the voting period ends automatically.
All image are original and stored here
- Download Nodejs & yarn package manager
- Install Truffle
- Go to the outermost folder and install the dependencies
yarn install
- Go to the client folder and install the dependencies
yarn install
- Sample env for outermost directory
PRIVATE_KEY =
PROD_BLOCKCHAIN_URL =
ADDRESS =
MNEMONIC =
PORT = 5000
DB_URI =
STATS_DOC_ID =
JWT_SECRET =
COOKIE_SECRET =
NODE_ENV = development
SERVICE_ID =
ACCOUNT_SID =
AUTH_TOKEN =

BLOCKCHAIN_URL = http://127.0.0.1:8545
FRONTEND_URL = http://localhost:3000
API_URL = http://localhost:5000

ADMIN_EMAIL =
ADMIN_PASSWORD =
- Sample env for client directory
REACT_APP_API_URL = http://localhost:5000
REACT_APP_BLOCKCHAIN_URL = http://127.0.0.1:8545
- open ganache, if you want you may create & save a workspace
$ truffle console --network ganache
$ truffle develop
- If you need backend
$ yarn backend
- If you need frontend
$ yarn frontend
- If you need both
$ yarn dev
- If you have changed the smart contract then update artifacts using
truffle deploy --reset
- Publishing the smart contract on the ropsten test network
truffle deploy --reset --network=ropsten