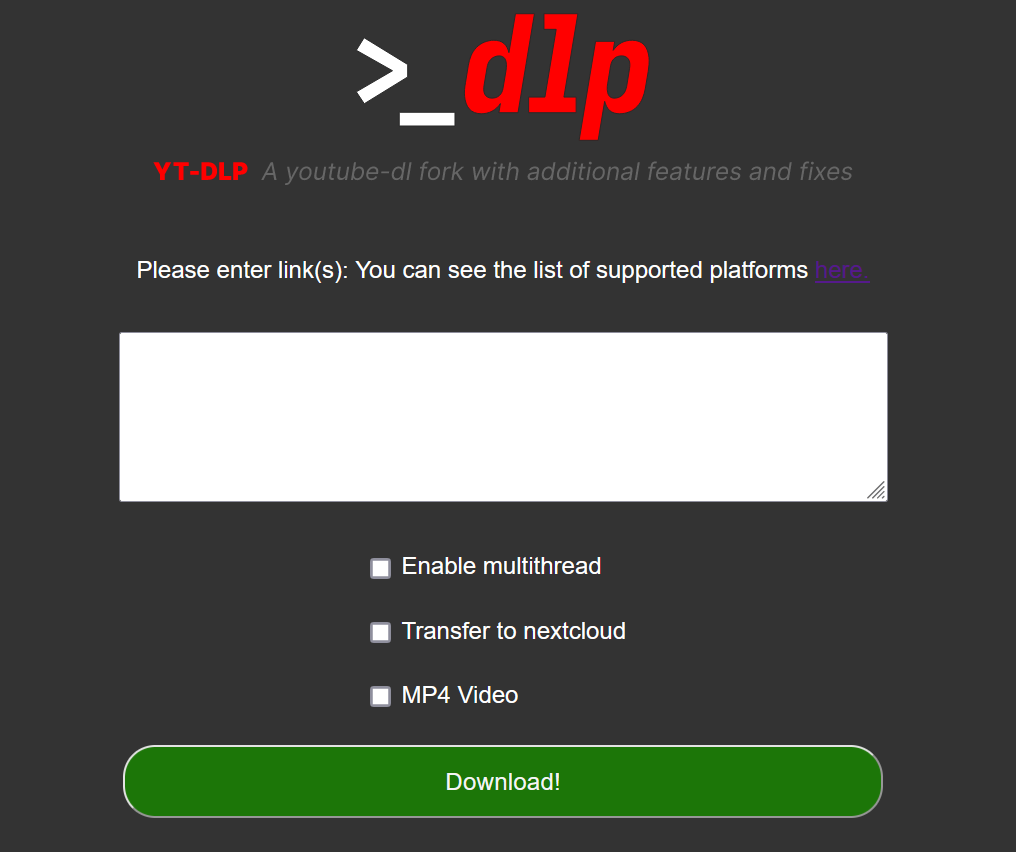
A simple web interface for yt-dlp, with extra compatibility for Nextcloud file system and Nextcloud Music app.
- All video sources within the official list are supported.
- Mass download videos and convert to either mp3 or mp4 format at the best quality possible.
- Select resolution for single videos.
- Transfer music to your local nextcloud instance and update all the required databases automatically.
Multi-threading supportTemporarily not available, currently under development. Previous implementation had issue when processing big files.- Easy deployment with docker.
Set to your preferred port. Default port is 6030.
Environment variables. They are pretty self-explanatory.
TZ: Sets your timezone, using the corresponding TZ identifier from this list.OCC_PATH: Your path to the nextcloud occ scriptNC_USER: Your nextcloud userNC_MUSIC_DIRECTORY: Your nextcloud music directory path, as shown to your nextcloud instanceFLASK_SECRET_KEY: A secret key for flask. Required for various security reasons. You must change thatREDIS_HOST: Hostname or IP Address for redis. It's not required to change that for most cases, keep the value of docker-compose file.REDIS_PASSWORD: Password for redis database. You must change that too.REDIS_PORT: Port for redis. No need to change that, just likeREDIS_HOST.
This project requires 2 volumes;
- Volume for your nextcloud music folder. This time use the ENTIRE path, not the one shown on your nextcloud instance
- /path/to/your/nextcloud/music/folder:/ytdlpFolder/Library- Volume for configuration and all necessary files. They're needed for transferring to nextcloud. See the next section for more.
- /dockerData/ytdlpweb/config:/configThis is the kinda tricky part, but rewarding. It may get automatized on future releases. The steps are as such:
- Go to the config folder and create a FIFO file aka pipe, named mypipe (use name AS IS). Provide root priviledges if needed. This pipe will be the communication between the container and the host system.
$ cd /dockerData/ytdlpweb/config
$ mkfifo mypipe- Create a script that forever reads the pipe and make it executable. For extra security, create it as root.
$ nano pipescript.sh
#!/bin/sh
while true; do eval "$(cat /dockerData/ytdlpweb/config/mypipe)"; done
$ chmod +x pipescript.sh- Add the script to root's crontab so it starts on startup
$ sudo crontab -e
@reboot /dockerData/ytdlpweb/config/pipescript.sh
Aaaaand that's it!
- Clone this repository
$ git clone https://github.com/thetonk/web-dlp.git- Build docker image. Provide root priviledges if required
$ docker build -t ytdlpweb .- Deploy the previously created image using the properly configured docker-compose.yml file
$ docker compose up -d


