Ananke, A theme for Hugo, a framework for building websites.
The intent of this theme is to provide a solid starting place for Hugo sites with basic features and include best practices for performance, accessibility, and rapid development.
Features
- Responsive
- Accessible
- Contact form
- Custom Robots.txt (changes values based on environment)
- Internal templates for meta data, google analytics, and DISQUS or COMMENTO comments
- RSS Discovery
- Table of Contents (must declare
toc: truein post parameter) - Stackbit configuration (Stackbit)
Also includes examples of Hugo Features or Functions:
- Pagination (internal template)
- Taxonomies
- Archetypes
- Custom shortcode
- Related content
- Hugo built-in menu
- i18n
withHUGO_ENVfirstaftersort- Site LanguageCode
where- Content Views
- Partials
- Template layouts (type "post" uses a special list template, single template, and a content view)
- Tags
len- Conditionals
ge(greater than or equal to).Site.Params.mainSectionsto avoid hard-coding "blog," etc. [release note]
This theme uses the "Tachyons" CSS library. This will allow you to manipulate the design of the theme by changing class names in HTML without touching the original CSS files. For more information see the Tachyons website.
⚠️ If you installed a Hugo binary, you may not have Go installed on your machine. To check if Go is installed:$ go versionGo modules were considered production ready in v1.14. Download Go.
-
From your project's root directory, initiate the hugo module system if you haven't already:
$ hugo mod init github.com/<your_user>/<your_project> -
Add the theme's repo to your
config.toml:theme = ["github.com/theNewDynamic/gohugo-theme-ananke"]
Inside the folder of your Hugo site run:
$ git submodule add https://github.com/theNewDynamic/gohugo-theme-ananke.git themes/ananke
For more information read the official setup guide of Hugo.
After installing the theme successfully it requires a just a few more steps to get your site running.
Take a look inside the exampleSite folder of this theme. You'll find a file called config.toml. To use it, copy the config.toml in the root folder of your Hugo site. Feel free to change the strings in this theme.
You may need to delete the line: themesDir = "../.."
To enable comments, add following to your config file:
-
DISQUS:
[services.disqus]
  shortname = 'YOURSHORTNAME'
-
COMMENTO:
[params]
  commentoEnable = true
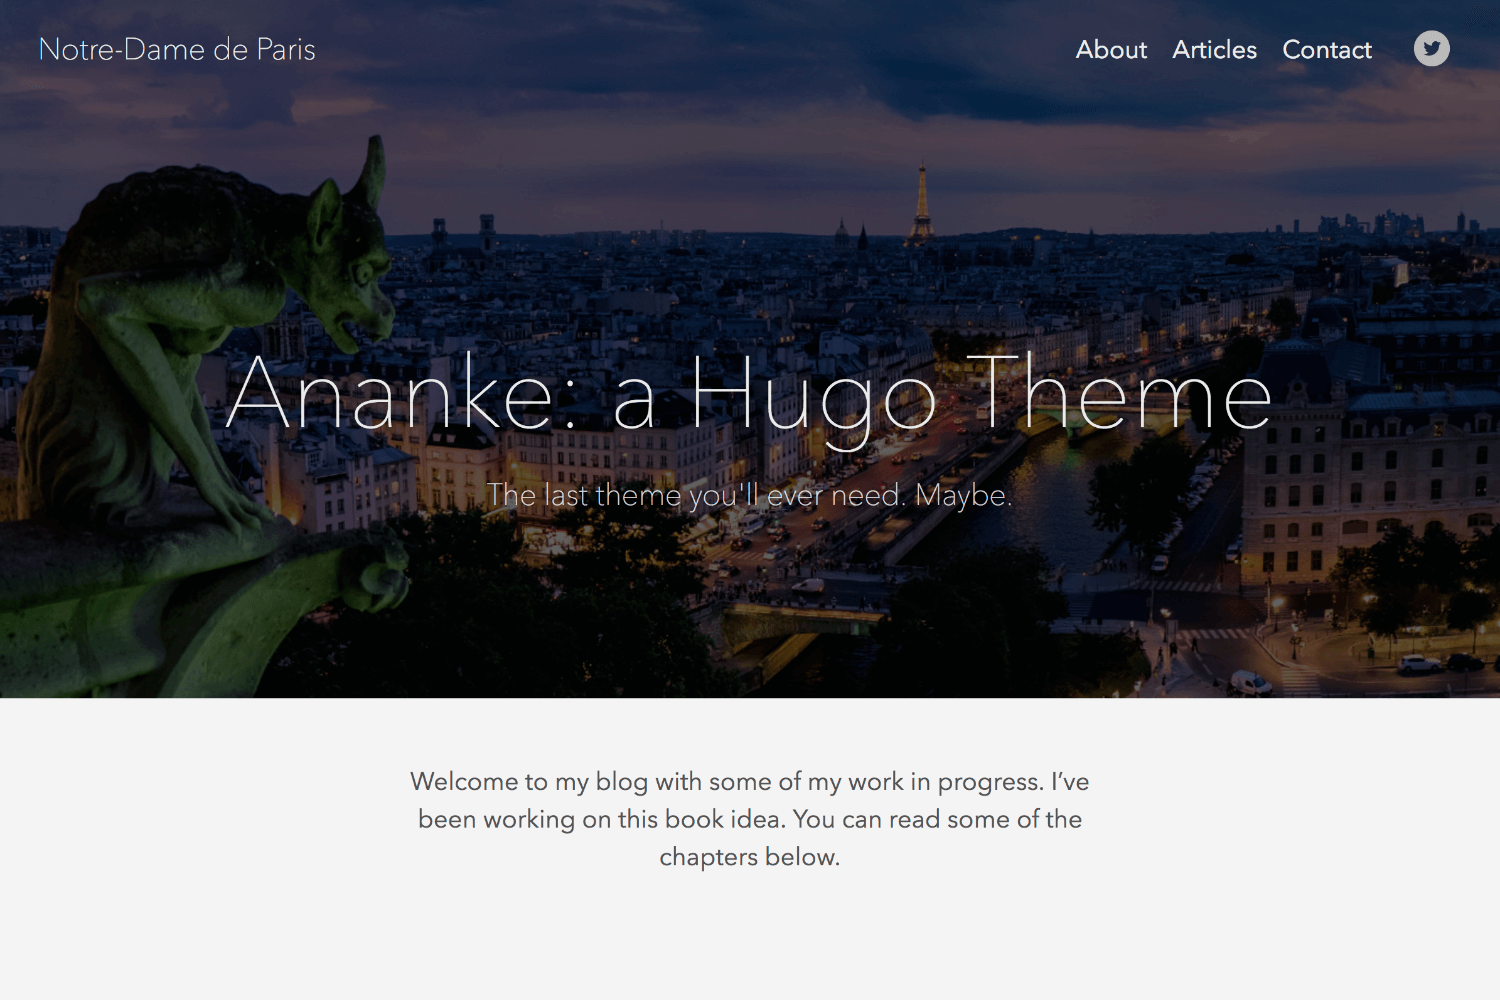
For any page or post you can add a featured image by including the local path in front matter (see content in the exampleSite/content/_readme.md file for examples): featured_image: '/images/gohugo-default-sample-hero-image.jpg'
If user is using Page Resources, the theme will try and match the featured_image from with a page resource of type image and use its relative permalink. If no featured_image is set, the theme will look for a Page Resource of type image whose filepath incudes either cover or feature
If you would like to hide the header text on the featured image on a page, set omit_header_text to true. See exampleSite/content/contact.md for an example.
You don't need an image though. The default background color is black, but you can change the color, by changing the default color class in the config.toml file. Choose a background color from any on the Tachyons library site, and preface it with "bg-"
example: background_color_class = "bg-blue" or background_color_class = "bg-gray"
This theme includes a shortcode for a contact form that you can add to any page (there is an example on the contact page in the exampleSite folder). One option is to use formspree.io as proxy to send the actual email. Each month, visitors can send you up to one thousand emails without incurring extra charges. Visit the Formspree site to get the "action" link and add it to your shortcode like this:
{{< form-contact action="https://formspree.io/your@email.com" >}}
The homepage and other areas of the site use a read more link on the element. You can customize the copy of this link to make it more descriptive with the parameter read_more_copy available as a site and front matter parameter.
# config.yaml
# Globally for all pages:
params:
  read_more_copy: Read more about this entry
# Just for french
languages:
  fr:
    name: Français
    weight: 2
    params:
       read_more_copy: En savoir plus à ce sujet
Using front matter and cascade, this can be customized for a whole section, or just for one page.
# content/posts/tower-bridge-london.md
  title: The Tower Bridge of London
  read_more_copy: Read more about this bridge
The theme automatically adds "Follow" link icons to the header and footer and "Share" link icons to pages unless disable_share parameter is set to true either on the site level (site params) or page level (front matter). Each built-in services sports a label, an icon and a color.
In order to register a service to be used, user must add an ananke_socials parameter to its project configuration file and list them through it in the desired order. Each entry must bear a
- name*: It matches the built-in service reference (Ex: twitter, github)
- url*: The url of the handle's profile on the service (Ex: https://twitter.com/theNewDynamic, https://github.com/ theNewDynamic)
- rel: (default:
noopener) Controls therelattribute of the "follow" link. Useful for Mastodon verification which requires arel="me"on the link.
params:
  ananke_socials:
  - name: twitter
    url: https://twitter.com/theNewDynamic
  - name: github
    url: https://github.com/theNewDynamic
  - name: mastodon
    url: https://social.example.com/@username
    rel: me noopener
If user needs to overwrite default color and label of the service, they simply need to append the following to the entry:
- label: The displayed name of the service to be used to popuplate
[title]attributes and read-only. (Ex: Twitter, GitHub) - color: Used for styling purposes. (Ex: '#1da1f2', '#6cc644')
params:
  ananke_socials:
  - name: twitter
    url: https://twitter.com/theNewDynamic
    label: TND Twitter
  - name: github
    url: https://github.com/theNewDynamic
    label: TND GitHub Account
color: '#ff6800'If a user needs to control Share and Follow of a service, for example enabling "Share on Facebook" without having a Facebook Page to "follow", they can set follow: false one the registered service.
params:
  ananke_socials:
  - name: facebook
    label: Facebook
    follow: false
  - name: twitter
    url: https://twitter.com/theNewDynamic
label: TND TwitterOn top of easily customizing the built-in services' label and color, user can overwrite their icon by adding an svg file at /assets/ananke/socials with a filename matching the service's name.
For example, in order to use your own GitHub icon, simply add an svg file at /assets/ananke/socials/github.svg
Here is the list of built-in services. Those marked with an * are also part of the "Share" module.
- twitter*
- youtube
- github
- gitlab
- keybase
- linkedin*
- medium
- mastodon
- slack
- stackoverflow
- facebook*
- rss
In order to add an unkown service (absent from the list above), you simply need to add all three settings to ananke_socials: name, url, label, color, and optionally add an icon file matching the name to the assets/ananke/socials directory. In the absence of an icon, the theme will print the service's label.
If the theme is ran in production, pages will be indexed by search engines. To prevent indexing on some given pages, add private: true to its Front Matter.
The theme is set, by default, to use a near-white background color and the "Avenir" or serif typeface. You can change these in your config file with the body_classes parameter, like this:
[params]
  body_classes = "avenir bg-near-white"
which will give you a body class like this:
<body class="avenir bg-near-white">
note: The body_classes parameter will not change the font used in post content. To do this, you must use the post_content_classes parameter.
You can find a list of available typefaces here.
And a list of background colors here.
n.b. in future versions we will likely separate the typeface and other body classes.
Ananke stylesheet is built with Hugo Pipes's Asset Bundling alone to maximize compatibiliy. The theme simply bundles its several files into one minified and fingerprinted (in production) CSS file.
Ananke uses Tachyon.io utility class library.
WARNING: Pending resolution of this discussion, Custom CSS only works with Hugo Extended
In order to complement the default CSS with your own, you can add custom css files to the project.
- Just add a
assets/ananke/cssdirectory to your project and add the file(s) in it. - Register the files using the
custom_csskey in your site's parameter. The path referenced in the parameter should be relative to theassets/ananke/cssfolder.
The css files will be added in their registered order to final main.css file.
For example, if your css files are assets/ananke/css/custom.css and assets/ananke/special.css then add the following to the config file:
  [params]
    custom_css = ["custom.css","special.css"]
IMPORTANT: Files registered through the custom_css array, while unlimited in number, must be of the same type (Ex: all scss or all css)
Note on retrocompatibiliy for custom css: If the files registered through the custom_css setting are not found in assets/ananke/css the theme will expect them to live at the given path relative to the static directory and load them as requests.
If you add a key of show_reading_time true to either the Config Params, a page or section's front matter, articles will show the reading time and word count.
Some scripts need to be added within the page head. To add your own scripts to the page head, simply insert them into the head-additions.html partial located in the layouts/partials folder.
You can replace the title of your site in the top left corner of each page with your own logo. To do that put your own logo into the static directory of your website, and add the site_logo parameter to the site params in your config file. For example:
[params]
  site_logo = "img/logo.svg"
You can set the font color of the main content both globally and on individual pages:
Globally:
Set the text_color param in the config.toml file.
[params]
  text_color = "green"
Individual Page (prioritized over global):
Set the text_color param in a page's markdown file front matter.
note: The value of text_color must be a valid tachyons color class. A list can be found here.
Dates of blog posts and single pages are rendered with the default date format commonly used in the USA and Canada. It is possible to specify a different format.
[params]
  date_format = "2. January 2006"
With hugo 0.87.0 and above, you can also use predefined layout, like :date_full, and it will output localized dates or times.
See hugo's documentation of the time.Format function for more details.
When you want to publish content that is already published on a different site. You need to reference a canonical url of the original content.
By defining the canonicalUrl in the front matter definition the canonical url is set in the headers.
canonicalUrl: https://mydomain.com/path-to-the-oringinal-content/
In order to see your site in action, run Hugo's built-in local server.
$ hugo server
Now enter localhost:1313 in the address bar of your browser.
To run in production (e.g. to have Google Analytics show up), run HUGO_ENV=production before your build command. For example:
HUGO_ENV=production hugo
Note: The above command will not work on Windows. If you are running a Windows OS, use the below command:
set HUGO_ENV=production
hugo
If you find a bug or have an idea for a feature, feel free to use the issue tracker to let me know.
TODO:
- fix hard-coded link to section