For review by Henry Meds.
This is a simple Flutter application that manages and displays available time slots for various service providers. It allows users to view the schedules of different providers and book available time slots. The application uses a Provider-based state management approach, ensuring efficient and reactive updates to the user interface.
The application is built using Flutter, a popular open-source UI software development kit from Google. It uses Dart as the programming language.
The application uses the Provider package for state management. This package allows efficient propagation of changes across the widget tree, ensuring that only widgets that depend on a particular piece of state are rebuilt when that state changes.
In this application, each service provider has a schedule, represented as a list of TimeSlot objects. Each TimeSlot has a start and end time. The ProviderModel class encapsulates the data and operations for a service provider.
The MasterSchedule class is a ChangeNotifier, which means it can notify listeners when its state changes. It holds the schedule for all providers. When a time slot is booked, it updates its state and notifies any listening widgets to rebuild.
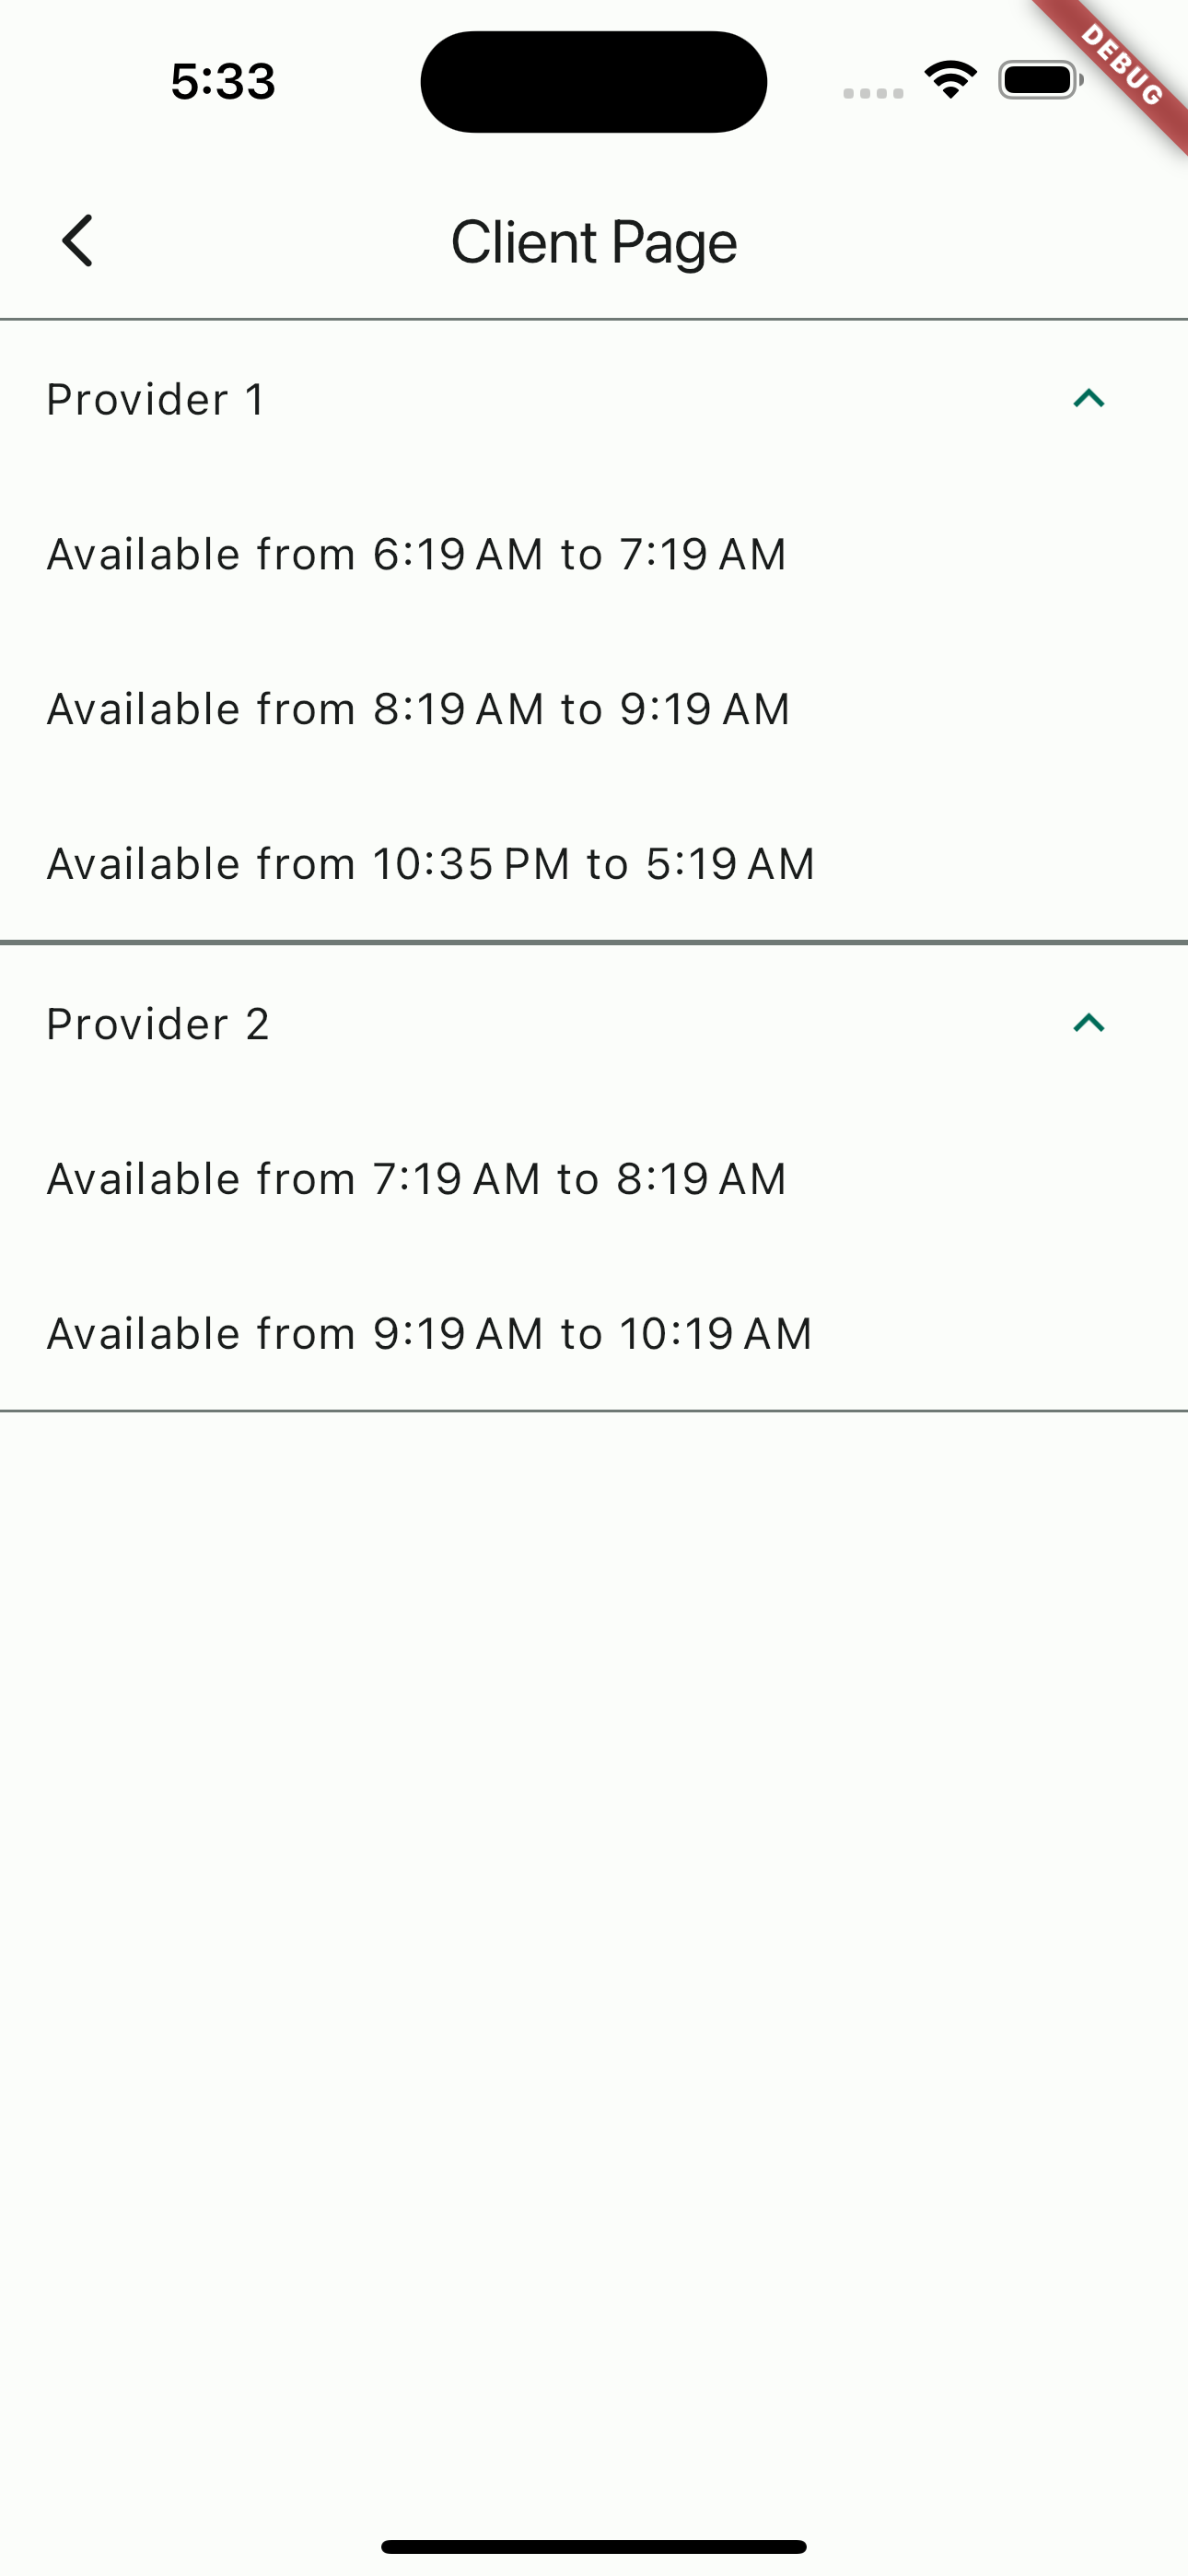
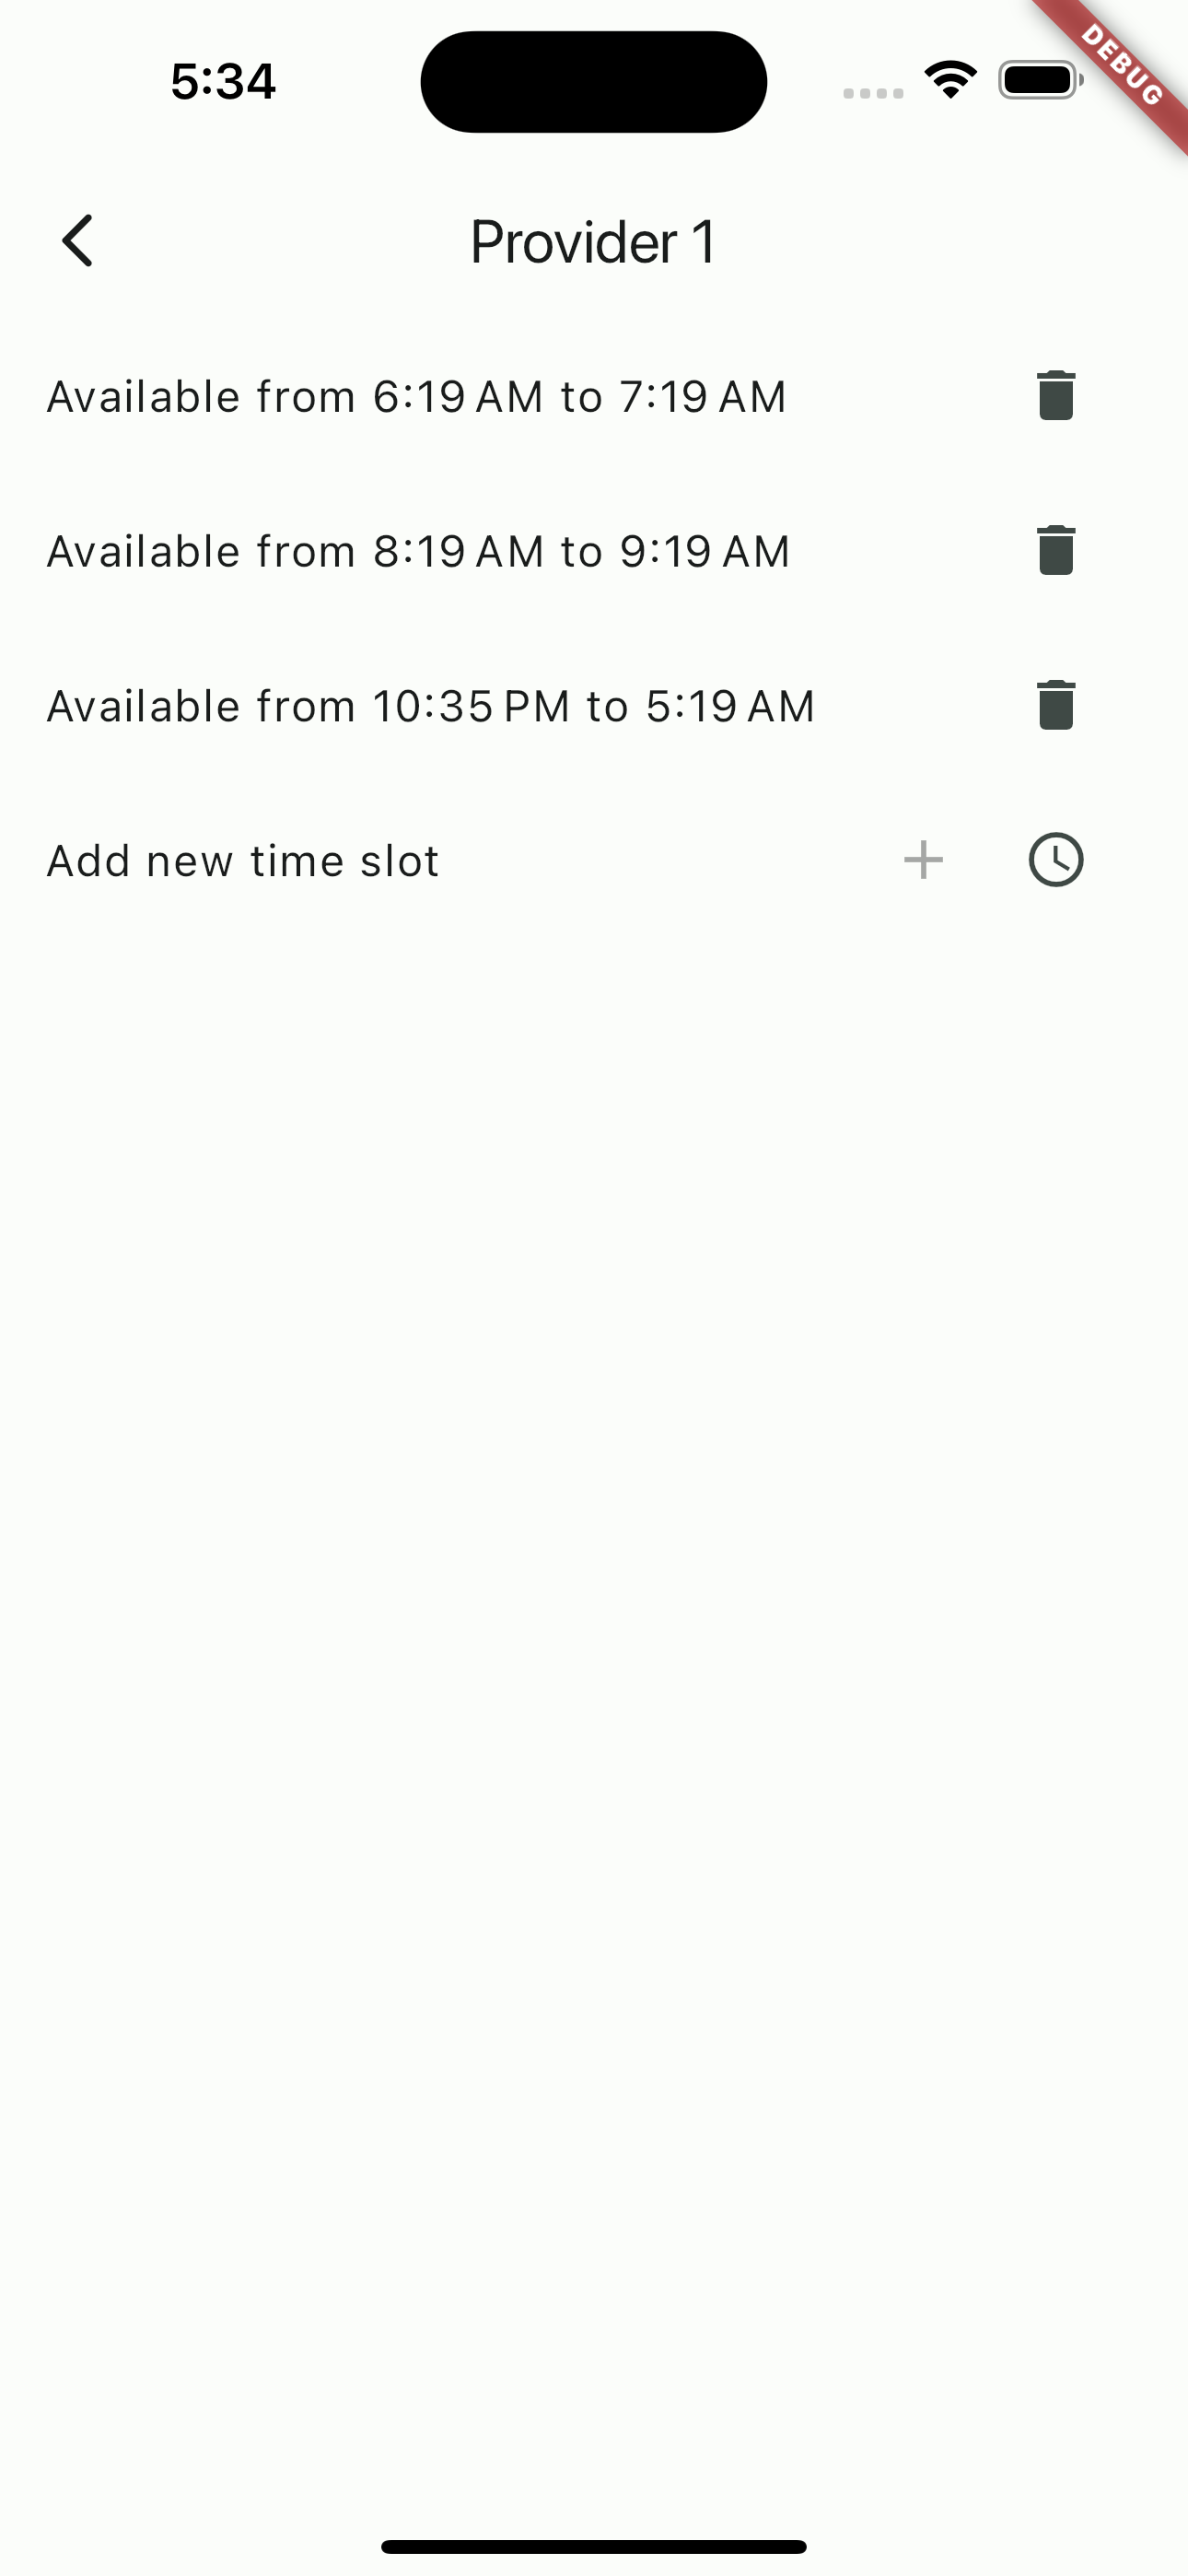
The ProviderPage widget displays the available time slots for a given provider. It listens to changes in the MasterSchedule and rebuilds whenever the schedule changes.
When the ProviderPage is first built, it registers itself as a listener of the MasterSchedule. Then, it builds a list of widgets representing the available time slots. Each time slot is displayed as a text widget showing the start and end times.
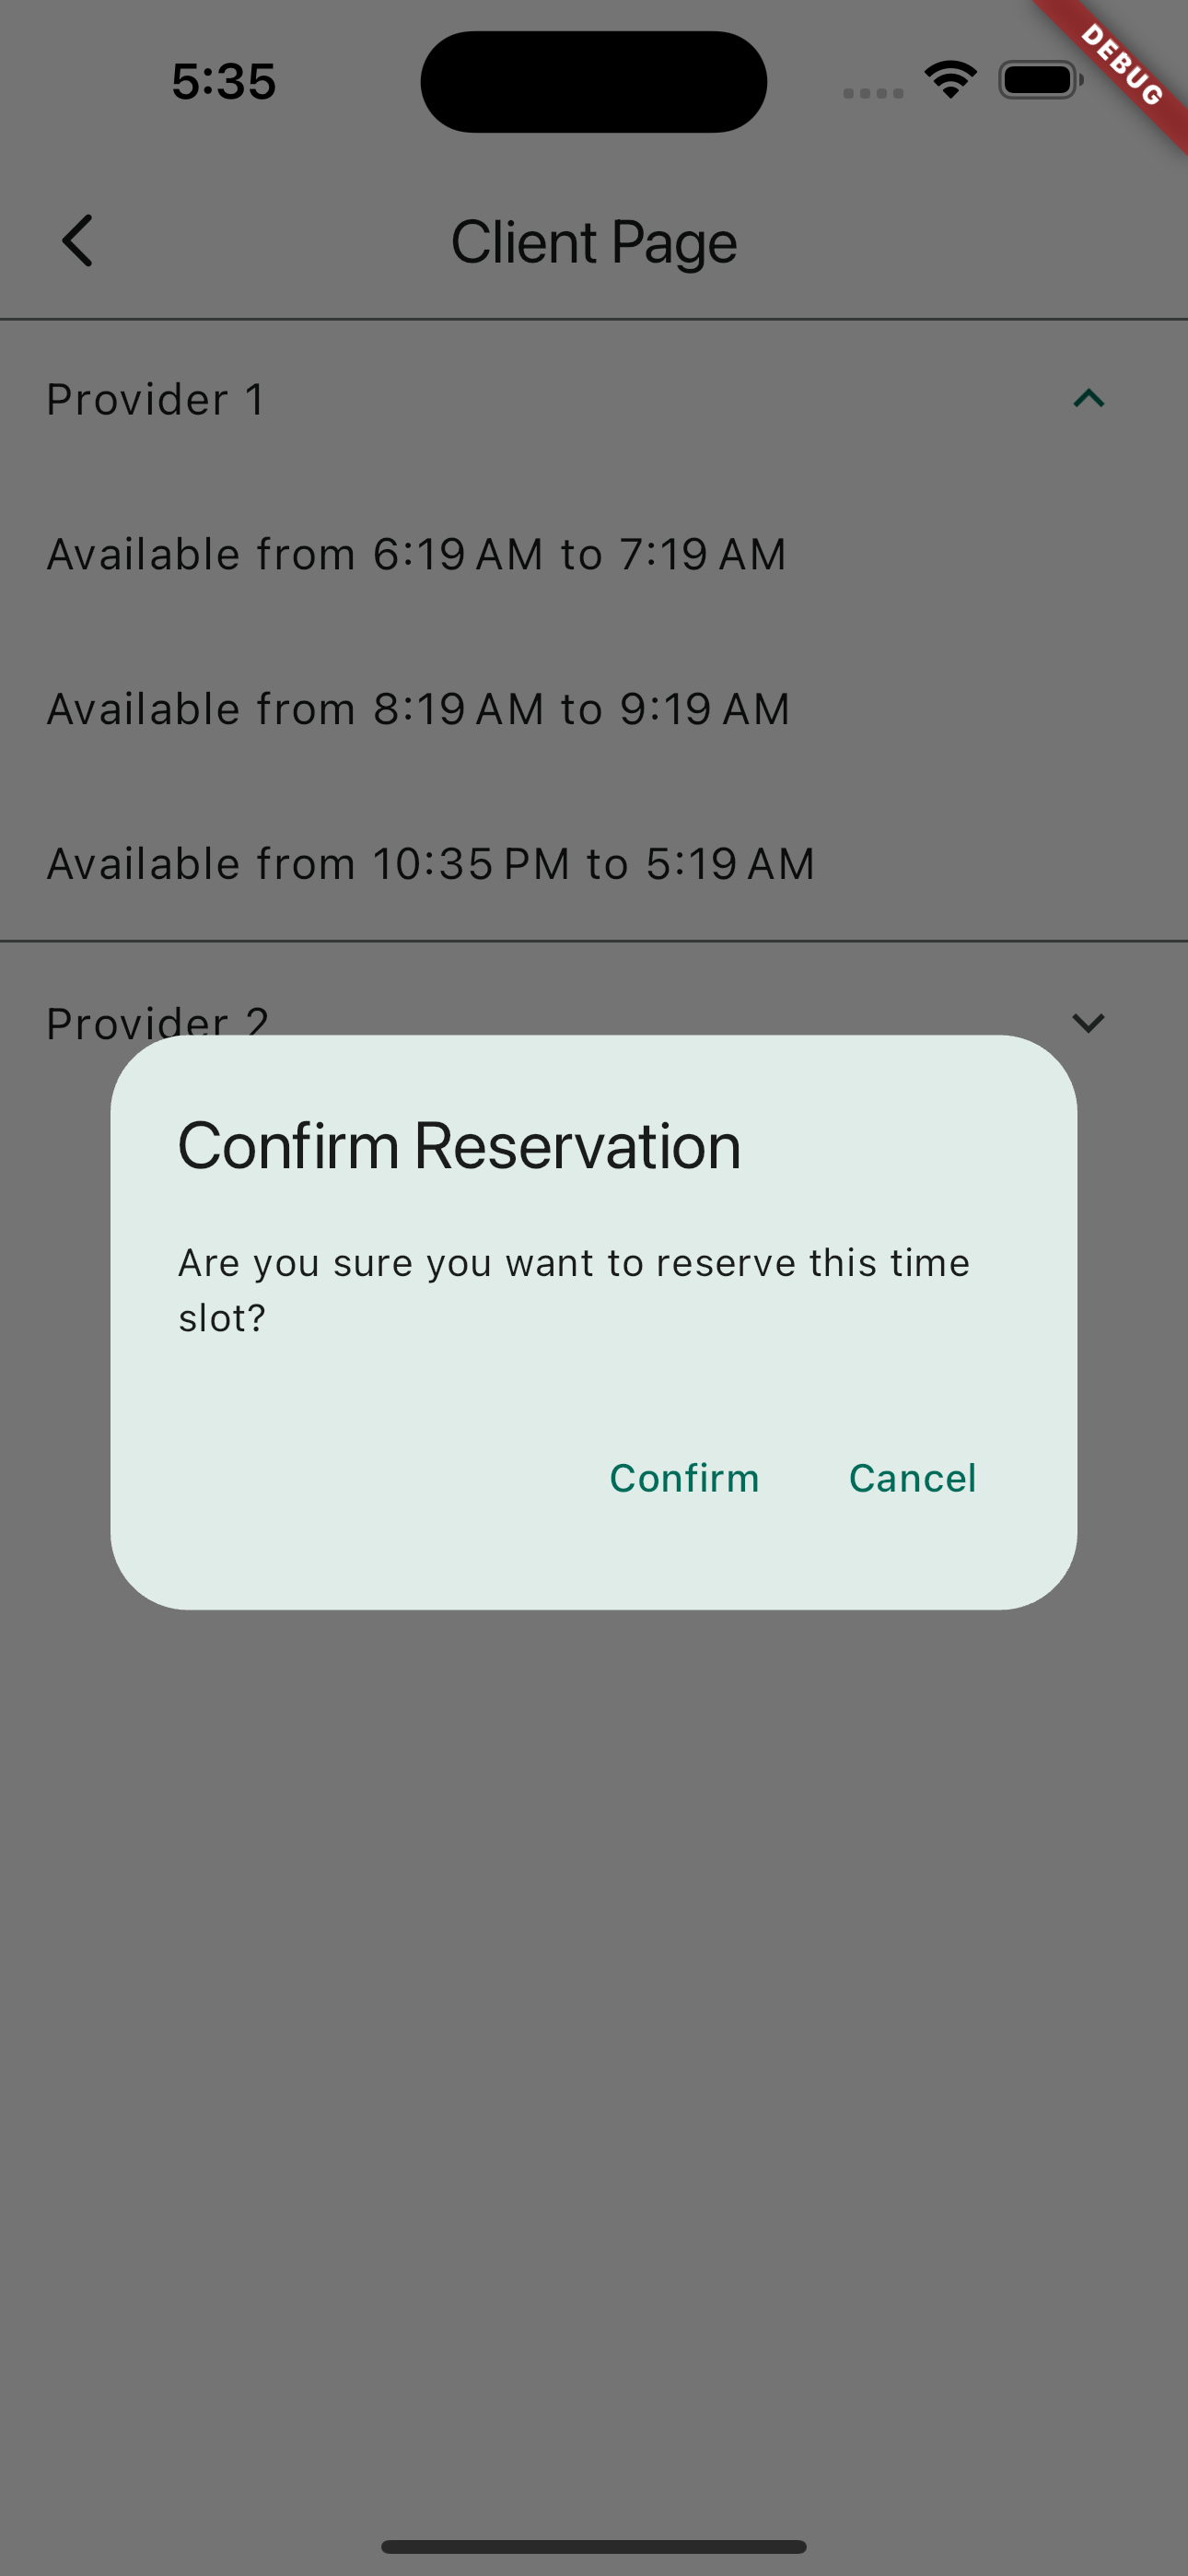
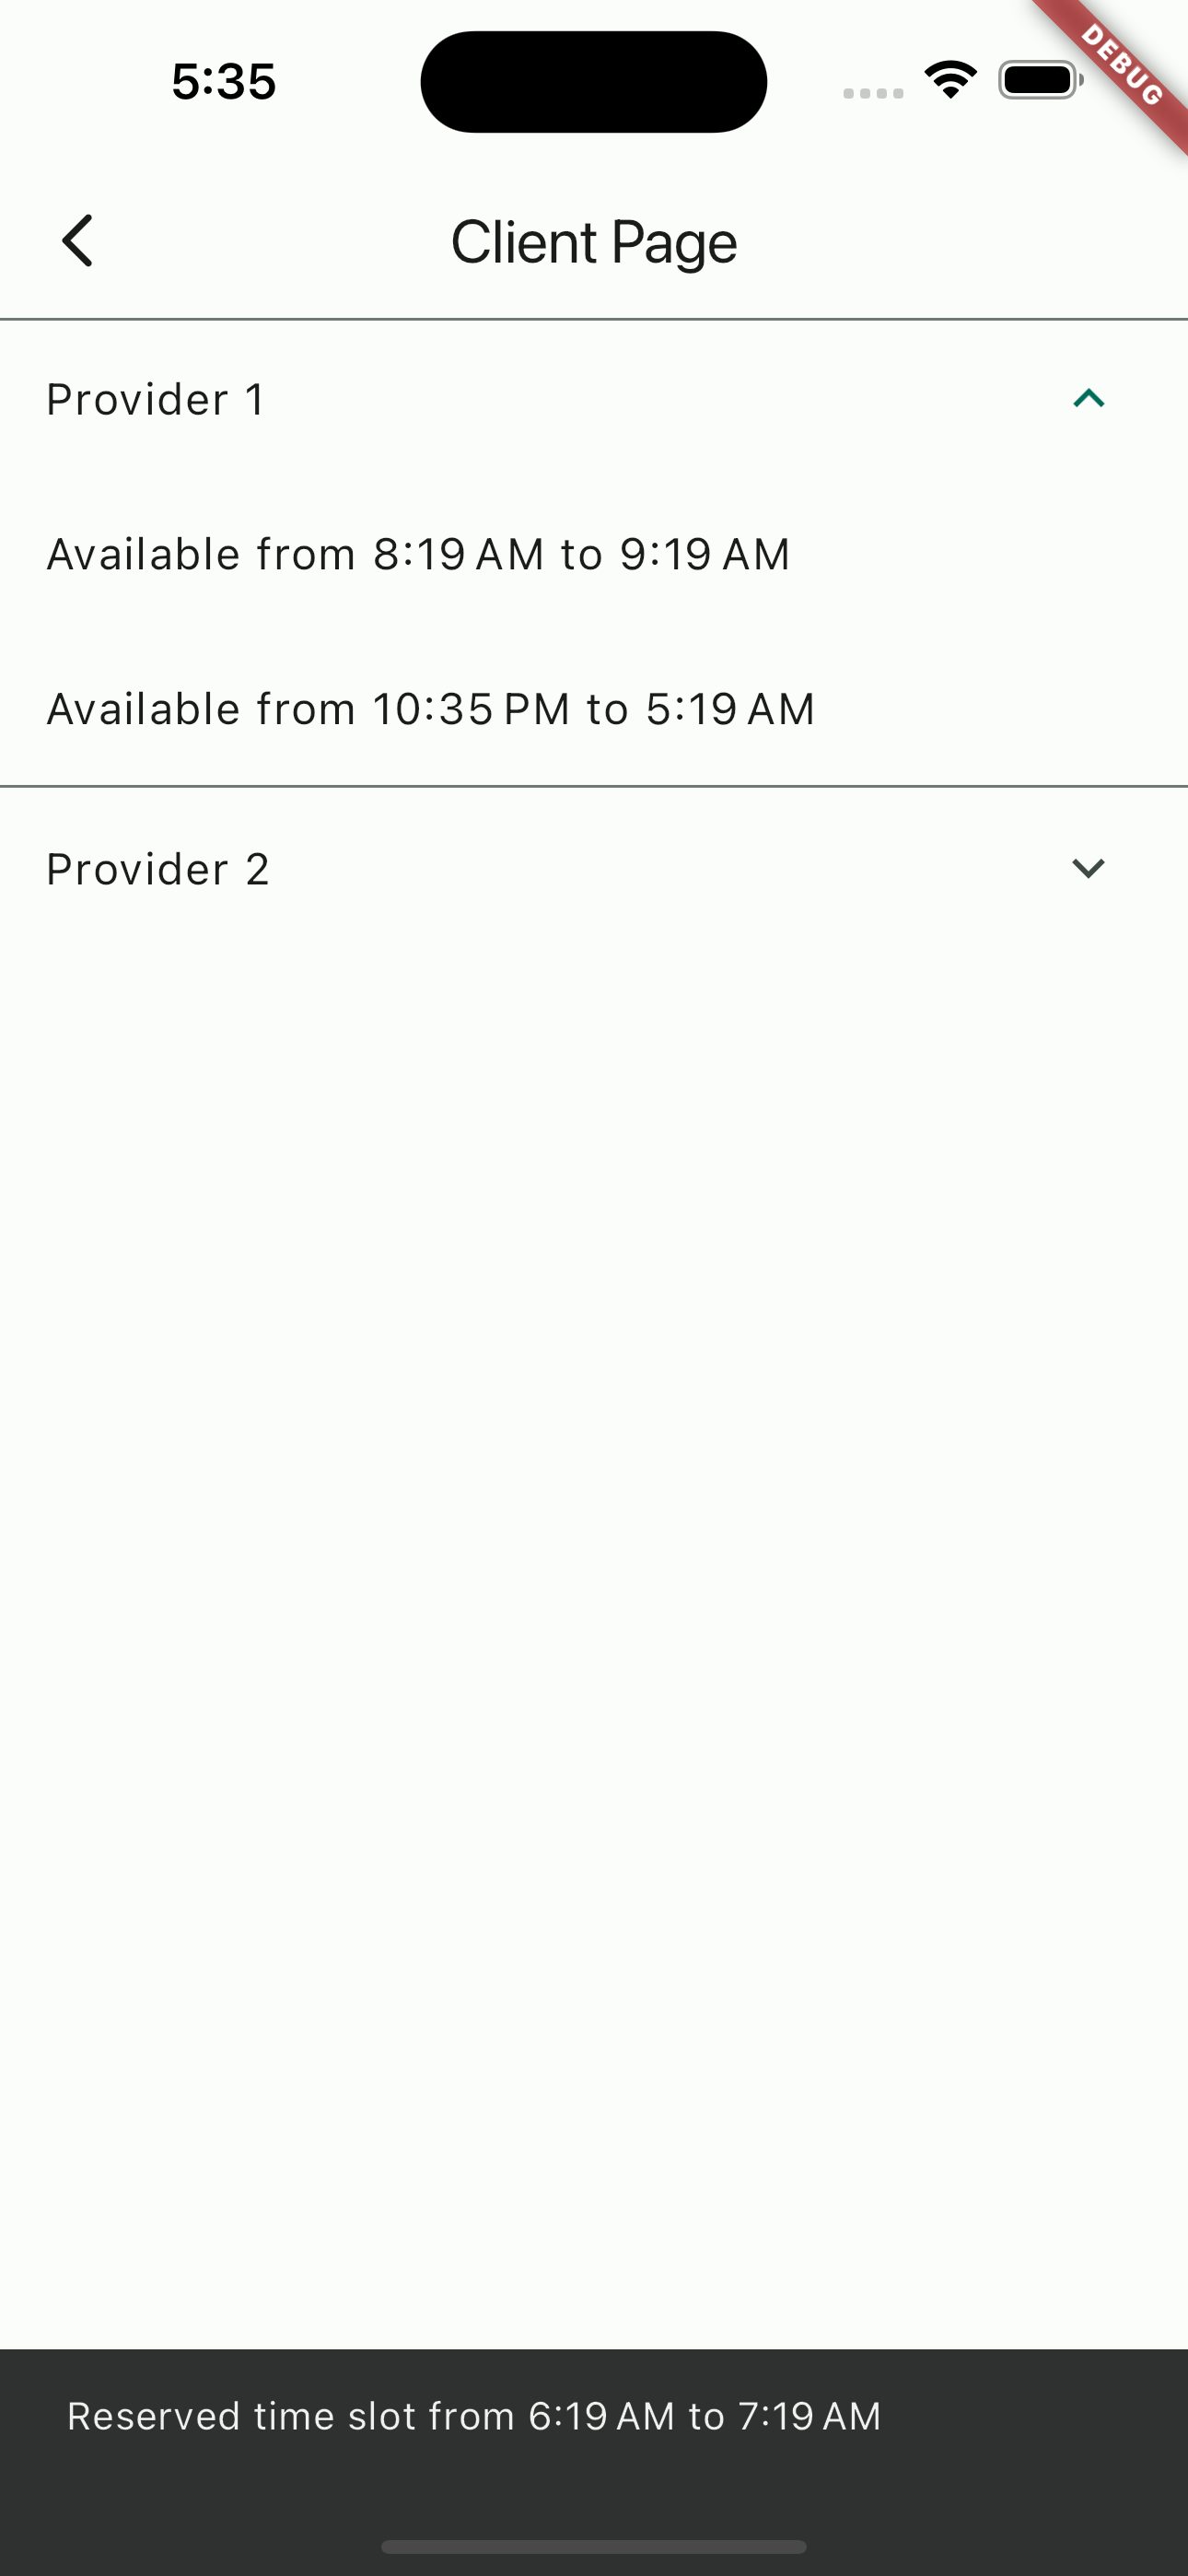
When a user books a time slot, the ProviderPage calls a method on the MasterSchedule to update the schedule. Because the MasterSchedule is a ChangeNotifier, this triggers a rebuild of the ProviderPage, and the updated schedule is displayed.
The application includes unit tests to verify that the ProviderPage correctly displays the available time slots and updates when a time slot is booked. The tests use the testWidgets function from the flutter_test package to create a test environment, build the ProviderPage widget, and then check that the expected widgets are present.
This section provides instructions on how to clone the repository and run the application on your local machine.
Before you begin, ensure you have met the following requirements:
- You have installed Git.
- You have installed Flutter.
- You have a text editor like VS Code or Android Studio.
To clone the repository, follow these steps:
- Open your terminal.
- Change the current working directory to the location where you want the cloned directory.
- Type
git clone, and then paste the URL of the repository. - Press Enter to create the local clone.
To run the application, follow these steps:
- Open the cloned directory in your text editor.
- Open a terminal in the project directory.
- Run the command
flutter pub getto install the dependencies. - Run the command
flutter runto start the application. - The application should launch on an emulator or connected device.
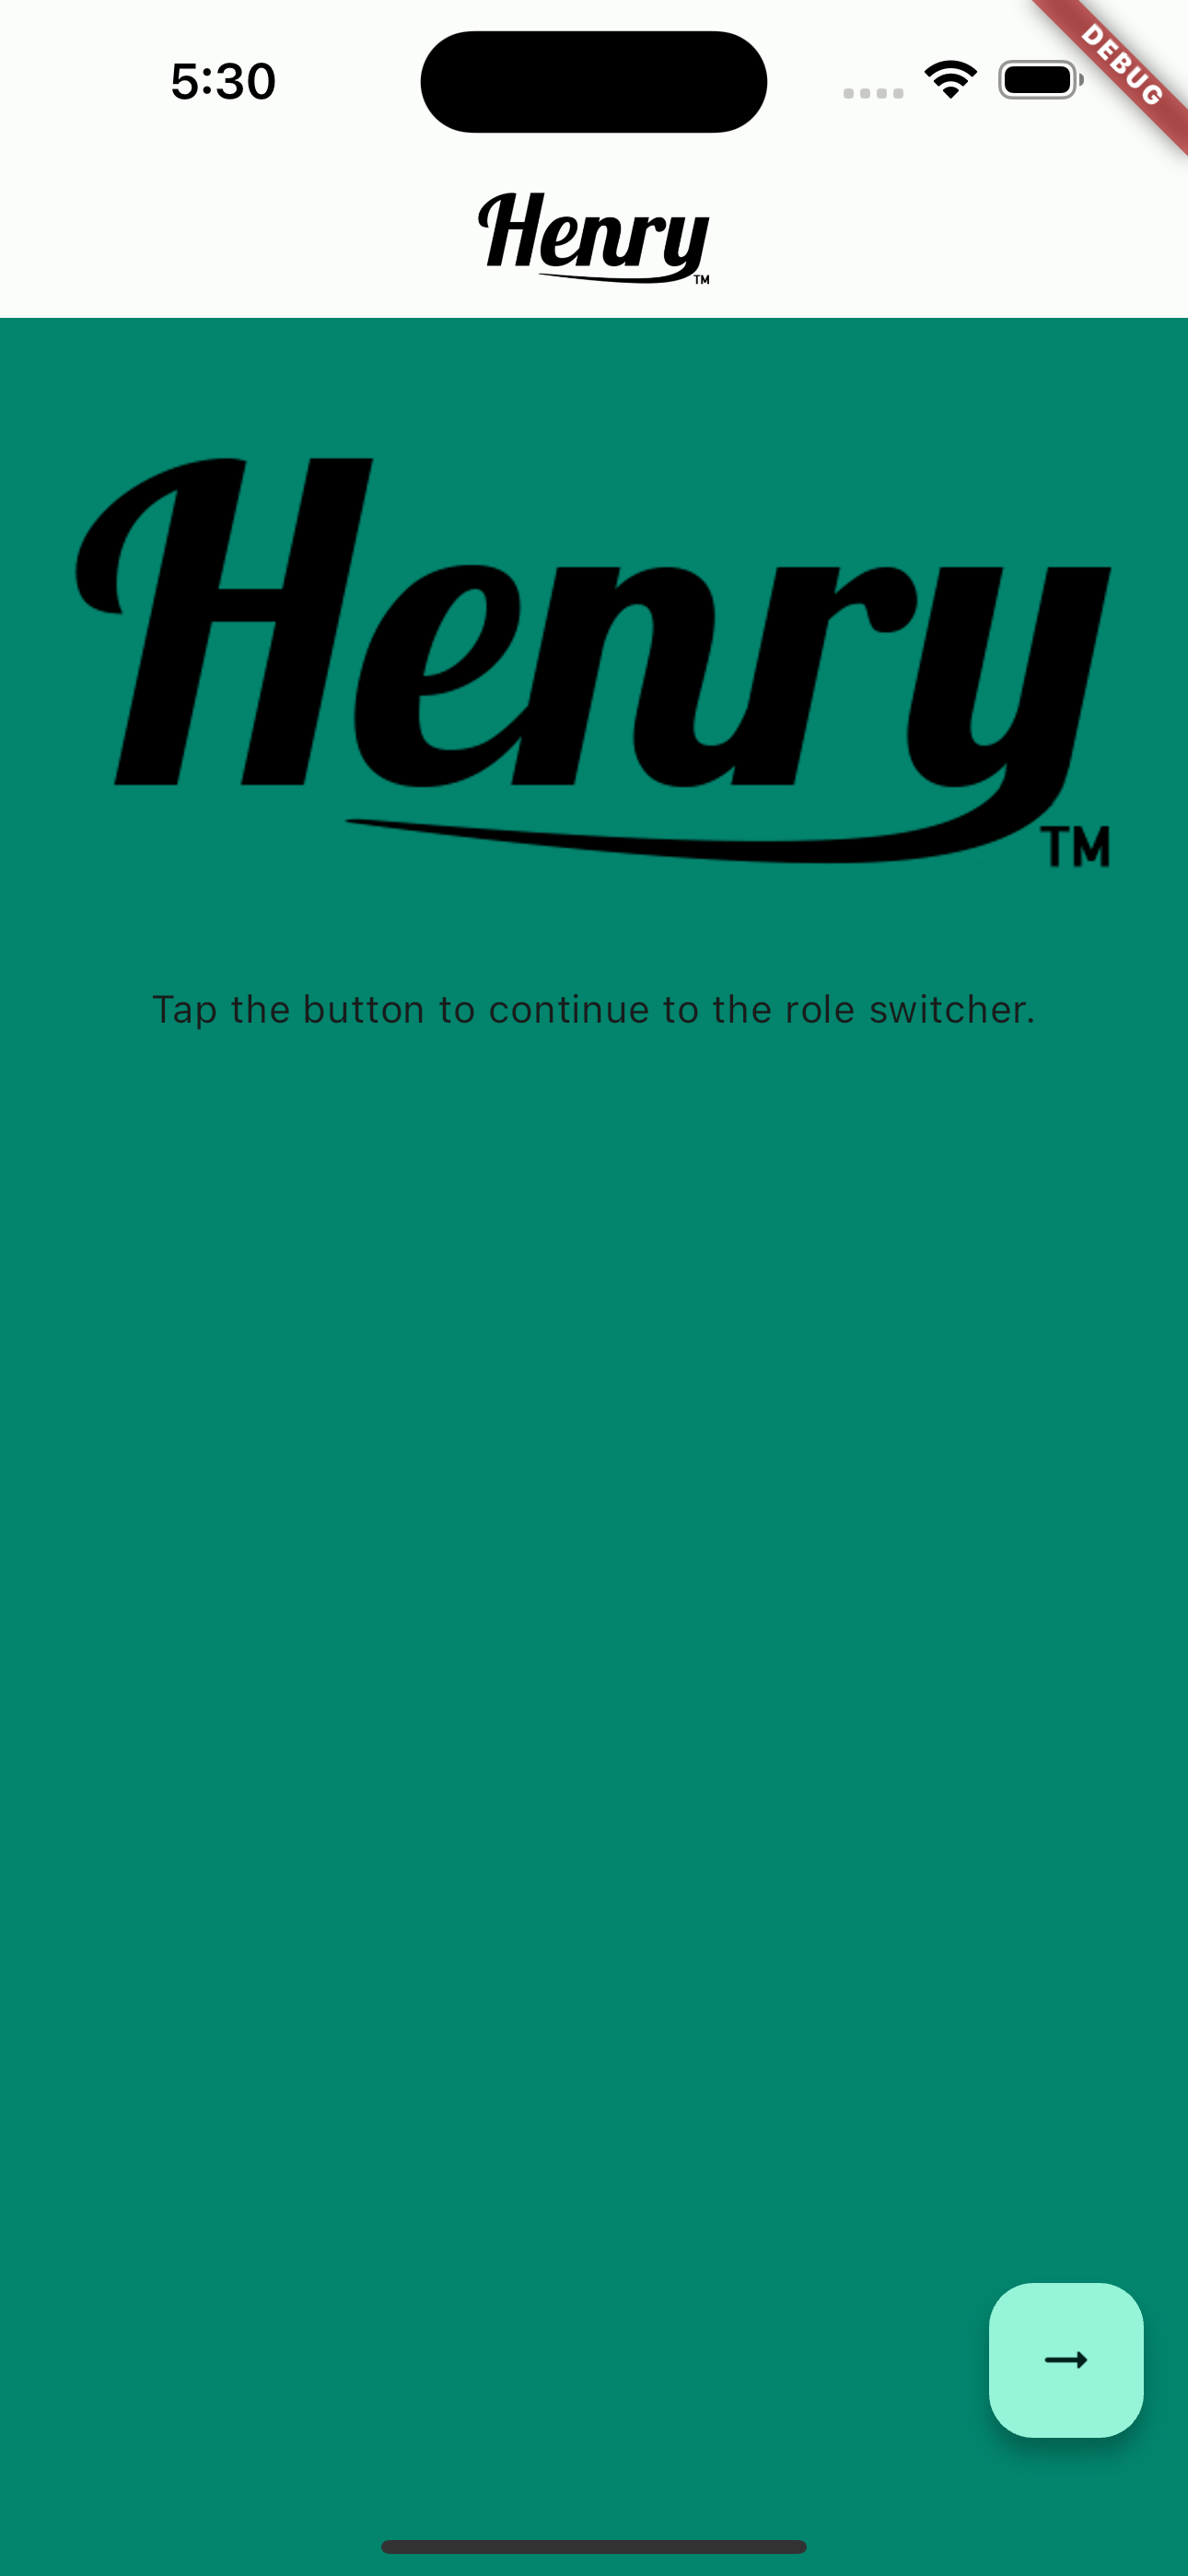
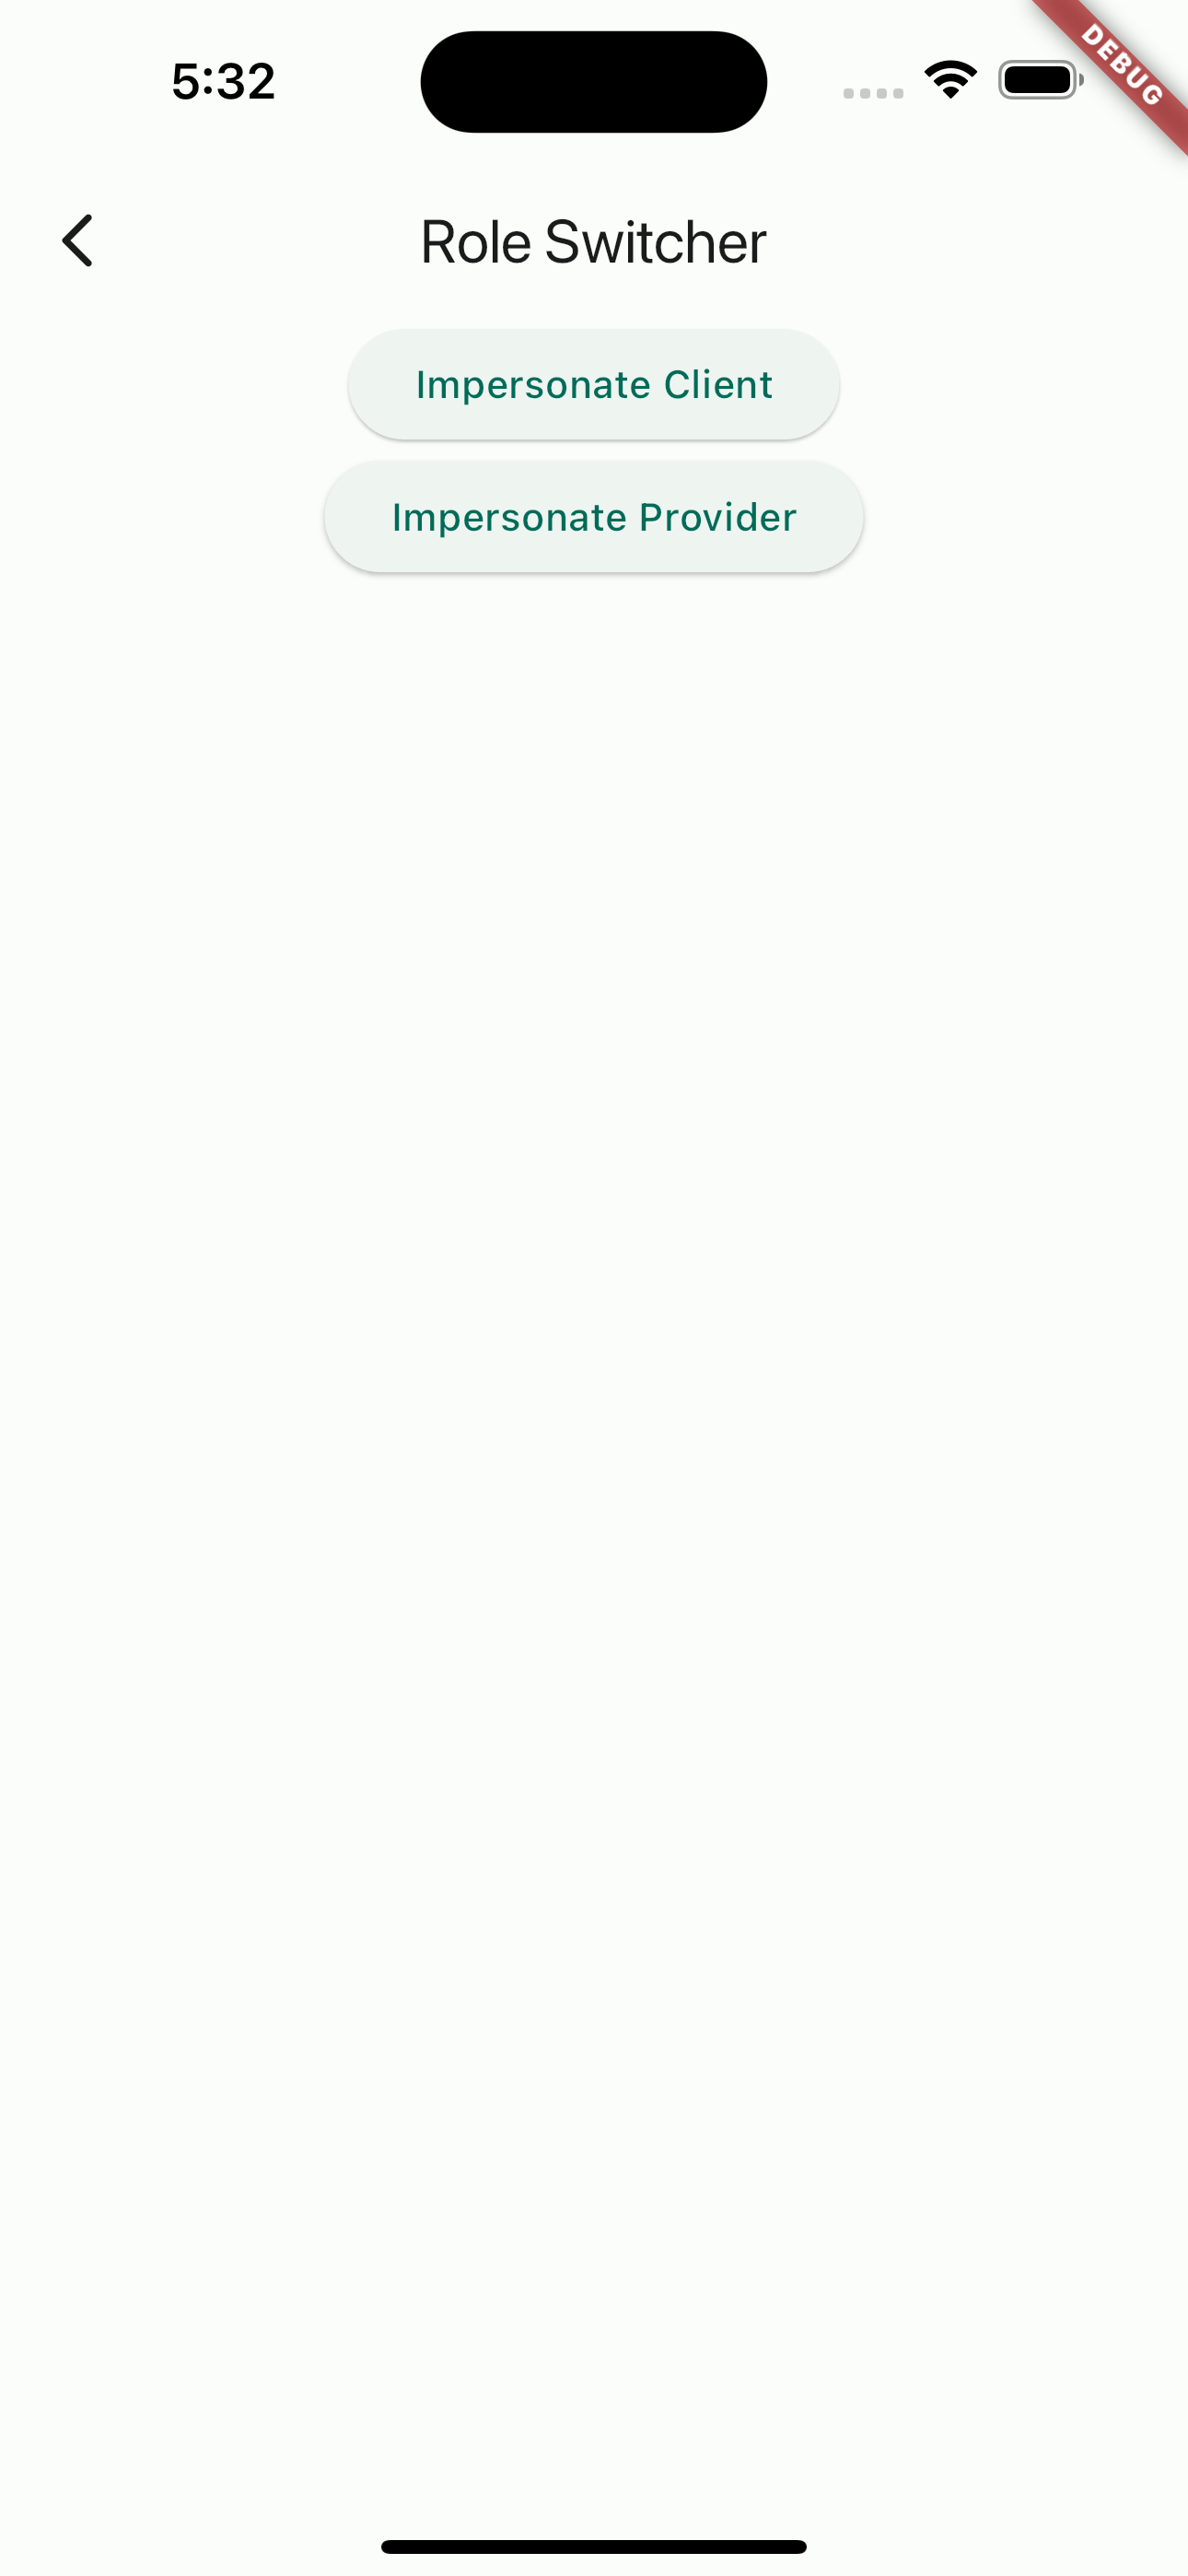
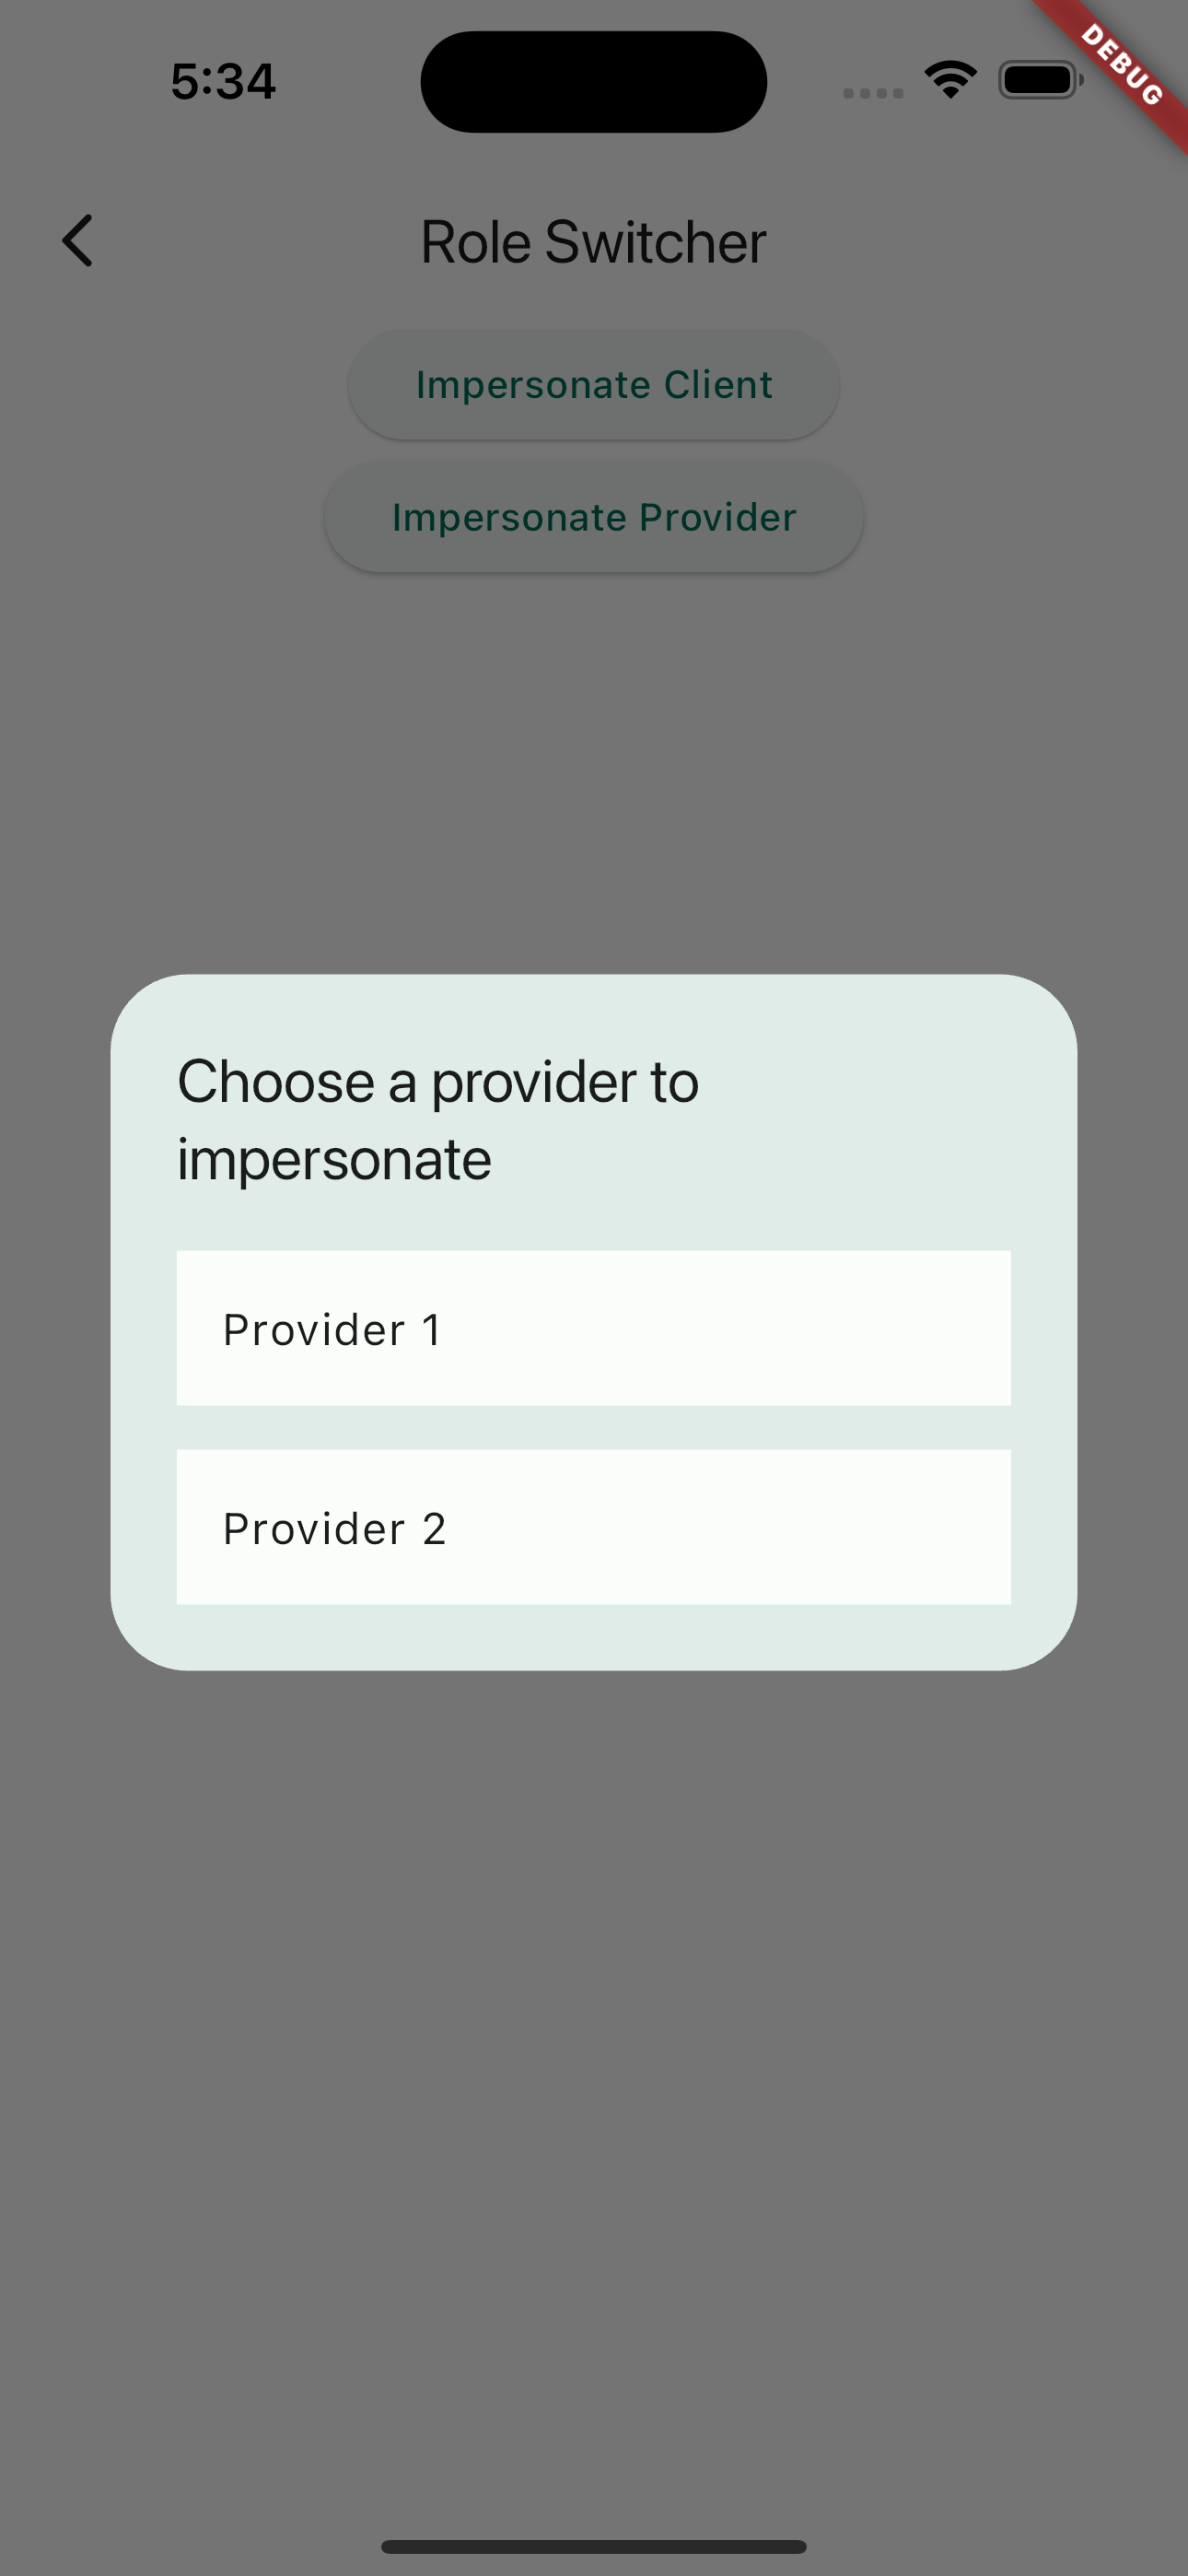
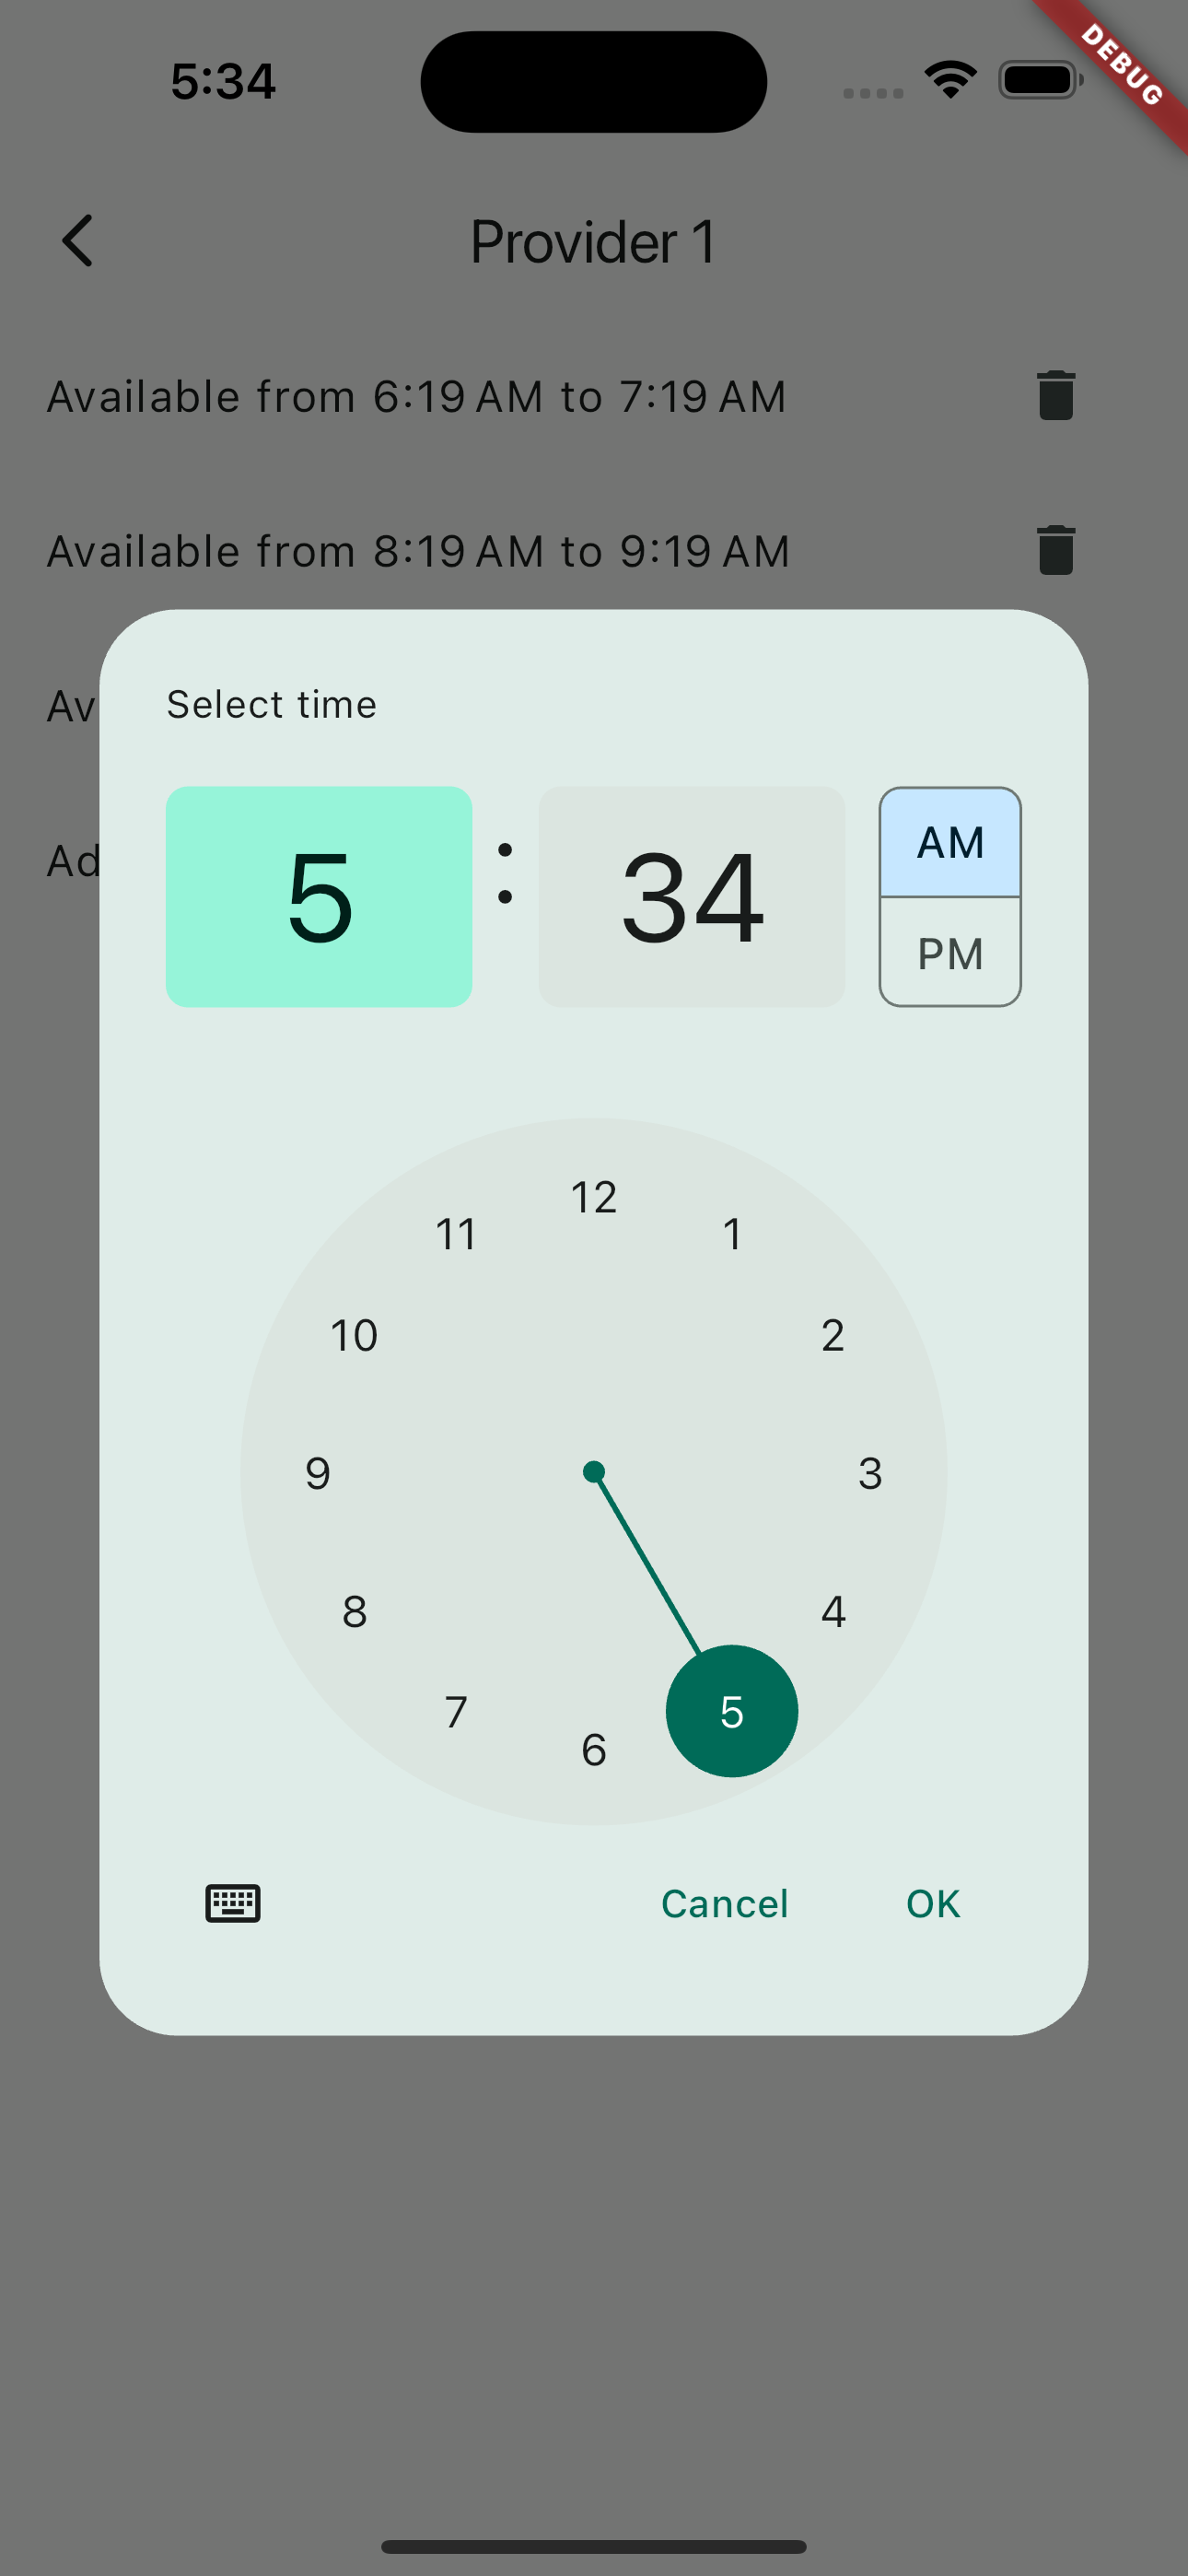
Here are some screenshots of the application:
