recon-ninja

The tool is a GitHub repository that provides a recon tool that lets you upload your domain discovery through an upload option. The tool utilizes HTTPX, which is a tool that scans for alive domains. The tool also has an integrated MongoDB Atlas database, which is a cloud-based database that allows the tool to store the recon data.
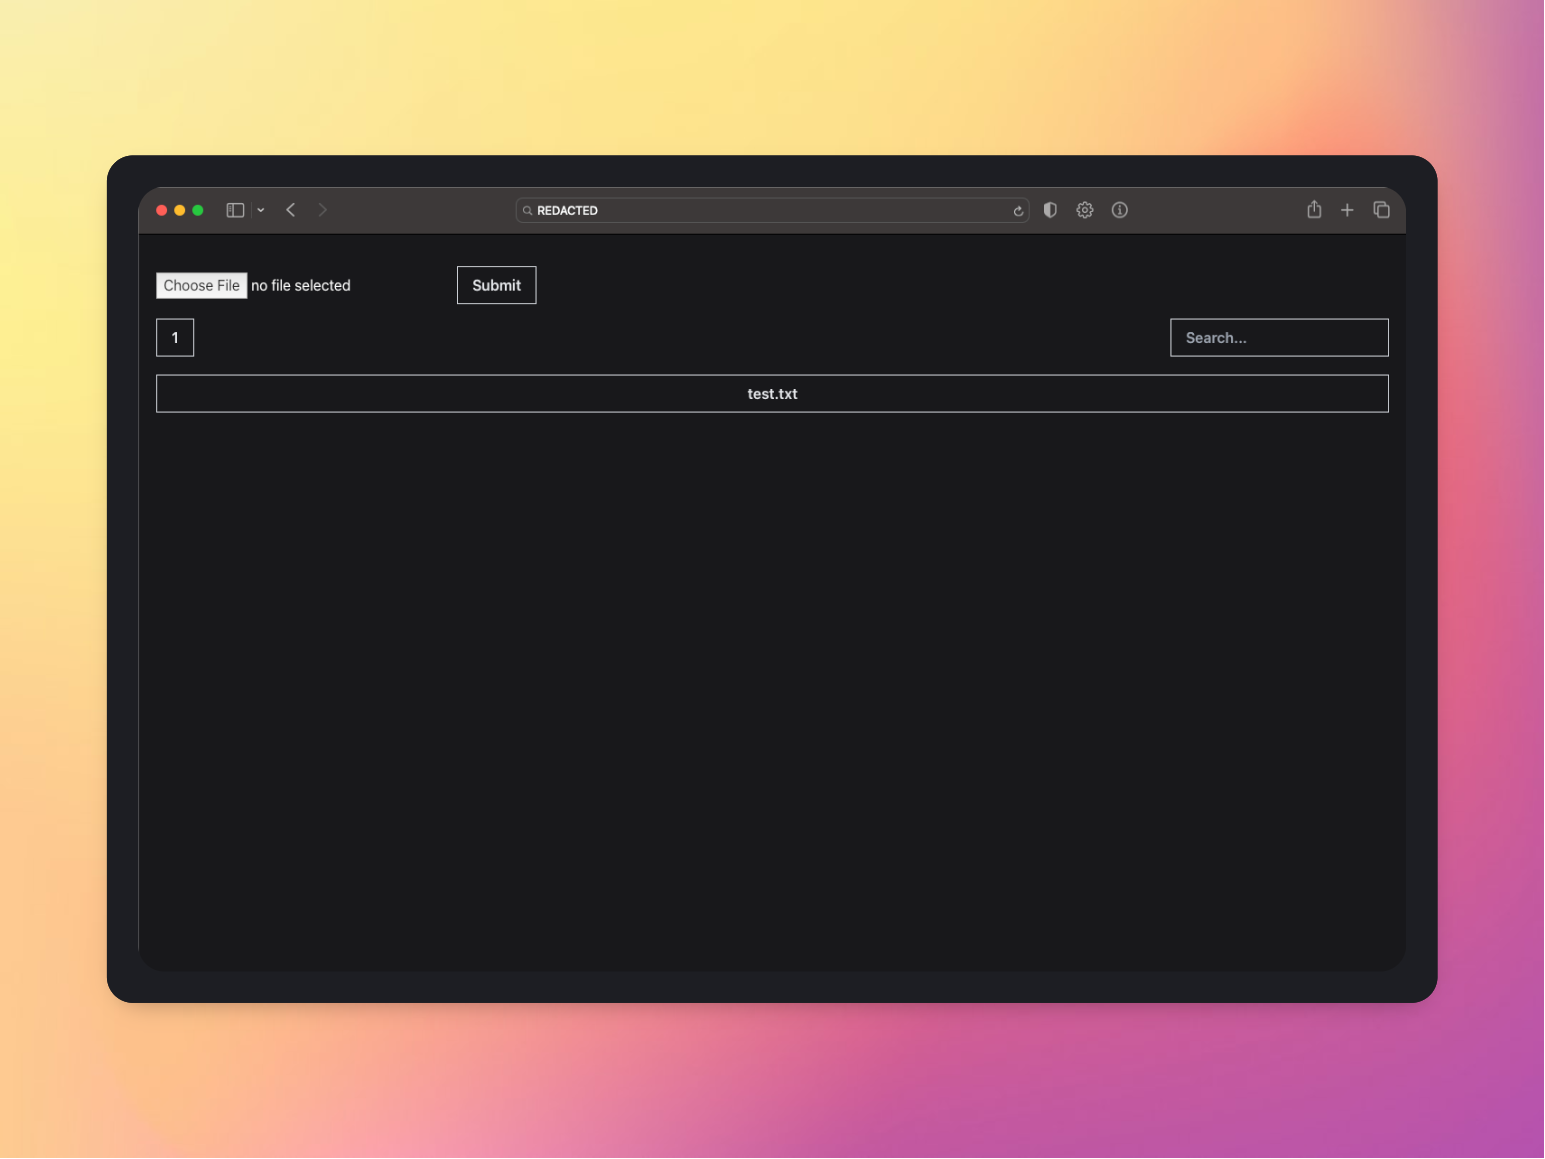
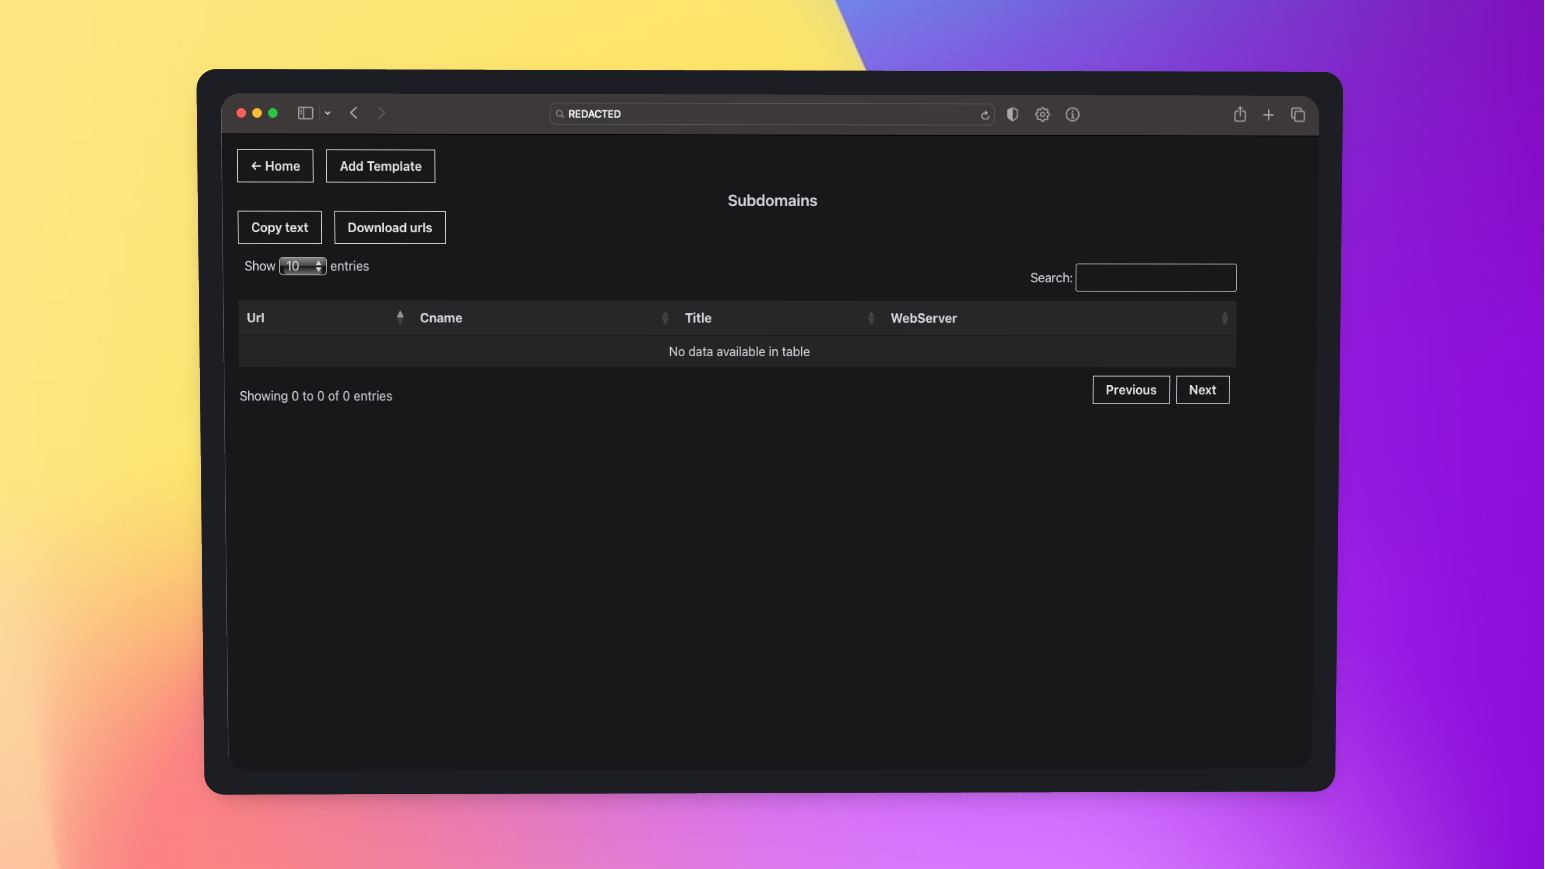
Users can interact with the tool through a user interface (UI) that provides a searchable view of the uploaded subdomains. The UI also distinguishes title cname and provides a search option to easily navigate through the uploaded data of subdomains.
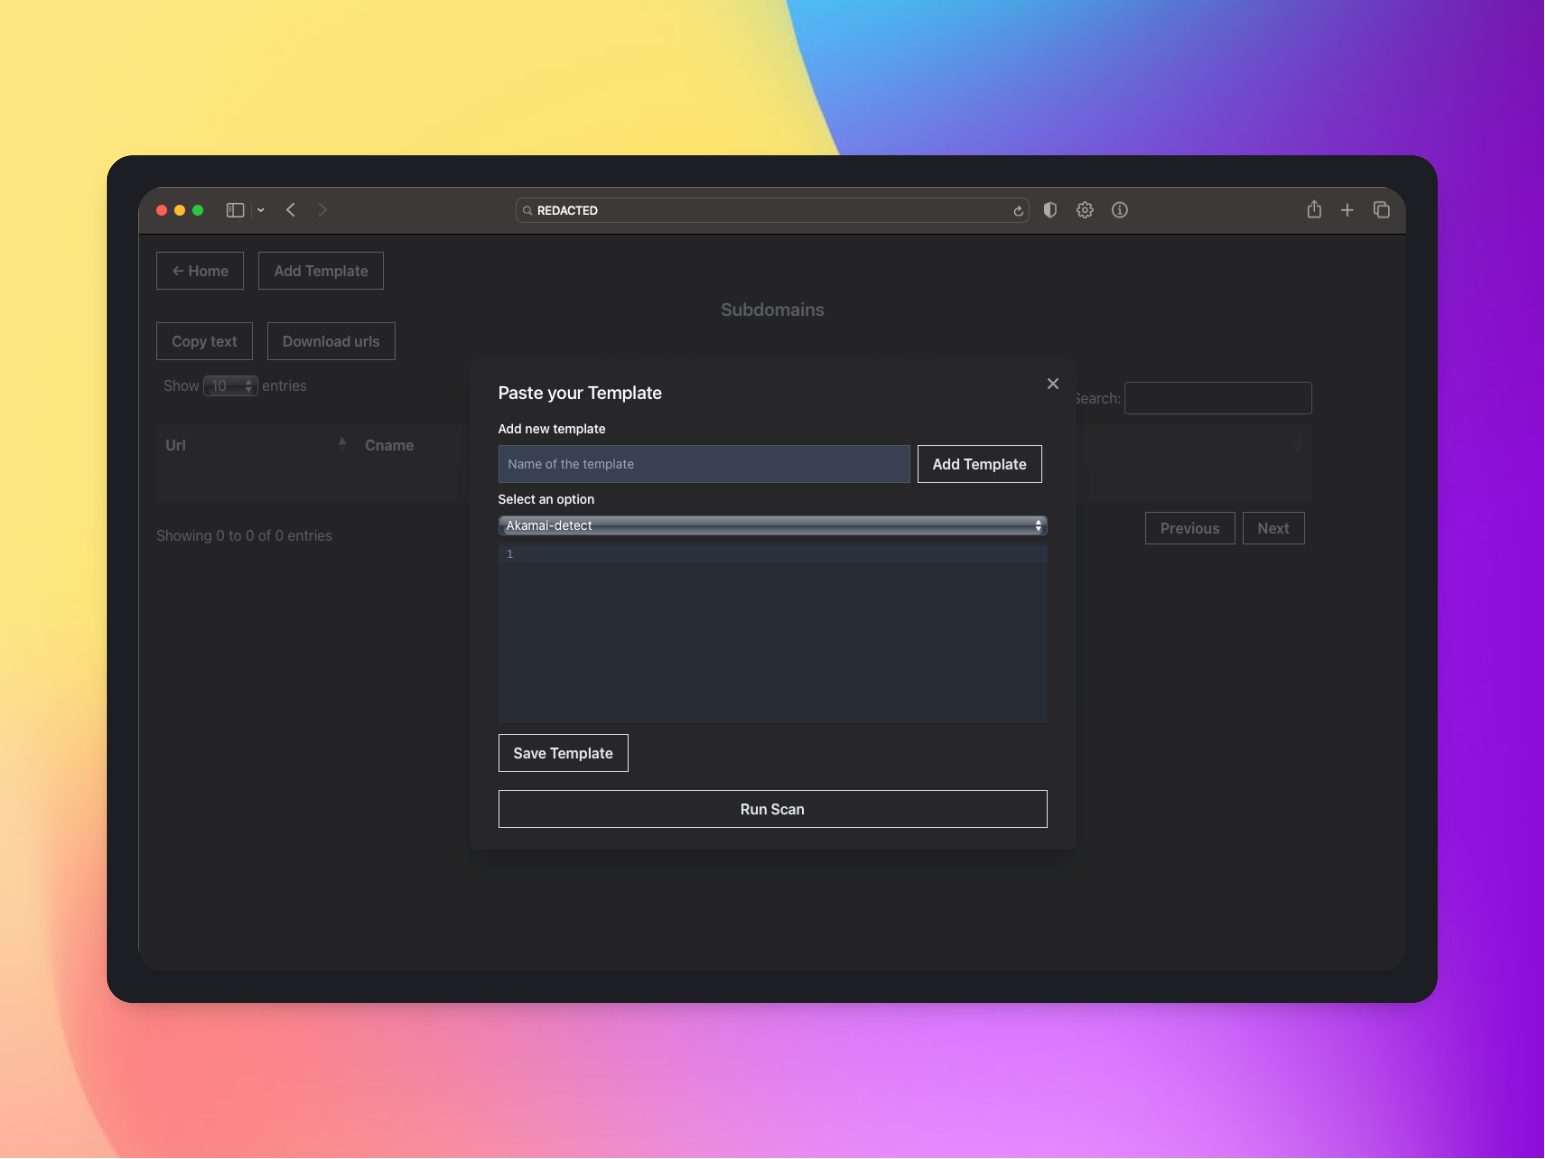
Additionally, the tool provides the ability to run Nuclei in the backend via the UI. Nuclei is a tool that is used for vulnerability scanning and is commonly used in conjunction with other reconnaissance tools. Users can receive notifications via Discord when the Nuclei scan is complete.
Overall, your tool provides an efficient and effective way to gather and store recon data, as well as easily search and navigate through the collected data via a user-friendly UI. The integration of Nuclei and Discord notifications also adds value to the tool by providing additional scanning capabilities and easy notifications of completed scans.
PRE-REQUIREMENTS:
Please make sure, you have GO lang Installed, Please visit https://go.dev/doc/install for reference.
Please make sure to install Nuclei & HTTPX
To get started, please follow these steps:
Go to https://www.mongodb.com/atlas/database and create an account. You can choose between a free or paid account based on your needs. Once you've created your account, you may find it helpful to install the UI App, MongoDB Compass, from https://www.mongodb.com/try/download/compass. This tool can help you manage your database more easily.
After setting up the database, please save the database connection URL as we will need it later for this tool.
IMPORTANT
Ensure that the server is up and running and all necessary steps have been completed. Once the server is running, the database will automatically create a test database where all different files will be listed. Such as Users for username and password, Files for all the list of subdomains and Templates for all the templates. Navigate to the users section of the database and add the desired username and password to access the your Recon Ninja as by default it comes with a login page which requires username and password.
By following these steps below, create a file like this Users section of the database.
/**
* Paste one or more documents here
*/
{
  "username": "admin",
  "password": "admin"
}
Installation
-
Please make sure, your node version is updated to the latest.
-
Please clone this repository
git clone https://github.com/tess-ss/recon-ninja.git
-
much wow, would you look at that? The main folder is called 'recon-ninja/' and it even comes with two bonus folders inside: 'Frontend/' and 'Backend/'. How convenient!"
-
Well, well, well, it's time for the exciting part! Move to 'cd /recon-ninja' and check if you have hit the jackpot by using 'ls'. You should see the magical 'Frontend/' and 'Backend/' folders waiting for you inside
-
Please make sure, you have npm installed or just run the following command which is
sudo apt install npm
- Go to the
/Frontenddirectory and do the following:
npm installChange the backend api path to your server's ip in src/axiosConfig.js
axios.defaults.baseURL = 'http://ip:port/';
Make a production build of the react app:
npm run build
- Now, move to
/Backendand do the following. Like cd /Backend and now do the following which is
Install the dependencies:
npm install
Move the build folder of Frontend to the root directory
mv ../Frontend/build .
Apply the following:
- Assign mongodb URI in
db.jsin functionmongoose.connect - Change the constant
discordWebhookUrlinapp.js
Open redis server before running the app: (If you do not have redis-server, Please install it via sudo apt-get install redis-server)
redis-server
Create an uploads folder
mkdir uploads
Install pm2 server to host the nodejs app:
npm i pm2 -g
Start the app:
pm2 start app.js
The app would be running on port 3000 (you could change the port number if you want to by changing the port number on app.listen function in app.js)
Now, Please visit http://YOUR-VPS-IPS:3000 and you will see Recon Ninja up and running. Like this
Feel free to use my Digital Ocean reference link to set up a VPS, if you're interested

