How does this apply to APIs?
- Learn and create an NFT in under 20 minutes!
- Add to some API that deals with lending markets?
Our target audience is experienced web2 devs discovering web3.
We will be covering how to build and launch a non-fungible token (NFT) in under 20 minutes. You will also get a hands-on tour of the web3 developer tooling to create decentralized applications on Ethereum.
We hope to inspire your imagination and aid your experimentation with new types of businesses and services using Ethereum Virtual based smart contracts.
What can you build with tools that easily create and scale coordination networks to millions of people?
As a web2 developer, why should we care about web3?
Ethereum offers something that application developers of all types can appreciate: a platform to create and leverage open and consistent APIs and datasets without permission.
Always on:
You can rely on an Ethereum-based API without ever worrying about being sunset. With web2, you are at the mercy of the team continuing to host the API on a third-party server. With Ethereum, as long as one node in the blockchain network exists, the deployed codebase will also. Web2 history is littered with shutdown APIs that pull the rug on teams who built on top of these tools.
Always available:
You can confidently build on other people's smart contracts without asking permission. With web2, your access to an API can be turned off at any time, like what happened to third-party Twitter developers early in its life. Due to the open nature of the blockchain data, there is no risk of losing access to your datasets.
Sometimes web2 services experience downtime on the service. With Ethereum, due to incentives built into the protocol, there is a high degree of decentralization resulting in the lack of reported network outages.
Consistency:
Once deployed, the smart contract-based API will not change. Due to the immutability of smart contracts, developers can build on top of an API and know it will operate exactly like the first time. Some caveats can allow for upgrading of parameters and contract logic; however, smart contract code is available for all to read and anticipate future changes.
Interoperability, open to all:
You can access the dataset of other smart contracts—no need to ask permission to extend another project's utility. Developers can easily mix and match different standardized smart contract APIs to create new possibilities. Users can easily migrate their data between different codebases on the same chain.
Programmable scarcity: Abundance is fantastic. However, they don't allow us to model the real world without trusting intermediaries to enforce limits. Blockchains enforce scarcity and arbitrary business logic without the need to trust a central intermediary. They impartially process any business logic without special interest. This allows us to create new types of collaboration methods not seen before.
A single blockchain is like a linked list connected by the hash of the previous block of information. By hashing blocks and linking them together, they increase the difficulty of manipulation.
A blockchain network is when this blockchain is spread across various nodes for redundancy. The more decentralized the network, the more tamper-resistant the network. This increases trust in the system, which reduces the need for trust between entities. In addition, the network's state is constantly updated through a consensus mechanism.
In a sense, a blockchain is a database AND a network rolled up into one.
The blockchain's key innovation is commoditizing trust and allowing for peers' coordination in open adversarial environments.
Ethereum is the leading programmable blockchain. Due to its high degree of decentralization, immutability, and extensibility, Ethereum is the prime place to create and leverage highly reliable APIs. Ethereum especially excels around critical applications around value transfer.
Ethereum's smart contracts allow for the creation of reliable APIs which can programmatically enforce dealings between counterparties.
Smart contracts are programmable pieces of code that run on the Ethereum blockchain.
A nonfungible token (NFT) is a digital asset that represents a unique item. It is created from the ERC-721 standard and highlights what type of functionality and interface the underlying smart contract will contain.
Interplanetary file storage (IPFS) is a peer-to-peer hypermedia protocol. It is an alternative to HTTPS for the decentralized web.
MetaMask is a cryptocurrency wallet. It provides a simple and most secure way to connect to blockchain-based applications.
The world-leading Ethereum infrastructure provider. Infura allows developers to access and scale their decentralized applications on Ethereum without needing to manage their own nodes.
Truffle is a smart contract development environment for Ethereum Virtual Machine (EVM) based networks.
In this section, we will walk through setting up your development environment.
You must setup:
- NodeJS version 16 or above
- Visual Studio Code
- Git Bash
- Bash on VS Code
First, install MetaMask on your browser. If you are already a MetaMask user, it's suggested to create a new browser profile for development purposes and install a separate instance of MetaMask.
See this article to create a new Chrome profile, Firefox or Brave Browser.
Go to https://metamask.io/download/] and choose your browser.
Set up your wallet. Remember to save your secret recovery phrase in a secure location. Due to how blockchains are created, the secret recovery phrase CAN NOT be reset. Since MetaMask is a non-custodial wallet, they do not hold a copy for you.
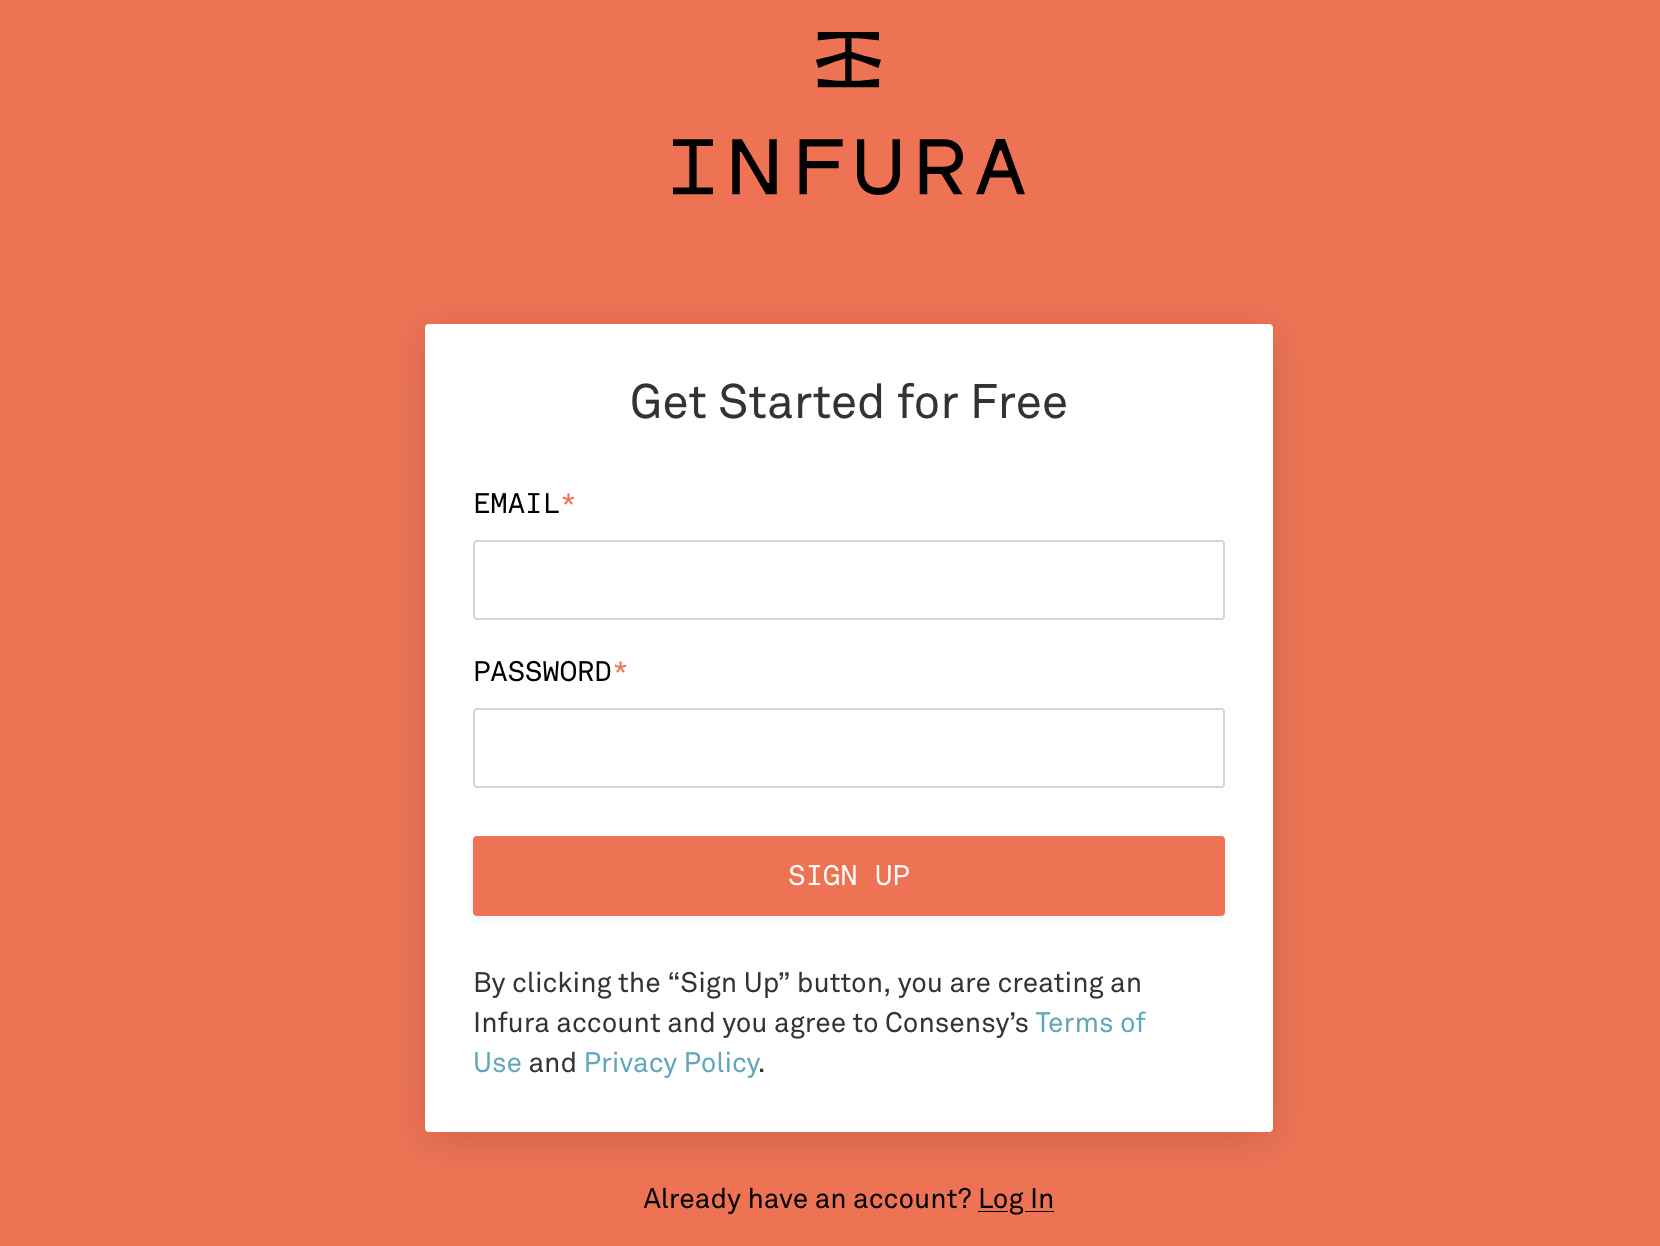
Next, you will need to set up a free account with Infura.
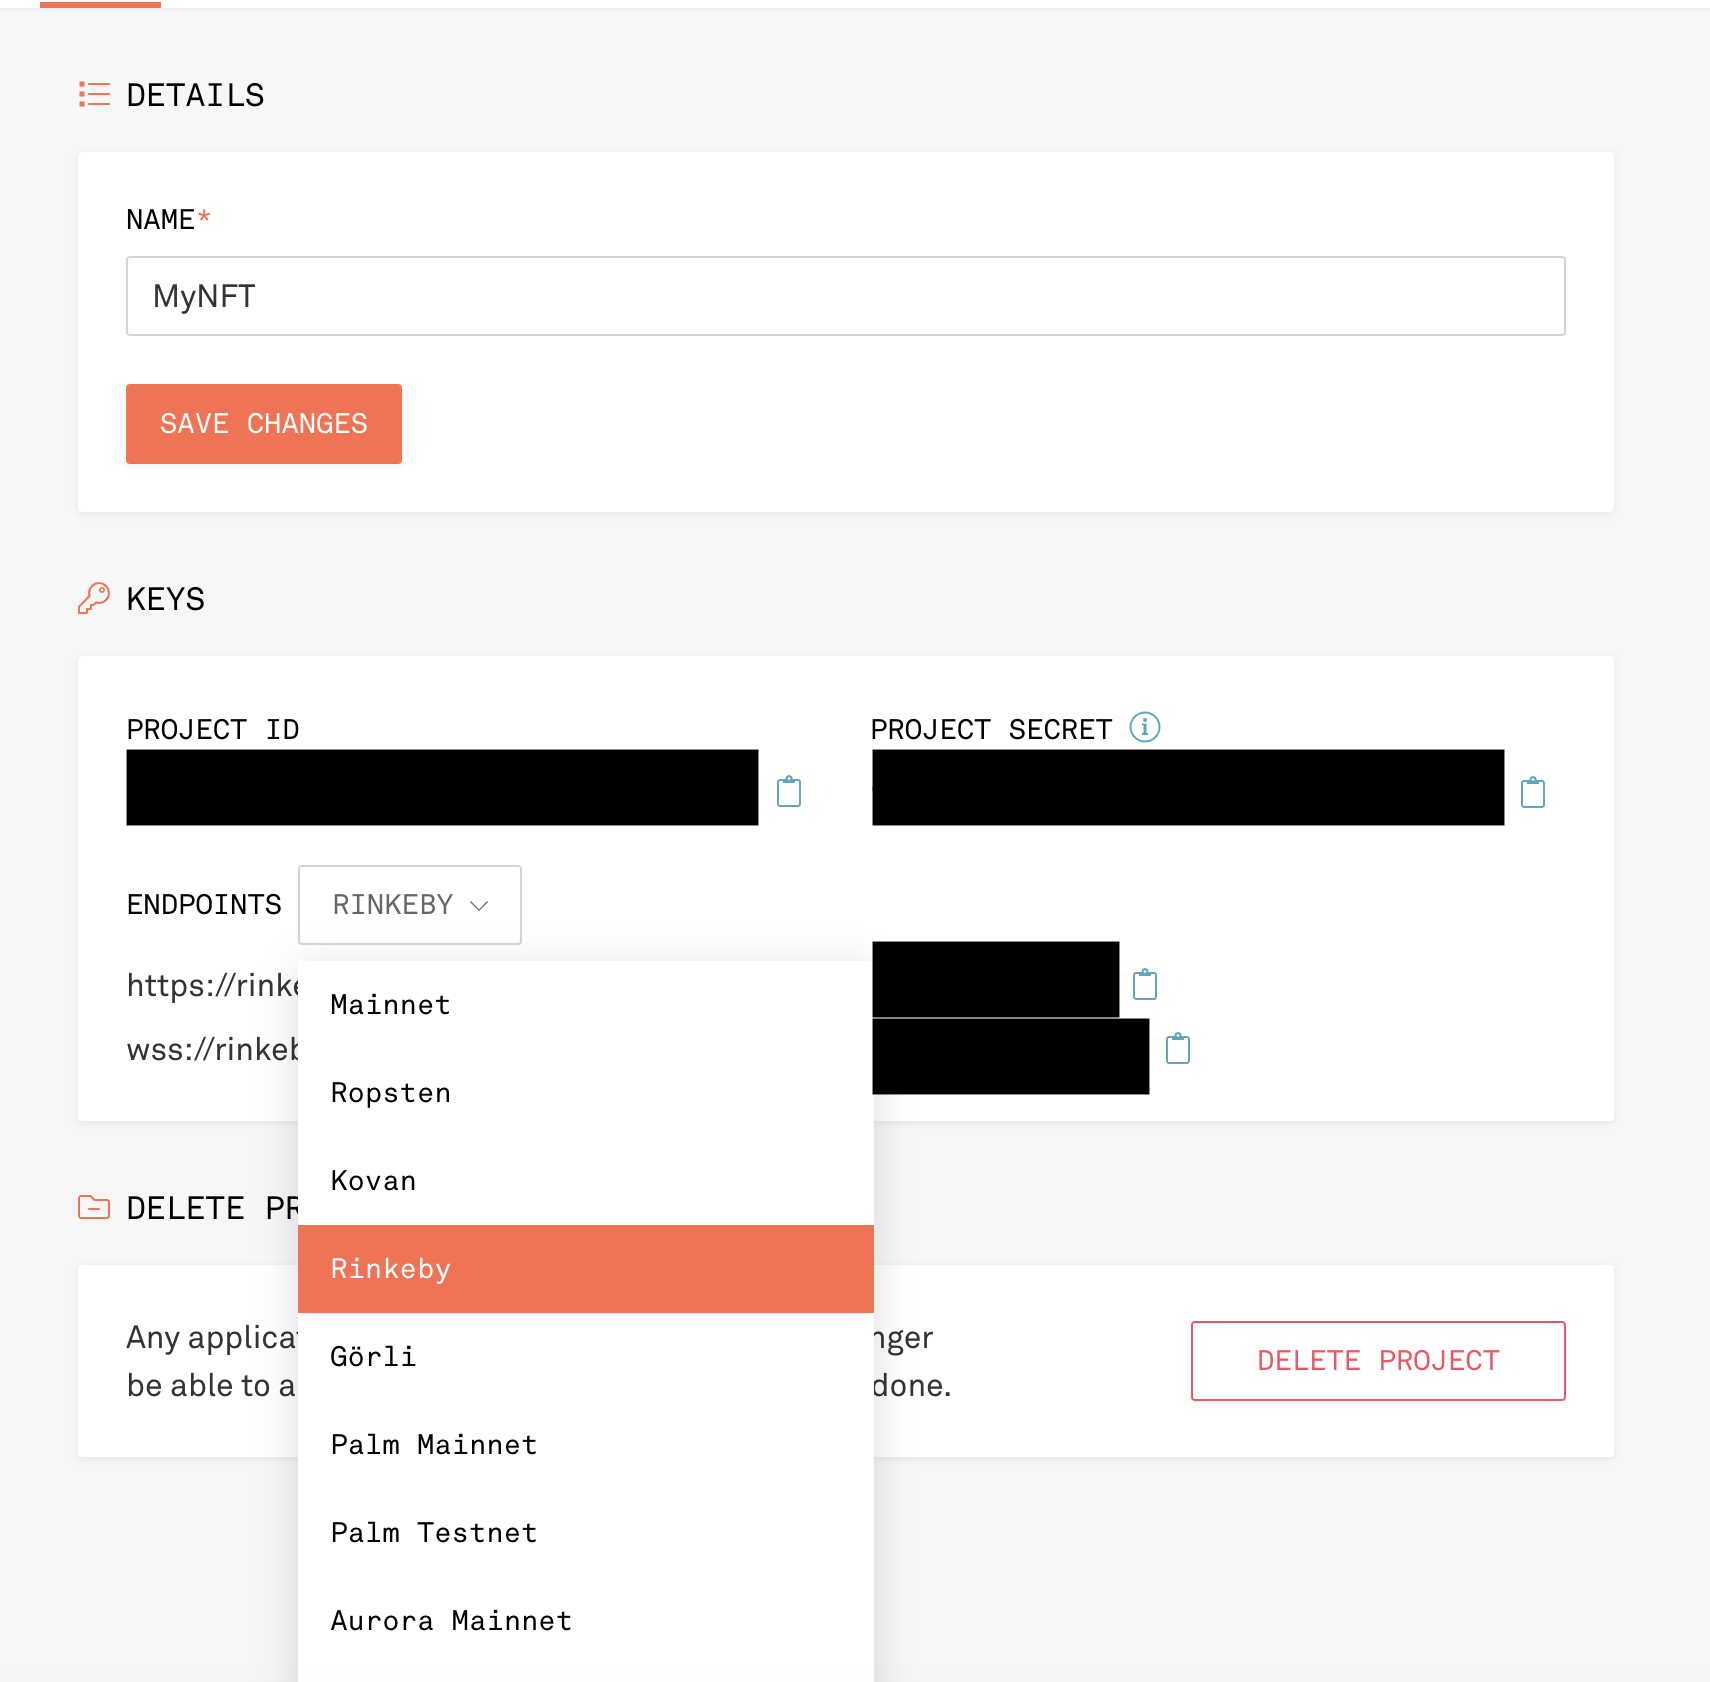
Next, select a project. We will create two projects.
First, select Ethereum project.
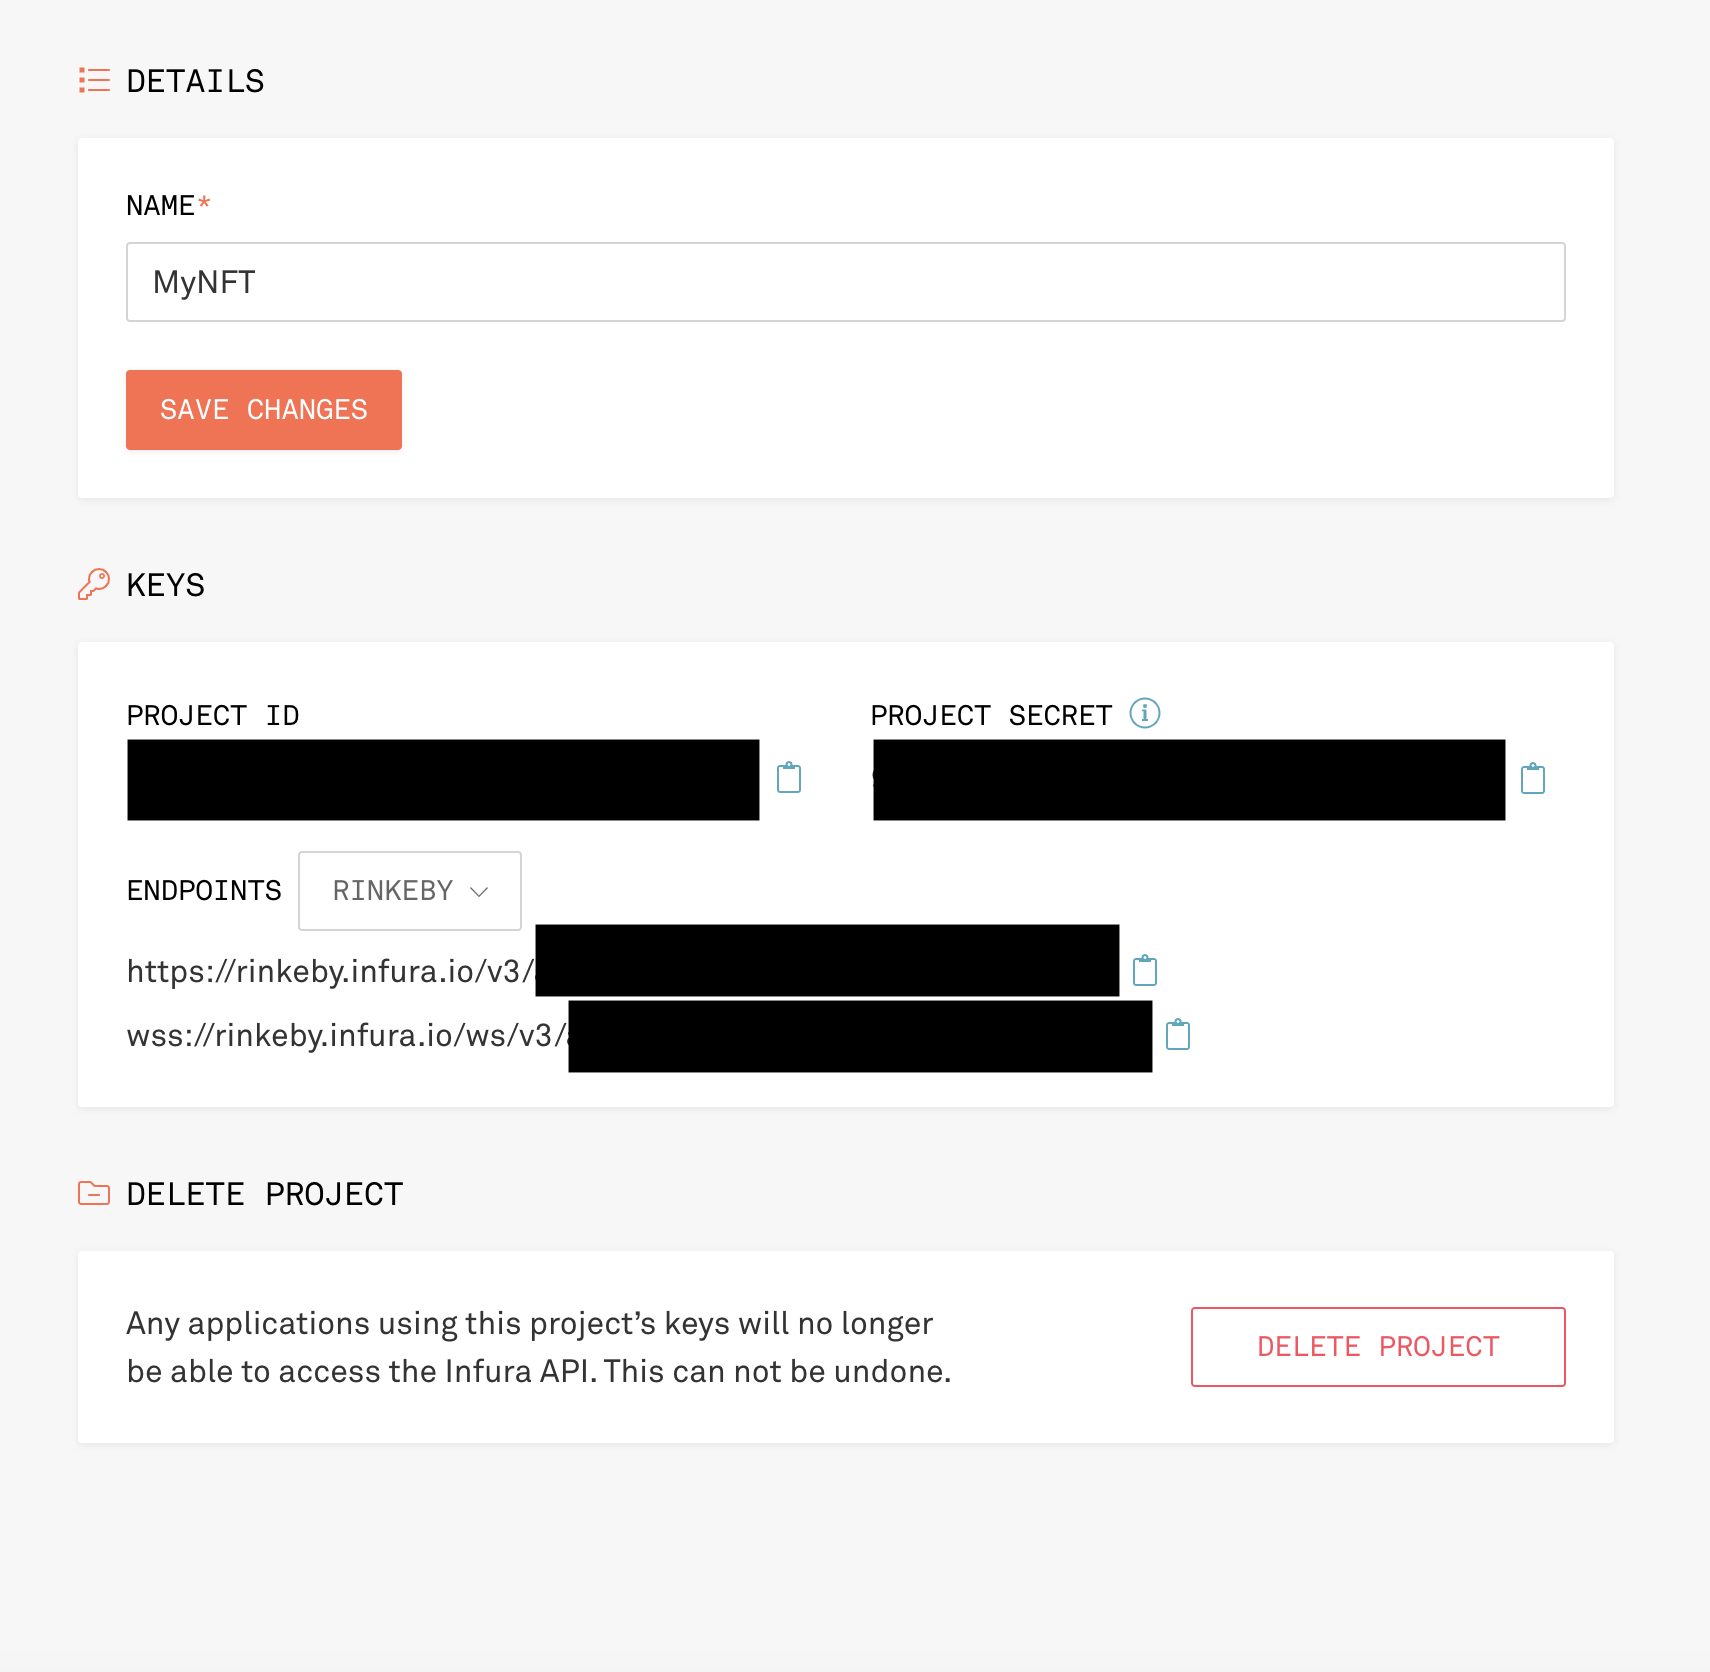
Choose the Rinkeby Test Network. It' easier to view test net NFTs on this network via OpenSea.
Access your credentials. The project ID can be akin to your username, and the project secret a password.
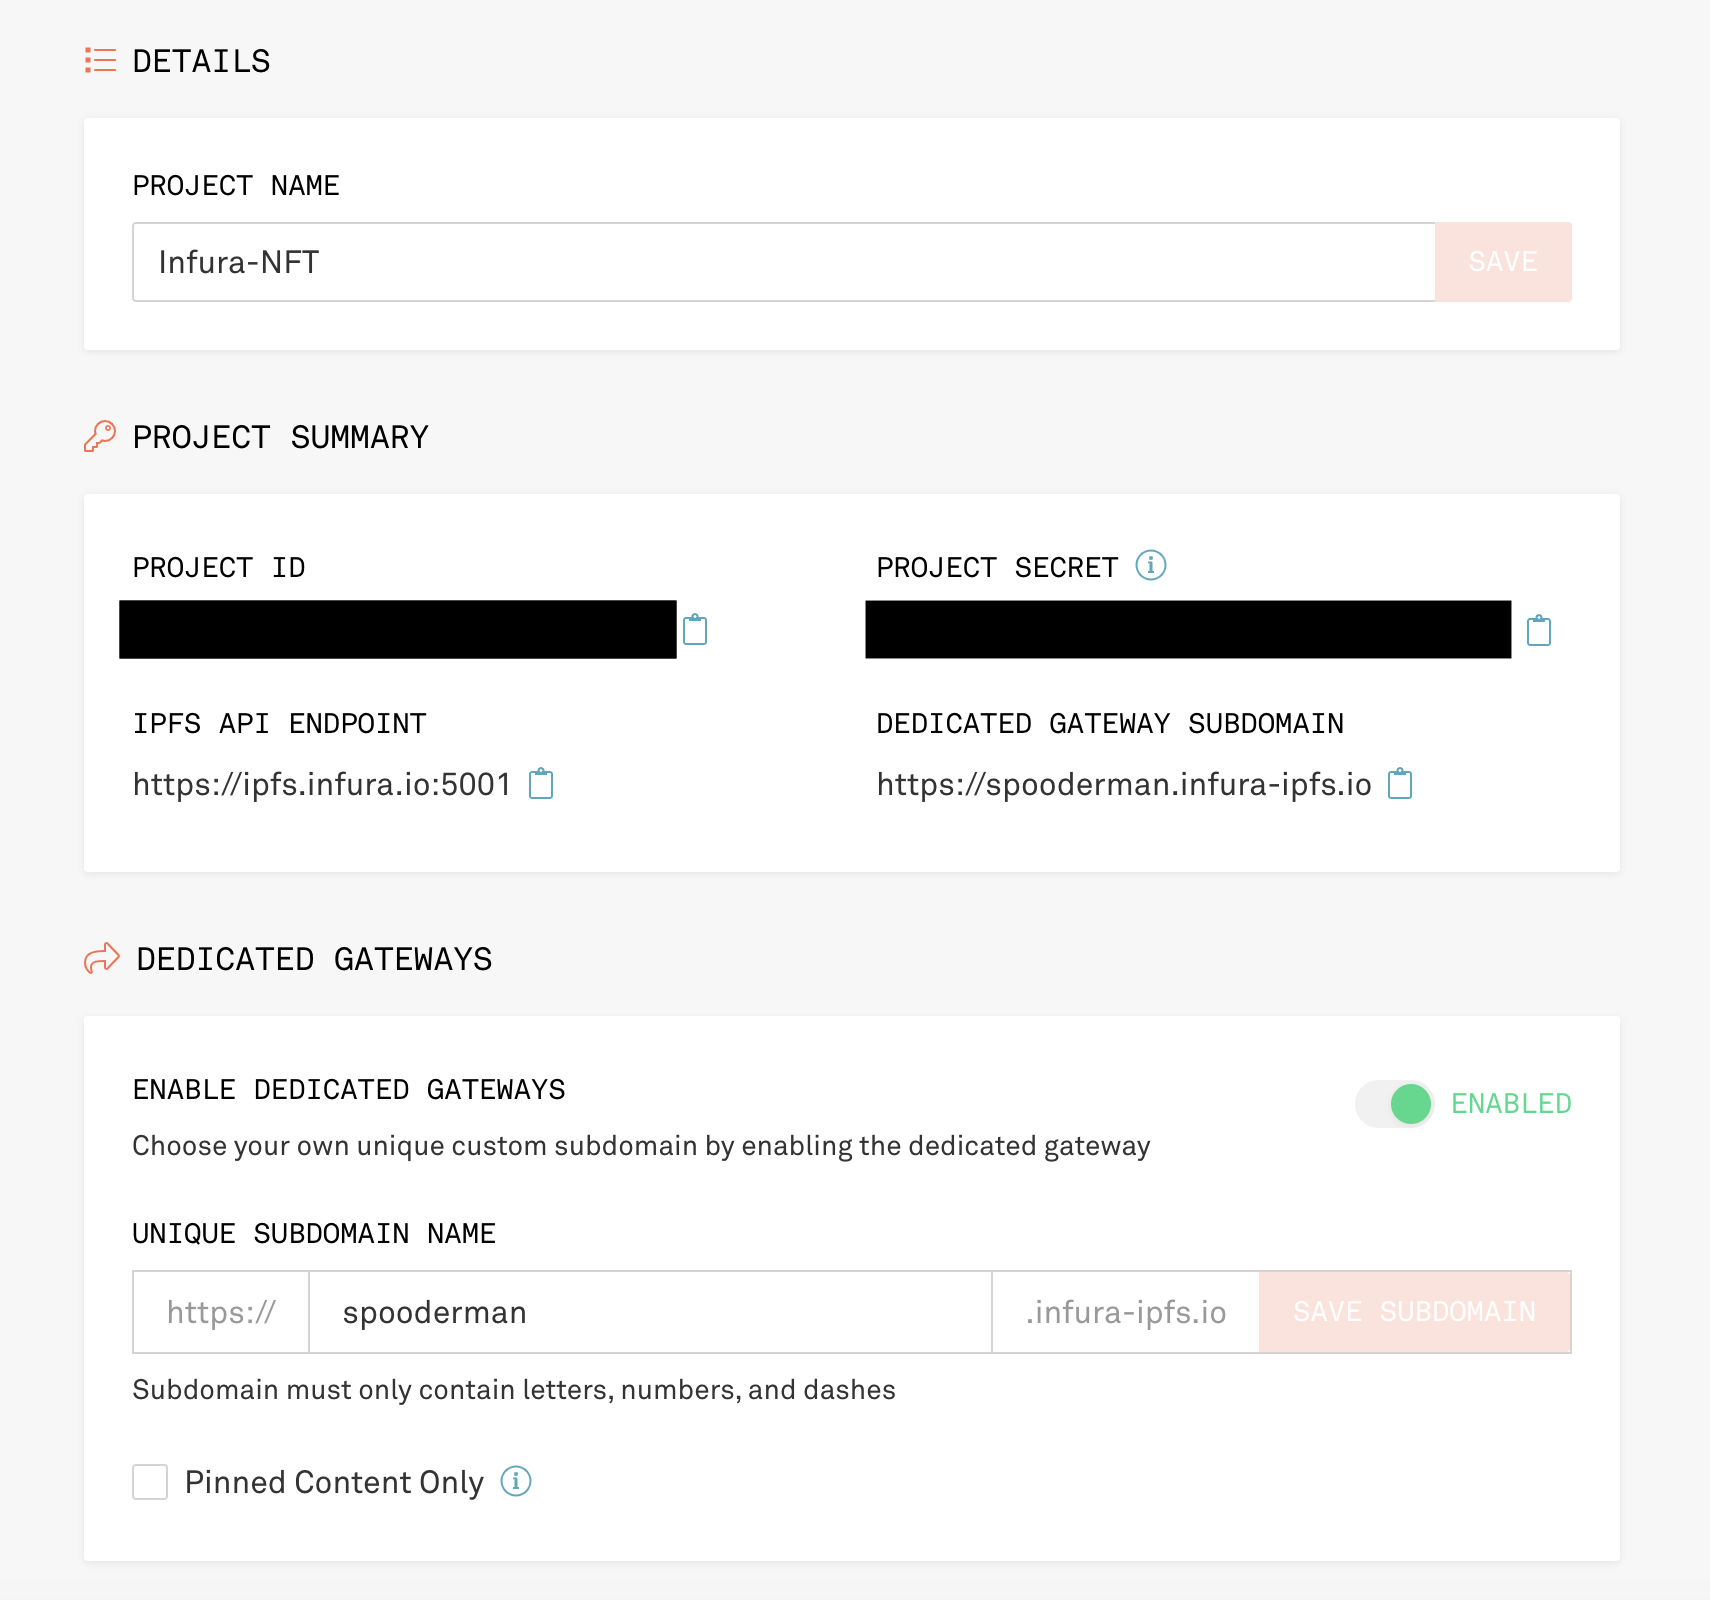
Next, create a new project and choose IPFS. You will save both these credentials into an .env file.
Find a sample image you'd like to upload to IPFS.
From your project root, run the follow curlcommand to upload the image. Make sure to modify the curl script to add the Project SecretandProject ID from your IPFS project, not your Rinkeby project.
curl "https://ipfs.infura.io:5001/api/v0/add" \
-X POST \
-F file=@"/img/meme-nft.json" \
-u "<Project-ID>:<Project-Secret>"
You will recieve something like below. The Hash is the IPFS Cotent ID (CID) which we will use to identify our asset.
-X POST \
-F file=@"./img/meme-nft.jpeg" \
-u "<Project-ID>:<Project-Secret>"
{"Name":"meme-nft.jpeg","Hash":"QmW5sPVbZDueZwvSuibteAwDFwFXhF8gebfptGBx1DZq1j","Size":"78353"}
We can check the following address below for the NFT. Note that spooderman is the name of the dedicated subdomain. This part of the URL will reflect your subdomain's name. Also notice the prefix for .../ipfs, followed by the images content id (CID).
https://spooderman.infura-ipfs.io/ipfs/QmW5sPVbZDueZwvSuibteAwDFwFXhF8gebfptGBx1DZq1j
Viola! We have used decentralized storage to upload our NFT image. Now let's create our project.
Now, let's set up our directory.
First, let's create the repository. After selecting your desired directory to create the project, in your terminal, run:
Create the directory folder.
mkdir NFT-Crash-CourseCreate a .env file for your Infura credentials
touch .envWithin the same folder, add a node project. Step through the questions in the initial setup by pressing enter to add the defaults.
npx yarn initAdd dotenv to manage environment files
npx yarn add dotenvOpen the config file
open .envGet a mnemonic by running the following code. Copy and paste this into .env file.
npx mnemonicsAdd the Infura credentials
# Secret recovery phrase - NEVER EVER SHARE
MNEMONIC= Add your 12 word secret phrase to access your assets on Ethereum. Never share these! Wrap in qoutations.

# Infura Project details
INFURA_PROJECT_ID= Add your secret here. (No qoutations)
INFURA_PROJECT_SECRET=Add your ID here. (No quotations)

# IPFS Project details
INFURA_IPFS_PROJECT_ID= Add IPFS project id (No qoutations)
INFURA_IPFS_SECRET= Same for IPFS secret (No qoutations)
If you are using git, let's add a .gitignore file to omit the inclusion of unnecessary files.
touch .gitignoreAt the top of the .gitignore file, add the following.
# environment files
.env

# Mac OS files system - if mac users
.DS_Store
Below that text, add following code to the .gitignore file.
Next, let's set up our Truffle. The following command will setup our the scaffold files for our smart contract development environment.
npx truffle initTruffle creates the following directory structure for your project: contracts/: directory for your Solidity contracts. migrations/: directory for the scriptable deployment files. test/: directory for files that test your application and contracts. truffle-config.js: the Truffle configuration file.
Next, let's add the hierarchical deterministic wallet (HD Wallet). hdwallet-provider is a separate package that holds our keys and signs transactions for addresses derived from a 12 or 24-word mnemonic.
Note: that Infura does not manage your private keys. So, it cannot sign transactions on your behalf.
yarn add @truffle/hdwallet-providerNext up, let's add the OpenZeppelin Contracts. OpenZeppelin is a library for secure smart contract development. It allows developers to build on a solid foundation of community-vetted code.
This is important because smart contracts can hold enormous amounts of value and are immutable.
npx yarn add @openzeppelin/contractsNow, let's configure our Truffle set up. This will allow us to connect Truffle to Infura and access the Ethereum Network.
This particular network, Rinkeby, is test network. Test networks are used to deploy contract for testing for free. This allows developers to experiment with contracts conditions that mirror the Ethereum Mainnet where Ether is worth real money.
Open truffle.config.js and modify truffle-config.js with the following code:
// add at the top of truffle-config.js

require("dotenv").config(); // allows usage of .env file to store secrets
const HDWalletProvider = require('@truffle/hdwallet-provider'); // holds secret mnemonic for your Ethereum address
const infuraURL = 'https://rinkeby.infura.io/v3/' + INFURA_PROJECT_ID; // end point to join network
const mnemonic = process.env.MNEMONIC;

//...
// inside networks value
networks: {
    rinkeby: {
      provider: () => new HDWalletProvider(mnemonic, infuraURL),
      network_id: 4, // Rinkeby's id
      gas: 5500000, // Rinkeby has a lower block limit than mainnet
      confirmations: 2, // # of confs to wait between deployments. (default: 0)
      timeoutBlocks: 200, // # of blocks before a deployment times out  (minimum/default: 50)
      skipDryRun: true, // Skip dry run before migrations? (default: false for public nets )
    },
},
//...
// inside compilers
 compilers: {
    solc: {
      version: '0.8.13'
    }
};Finally, let get some free Ether to process transactions on the Rinkeby test network.
Ether is required because:
- Without it, public networks accessible by all would run into DDOS attacks.
- Being able to upload arbitraty logic opens up the network to the the halting problem.
- independent network operators require incentivization to process computation on the network and pay for their operating costs.
Luckily, for our test networks, Ether is free.
Go to faucet.paradigm.xyz/ and add your address to claim Rinkeby Ether.
Let's setup our client front-end within the same repository. We will call it /client.
npx create-react-app clientNavigate inside the /client file and initialize yarn. Additionally, add tailwind to help create a simple user interface.
npx yarn init -y && yarn add tailwindOur focus for this tutorial will be on smart contracts and interacting with them.
Migrations.sol keeps track of our smart contract migrations to the chain. No edits are required here.
Let's create our NFT Contract!
Run the following command to create a new contract
npx truffle create contract MyNFTWithin `MyNFT.sol, add the following code:
//Contract based on [https://docs.openzeppelin.com/contracts/4.x/erc721](https://docs.openzeppelin.com/contracts/4.x/erc721)
// SPDX-License-Identifier: MIT
pragma solidity ^0.8.13;

import "@openzeppelin/contracts/token/ERC721/ERC721.sol";
import "@openzeppelin/contracts/token/ERC721/extensions/ERC721URIStorage.sol";
import "@openzeppelin/contracts/utils/Counters.sol";
import "@openzeppelin/contracts/access/Ownable.sol";

contract MyNFT is ERC721URIStorage, Ownable {
    using Counters for Counters.Counter;
    Counters.Counter private _tokenIds;

    constructor() ERC721("My meme NFT", "NFT") {}

    function mintNFT(address recipient, string memory tokenURI)
        public
        returns (uint256)
    {
        _tokenIds.increment();

        uint256 newItemId = _tokenIds.current();
        _safeMint(recipient, newItemId);
        _setTokenURI(newItemId, tokenURI);

        return newItemId;
    }
}
In mintNFT():
- _tokenIds.increment(); increases a counter by 1, thus enabling the code to generate a unique Token ID.
- uint256 newItemId = _tokenIds.current() assigns the current count number to a new instance of _tokenIds named newItemId.
- _safeMint(recipient, newItemId); mints newItemId and assigns it to recipient (an address).
- _setTokenURI(newItemId, tokenURI); sets tokenURI as the URI of the NFT’s metadata file, that we created earlier.
Now that we have our contract, let's compile it into EVM Bytecode for eventual deployment.
npx truffle compileCompiled files go in the build/contracts/ directory, relative to your project root. Refer to the Truffle documentation for more information about the compilation process.
Let's now write the script for deployment to the Rinkeby test network.
Navigate to the root of your project directory and create the 2_deployNFT.js file.
touch ./migrations/2_deployNFT.jsThe deployment scripts are numbered in the order we wish to deploy them.
Inside 2_deployNFT.js add:
var MyNFT = artifacts.require("MyNFT");

module.exports = function (deployer) {
  // deployment steps
  deployer.deploy(MyNFT);
};
Now we can deploy our contract to Rinkeby test network!
truffle migrate --network rinkebyAn error will be recieved. This is due to the account generated from our mnemomic inside does not have ETH.
Compiling your contracts...
===========================
> Everything is up to date, there is nothing to compile.


Starting migrations...
======================
> Network name:    'rinkeby'
> Network id:      4
> Block gas limit: 29999972 (0x1c9c364)


1_initial_migration.js
======================

   Deploying 'Migrations'
   ----------------------
 *** Deployment Failed ***

"Migrations" could not deploy due to insufficient funds
   * Account:  0xFd145c8138E7534F6d2FdEec89E4E92eb76a43F4
   * Balance:  0 wei
   * Message:  insufficient funds for gas * price + value
   * Try:
      + Using an adequately funded account
      + If you are using a local Geth node, verify that your node is synced.


Exiting: Review successful transactions manually by checking the transaction hashes above on Etherscan.


Error:  *** Deployment Failed ***

"Migrations" could not deploy due to insufficient funds
   * Account:  0xFd145c8138E7534F6d2FdEec89E4E92eb76a43F4
   * Balance:  0 wei
   * Message:  insufficient funds for gas * price + value
   * Try:
      + Using an adequately funded account
      + If you are using a local Geth node, verify that your node is synced.
To resolve this issue, let's send the test Ether from your MetaMask account to the listed addressed.
You have just completed your first transaction!
Wait untill the transactions is finished in about 15 seconds. Then, run the above command again.
truffle migrate --network rinkebyYou will see something like
Compiling your contracts...
===========================
> Everything is up to date, there is nothing to compile.


Starting migrations...
======================
> Network name:    'rinkeby'
> Network id:      4
> Block gas limit: 30000000 (0x1c9c380)


1_initial_migration.js
======================

   Deploying 'Migrations'
   ----------------------
   ⠋ Blocks: 0            Seconds: 0   > transaction hash:    0x22fa0d933d4f677654d1ce02b7d5ba8278d385d43af8f7494e87bb89c7a1b29e
   ⠦ Blocks: 0            Seconds: 0undefined
   ⠴ Blocks: 0            Seconds: 4undefined
   > Blocks: 0            Seconds: 8
   > contract address:    0xa87186C125a3142953D6F0ff9Ec145fE1384f54d
   > block number:        10893042
   > block timestamp:     1655847941
   > account:             0xFd145c8138E7534F6d2FdEec89E4E92eb76a43F4
   > balance:             0.99937461499499692
   > gas used:            250154 (0x3d12a)
   > gas price:           2.50000002 gwei
   > value sent:          0 ETH
   > total cost:          0.00062538500500308 ETH

   Pausing for 2 confirmations...

   -------------------------------
   > confirmation number: 1 (block: 10893043)
   > confirmation number: 2 (block: 10893044)

   > Saving migration to chain.
   > Saving artifacts
   -------------------------------------
   > Total cost:     0.00062538500500308 ETH


2_deployNFT.js
==============

   Deploying 'MyNFT'
   -----------------
   ⠋ Blocks: 0            Seconds: 0   > transaction hash:    0x2de0eca9c6d75a87d1076d248427981f9d6d1ce989dc2cfe651c4acdd92dc23e
   ⠦ Blocks: 0            Seconds: 0undefined
   ⠼ Blocks: 0            Seconds: 4undefined
   ⠸ Blocks: 0            Seconds: 8undefined
   > Blocks: 0            Seconds: 12
   > contract address:    0x47DC746F41c5dB584e5A6ccf15c2c161560cD0F7
   > block number:        10893046
   > block timestamp:     1655848001
   > account:             0xFd145c8138E7534F6d2FdEec89E4E92eb76a43F4
   > balance:             0.992331707447059236
   > gas used:            2771250 (0x2a4932)
   > gas price:           2.500000017 gwei
   > value sent:          0 ETH
   > total cost:          0.00692812504711125 ETH

   Pausing for 2 confirmations...

   -------------------------------
   > confirmation number: 1 (block: 10893047)
   > confirmation number: 2 (block: 10893048)

   > Saving migration to chain.
   > Saving artifacts
   -------------------------------------
   > Total cost:     0.00692812504711125 ETH

Summary
=======
> Total deployments:   2
> Final cost:          0.00755351005211433 ETH
Boom! You have just completed your second transaction and deployed your first contract!
Note: Save the contract address of MyNFT(0x65a156B90bc5E3e858C3e77d7Fd524A0F80c64e1, in this example) because you'll need it when minting the NFT.
Let's update our .env file to account for our NFT metadata:
# Secret recovery phrase - NEVER EVER SHARE
MNEMONIC= Add your 12 word secret phrase to access your assets on Ethereum. Never share these! Wrap in qoutations.

# Infura Project details
INFURA_PROJECT_ID= Add your secret here. (No qoutations)
INFURA_PROJECT_SECRET=Add your ID here. (No quotations)

# IPFS Project details
INFURA_IPFS_PROJECT_ID= Add IPFS project id (No qoutations)
INFURA_IPFS_SECRET= Same for IPFS secret (No qoutations)

# IPFS address of the NFT JSON metadata
TOKEN_URI="https://spooderman.infura-ipfs.io/ipfs/QmW5sPVbZDueZwvSuibteAwDFwFXhF8gebfptGBx1DZq1j"

# Address of the deployed smart contract
CONTRACT_ADDRESS="0x47DC746F41c5dB584e5A6ccf15c2c161560cD0F7"

# Public address to assign NFT mint to
# Use address 1 in your MetaMask account
PUBLIC_ADDRESS="<Public-Address-Of-The-Account-To-Send-NFT-To>"
Let's mint our cool NFT! We will do so in a programmatic way using a minting script.
Create a /scripts directory in the project's root directory and enter the said directory.
mkdir scripts && cd ./scriptsNext lets create the mintNFT.js script
touch mintNFT.jsWithin mintNFT.js add the following code:
require("dotenv").config();

const { TOKEN_URI, CONTRACT_ADDRESS, PUBLIC_ADDRESS } = process.env;

// Loading the compiled contract Json
const contractJson = require("../build/contracts/MyNFT.json");

module.exports = async function (callback) {
  // web3 is injected by Truffle
  const contract = new web3.eth.Contract(
    contractJson.abi,
    CONTRACT_ADDRESS // this is the address generated when running migrate
  );

  // get the current network name to display in the log
  const network = await web3.eth.net.getNetworkType();

  // Generate a transaction to calls the `mintNFT` method
  const tx = contract.methods.mintNFT(PUBLIC_ADDRESS, TOKEN_URI);
  // Send the transaction to the network
  const receipt = await tx
    .send({
      from: (await web3.eth.getAccounts())[0], // uses the first account in the HD wallet
      gas: await tx.estimateGas(),
    })
    .on("transactionHash", (txhash) => {
      console.log(`Mining transaction ...`);
      console.log(`https://${network}.etherscan.io/tx/${txhash}`);
    })
    .on("error", function (error) {
      console.error(`An error happened: ${error}`);
      callback();
    })
    .then(function (receipt) {
      // Success, you've minted the NFT. The transaction is now on chain!
      console.log(
        `Success: The NFT has been minted and mined in block ${receipt.blockNumber}`
      );
      callback();
    });
};Run the following script
npx truffle exec scripts/mintNFT.js --network rinkebyOnce you run the script, wait about 15 to 30 seconds. You should see something similar to:
Using network 'rinkeby'.

Mining transaction ...
https://rinkeby.etherscan.io/tx/0x6992baf3056a6fd486be3ddbbbef2a0f856e3b8d6f7c988656acf85fe6119754
Success: The NFT has been minted and mined in block 10893060
Viola! You have minted a new NFT!
You can check your NFT through various ways:
Via EtherScan: Copy and paste the outputted console message to view the transaction reciept.
Via OpenSea: Go to https://testnets.opensea.io/ and log in with your development MetaMask Account.
You will notice your MyNFT! However the metadata and picture is not populated!
Lets fix this!
Let's adjust our file structure to allow for metadata. Metadata allows digita assets to have additional properties, like a name, description, and image. This metadata is used to display information on OpenSea's website.
For the sake of organization, let's copy our meme-nft.jpg file into a new directory called /images.
mkdir images && cp img/meme-nft.jpeg images/nft-meme-nft.jpegCreate an additional folder called /metadata. The /metadata directory will hold all the JSON files for the tokens in your NFT contract and we will upload all of them at once as a compiled IPFS Car.
mkdir metadataLet's create the metadata file
touch metadata/MyNFT.jsonNow let's add the metadata:
{
  "description": "So Hot, NFT Demo",
  "external_url": "https://spooderman.infura-ipfs.io/ipfs/QmW5sPVbZDueZwvSuibteAwDFwFXhF8gebfptGBx1DZq1j",
  "image": "https://spooderman.infura-ipfs.io/ipfs/QmW5sPVbZDueZwvSuibteAwDFwFXhF8gebfptGBx1DZq1j",
  "name": "MyNFT - So Hot!",
  "background_color": "#FFF"
}OpenSea requires the tokenURI method in the ERC721 standard to pull off-chain metadata for an NFT. The uri (uniform resource identifer) should return an https or ipfs URL.
/**
 * @dev Returns an URI for a given token ID
 */
function tokenURI(uint256 _tokenId) public view returns (string) {
  return Strings.strConcat(
      baseTokenURI(),
      Strings.uint2str(_tokenId)
  );
}
When queried, this URL returns JSON data representing your NFT metadata.


