Advanced Push Notifications Sample App for PhoneGap/Cordova

Overview
This repository contains a sample app that demonstrates how to implement more advanced features relating to push notifications, specifically targeting and sending of push notifications based on user account filtering criteria. It is a hybrid app built using Telerik Platform and Cordova.
The sample app showcases these features:
- Users management
- Enabling a device for push notifications
- Registering devices with a userId field
- Creating push notifications from the client app
- Targeting push notifications to specific users
The sample app utilizes the following Telerik products and SDKs:
- Telerik Platform Backend Services JavaScript SDK—to connect the app to Telerik Backend Services
- Telerik Push Plugin for AppBuilder—to enable push notifications in Cordova
Screenshots
| Login Screen | Registering | Select Recipient | Receiving |
|---|---|---|---|
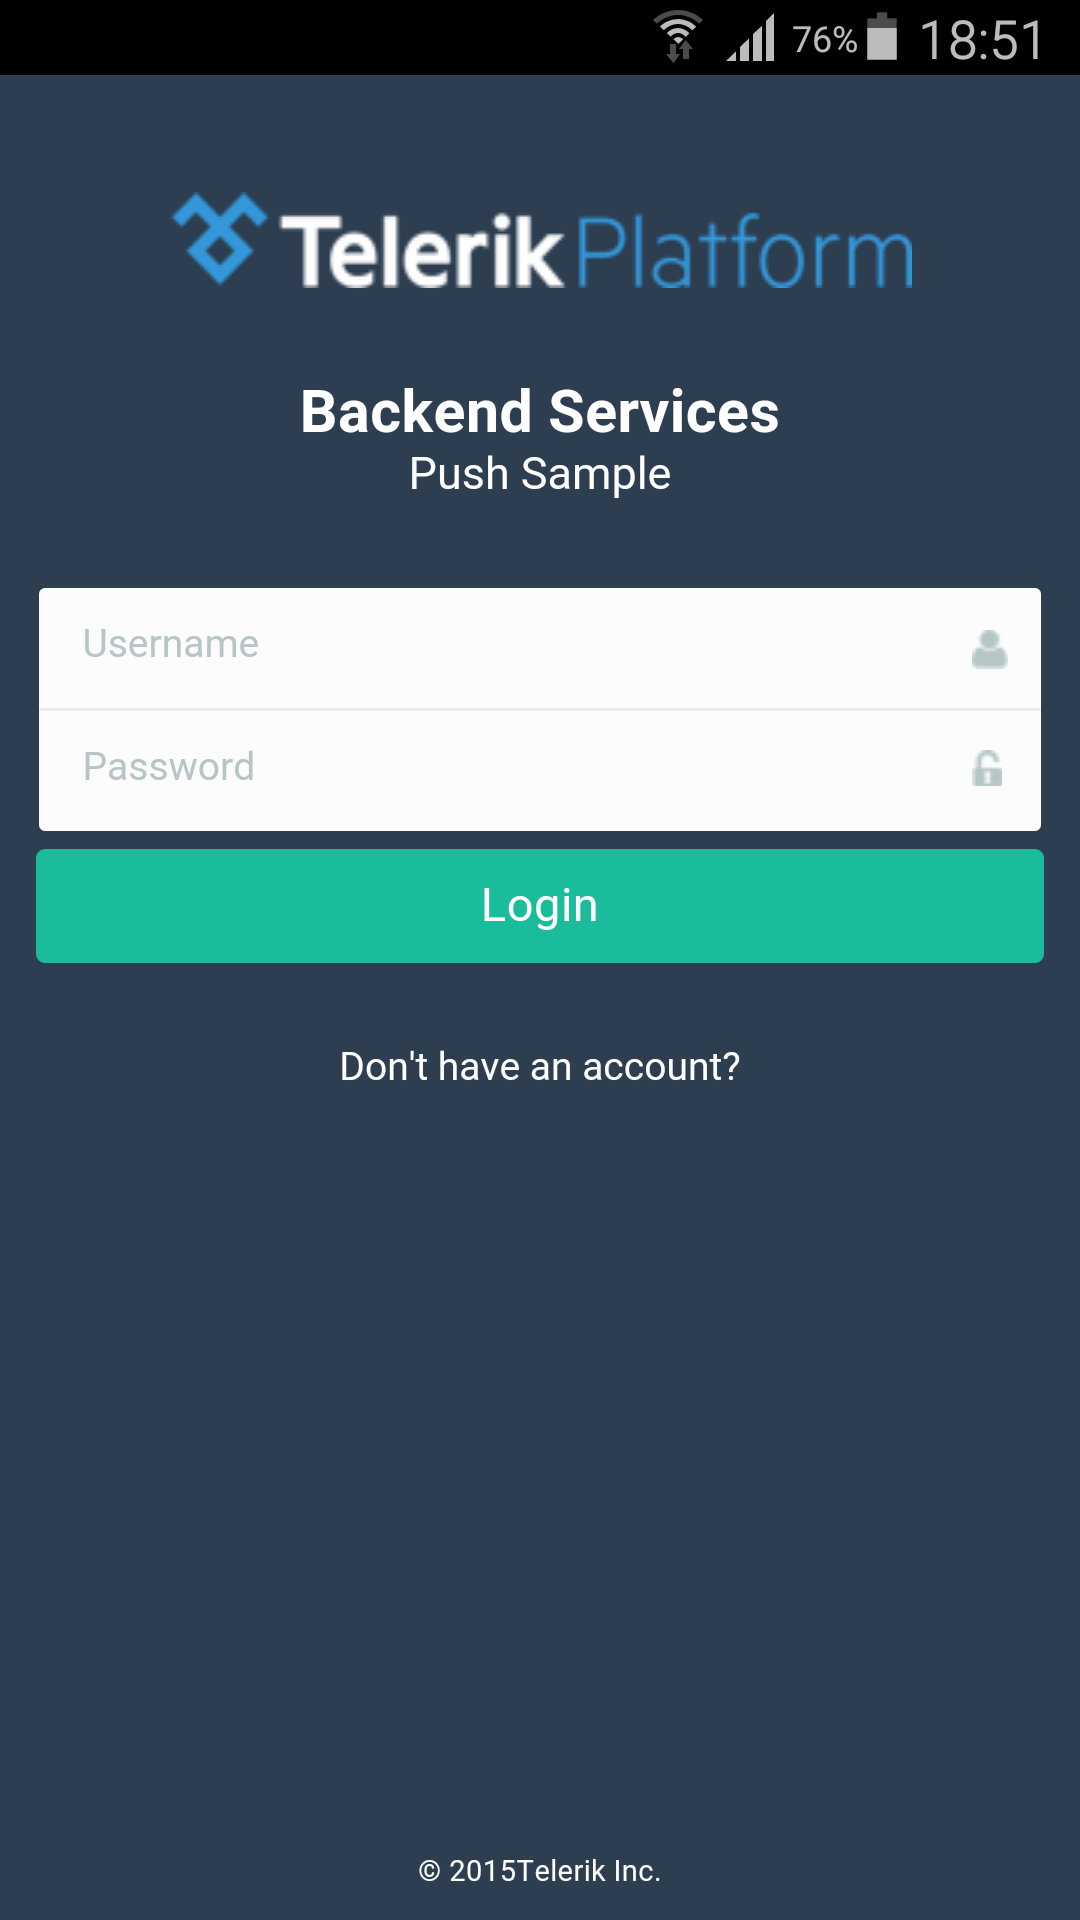 |
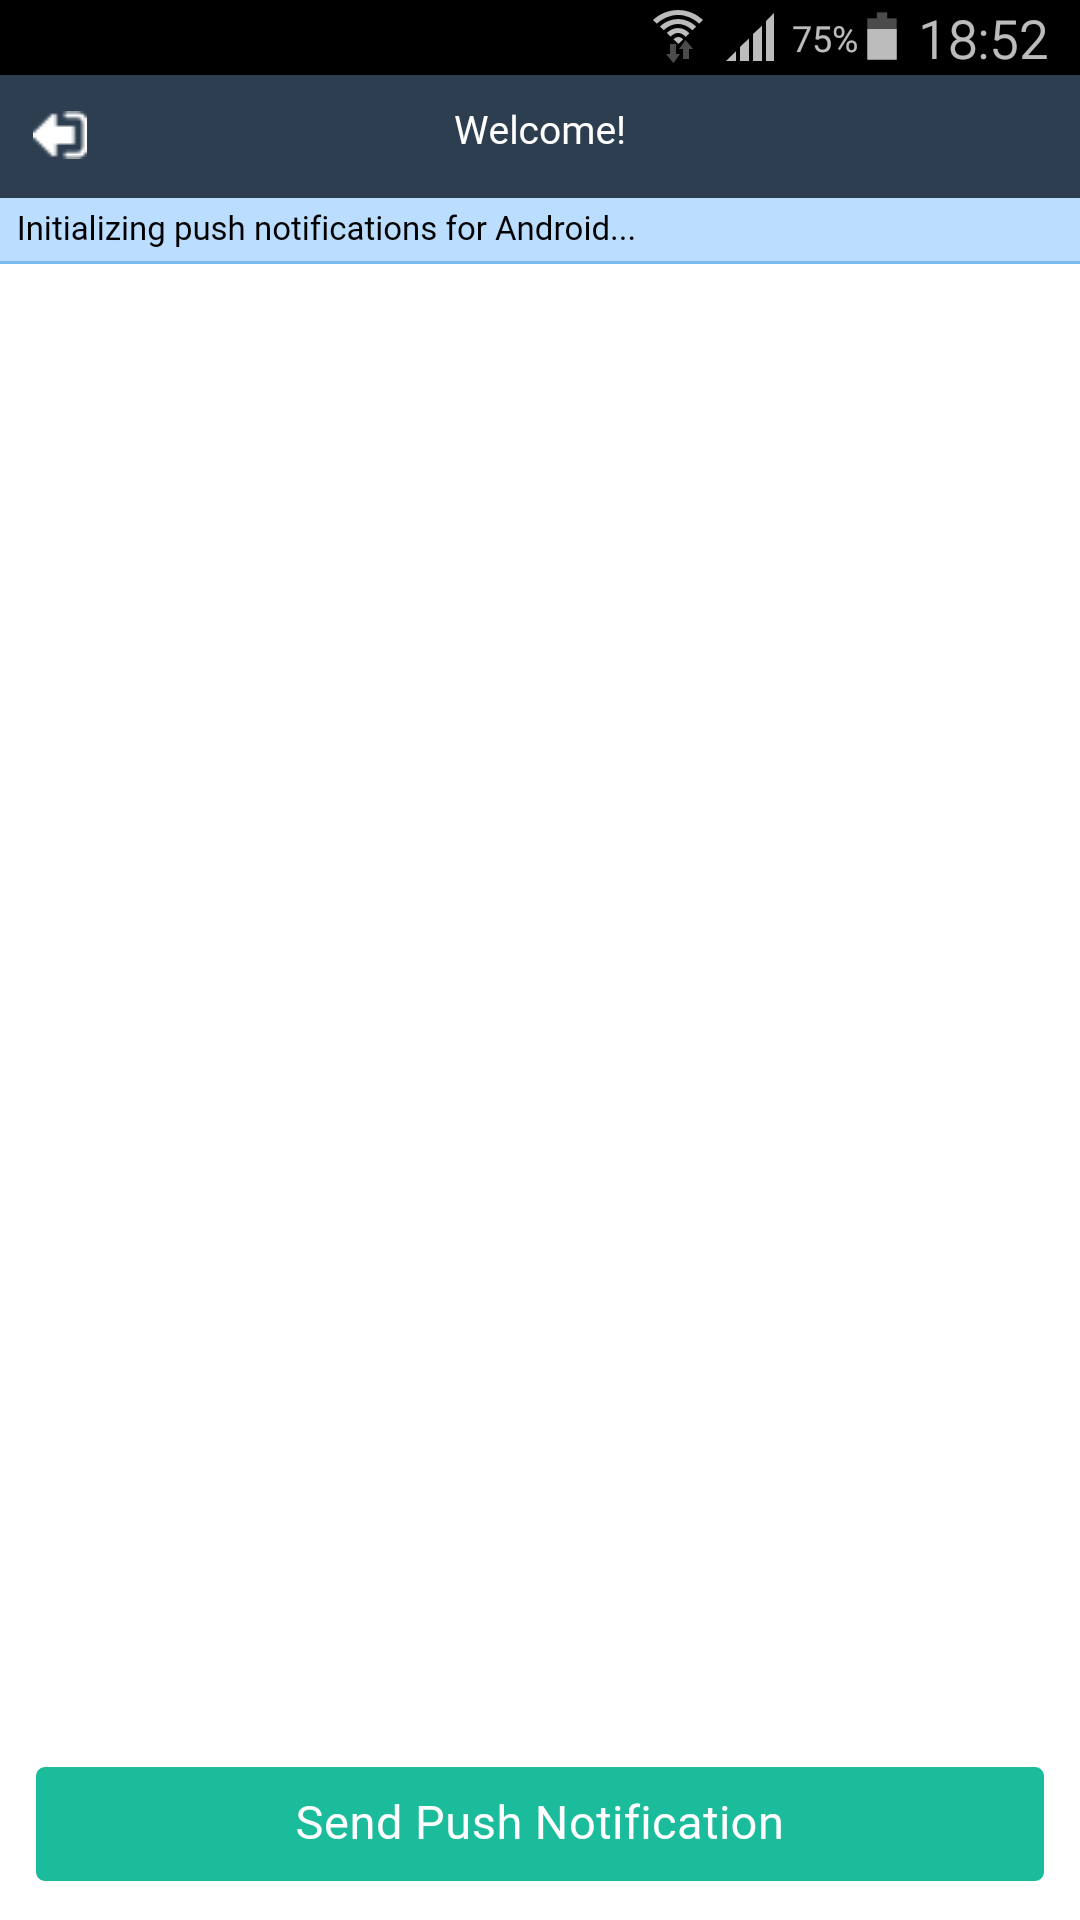 |
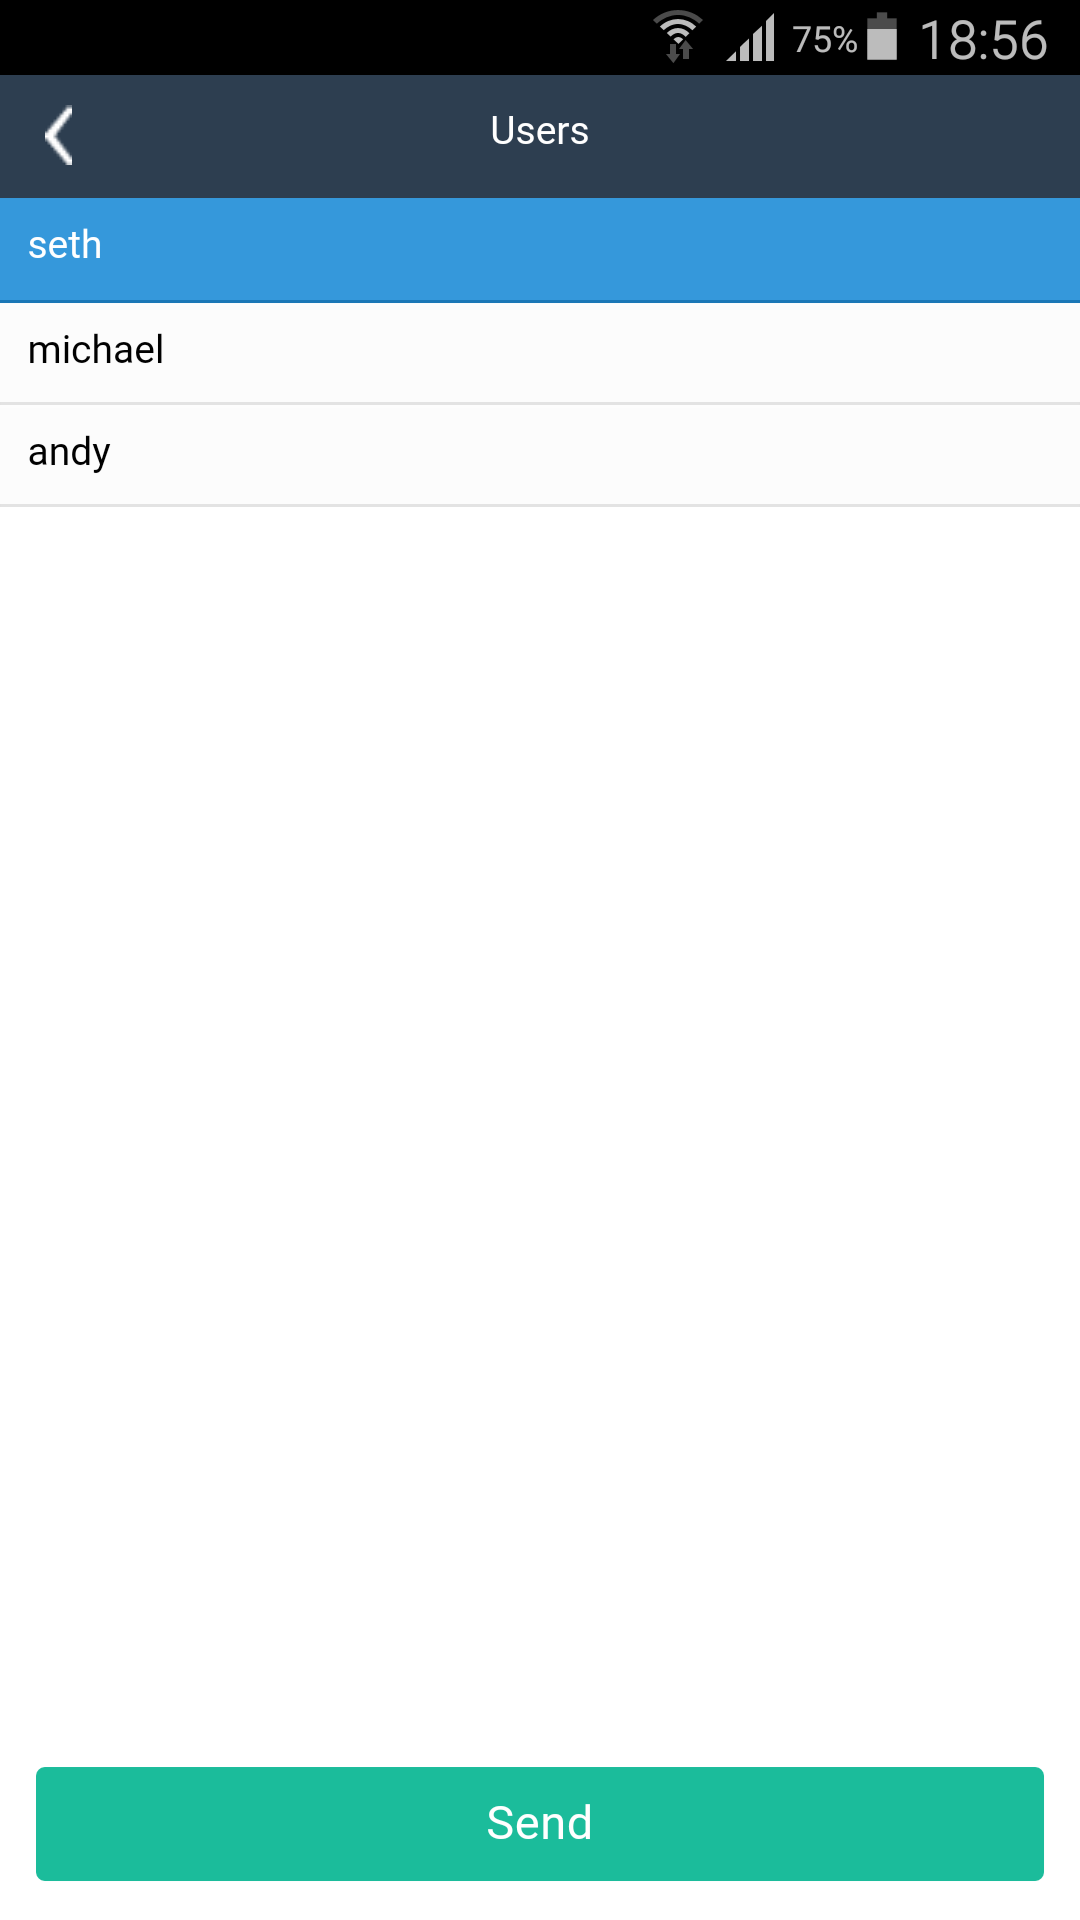 |
 |
Requirements
Before you begin, you need to ensure that you have the following:
- An active Telerik Platform account Ensure that you can log in to a Telerik Platform account. This can be a free trial account. To send a notification to a subset of users you will need a subscription plan that supports "Push to Segment".
- Telerik AppBuilder The sample app requires Telerik AppBuilder to run. This can be the in-browser client, the desktop client or the extension for Visual Studio.
Configuration
The sample app comes fully functional, but to see it in action you must link it to a Telerik Platform app.
- Click the Run in the Platform button to clone the repository in Telerik Platform.
A new Telerik Platform app is created for you. You can view the app source code on the Code tab. - Click the Data tab and then click Enable Data.
- Click the Settings tab.
- Take note of your App ID.
- Go back to Code.
- Open the
backend-services-push-hybrid-advanced/scripts/config.jsfile. - Locate the
app.config.everlive.appIdvariable and replace its value with the App ID that you acquired earlier. - If you want to run the app on Android devices, locate the
app.androidProjectNumbervariable and replace its value with your Google project number. More details on obtaining the project number can be found on Google Developers. - Go to the Notifications tab and click Enable Notifications.
- Enable push notifications as explained in Enabling Push Notifications.
- Ensure that the Notifications > Push Notifications > Permissions > Client Push Notifications setting is set to Allow or Limit.
- Go to the Users tab and click Enable Users. You will have to log into the app with a registered user account. Registration can be done through the "Don't have an account?" button in the app.
It is not advisable to set Client Push Notifications to Allow on productions apps. For more information, see Security of Push Notifications.
Running the Sample
Once the app is configured, you can run it on a real device. To run it, follow the steps in the product's documentation: Running Apps on Devices.
When running the app, ensure that you are building it as an app package as opposed to an AppBuilder companion app package.
Receiving push notifications are not supported when running the app on device simulators/emulators or in the AppBuilder companion app. The rest of the app features will work though.
Ensure that the device that you are using has Internet connectivity when running the sample.