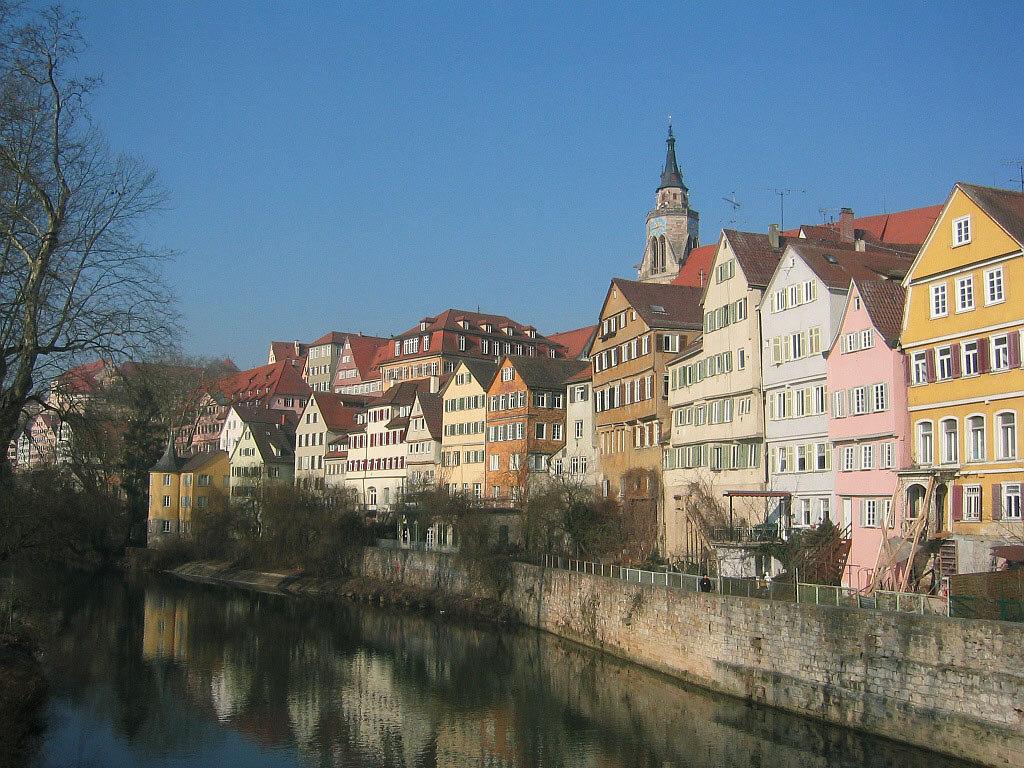
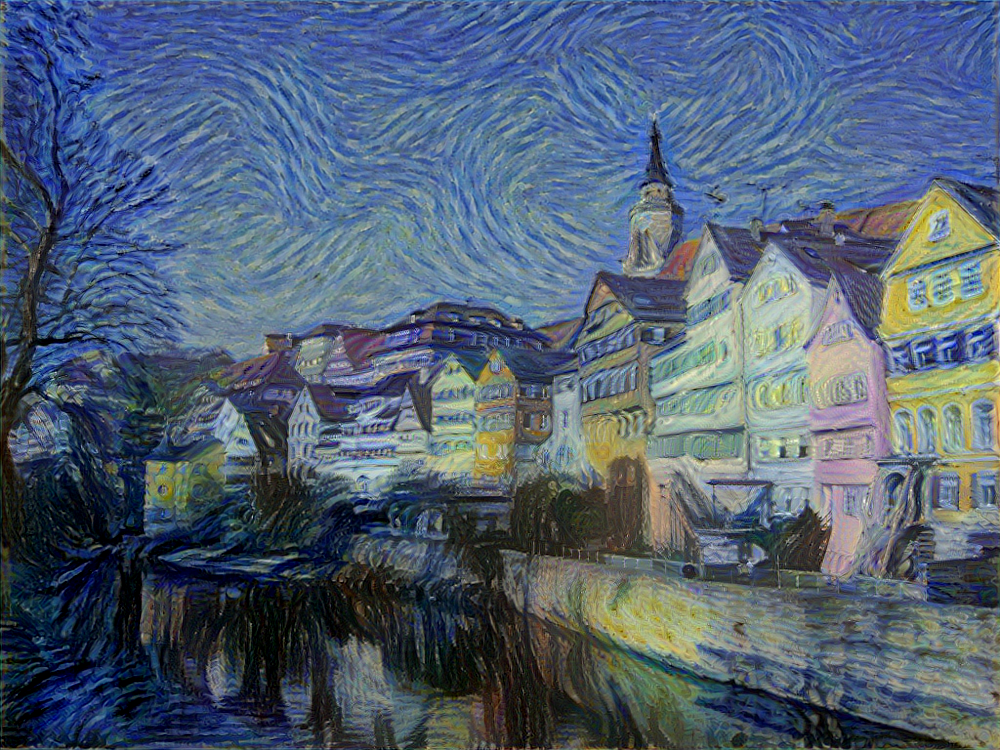
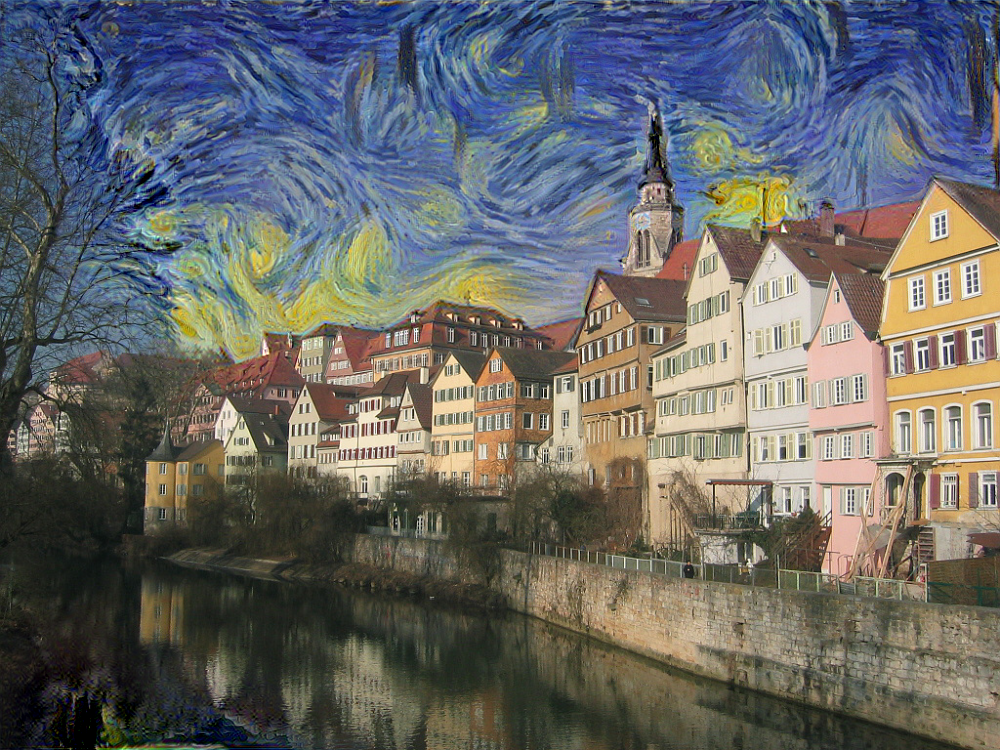
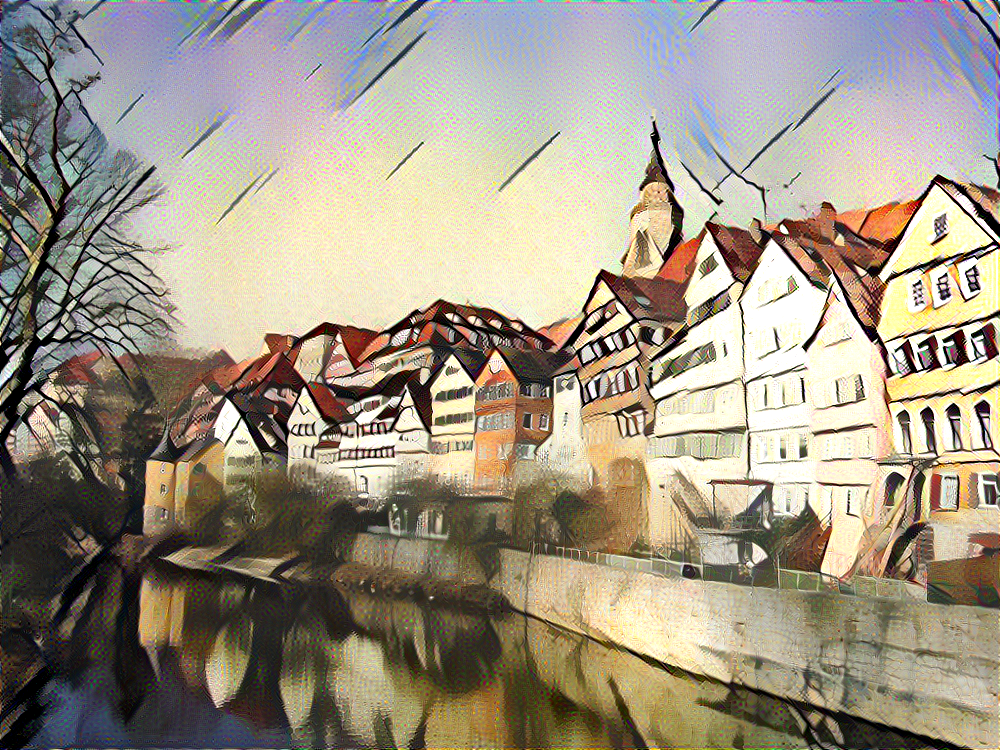
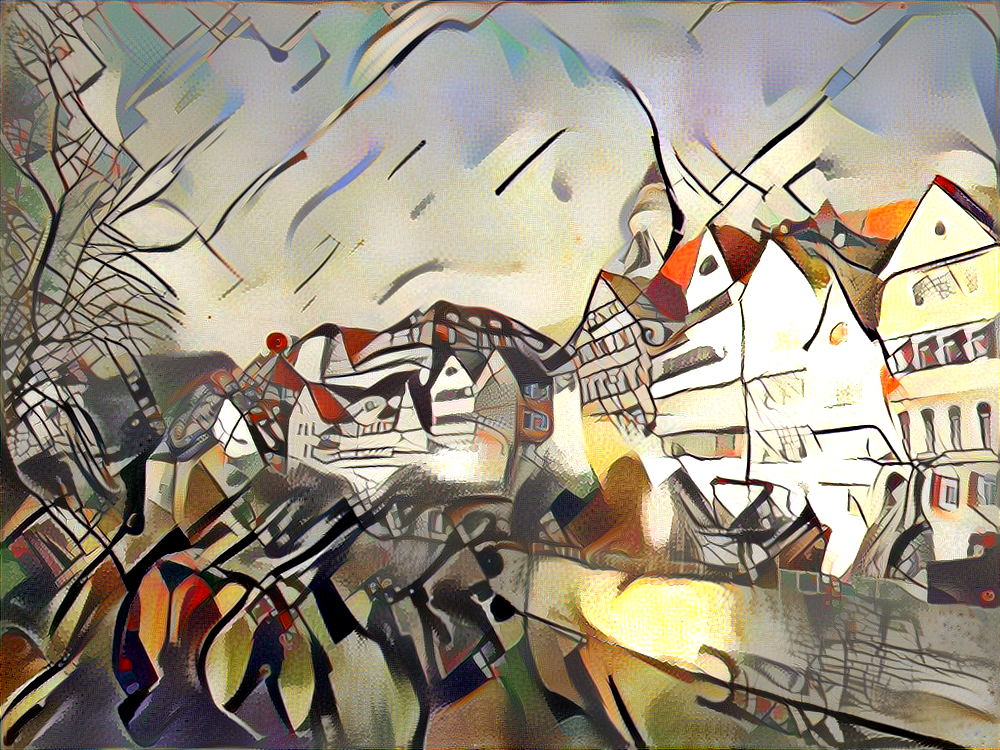
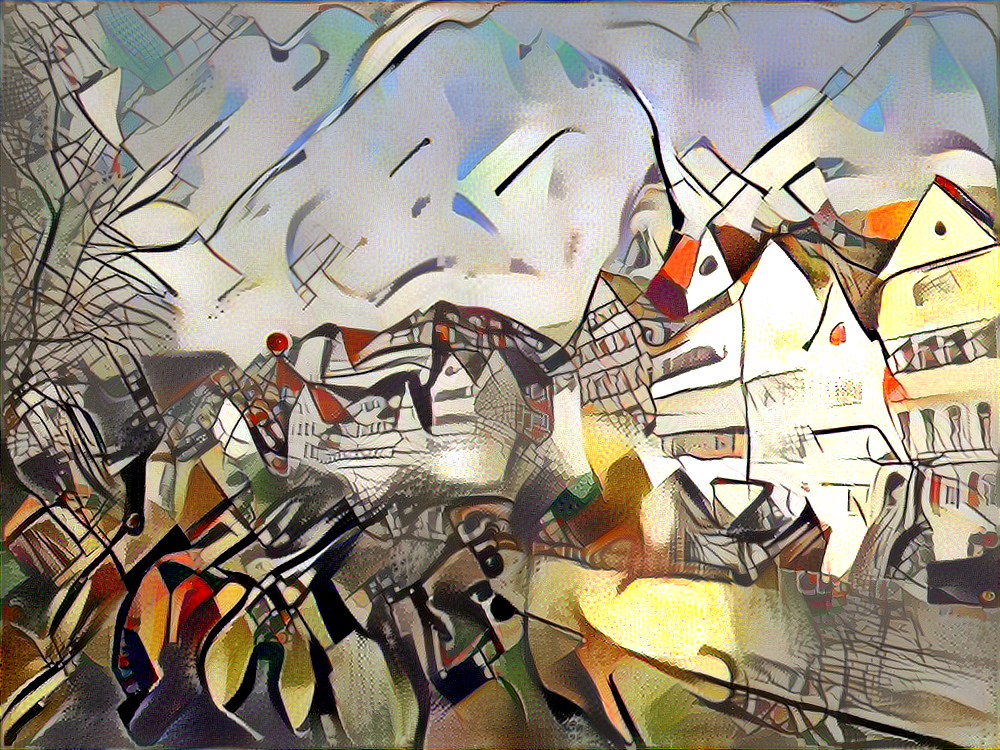
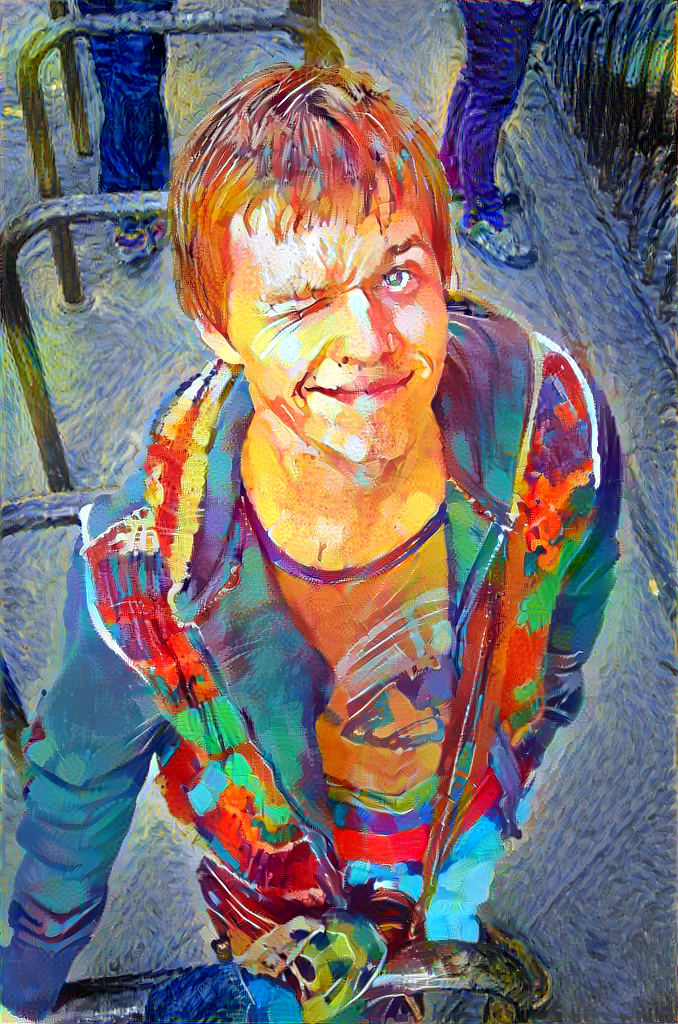
This is a TouchDesigner implementation of the Style Transfer using Neural Networks. Project is based on
You can read about underlying math of the algorithm here
Here is some results next to the original photo:
- Install TouchDesigner
- Install Tensorflow for Windows 1.4. It's higly recomended to use GPU version (so, you'll also need do install CUDA and, optionally, cuDNN). You can install Tensorflow directly to Python directory or with Anaconda. Touch currently uses CUDA 8 and Tensorflow higher than 1.4 needs CUDA 9, so you'll need to install tensorflow=1.4
- In TouchDesigner menu
Edit - Preferences - Python 32/64 bit Module Pathadd path to folder, where Tensorflow is installed (i.e. C:/Anaconda3/envs/TFinTD/Lib/site-packages). Details here. To check your installation run in Textport (Alt+t):
import tensorflow as tf
hello = tf.constant('Hello, TensorFlow!')
sess = tf.Session()
print(sess.run(hello))
If the system outputs Hello, TensorFlow!, then Tensorflow in TouchDesigner works well.
- Run command line or Powershell, activate conda enviroment (if Tensorflow was installed in conda) and install:
- numpy (or numpy+mkl)
- scipy
- opencv (OpenCV preinstalled in TouchDesigner 099 works fine, but for 088 you should install it manually in Python (or conda))
- Override built-in numpy module. To check in TouchDesigner Textport enter
import numpy
numpy
You should see path to numpy in your Python directory or Conda enviroment (i.e. C:/Anaconda3/envs/TFinTD/Lib/site-packages\\numpy\\__init__.py)
- You can use
check.toeto check your setup: open textport (Alt+t), right click on GPU DAT (or CPU, if you going to use it) and choose "Run script". In textport you should see something like:
python >>>
[[ 22.  28.]
 [ 49.  64.]]
Then run modules check. You should see something like:
python >>>
numpy: 1.13.0
scipy: 1.1.0
cv2: 3.2.0-dev
tensorflow: 1.4.0
If your numpy version is lower, probly you are using numpy built from TouchDesigner folder. Check step 4.
- Download the VGG-19 model weights (see the "VGG-VD models from the Very Deep Convolutional Networks for Large-Scale Visual Recognition project" section). After downloading, copy the weights file
imagenet-vgg-verydeep-19.matto the project directory or set path to it, using Style transfer user interface in TouchDesigner (StyleTransfer.toelast rowPath to VGGin UI).
- It's recomended to copy all images you need inside project folder derectories
/inputand/styles(or create your own directories). Long absolute paths cannot work sometimes (especially in windows %USER% folder) - Choose content image in
inputTOP - Choose style image in
style1TOP - Press
Run Style Transferin UI - Wait. TouchDesigner wouldn't respond for some seconds or minutes (depends on your GPU and resolutions of the images).
- Result will be in
resultTOP, linked to a file in the/outputfolder. Log with some info is inlogDAT - save it somewhere, if needed. - Experiment with settings
- Experiment with the code in
/StyleTransfer/local/modules/mainDAT - If something isn't working - first check errors in Textport
- You can always
load default parameters, when experiments goes too far. Num of iterations- Maximum number of iterations for optimizer: larger number increase an effect of stylization.Maximum resolution- Max width or height of the input/style images. High resolutions increases time and GPU memory usage. Good news: you don't need Commercial version of TouchDesigner to produce images larger than 1280×1280.- You can perform style transfer on
GPU or CPU device. GPU mode is many times faster and highly recommended, but requires NVIDIA CUDA (see Setup section) - You can transfer more than one style to input image. Set
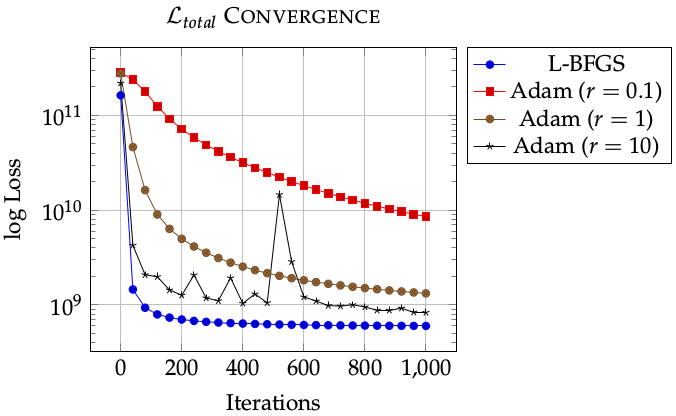
number of styles, weight for each of it and choose files in style TOPs. If you want to go beyond 5 styles — make changes in /StyleTransfer/UI/n_styles Use style masksif you want to apply style transfer to specific areas of the image. Choose masks in stylemask TOPs. Style applied to white regions.Keep original colorsif the style is transferred but not the colors.Color space convertion: Color spaces (YUV, YCrCb, CIE L*u*v*, CIE L*a*b*) for luminance-matching conversion to original colors.Content_weight- Weight for the content loss function. You can use numbers in scientific E notationStyle_weight- Weight for the style loss function.Temporal_weight- Weight for the temporal loss function.Total variation weight- Weight for the total variational loss function.Type of initialization image- You can initialize the network withcontent,random(noise) orstyleimage.Noise_ratio: Interpolation value between the content image and noise image if network is initialized withrandom.Optimizer- Loss minimization optimizer. L-BFGS gives better results. Adam uses less memory.`Learning_rate- Learning-rate parameter for the Adam optimizer.
VGG19 layers for content\style image: VGG-19 layers and weights used for the content\style image.Constant (K) for the lossfunction- Different constants K in the content loss function.
Type of pooling in CNN- Maximum or average ype of pooling in convolutional neural network.Path to VGG file: Path toimagenet-vgg-verydeep-19.matDownload it here.
By default, Style transfer uses the NVIDIA cuDNN GPU backend for convolutions and L-BFGS for optimization. These produce better and faster results, but can consume a lot of memory. You can reduce memory usage with the following:
- Use Adam: Set
Optimizerto Adam instead of L-BFGS. This should significantly reduce memory usage, but will require tuning of other parameters for good results; in particular you should experiment with different values ofLearning rate,Content weight,Style_weight. - Reduce image size: You can reduce the size of the generated image with the
Maximum resolutionsetting.
- CPU: Intel Core i7-4790K @ 4.0GHz × 8
- GPU: NVIDIA GeForce GTX 1070 8 Gb
- CUDA: 8.0
- cuDNN: v5.1 (or higher)
- OS: Windows 10 64-bit
- TouchDesigner: 099 64-bit built 2017.10000
- Anaconda: 4.3.14
- tensorflow-gpu: 1.2.0 (tested on 1.4.0 as well)
- opencv (built-in TouchDesigner): 3.2.0-dev
- numpy (installed in conda enviroment): 1.13.0 (tested on 1.15.1 as well)
- scipy (installed in conda enviroment): 0.19.1 (tested on 1.1.0 as well)
Contact me via exsstas@ya.ru or in Twitter
