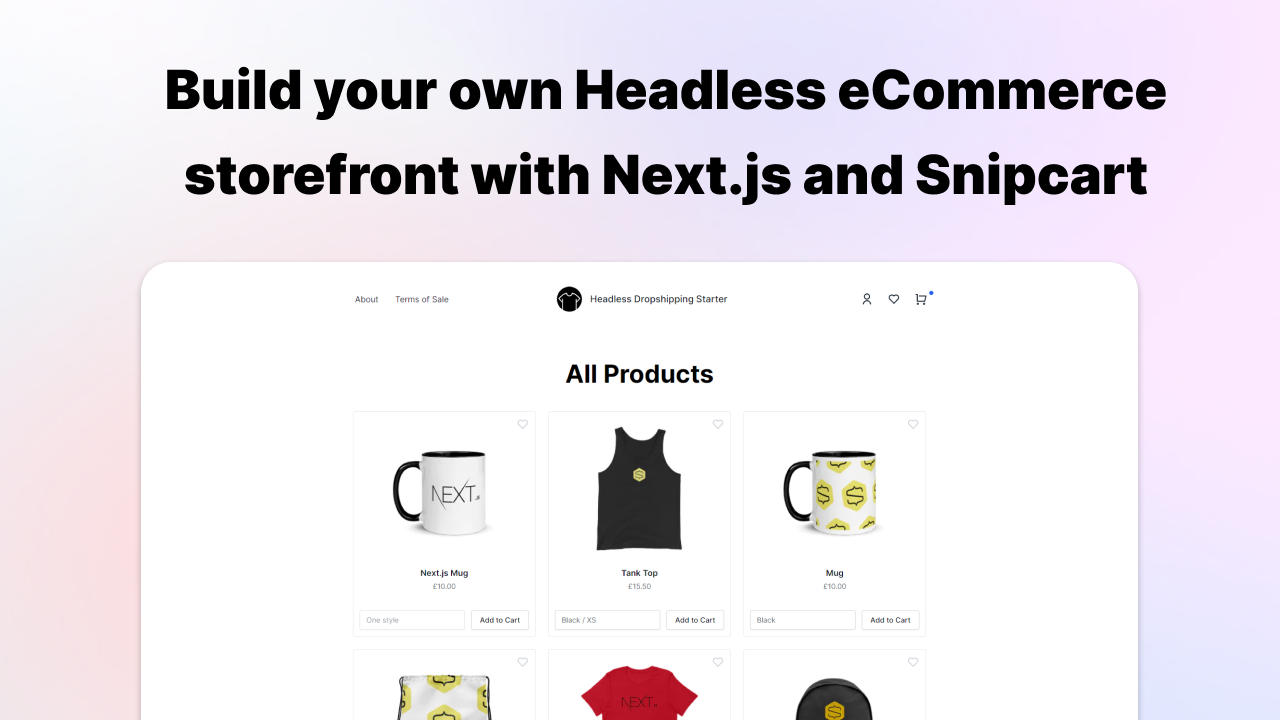
🧦 Build your own Headless eCommerce storefront with Next.js and Snipcart, and deliver swag powered by Printful. End to end commerce, styled using Tailwind CSS and deployed on Vercel.
Demo · Watch video demo · Learn more
- Realtime shipping prices
- Secure payments
- Automatic fulfillment
- Built with Next.js
- Cart & Checkout with Snipcart
- Styled with Tailwind CSS
- Fully Typed
- Recover abandoned carts
- One click deploy
- ... and more coming soon!
You'll first need to setup Snipcart & Printful before you can run the storefront locally, or deploy.
Create a new store
You'll want to select Manual order platform / API from the available methods when creating a new store.
Add products to your inventory
Let's add a product to your store.
- Select from over 200 hundred products which you would like to sell.
- Configure the product design by adding your logo, selecting available colors, and sizes.
- Next, proceed to mockups to select the image that will be shown in the storefront. You can select from people wearing your product, to flat wrinkled mockups. Make sure to select
PNGas your "mockup format" when creating your product. - Next, proceed to details where you can name your product. This name will be shown in the storefront.
- Next, proceed to pricing, and set some prices. Here you'll see the price it costs you, and the retail prices you'll charge your customers. You can quickly increase/decrease the profit margin here too.
- Save product
That's it! 🎉 Repeat this step for all products you want to sell.
ℹ️ Don't forget, shipping and taxes are extra!
ℹ️ You can optionally create a Product Template for items you may want to add to additional stores later.
Configure selling preferences
Inside Settings > Stores, you'll want to configure your default selling preferences. You can specify your selling region. You can opt to sell worldwide, and choose products from a wide variety of products, or you can set a specific region, such as the UK.
Depending on where you sell, you'll be liable to pay (or collect + pay) VAT. If you are VAT registered, provide Printful your VAT ID so orders can reflect a zero VAT amount where applicable.
📺 Learn more about VAT and Printful
ℹ️ If you need to collect VAT from customers, make sure to enable the Tax API with Snipcart.
Configure shipping preferences
Inside Settings > Stores > Shipping, you'll want to configure the USA & Europe settings.
The defaults should work for most, but you might want to make some adjustments for domestic and international shipping.
Enable API Access
Inside Settings > Stores > API, click to Enable API Access.
Make sure to copy your API Key for use later.
Add a billing method
You'll want to add a billing method to Printful so you can fulfill orders.
When a customer makes an order, Printful will charge YOU to process the order. 📺 Learn more how Printful processes payments for order fulfillment.
API key
Head over to Account > API Keys to get your Public API Key. You'll want to switch to LIVE mode.
Make a copy of your Public API Key for use later. You'll need it when deploying, or running locally.
Configure your website domain
It's important you configure your Default Website Domain so Snipcart can successfully validate product prices.
You may also want to add other domains, and subdomains if you're working locally with this.
The domain you provide here will be your live URL, such as headlessdropshipping.com.
You should also configure a Redirect URL. I have this set to the root domain of my store.
Configure webhooks
You'll want to configure the endpoint for webhooks. This webhook will be triggered throughout various stages of the pre, and post purchase stages.
For example, when a customer places a successful order, this webhook will be triggered, and it will call a function to add the order to Printful.
The webhook URL you provide here will be your domain appended by /api/snipcart/webhook.
Enable shipping
Unless you want to cover the cost of all shipping, you should enable Shipping. Below the heading Custom Shipping, select Webhooks, and Configure it.
**The endpoint URL you provide here will be your domain appended by /api/snipcart/shipping.
Enable taxes (optional)
Similar to shipping, you can enable custom taxes via a webhook. You should only enable this if you are VAT registered. Make sure to inform Printful of your VAT ID.
You will want to turn on webhooks, and click Configure.
**The endpoint URL you provide here will be your domain appended by /api/snipcart/tax.
The taxes you must collect are then calculated by Printful.
Configure your payment gateway
You should enable SCA (Strong Customer Authentication) for purchases.
To connect a payment gateway, click on Connect next to the gateway, such as Stripe.
Configure regional settings
You'll want to configure your regional settings for Snipcart. I would match the currency you buy with Printful with what you show on the store here. Printful will return a currency with your variants, this is what is added to the cart. It's important Snipcart knows about this currency, and how to format it in the cart/checkout.
Create a recovery campaign
You should create a new recovery campaign for abandoned carts. You can specify when this should be invoked (on orders above a certain amount), and what email is sent.
You can include a custom discount to the campaign so you can try to recover lost sales.
Add a credit card
See Snipcart pricing and add a credit card to your account. Snipcart has a monthly fee if you are below a certain sales amount.
With Snipcart you can invite multiple users to your account, configure your invoice templates, email templates, and much more. You should do all of this to ensure a great end to end experience for your customers.
You'll need your PRINTFUL_API_KEY and NEXT_PUBLIC_SNIPCART_API_KEY to deploy.
Copy the example env.local file, and add the necessary ENV variables.
cp .env.local.example .env.localYou'll next want to install the project dependencies, and start the local server:
npm install
npm run dev
Open http://localhost:3000 to see the storefront locally! 🚀