Schedule Open App
Content Table
What
The schedule-open-app is an app that is a challenge for a React Native position at Wolt
About the Project
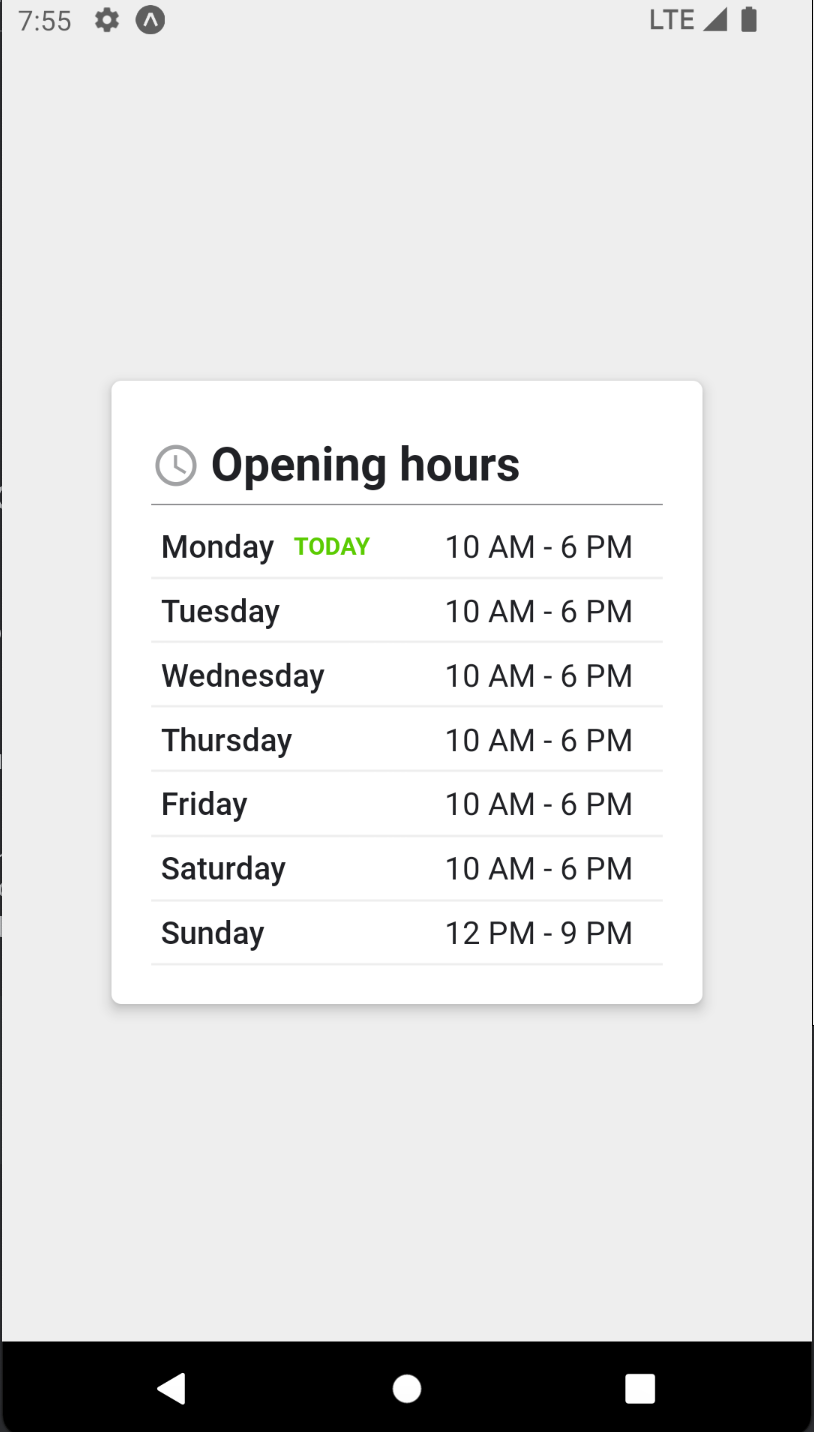
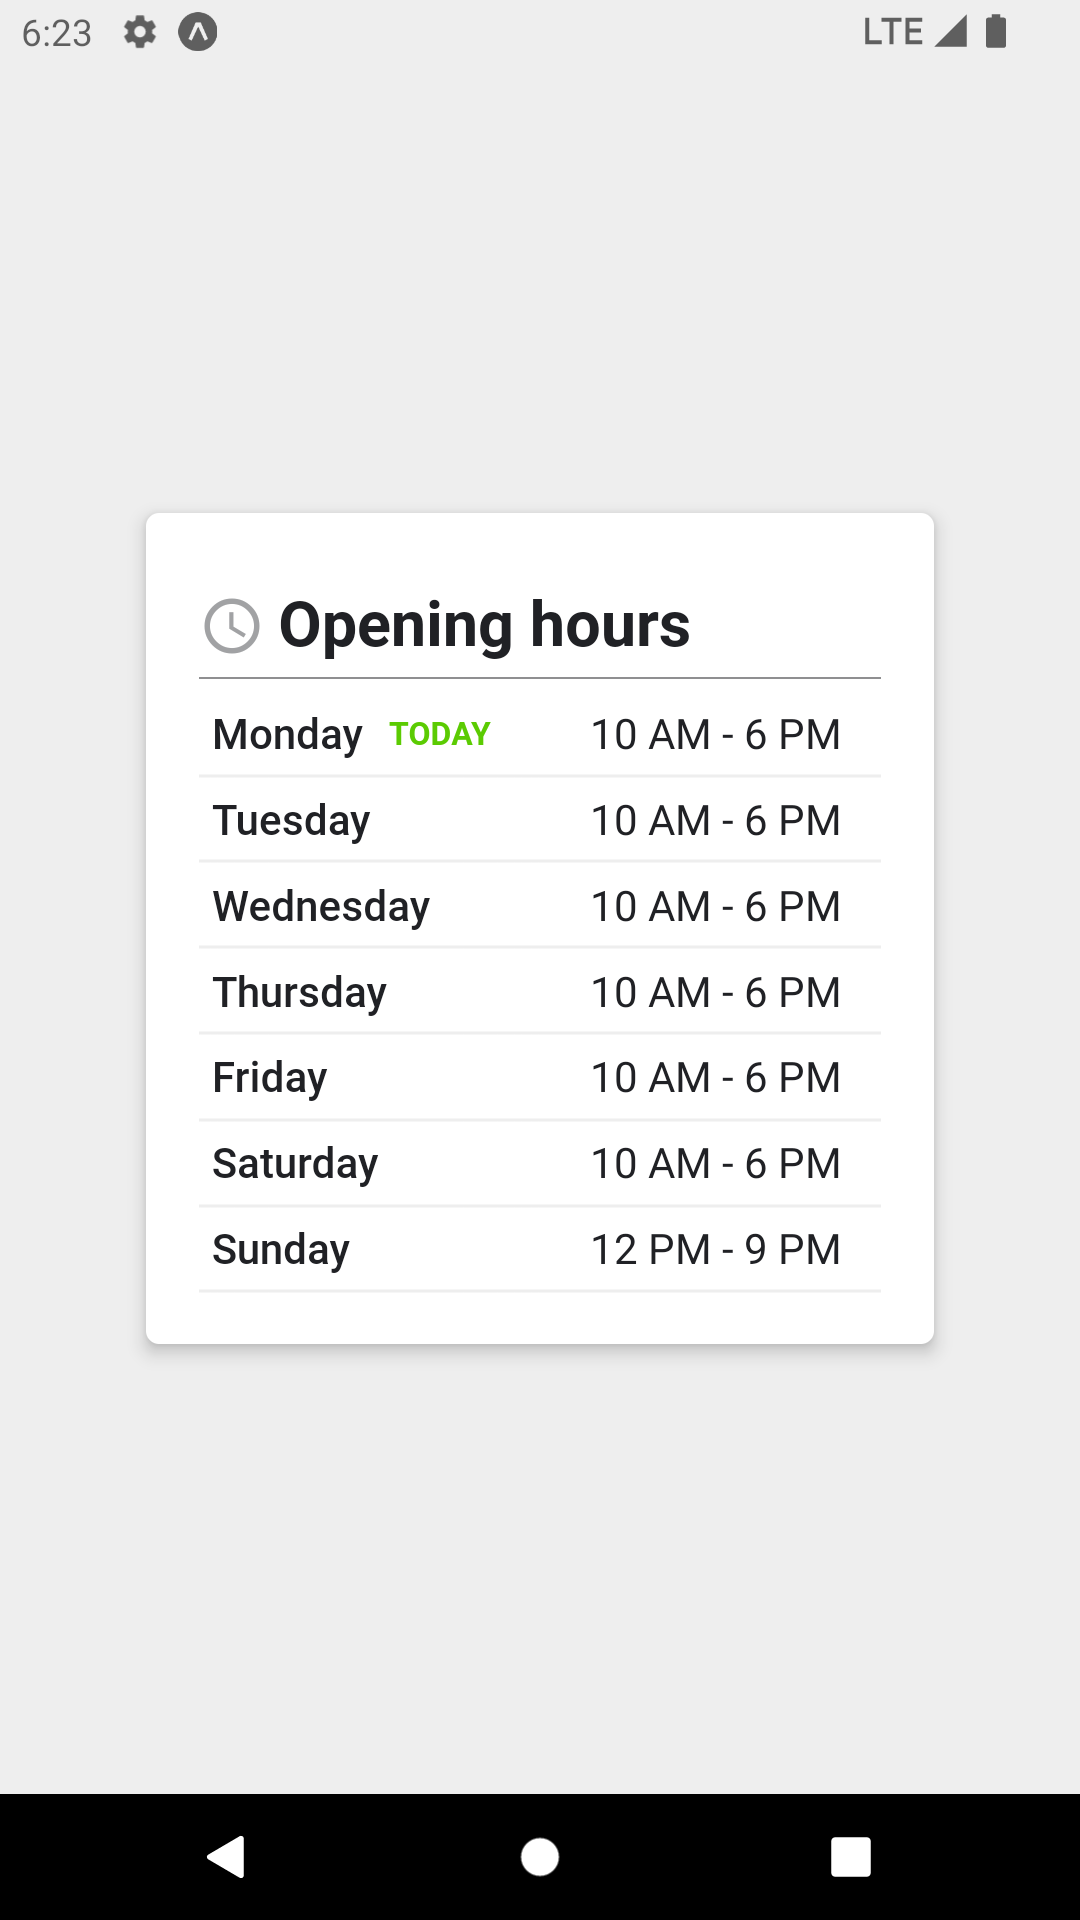
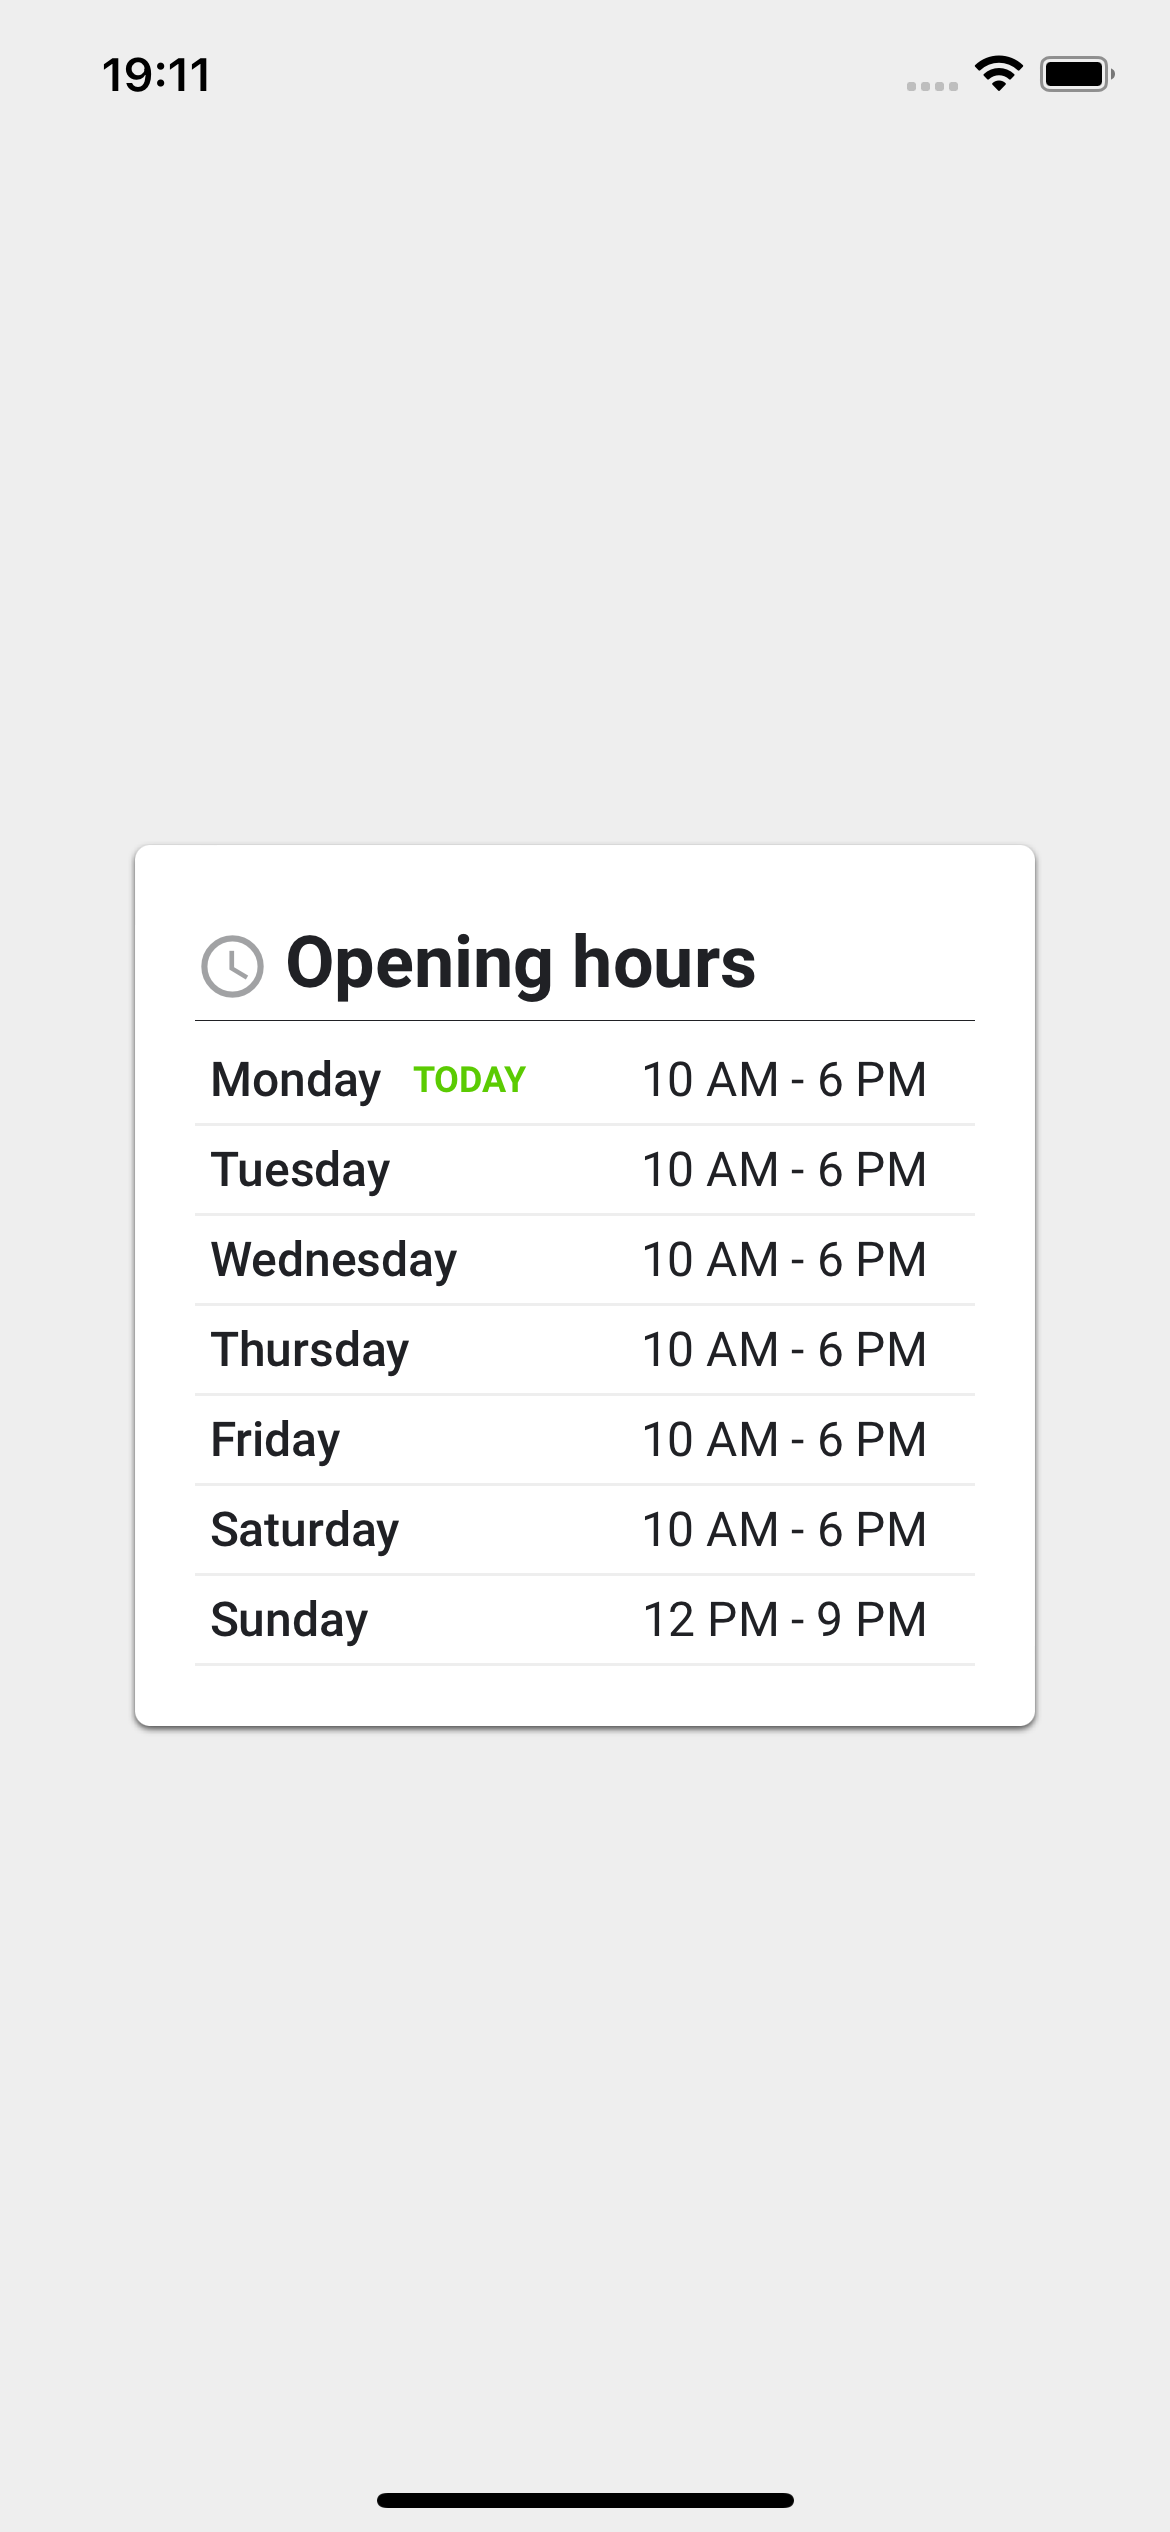
This is an application that show the opening hours of a restaurant
Although being an application with relatively simple business rules, it ended up taking a little more work, to format the opening hours object with the described cases, I tried to make the code as organized as possible, and in addition I managed to the application have a high coverage of tests, this will be presented in a section below.
Demo
These are the application images and video of the execution on Android and IOS
Android
This is the video link of app running on Android
IOS
This is the video link of app running on IOS
Made with these amazing libraries and tools
And below are the main libraries and tools used in the development of this application:
-
React Native - React Native is a framework that allows the development of mobile applications using Javascript and React
-
React Navigation - React Navigation grew out of the React Native community's need for easy-to-use navigation, written entirely in Javascript
-
React Native Testing Library - The most used library at the moment for writing unit tests in React Native, its goal is to be simple, complete and encourage users to adopt good testing practices.
-
Expo - Expo is a development platform that simplifies building mobile apps using React Native. It provides a variety of pre-built features and APIs, allowing you to develop apps quickly without needing to set up a complex development environment.
-
Typescript - TypeScript is a superset of JavaScript that adds static type support to the language. It provides an additional layer of type checking during development, helping to avoid common mistakes and improving code robustness and maintainability.
-
React Query - React Query is a library for state management in React applications. It provides an abstraction layer to automatically manage and synchronize data between the client and the server, along with features like caching, refetching, and data invalidation.
-
Axios - Axios is a Promises-based HTTP client for Browser and NodeJS;
-
Jest - Jest is a JavaScript testing framework maintained by Facebook. It provides a complete framework for writing and running unit tests, integration tests, and snapshot tests on JavaScript projects.
-
Reactotron - Reactotron is a Desktop app for inspecting React or React Native projects. It is available for macOS, Linux and Windows;
-
reactotron-react-native - Plugin to configure Reactotron to connect to React Native project;
-
json-server - The JSON Server is a library that allows you to create a complete REST API from a JSON file. It is useful for simulating a backend API during frontend development, allowing for quick endpoint creation and data management.
-
Expo Vector Icons - This is the library that was used to work with icons in the application
-
Styled Components - It is a library that allows us to write CSS codes within JavaScript that is widely used in the community.
-
Babel - Babel is a free and open source JavaScript compiler and configurable transpiler used in Javascript application development;
-
babel-eslint - This package is a Babel parser wrapper for ESLint;
-
Eslint - ESLint is a pluggable lint tool for JavaScript and JSX;
Getting Started
Let's run the app locally with its dependencies
Requirements
Before we move to settings and usage
It is ideal that you have the environment set up to create and test applications in React Native using Expo, for that you need to follow these steps to make this
You need to installl the Expo CLI
npm install -g expo-cli

// Or you can use Yarn

yarn global add expo-cli
In addition to having Node installed on your machine with version 16.19.1 or higher installed
Running the App
To run the application is simple after cloning this repository, you must follow the following commands
$ cd schedule-open-app

$ npm install i

// Or you can use Yarn

$ yarn install

$ npm run server

// Or you can use Yarn

$ yarn json-server --watch src/mock/db.json

// Command to run the application

$ expo start --android

// Or it can be on IOS devices

$ expo start --ios
API Used In Development
JSON Mock API
To get the opening hours of the restaurant I used the json-server tool and with this I created a Rest Mock API that returns the following data to the application:
scheduleRestaurantWeekData - This resource returns an array with the days of the week and in it an object with the opening hours of the restaurant
To run this API locally, you will need to run the json server library with the following command
If you are using Yarn
yarn json-server --watch src/mock/db.json
If you are using NPM
npm run server
The JSON file that has the information for this API is located inside the src folder in the following location
src/mock/db.json
Also only if necessary don't forget to change the API url in the api.ts file that is inside the client folder in that location
src/services/client/api.ts
api.ts
import axios from 'axios';
import { Platform } from 'react-native';

const url = Platform.OS === 'android' ? 'http://10.0.2.2:3000' : 'http://localhost:3000';

const api = axios.create({
  baseURL: url,
});

export default api;
Remembering that there is this validation of the platform that is running the application, because the emulators see the localhost of the machine in different ways, in the case of the Android emulator I used the native emulator of Android Studio which is through this IP 10.0.2.2 so it is interesting validate which is the IP that the emulator you are using uses to access localhost and change this file.
The IOS emulators recognize localhost right
Automated Tests
Unit Tests
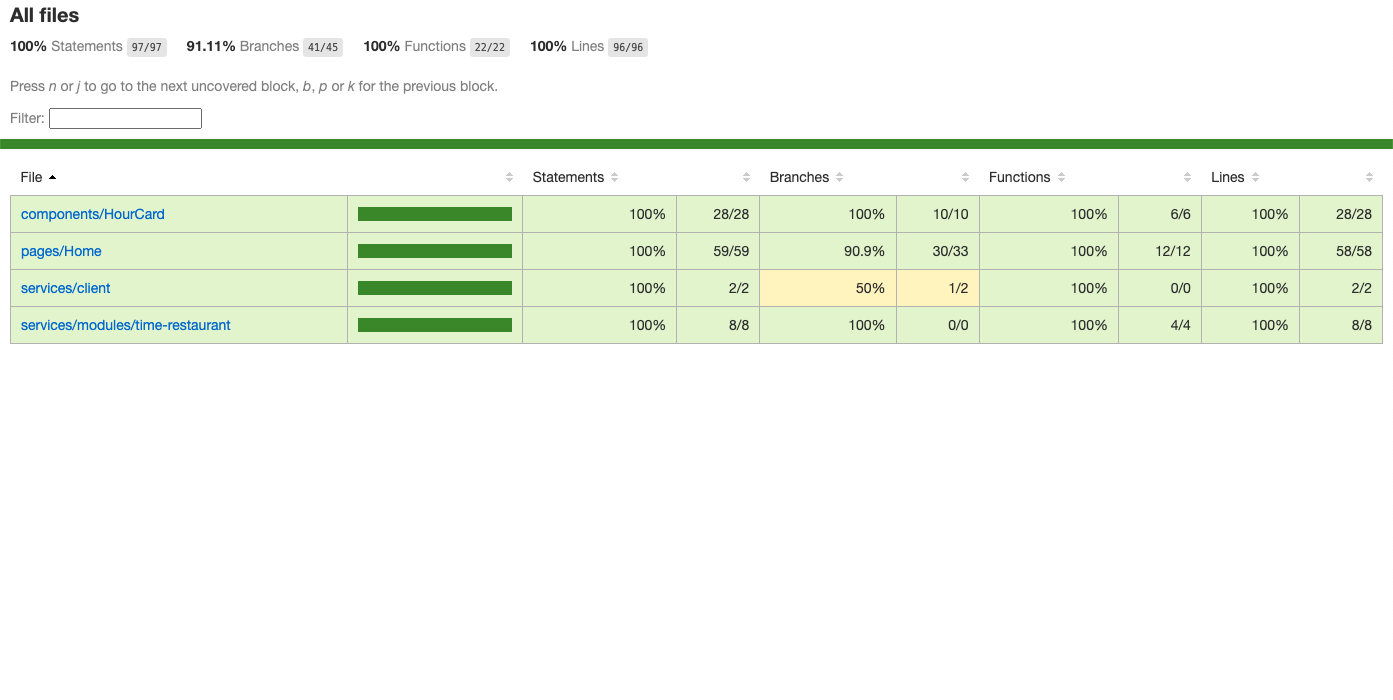
In most of the applications and features that I develop, something that I always value a lot is the doing unit testing, I believe that an application with a high test coverage brings many advantages to the final product, team and company, so in this challenge it was not different, I managed to reach the final result with 100% of the code of this challenge covered by tests, one of the main allies in this was having built the application using this architecture, since with this it was possible to concentrate a large part of the application business logic, in only one layer.
Coverage Image
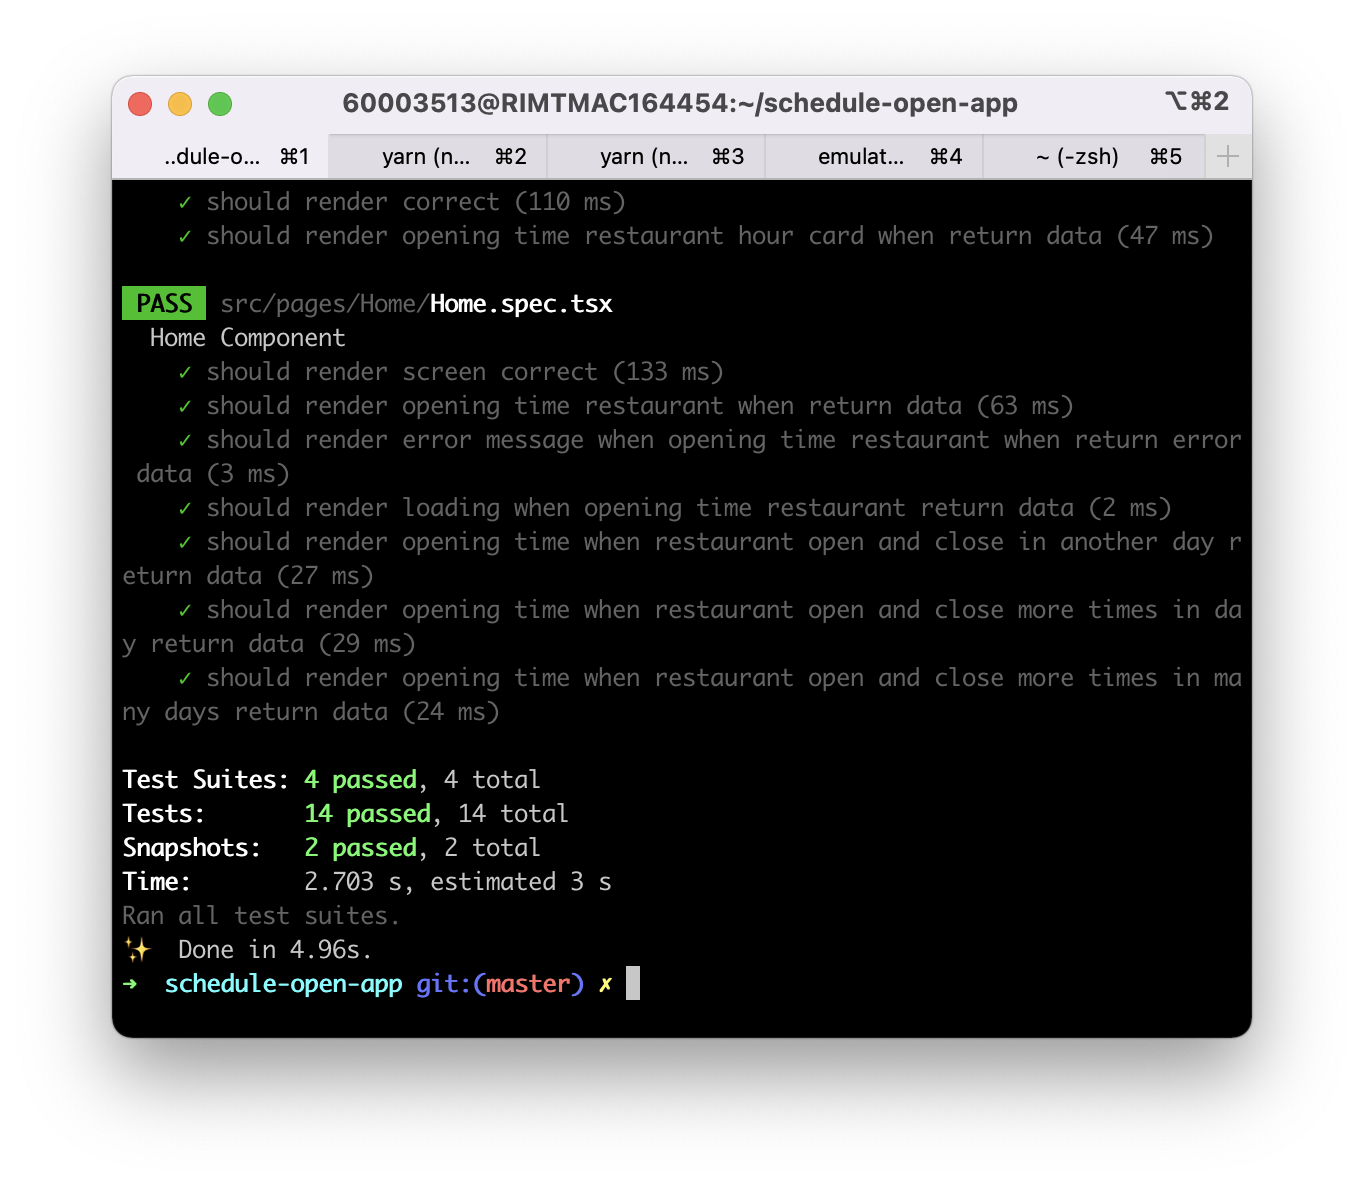
Result in terminal after running yarn test command
For running the tests it is necessary to execute the command
yarn test
And to generate the coverage of tests with more details, it is necessary to execute the command
yarn coverage
After the folder with coverage will be generated in the root of the project in that location
/coverage
Roadmap
In this section I separated some of the improvements that could be made in the application with more development time:
- Addition of end to end tests using Detox a library for this purpose
Thanks
Thank you for the opportunity, and any questions regarding the challenge or its execution, feel free to reach me mtqr1@hotmail.com
