Using raspberry pi pico as a stream deck
| Mk2 | Plus |
|---|---|
 |
 |
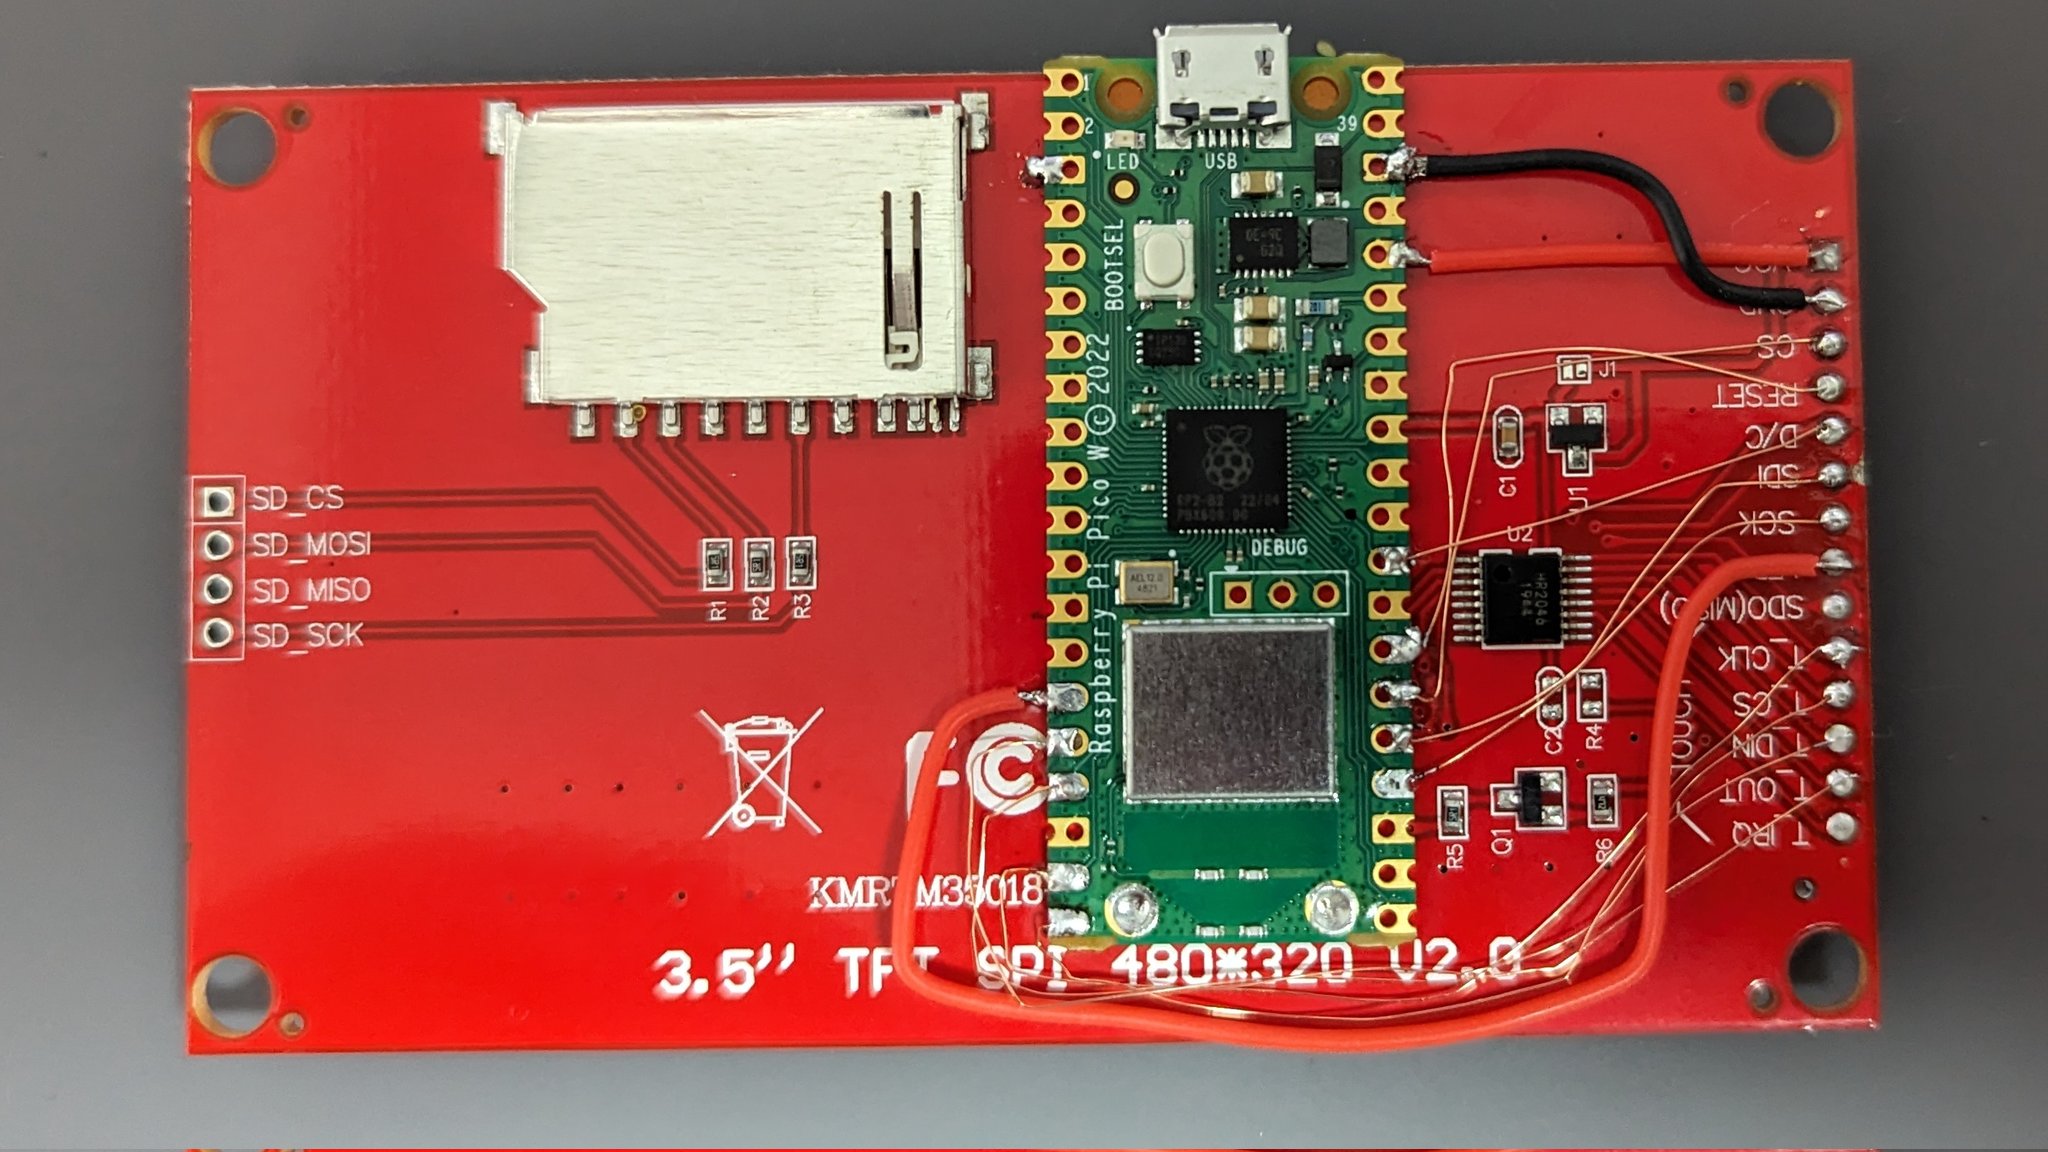
- Raspberry Pi Pico
- ILI9488 TFT with Touch: AliExpress
Important
Make sure to select "touch screen"
Note
LCD uses 90 mA. In the example, the back of the LCD is shaved and soldered to hold the pico in place.
- Setup PlatformIO IDE
- Clone and open this project
- Change environment to
pico_deckMk2 - Build .uf2 file!
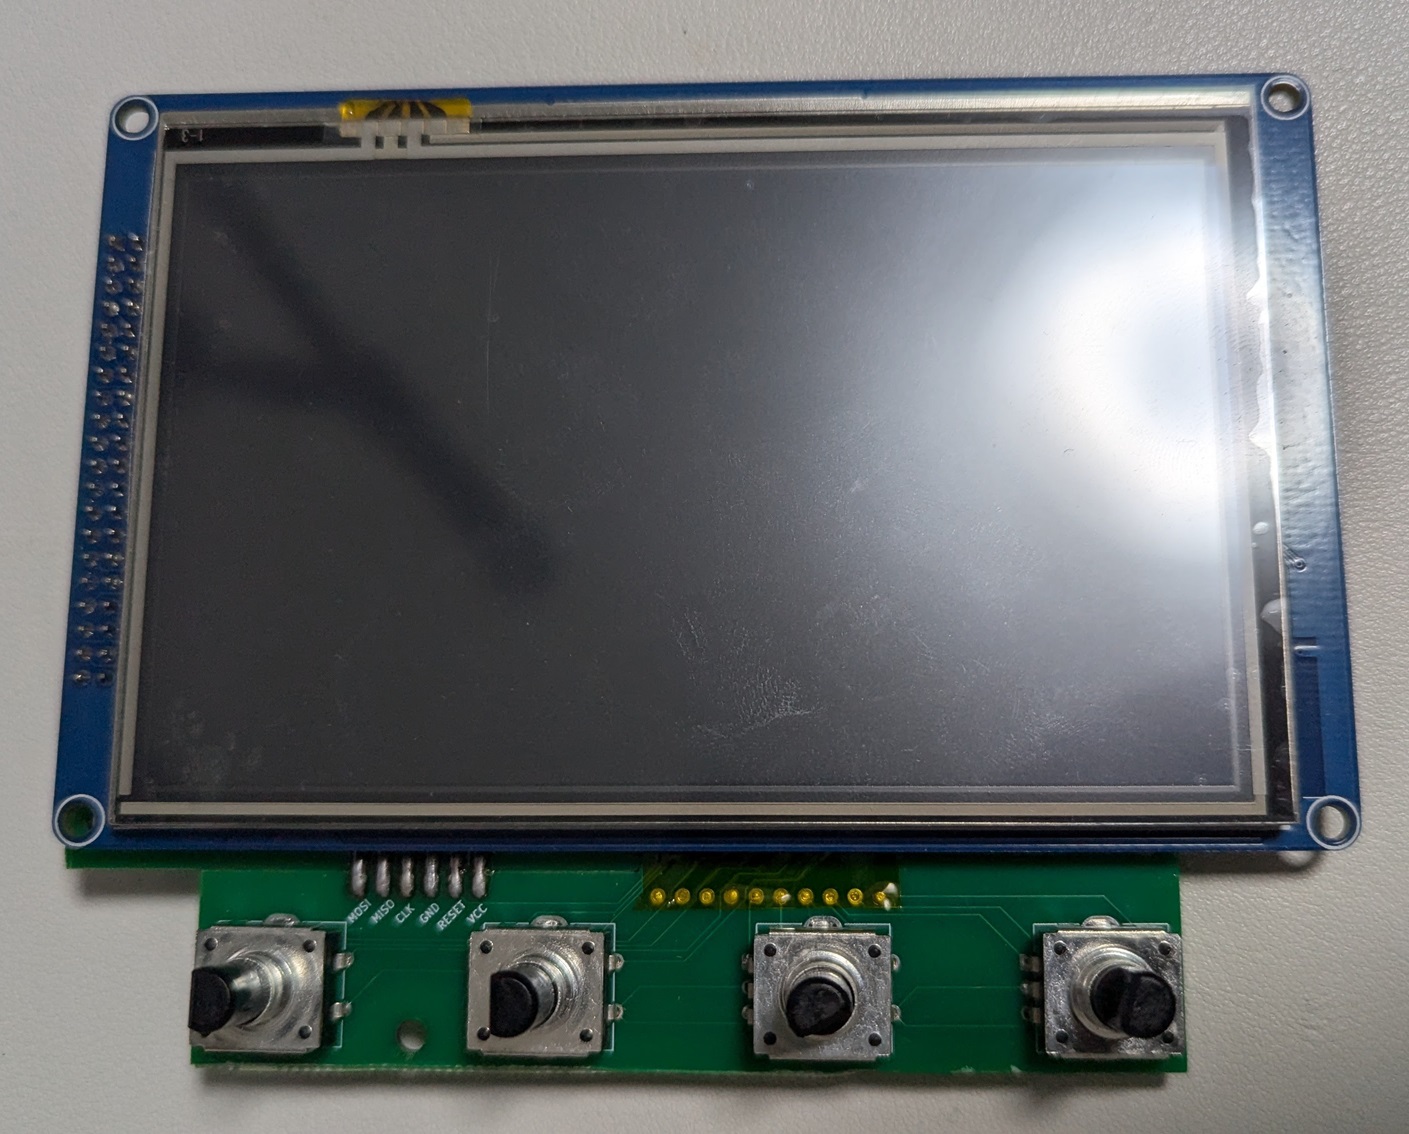
- Raspberry Pi Pico W
- ATtiny2313
- SSD1963 TFT with Touch: AliExpress
Important
Make sure to select "resistive touch"
- Rotary encoder with switch (PEC12R-4220F-S0024) * 4: Digikey, Monotaro
- Stripboard(approx. 120 x 90 (mm)) or Order PCB
- 3D printers for creating a case - Top, Bottom body, Bottom base, Bottom bridge
- M3 x 6mm screw *4
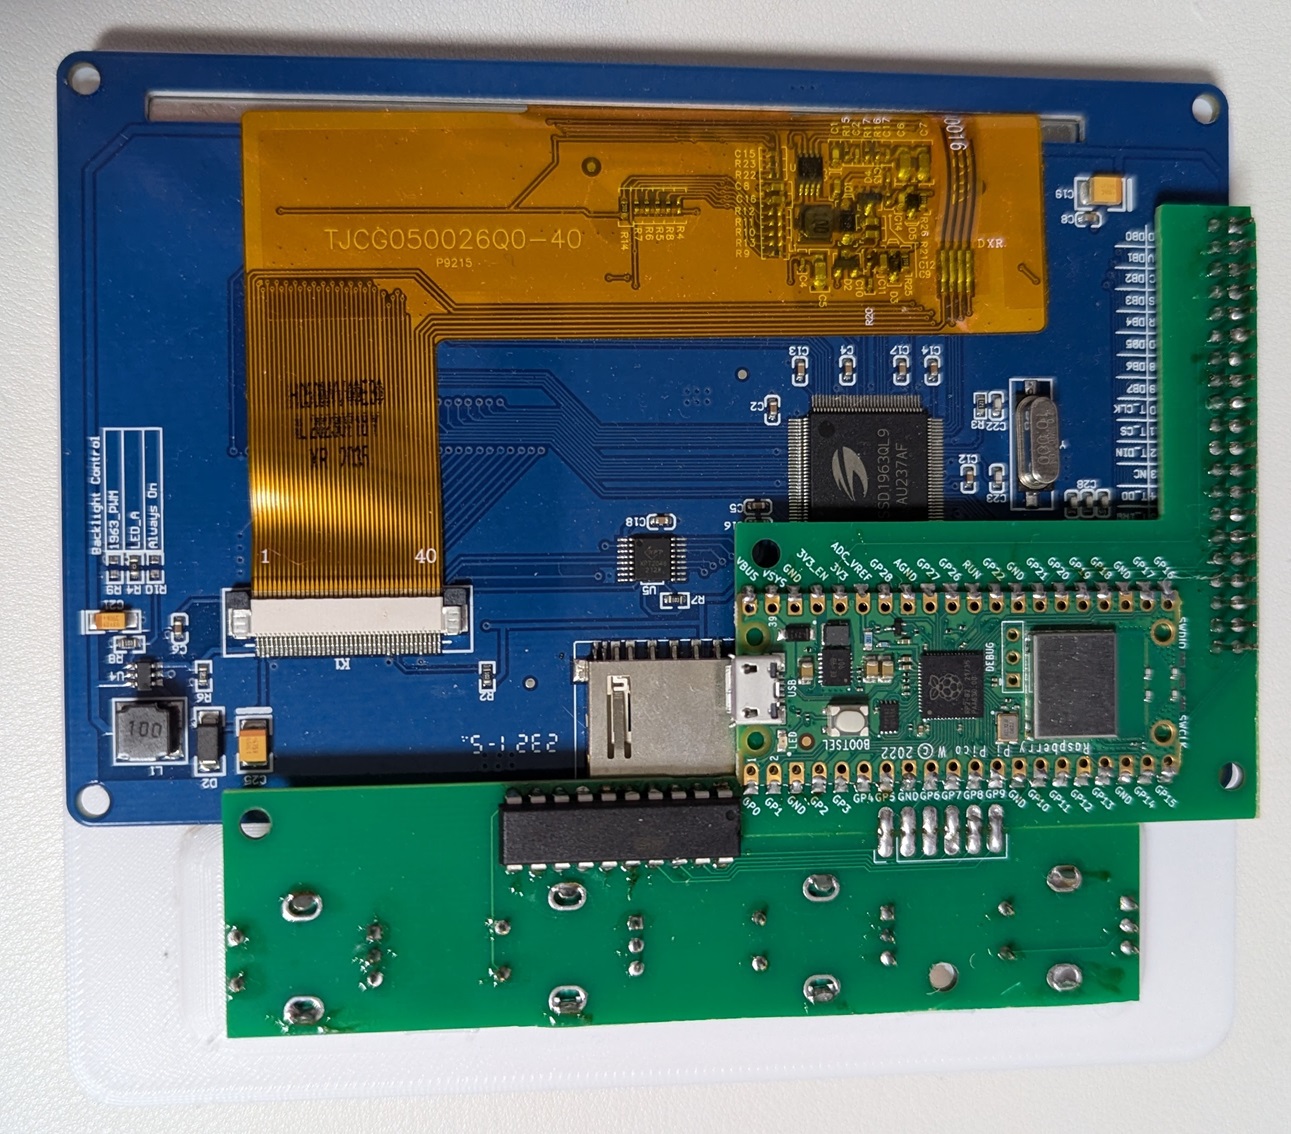
| Front | Back |
|---|---|
 |
 |
Caution
The SDCard slot on the screen interferes with the ATtiny2313 leads. Cut the ATtiny2313 leads to a length that does not protrude from the PCB, solder the surface and protect it with electrical tape or remove the SDCard slot.
Write to avr microcontroller (attiny2313) using Raspberry Pi Pico W via WiFi
This project access WiFi AP. You should copy config.sample.ini to config.ini, and change values to your Wifi settings.
Note
In my enviroment, avrdude can not communicate with Raspberry Pi Pico via usb serial. So, It write to avr microcontroller via WiFi.
Important
In my environment, avrdude 6.3(PlatformIO embedded version) can not write via WiFi. Please update to ^7.3. (You can replace files in tool-avrdude package)
Get the four rotary encoder with push switch values via SPI.
This project includes the kicad project and the gerber filse. These can be used to order PCBs. (I used JLCPCB).
The included Gerber files are of a size that can be ordered from the JLCPCB for $2. If you are not interested in it, we recommend generating your own Gerber files.
Solder the rotary encoders with reference to the kicad project, making sure that the Screen display area is correct before soldering the rotary encoders.
- Setup PlatformIO IDE
- Clone and open this project
- Copy
config.sample.initoconfig.iniand edit it - Change environment to
pico_avrisp_wifi - Build .uf2 file and Upload it
- Change environment to
attiny2313, build and upload. - Change environment to
pico_deckPlus, build and upload.
- HID Explorer is an easy HID testing tool using WebHID
- Reboot device and enter bootsel mode: Send
[02, FF]to the output report - Reboot device: Send
[02, FE]to the output report


