piComrade

TL;DR
What is this about?
This document is a step-by-step (copy & paste) guide how to turn a Raspberry Pi Zero-W into a keychain-sized, portable Linux system that you can connect to and use from any Chrome OS/Linux/Windows/Mac host. I decided to call this 'piComrade', because I can.
How does it work?
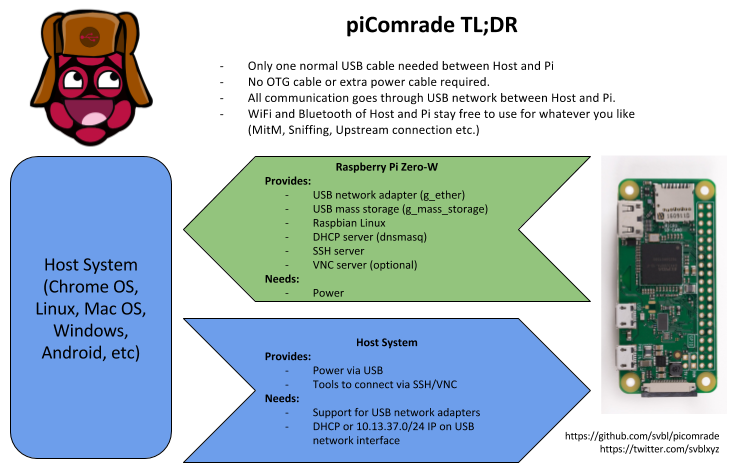
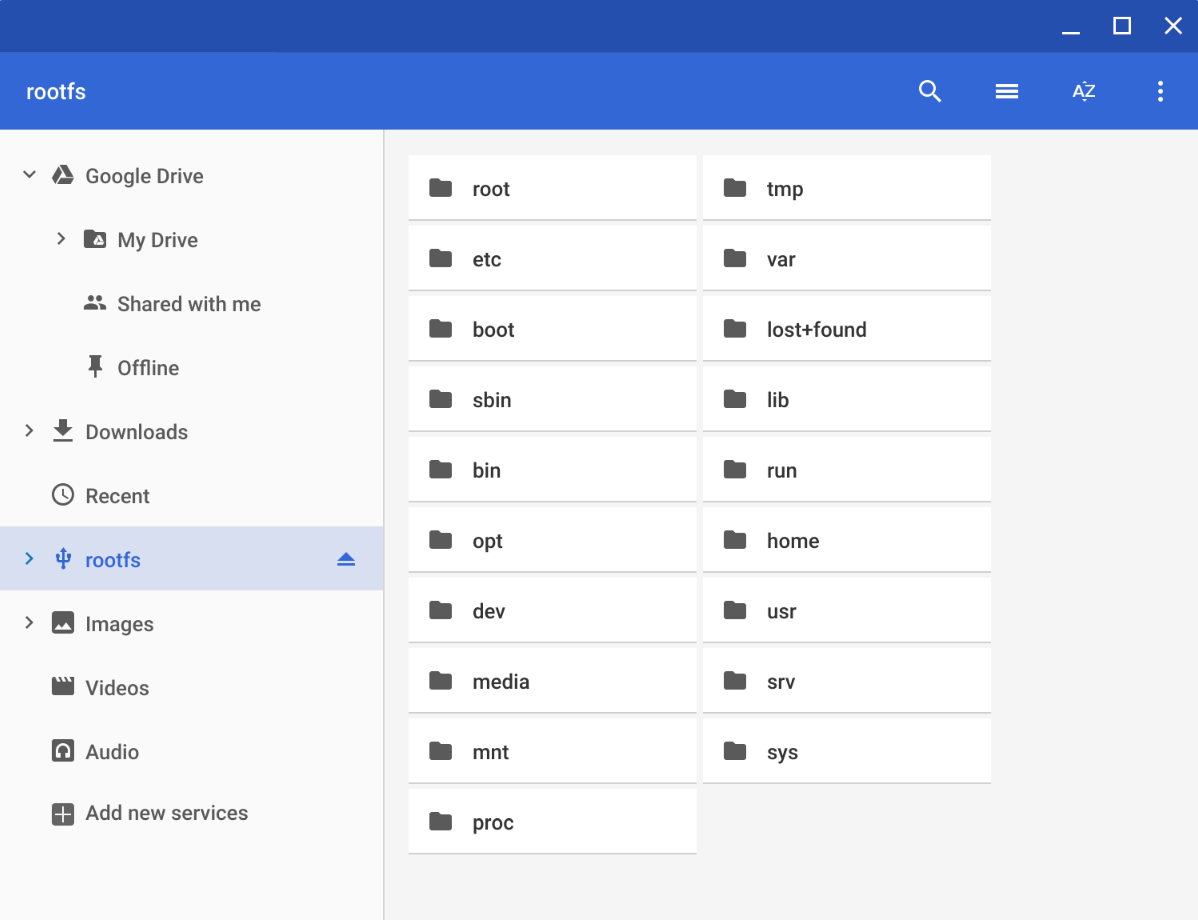
The setup described in this document makes use of the Linux USB Gadget functionality (g_multi). The piComrade gets identified as a USB network adapter and USB mass-storage device by the host system. More information about this is referenced in the instructions below.
What can I do with it?
I personally created piComrade to use it along with Chrome OS devices. My main motivation was to have a portable, flexible, GUI based Linux system to run applications which I don't have on a un-rooted Chrome OS (e.g. tcpdump, airodump, radare2, Gimp etc). But you can also use it with any other Host system that supports an SSH client and/or VNC (if you want to use GUI applications).
How does it look?
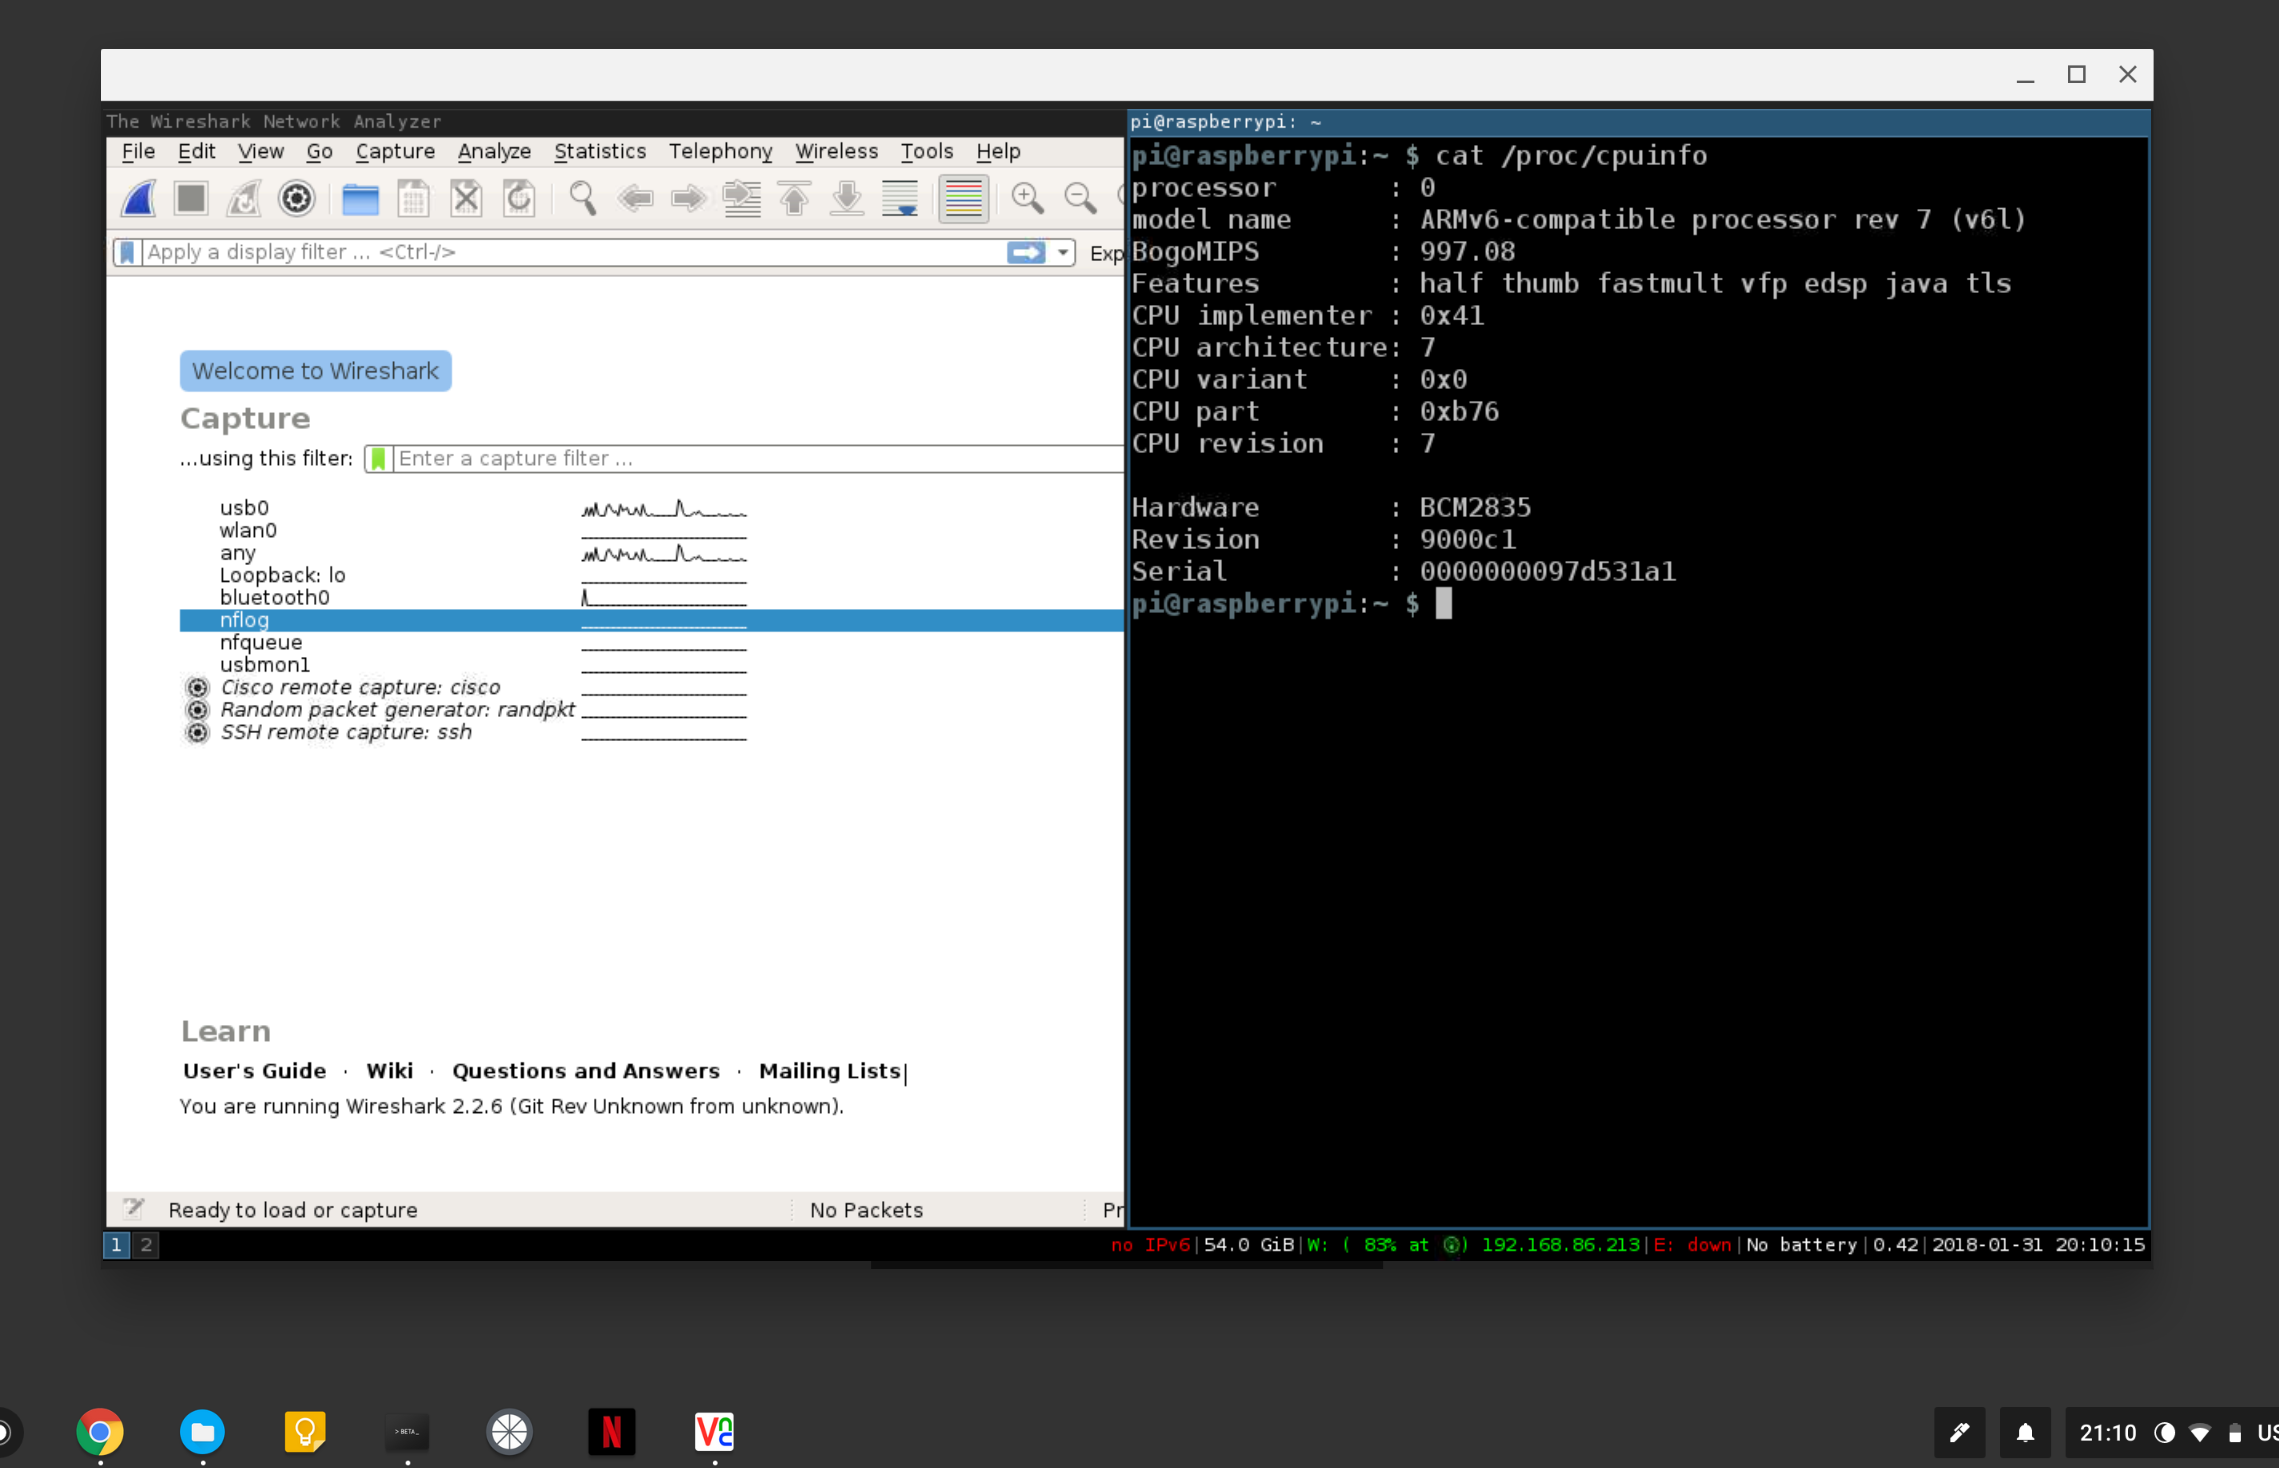
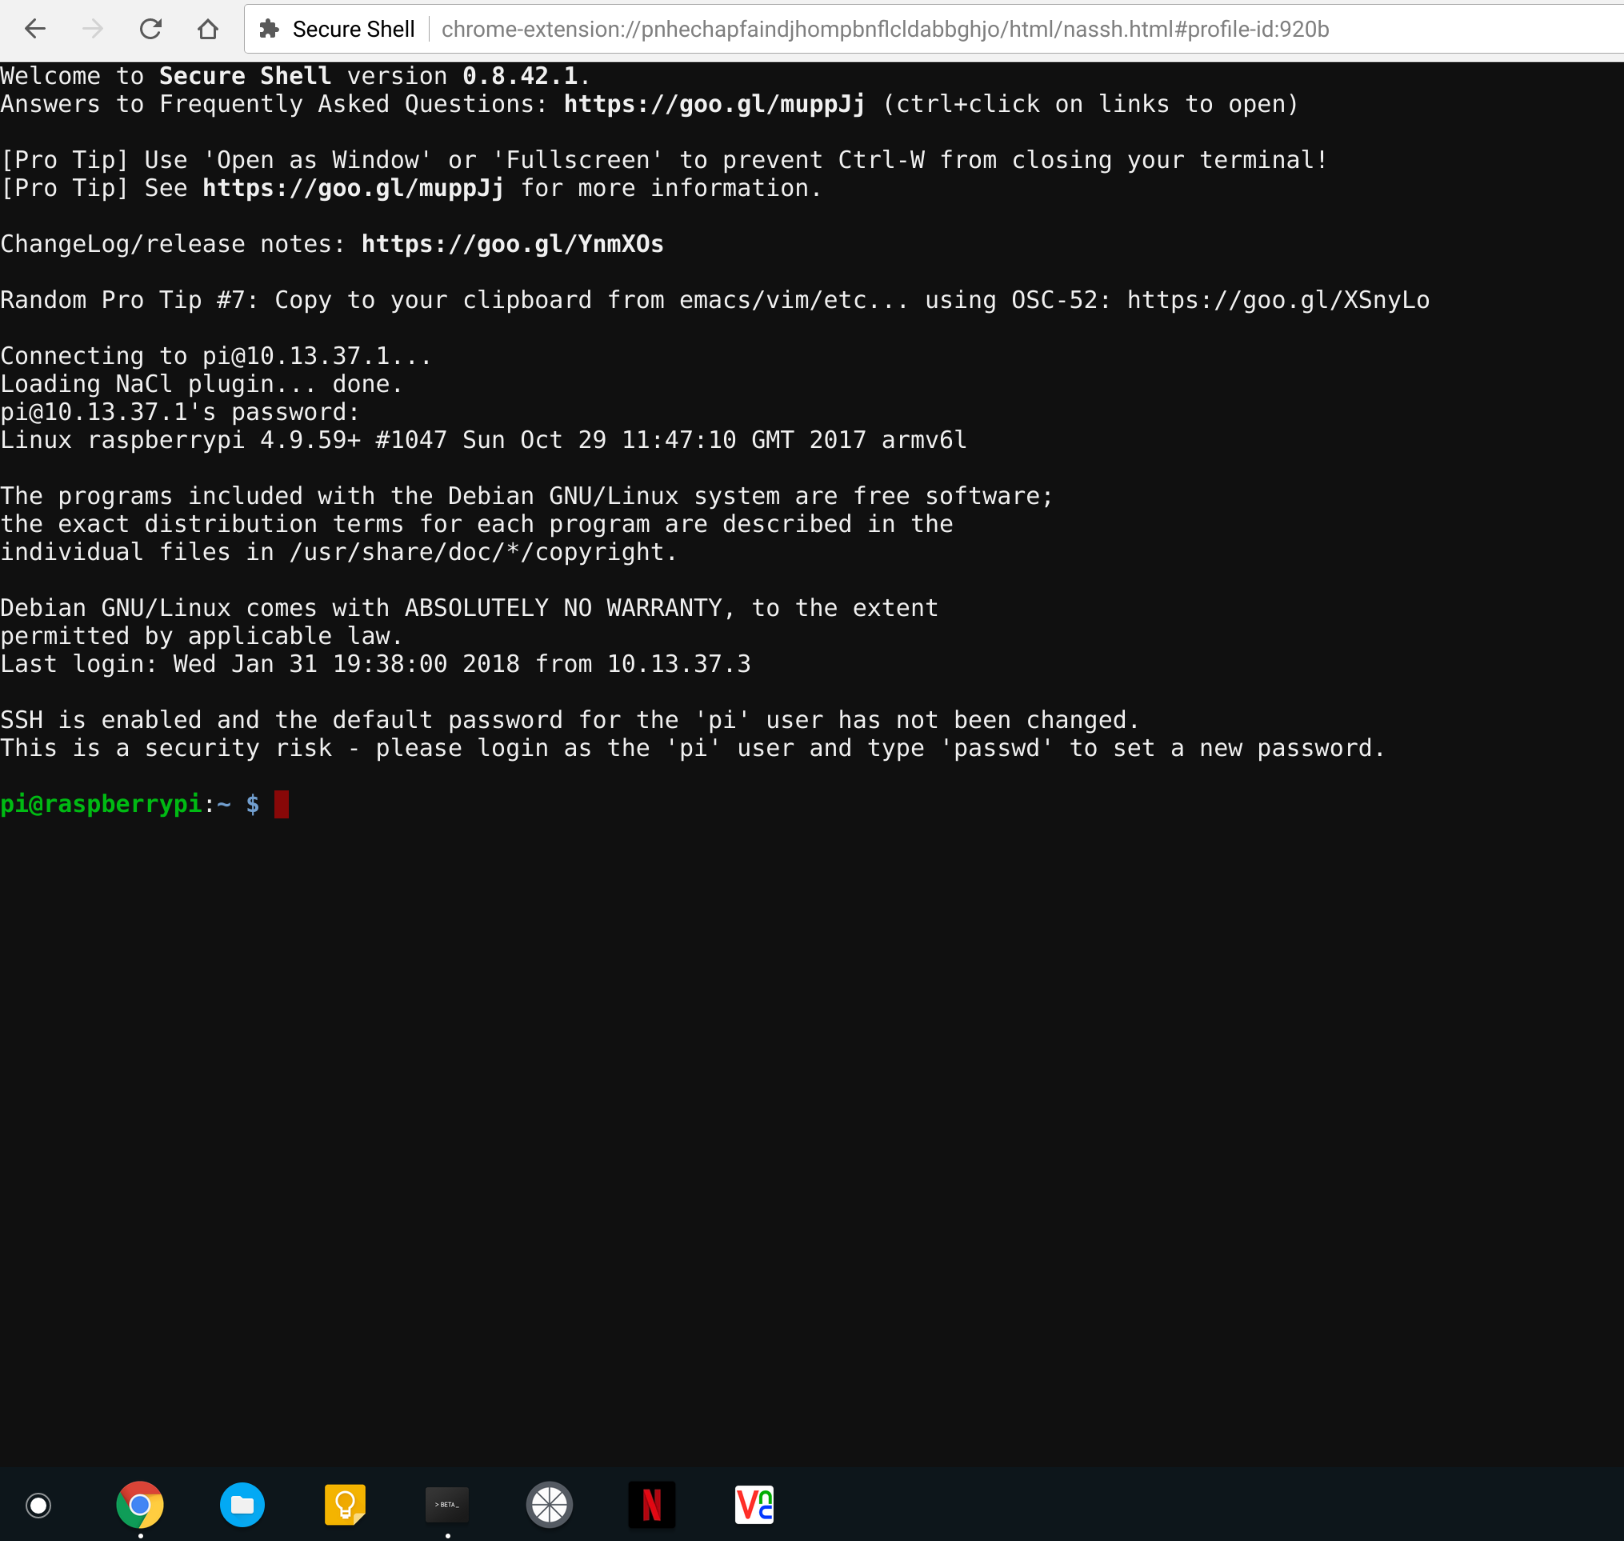
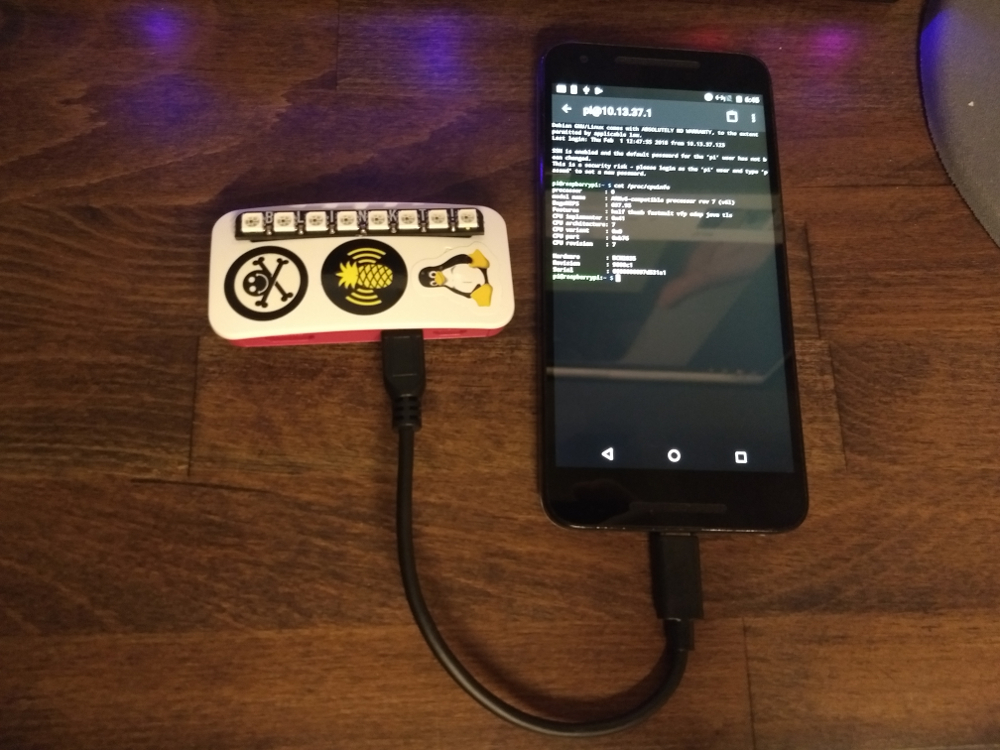
Screenshots (click to enlarge):
Pictures (click to enlarge):
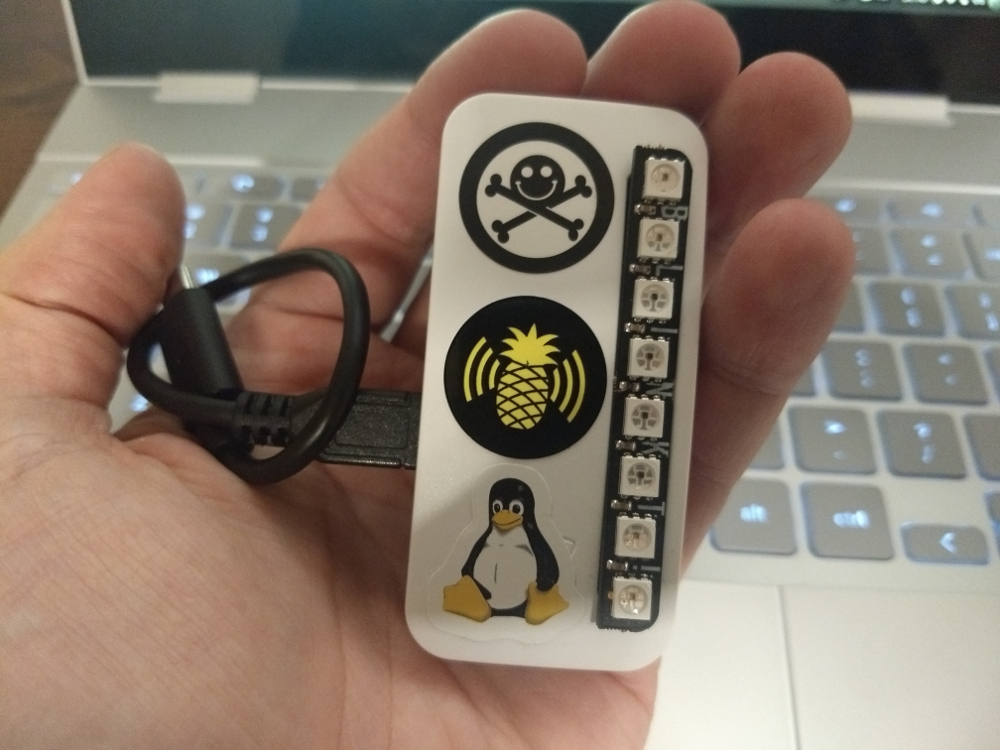
![]()
Required Hardware
If you want to follow this guide, you need the following hardware:
- Raspberry Pi Zero-W (WiFi model)
- Micro SD card (> 8G)
- Micro-USB cable
- Linux system / VM for installation / setup
The Micro USB cable has obviously fit your host system, so for example Micro-USB (Pi) to USB-C. You can also use a non-WiFi Pi Zero, but in this case you have to setup routing over your host system for Network connectivity. This guide was written for and tested with the WiFi variant.
Optional (useful for debugging):
- HDMI Adapter
- Micro USB to USB-A Female OTG cable (to connect Keyboard)
Installation
Note: You can find sample configs of every file modified for this guide here.
Prepare SD card
First step is to download the most current Raspbian image and follow the installation instructions listed here.
In my case the steps were as follows:
$ unzip 2017-11-29-raspbian-stretch-lite.zip
Archive:  2017-11-29-raspbian-stretch-lite.zip
  inflating: 2017-11-29-raspbian-stretch-lite.img
$ sudo dd if=2017-11-29-raspbian-stretch-lite.img of=/dev/mmcblk0 bs=1M; sync
443+0 records in
443+0 records out
1858076672 bytes (1.9 GB, 1.7 GiB) copied, 1.24054 s, 1.5 GB/s
$
For the remainder of this guide, we assume the SD card is available under
/dev/mmcblk0 and will get mounted to /mnt. Please adjust this according to your
setup.
Configure base system
After the Raspbian image is written to the SD card, we'll do some basic configuration for a headless setup before we actually boot the Pi.
First we mount the SD card root and boot folder:
$ sudo mount /dev/mmcblk0p2 /mnt/
$ sudo mount /dev/mmcblk0p1 /mnt/boot/
Creating a /boot/ssh file will enable SSH on boot:
$ sudo touch /mnt/boot/ssh
Then we set our WiFi authentication details. Adjust accordingly:
$ cat << EOF | sudo tee -a /mnt/etc/wpa_supplicant/wpa_supplicant.conf
network={
	ssid="WIFINAME"
	psk="PASSPHRASE"
}
EOF
We also set the network configuration for the WiFi interface, and the OTG USB network interface. If you don't have DHCP on your WiFi, ensure to set a static IP:
$ cat << EOF | sudo tee -a /mnt/etc/network/interfaces
auto wlan0
iface wlan0 inet dhcp
wpa-conf /etc/wpa_supplicant/wpa_supplicant.conf
auto usb0
iface usb0 inet static
	address 10.13.37.1
	netmask 255.255.255.0
EOF
While we are at it, we can also create the dnsmasq configuration:
$ cat << EOF | sudo tee /mnt/etc/dnsmasq.conf
interface=usb0
dhcp-range=usb0,10.13.37.2,10.13.37.5,255.255.255.0,1h
dhcp-option=3
bind-interfaces
port=0
EOF
For the SSH config, we want to avoid listening on the WiFi interface, so we limit it to the interface between the Pi and Host:
$ sudo sed -i 's/#ListenAddress\ 0.0.0.0/ListenAddress\ 10.13.37.1/' /mnt/etc/ssh/sshd_config
Configure USB gadgets
Next we'll setup the g_multi gadget driver and enable OTG network and mass-storage support.
First we enable the dwc2 OTG overlay:
$ cat << EOF | sudo tee -a /mnt/boot/config.txt
dtoverlay=dwc2
EOF
Then we ensure dwc2 and g_multi modules are loaded:
$ sudo sed -i 's/quiet/quiet\ modules-load=dwc2,g_multi/' /mnt/boot/cmdline.txt
This is the basic configuration for the g_multi module. We set a path to serve
via mass-storage (in this case the root file system) and and internal (Pi) and
external (Host) MAC address of
the USB network adapter, as well as some options to improve the mass-storage performance.
$ cat << EOF | sudo tee -a /mnt/etc/modprobe.d/g_multi.conf
options g_multi file=/dev/mmcblk0p2 host_addr=00:20:91:00:00:42 dev_addr=00:20:91:00:13:37 stall=0 nofua=1
EOF
Configure file system and Cron
It is very likely that we do not properly shutdown the Pi, so we need to set some options to make the filesystem a bit more robust. We also want to disable unnecessary cron jobs to reduce usage of the SD card:
$ sudo sed -i '/vfat/s/defaults\s/defaults,noatime/;s/2$/0/;s/1$/0/' /mnt/etc/fstab
$ cat << EOF | sudo tee /mnt/etc/cron.hourly/fake-hwclock
#!/bin/sh
exit 0
EOF
$ cat << EOF | sudo tee /mnt/etc/cron.daily/man-db
#!/bin/sh
exit 0
EOF
$ cat << EOF | sudo tee /mnt/etc/cron.weekly/man-db
#!/bin/sh
exit 0
EOF
Unmount SD card
The basic configuration is done now. Feel free to double-check configuration against the sample files I put here.
You can unmount the SD card now:
$ sudo umount /mnt/boot/
$ sudo umount /mnt/
Configuration
Plug the SD card into your Pi, connect the Micro USB cable and connect it you your host system (which should be running Linux if you want to follow this guide). Make sure you use the correct USB port on the Pi labeled 'USB' (the left port).
First boot
When you plug the USB cable to your host system, the green LED of the Pi should light up. After a short while you should see a new network and mass storage interface appearing in your syslog:
[672407.833510] usb 1-2: New USB device found, idVendor=1d6b, idProduct=0104
[672407.833513] usb 1-2: New USB device strings: Mfr=3, Product=4, SerialNumber=0
[672407.833515] usb 1-2: Product: Multifunction Composite Gadget
[672407.833517] usb 1-2: Manufacturer: Linux 4.9.59+ with 20980000.usb
[...]
[672407.840377] usb-storage 1-2:1.4: USB Mass Storage device detected
[672407.840573] scsi host3: usb-storage 1-2:1.4
[672407.859223] rndis_host 1-2:1.0 enx002091000042: renamed from eth0
[672407.906626] IPv6: ADDRCONF(NETDEV_UP): enx002091000042: link is not ready
[672408.857482] scsi 3:0:0:0: Direct-Access     Linux    File-Stor Gadget 0409 PQ: 0 ANSI: 2
[672408.857995] sd 3:0:0:0: Attached scsi generic sg2 type 0
[672408.858427] sd 3:0:0:0: [sdc] 124641280 512-byte logical blocks: (63.8 GB/59.4 GiB)
[672408.858731] sd 3:0:0:0: [sdc] Write Protect is off
[672408.858735] sd 3:0:0:0: [sdc] Mode Sense: 0f 00 00 00
[672408.859009] sd 3:0:0:0: [sdc] Write cache: enabled, read cache: enabled, doesn't support DPO or FUA
[672408.993077] sd 3:0:0:0: [sdc] Attached SCSI disk
[672409.347914] EXT4-fs (sdc): mounted filesystem with ordered data mode. Opts: (null)
If you don't see the network device and mass-storage device, something went wrong. Unplug the SD card and go back through the previous part of the guide to make sure you did everything as shown.
Login via SSH
If everything went well, you should have a new network interface. In my case it
is named enx002091000042 - if you also have systemd,
you should have the same, as it is based on the MAC address we set earlier.
Now we can set an IP address to the newly attached interface connect to the Pi
via SSH. Remember we set a static IP for the Pi of 10.13.37.1 earlier.
The default user is pi and the default password is raspberry.
$ sudo ifconfig enx002091000042 10.13.37.123
$ ssh pi@10.13.37.1
The authenticity of host '10.13.37.1 (10.13.37.1)' can't be established.
ECDSA key fingerprint is SHA256:VtpRkfDzHyN+c4hpCz2lddYPRKeev75p7iRtjNJmRvw.
Are you sure you want to continue connecting (yes/no)? yes
Warning: Permanently added '10.13.37.1' (ECDSA) to the list of known hosts.
pi@10.13.37.1's password:
Linux raspberrypi 4.9.59+ #1047 Sun Oct 29 11:47:10 GMT 2017 armv6l
The programs included with the Debian GNU/Linux system are free software;
the exact distribution terms for each program are described in the
individual files in /usr/share/doc/*/copyright.
Debian GNU/Linux comes with ABSOLUTELY NO WARRANTY, to the extent
permitted by applicable law.
Last login: Wed Nov 29 02:49:15 2017
SSH is enabled and the default password for the 'pi' user has not been changed.
This is a security risk - please login as the 'pi' user and type 'passwd' to set a new password.
pi@raspberrypi:~ $
Feel free to change the password for the user pi now, using passwd.
Installing packages
The next step is to install a couple of basic packages. dnsmasq is required
and recommended to automatically allocate a IP address to your host system once
you connect the Pi via USB. The default behavior of most current systems is to
automatically send a DHCP query through a newly attached network device, which
is very convenient for our use case. Replacing vim-tiny with vim is
optional ;-)
$ sudo apt update
$ sudo apt purge vim-tiny # (╯°□°)╯︵ ┻━┻
$ sudo apt install vim dnsmasq
Optional X11
If you want to use X and be able to VNC into your piComrade, you have to install a few additional packages. It is up to you which VM/Desktop environment to use. My personal favorite is i3wm, which I am using in this example:
$ sudo apt install xinit xserver-xorg-video-fbdev lightdm
$ sudo apt install i3-wm i3status sakura dmenu # adjust to your preference what desktop / window manager you want
$ sudo apt install --no-install-recommends realvnc-vnc-server  # no cups
After you installed those packages, you also need to set some configuration options to enable VNC on boot and also set a proper resolution.
$ sudo raspi-config

# Advanced Options -> Resolution -> 1280x720 (adjust to your needs)
# Interfacing Options -> VNC -> Enable VNC
# Boot Options -> Desktop CLI -> Desktop
We also want to enable graphical auto login, as VNC will require user/password
login anyway. Unfortunately RealVNC doesn't seem to support binding to
localhost as of writing this guide, so we also add some iptables rules to
block access to it from the WiFi interface:
$ sudo sed -i 's/#autologin-user=/autologin-user=pi/' /etc/lightdm/lightdm.conf
$ sudo sed -i 's/exit 0//' /etc/rc.local
$ cat << EOF | sudo tee -a /etc/rc.local
/sbin/iptables -A INPUT -i wlan0 -p tcp --destination-port 5900 -j DROP
/sbin/ip6tables -A INPUT -i wlan0 -p tcp --destination-port 5900 -j DROP
exit 0
EOF
Final steps
The last things we want to do is mainly for removing the swap file and disabling
unneeded system services. We also want to disable fsck:
$ sudo dphys-swapfile swapoff
$ sudo dphys-swapfile uninstall
$ sudo update-rc.d dphys-swapfile remove
$ sudo systemctl disable avahi-daemon
$ sudo tune2fs -c -1 -i 0 /dev/mmcblk0p2
All done!
You can now start customizing the piComrade by installing additional packages and configure it to your preferences.
Enjoy your piComrade and feel free to give me some feedback!
Known Bugs
The following list contains known bugs and some details. If you know a fix for one of these or found another bug, please open an issue.
- USB sync is slow (buffering): Copy from Pi to Host is fine, other way round is slow and buffered, so files don't appear until buffer is synced. For pushing files to the Pi, better use sftp/scp.
- VNC listener can not be limited to localhost. Apparently this is only an option in the paid version of RealVNC. Alternative VNC server would work, but the RealVNC Chrome Extension is actually pretty neat.
- Some VNC hotkeys (e.g. ALT+X) don't work. Must be a config issue, didn't look into it yet.
- SD card is not 100% bulletproof for hard-unplugs of the Pi. Maybe switch to read-only root and only have a r/w mounted home.
TODO
- I got a Blinkt! attached to my piComrade and plan to use it for some status information (DHCP, WiFi on, found open WiFi, found Bluetooth devices etc.)