This is the implementation of our CVPR'19 " HorizonNet: Learning Room Layout with 1D Representation and Pano Stretch Data Augmentation" (project page).

- 2021.11.04: Report results on Zillow Indoor dataset. (See the report 📋 on ZInD).
- 2021.04.03: Check out our new project HoHoNet on this task and more!
- 2021.03.14: (1) Use mesh instead of point cloud as layout viewer. (2) Update lsd detector dependency.
- 2019.08.19: Report results on Structured3D dataset. (See the report 📋 on ST3D).
- 2019.06.15: Bug fix for general layout (
dataset.py,inference.pyandmisc/post_proc.py)
This repo is a pure python implementation that you can:
- Inference on your images to get cuboid or general shaped room layout
- 3D layout viewer
- Correct rotation pose to ensure manhattan alignment
- Pano stretch augmentation copy and paste to apply on your own task
- Quantitative evaluatation of 2D IoU, 3D IoU, Corner Error, Pixel Error of cuboid/general shape
- Your own dataset preparation and training

Pytorch installation is machine dependent, please install the correct version for your machine. The tested version is pytorch 1.8.1 with python 3.7.6.
Dependencies (click to expand)
- numpy
- scipy
- sklearn
- Pillow
- tqdm
- tensorboardX
- opencv-python>=3.1 (for pre-processing)
- pylsd-nova
- open3d>=0.7 (for layout 3D viewer)
- shapely
- PanoContext/Stanford2D3D Dataset
- Download preprocessed pano/s2d3d for training/validation/testing
- Put all of them under
datadirectory so you should get:HorizonNet/ ├──data/ | ├──layoutnet_dataset/ | | |--finetune_general/ | | |--test/ | | |--train/ | | |--valid/ test,train,validare processed from LayoutNet's cuboid dataset.finetune_generalis re-annotated by us fromtrainandvalid. It contains 65 general shaped rooms.
- Put all of them under
- Download preprocessed pano/s2d3d for training/validation/testing
- Structured3D Dataset
- See the tutorial to prepare training/validation/testing for HorizonNet.
- Zillow Indoor Dataset
- See the tutorial to prepare training/validation/testing for HorizonNet.
Plase download the pre-trained model here
resnet50_rnn__panos2d3d.pth- Trained on PanoContext/Stanford2d3d 817 pano images.
- Trained for 300 epoch
resnet50_rnn__st3d.pth- Trained on Structured3D 18362 pano images
- Data setup: original furniture and lighting.
- Trained for 50 epoch.
resnet50_rnn__zind.pth- Trained on Zillow Indoor 20077 pano images.
- Data setup:
layout_visible,is_primary,is_inside,is_ceiling_flat. - Trained for 50 epoch.
In below explaination, I will use assets/demo.png for example.
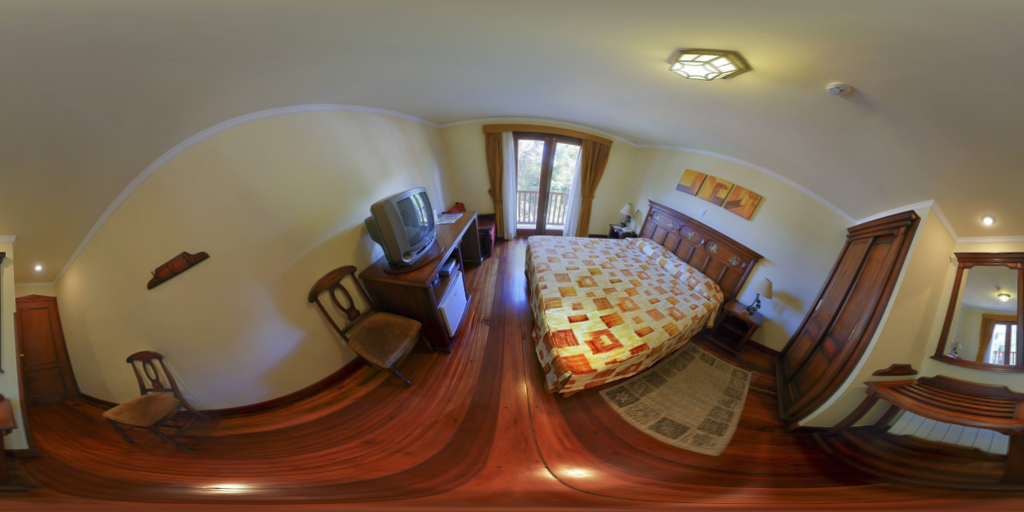 (modified from PanoContext dataset)

- Execution: Pre-process the above
assets/demo.pngby firing below command.python preprocess.py --img_glob assets/demo.png --output_dir assets/preprocessed/
--img_globtelling the path to your 360 room image(s).- support shell-style wildcards with quote (e.g.
"my_fasinated_img_dir/*png").
- support shell-style wildcards with quote (e.g.
--output_dirtelling the path to the directory for dumping the results.- See
python preprocess.py -hfor more detailed script usage help.
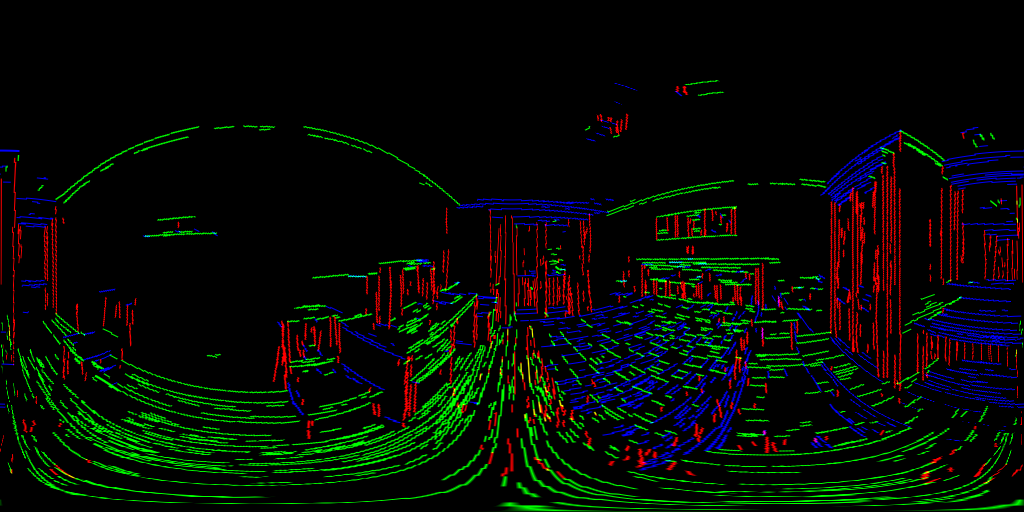
- Outputs: Under the given
--output_dir, you will get results like below and prefix with source image basename.- The aligned rgb images
[SOURCE BASENAME]_aligned_rgb.pngand line segments images[SOURCE BASENAME]_aligned_line.png-
demo_aligned_rgb.pngdemo_aligned_line.png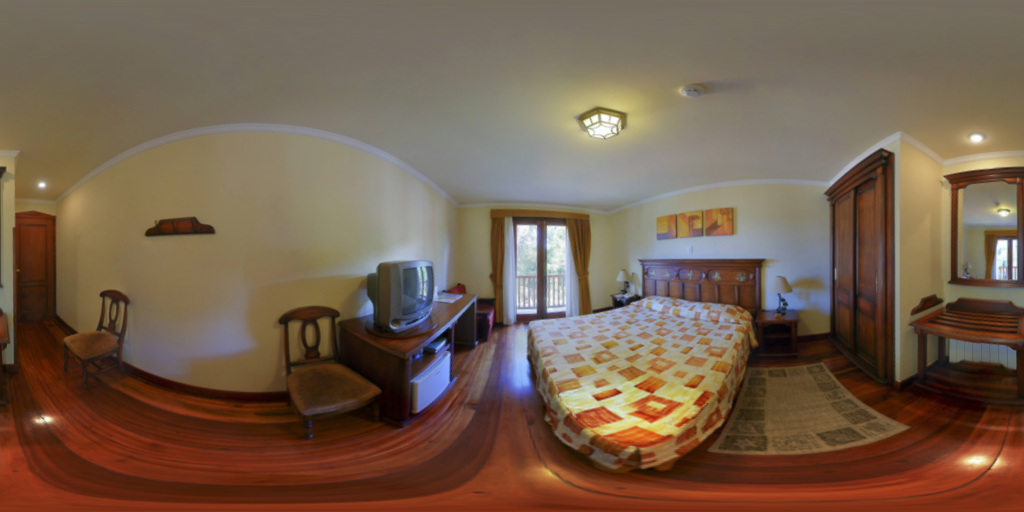
-
- The detected vanishing points
[SOURCE BASENAME]_VP.txt(Heredemo_VP.txt)-0.002278 -0.500449 0.865763 0.000895 0.865764 0.500452 0.999999 -0.001137 0.000178
- The aligned rgb images


- Execution: Predict the layout from above aligned image and line segments by firing below command.
python inference.py --pth ckpt/resnet50_rnn__mp3d.pth --img_glob assets/preprocessed/demo_aligned_rgb.png --output_dir assets/inferenced --visualize
--pthpath to the trained model.--img_globpath to the preprocessed image.--output_dirpath to the directory to dump results.--visualizeoptinoal for visualizing model raw outputs.--force_cuboidadd this option if you want to estimate cuboid layout (4 walls).
- Outputs: You will get results like below and prefix with source image basename.
- The 1d representation are visualized under file name
[SOURCE BASENAME].raw.png - The extracted corners of the layout
[SOURCE BASENAME].json{"z0": 50.0, "z1": -59.03114700317383, "uv": [[0.029913906008005142, 0.2996523082256317], [0.029913906008005142, 0.7240479588508606], [0.015625, 0.3819984495639801], [0.015625, 0.6348703503608704], [0.056027885526418686, 0.3881891965866089], [0.056027885526418686, 0.6278984546661377], [0.4480381906032562, 0.3970482349395752], [0.4480381906032562, 0.6178648471832275], [0.5995567440986633, 0.41122356057167053], [0.5995567440986633, 0.601679801940918], [0.8094607591629028, 0.36505699157714844], [0.8094607591629028, 0.6537724137306213], [0.8815288543701172, 0.2661873996257782], [0.8815288543701172, 0.7582473754882812], [0.9189453125, 0.31678876280784607], [0.9189453125, 0.7060701847076416]]}
- The 1d representation are visualized under file name
- Execution: Visualizing the predicted layout in 3D using points cloud.
python layout_viewer.py --img assets/preprocessed/demo_aligned_rgb.png --layout assets/inferenced/demo_aligned_rgb.json --ignore_ceiling
--imgpath to preprocessed image--layoutpath to the json output frominference.py--ignore_ceilingprevent showing ceiling- See
python layout_viewer.py -hfor usage help.
- Outputs: In the window, you can use mouse and scroll wheel to change the viewport

See tutorial on how to prepare it.
To train on a dataset, see python train.py -h for detailed options explaination.
Example:
python train.py --id resnet50_rnn- Important arguments:
--idrequired. experiment id to name checkpoints and logs--ckptfolder to output checkpoints (default: ./ckpt)--logsfolder to logging (default: ./logs)--pthfinetune mode if given. path to load saved checkpoint.--backbonebackbone of the network (default: resnet50)- other options:
{resnet18,resnet34,resnet50,resnet101,resnet152,resnext50_32x4d,resnext101_32x8d,densenet121,densenet169,densenet161,densenet201}
- other options:
--no_rnnwhether to remove rnn (default: False)--train_root_dirroot directory to training dataset. (default:data/layoutnet_dataset/train)--valid_root_dirroot directory to validation dataset. (default:data/layoutnet_dataset/valid/)- If giveng, the epoch with best 3DIoU on validation set will be saved as
{ckpt}/{id}/best_valid.pth
- If giveng, the epoch with best 3DIoU on validation set will be saved as
--batch_size_traintraining mini-batch size (default: 4)--epochsepochs to train (default: 300)--lrlearning rate (default: 0.0001)--deviceset CUDA enabled device using device id (not to be used if multi_gpu is used)--multi_gpuenable parallel computing on all available GPUs
To evaluate on PanoContext/Stanford2d3d dataset, first running the cuboid trained model for all testing images:
python inference.py --pth ckpt/resnet50_rnn__panos2d3d.pth --img_glob "data/layoutnet_dataset/test/img/*" --output_dir output/panos2d3d/resnet50_rnn/ --force_cuboid--img_globshell-style wildcards for all testing images.--output_dirpath to the directory to dump results.--force_cuboidenfoce output cuboid layout (4 walls) or the PE and CE can't be evaluated.
To get the quantitative result:
python eval_cuboid.py --dt_glob "output/panos2d3d/resnet50_rnn/*json" --gt_glob "data/layoutnet_dataset/test/label_cor/*txt"--dt_globshell-style wildcards for all the model estimation.--gt_globshell-style wildcards for all the ground truth.
If you want to:
- just evaluate PanoContext only
python eval_cuboid.py --dt_glob "output/panos2d3d/resnet50_rnn/*json" --gt_glob "data/layoutnet_dataset/test/label_cor/pano*txt" - just evaluate Stanford2d3d only
python eval_cuboid.py --dt_glob "output/panos2d3d/resnet50_rnn/*json" --gt_glob "data/layoutnet_dataset/test/label_cor/camera*txt"
📋 The quantitative result for the released resnet50_rnn__panos2d3d.pth is shown below:
| Testing Dataset | 3D IoU(%) | Corner error(%) | Pixel error(%) |
|---|---|---|---|
| PanoContext | 83.39 |
0.76 |
2.13 |
| Stanford2D3D | 84.09 |
0.63 |
2.06 |
| All | 83.87 |
0.67 |
2.08 |
- See the report 📋 on ST3D for more detail.
- See the report 📋 on MP3D for more detail.
- Faster pre-processing script (top-fron alignment) (maybe cython implementation or fernandez2018layouts)
- Credit of this repo is shared with ChiWeiHsiao.
- Thanks limchaos for the suggestion about the potential boost by fixing the non-expected behaviour of Pytorch dataloader. (See Issue#4)
@inproceedings{SunHSC19,
  author    = {Cheng Sun and
               Chi{-}Wei Hsiao and
               Min Sun and
               Hwann{-}Tzong Chen},
  title     = {HorizonNet: Learning Room Layout With 1D Representation and Pano Stretch
               Data Augmentation},
  booktitle = {{IEEE} Conference on Computer Vision and Pattern Recognition, {CVPR}
               2019, Long Beach, CA, USA, June 16-20, 2019},
  pages     = {1047--1056},
  year      = {2019},
}