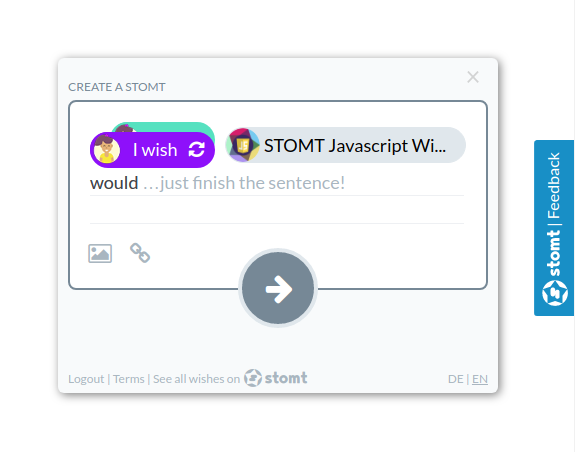
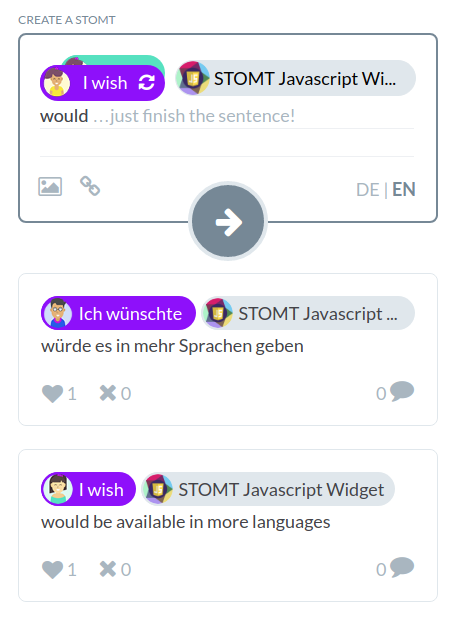
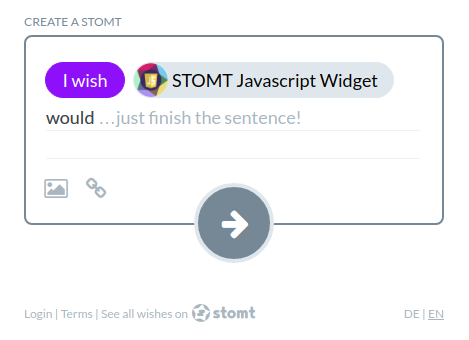
Our SDK allows you to add the feedback solution www.stomt.com to your websites or any other HTML/JavaScript based applications.
To connect your site to STOMT, create a project page on stomt first.
View the live demo here. The projects source can be found on GitHub, it itegrates the sdk dynamically in the index.html file.
To install the STOMT JavaScript-SDK you only have to add the following lines to the bottom of you html file and adjust the "appId" at the bottom of the script to your page's application id.
<div id="stomt_feed"></div> <!-- if you want to include a feed -->
<div id="stomt_create"></div> <!-- if you want to include a feed -->
<script>
  // Include the STOMT JavaScript SDK
  (function(w, d, n, r, t, s){
    w.Stomt = w.Stomt||[];
    t = d.createElement(n);
    s = d.getElementsByTagName(n)[0];
    t.async=1;
    t.src=r;
    s.parentNode.insertBefore(t,s);
  })(window, document, 'script', 'https://www.stomt.com/widget.js');

  // Adjust the 'APP_ID' to your application id
  // you can find it here: https://www.stomt.com/YOUR_PAGE/apps
  Stomt.push(['addTab', {appId: 'APP_ID'}]);
  Stomt.push(['addFeed', {appId: 'APP_ID'}]);
  Stomt.push(['addCreate', {appId: 'APP_ID'}]);
</script>
Copy & paste, done! You have further options to customize the widget. See the documentation part below.
The current version allows you to add a Feedback button to your page:
Stomt.push(['addTab', options]);You can use the showTab(options) method to show the widget if it is hidden.
Stomt.push(['showTab', options]);You can use the hideTab() method to hide the widget.
Stomt.push(['hideTag']);You can use the toggleTab(options) method to toggle the widget.
Stomt.push(['toggleTab', options]);You can use the updateTabJSON() method to set a new JSON object for the Tab Widget. The next times a STOMT is created this JSON is attached. See options below for more information about JSON data.
Stomt.push(['updateTabJSON', json]);You can use the updateTabFile() method to set a new file for the Tab Widget. The next times a STOMT is created this file is attached. See options below for more information about data.
Stomt.push(['updateTabFile', file]);The options param has to be handed into the addTab function to initialize the widget and can be handed into the showTab function to update the widget state.
| Property | Type | Description |
|---|---|---|
appId (required) |
String | The appId is your pages application id. You can find it in your application overview in STOMT (https://www.stomt.com/YOUR_PAGE/apps). The target connected to this application id will be used as target. |
position |
String | You can set the position of the button, the default position is right. Other options are left, bottom-left, bottom-right and custom. |
label |
String | The default label of the button is Feedback, you can change that by passing another label. |
colorText |
String | To change the colors used for the widget button you have three options to configure. The first one is colorText, it allows you to change the text color (default: #FFFFFF). |
colorBackground |
String | The colorBackground option allows you to change the background color of the button (default: #0091C9). |
colorHover |
String | The colorHover option allows you to change the background color of the button when the user hovers it (default: #04729E). |
toggleButtonId |
String | Instead of using the default button you can specify any DOM element to toggle the form. Pass the id to toggleButtonId to use a custom button. Additionally you can hide the default button by adding position: 'custom'. |
json |
Object | By attaching a JSON object, data can be attached to STOMTs that are submitted from the Tab Widget. You can filter STOMTS with attached JSON in stomt.com/YOUR_TARGET/search by using the has:data filter or filtering for specific keys or key value pairs (e.g. data:myKey or data:myKey:myValue). You can also attach labels to STOMTS by adding the property labels, which contains an array of label names. |
file |
Object | By attaching a JSON object with the properties name (String) and data (Object) to the property file, data can be attached to STOMTs that are submitted from the Tab Widget. data can be any serialized data format or JSON. If your data is only valid JSON, you can also use the json option. |
showClose |
Boolean | Via the showClose property, you can specify whether the Close Icon in the Tab Widget should be shown or not (default: true). |
preload |
Boolean | By setting the property preload to true, you can tell the Widget to preload the Tab iframe in the background (default: false). This reduces the loading delay when showing the Tab for the first time. |
targetId (deprecated) |
String | The targetId is the page identifier for the page you want to address the wishes to. You can copy it from the pages url (https://www.stomt.com/stomt-javascript-sdk -> stomt-javascript-sdk). All stomts created using the JavaScript-SDK will be addressed to this page. |
Example:
// setting the target to the same target your appId is linked to makes sense,
// as it disables the possibility to change the target in the STOMT form.

var options = {
  appId: 'YOUR_APP_ID',
  position: 'left',
  label: 'Speak your wish!',
  colorText: '#FFFFFF',
  file: {name: 'fileName.file', data: Object},
  json: {myKey: 'myValue', labels: ['goodLabel', 'testLabel']},
  showClose: false
};

Stomt.push(['addTab', options]);The feedback button can be styled and positioned using the css class .stomt-button.
For example:
/* round button in the bottom right corner */
.stomt-button {
  height: auto;
  border-radius: 50%;
  right: 50px;
  bottom: 50px;
  color: transparent;

  transform: none;
  float: none;
  padding: 0;
}

/* overwrite the content with a custom icon */
.stomt-button:before {
  font-family: "my-icon-font";
  line-height: 1;
  display: inline-block;
  content: "my-custom-icon";
  color: #ffffff;
  font-size: 40px;
  padding: 5px;
}
To add custom styling to the widget itself please add a <style> tag to the page containing the STOMT widget. This tag will be put inside the iframe to overwrite the default styling.
To allow us to read the tag please add the attribute stomt-widget to the <style> tag: <style stomt-widget>. To be sure that your styles overwrite the default styling please use !important.
An example for custom styles can be found below:
<style stomt-widget>
  /* customize wish/like bubble color */
  /* NOTE: please adjust the font color when changing the background-color */
  .stomt-create-bubble--wish {
    background-color: blue !important;
    border-color: blue !important;
    color: white !important;
  }
  .stomt-create-bubble--like {
    background-color: green !important;
    border-color: green !important;
    color: white !important;
  }

  /* customize target bubble */
  /* NOTE: please adjust the font color when changing the background-color */
  .stomt-create-target-bubble {
    background-color: darkgray !important;
    border-color: darkgray !important;
    color: white !important;
  }

  /* customize widget background color*/
  /* NOTE: when changing the background color you might have to adjust header and footer colors*/
  .stomtApp body {
    background: white !important;
  }

  /* customize header color */
  .feed-headline-small {
    color: black !important;
  }

  .widget-footer {
    background: white !important;
  }

  /* customize footer color */
  .widget-footer a {
    color: black !important;
  }

  /* customize submit button color */
  /* NOTE: please adjust the font color when changing the background-color */
  .stomt-form-submit {
    background-color: green !important;
    color: white !important;
  }
  .stomt-form-submit--disabled {
    background-color: darkgray !important;
  }
</style>The current version allows you to add a STOMT feed somewhere on your page. It searched for an element with the id stomt_feed and adds the creation form in this element:
Stomt.push(['addFeed', options]);The options param has to be handed into the addFeed function to initialize the widget.
| Property | Type | Description |
|---|---|---|
appId (required) |
String | The appId is your pages application id. You can find it in your application overview in STOMT (https://www.stomt.com/YOUR_PAGE/apps). The target connected to this application id will be used as target. |
elementId |
String | You can define where you want to show the feed on your page. Simply add an empty element with an id: <div id="stomt_feed"></div>, stomt_feed is the default id, if you want to use another id you can use this option and pass your custom elementId. |
lang |
String | Force the default language of the user interface and the stomt creation form. At the moment, en and de are available. (default: en) |
creation |
Boolean | Hide the creation form by setting creation to false. (default: true) |
q |
String | Filter the feed for a specific keyword. |
has |
String | Filter the feed for specific stomts, e.g. - reaction - with a reaction - !reaction - without a reaction |
label |
String | Only show stomts with a specific label attached. |
from |
String | Only show stomts created by a specific user. |
is |
String | Filter what kind of stomts you want to show, e.g. wish,like. |
resize |
Boolean | Resize the iframe height automatically when the content changes. Set this option to false to disable resizing. |
limit |
Integer | Choose how may stomts should be displayed maximal. Only works when resize is set to true. (default: no limit) |
initial |
Integer | Choose how may stomts should be requested. Only works when resize is set to true. (default: 15) |
targetId (deprecated) |
String | The targetId is the identifier of the page you want to connect to. The Feed will show stomts addressed to this page. You can copy it from the pages url (https://www.stomt.com/stomt-javascript-sdk -> stomt-javascript-sdk). |
Example:
var options = {
  appId: 'YOUR_APP_ID',
  elementId: 'custom-element',
  lang: 'de',
  creation: false,
  q: 'improve',
  has: 'reaction',
  label: 'discuss',
  from: 'userID',
  resize: false,
  initial: 20,
};

Stomt.push(['addFeed', options]);The stomt feed can be styled and positioned using the css class .stomt-feed-iframe.
For example:
.stomt-feed-iframe {
  /* use max-width instead of width to ensure that the feed is visible on mobile devices */
  max-width: 600px;
  /* use min-height to define how many stomts should be visible without scrolling (850px ~ 3 stomts)*/
  min-height: 850px;
}
To change the content inside the iframe use the same method as described above in addTab - Custom CSS.
The current version allows you to add a stomt creation form somewhere on your page, it searched for an element with the id stomt_create and adds the creation form in this element:
Stomt.push(['addCreate', options]);You can use the showCreate(options) method to show the widget if it is hidden or if it has been added with the preload flag.
Stomt.push(['showCreate', options]);You can use the hideCreate() method to hide the widget.
Stomt.push(['hideCreate']);You can use the updateCreateJSON() method to set a new JSON object for the Create Widget. The next times a stomt is created this JSON is attached. See options below for more information about JSON data.
Stomt.push(['updateCreateJSON'. json]);You can use the updateCreateFile(file) method to set a new file for the Create Widget. The next times a stomt is created this file is attached. . See options below for more information about data.
Stomt.push(['updateCreateFile', file]);The options param has to be handed into the addCreate function to initialize the widget and can be handed into the showCreate function to update the widget state.
| Property | Type | Description |
|---|---|---|
appId (required) |
String | The appId is your pages application id. You can find it in your application overview in STOMT (https://www.stomt.com/YOUR_PAGE/apps). The target connected to this application id will be used as target. |
elementId |
String | You can define where you want to show the feed on your page. Simply add an empty element with an id: <div id="stomt_create"></div>, stomt_create is the default id, if you want to use another id you can use this option and pass your custom elementId. |
lang |
String | Force the default language of the user interface and the stomt creation form. At the moment, en and de are available. (default: en) |
json |
Object | By attaching a JSON object, data can be attached to stomts that are submitted from the Create Widget. You can filter stomts with attached JSON in stomt.com/YOUR_TARGET/search by using the has:data filter or filtering for specific keys or key value pairs (e.g. data:myKey or data:myKey:myValue). You can also attach labels to stomts by adding the property labels, which contains an array of label names. |
file |
Object | By attaching a JSON object with the properties name (String) and data (Object) to the property file, data can be attached to stomts that are submitted from the Create Widget. data can be any serialized data format or JSON. If your data is only valid JSON, you can also use the json option. |
preload |
Boolean | By setting the property preload to true, you can tell the Widget to preload the Create iframe in the background (default: false). This reduces the loading delay when showing the Widget for the first time. Important: When using the preload flag, the iframe will not be shown initially. You have to explicitly show it via Stomt.showCreate. |
targetId (deprecated) |
String | The targetId is the page identifier for the page you want to address the wishes to. You can copy it from the pages url (https://www.stomt.com/stomt-javascript-sdk -> stomt-javascript-sdk). All stomts created using the JavaScript-SDK will be addressed to this page. Setting a targetId will also disable the possibility to change the target in the STOMT form. |
Example:
// setting the target to the same target your appId is linked to makes sense,
// as it disables the possibility to change the target in the STOMT form.

var options = {
  appId: 'YOUR_APP_ID',
  elementId: 'custom-element',
  lang: 'de',
  file: {name: 'fileName.file', data: Object},
  json: {myKey: 'myValue', labels: ['goodLabel', 'testLabel']},
  preload: true
};

Stomt.push(['addCreate', options]);To change the content inside the iframe use the same method as described above in addTab - Custom CSS.
You can register Event Listeners to react on user interactions with the widget by calling registerWidgetListener. Registered Callbacks can be removed via the removeWidgetListener method.
function callback (data) {
  ...
}

// to add the callback
Stomt.push(['registerWidgetListener', 'eventType', callback]);

// to remove the callback
Stomt.push(['removeWidgetListener', 'eventType', callback]);
Available events are:
| eventType | Description |
|---|---|
stomtFeed-resize |
listen to resize events of the Feed Widget iframe. Only works when the resize flag is set to true. |
stomtTab-hide / stomtTab-show |
is fired when the visibility of the Tab Widget changes. |
stomtCreate-hide / stomtCreate-show |
is fired when the visibility of the Create Widget changes. |
[WIDGET-TYPE]-stomtCreated |
is fired when a user submitted a stomt. The event data handed to the callback contains the created stomt and the SDK the event originated from. |
[WIDGET-TYPE]-subscribed |
is fired when a user subscribed your target via the Widget. The event data handed to the callback contains the email or phone number used to subscribe and the SDK the event originated from. |
(replace [WIDGET-TYPE] with stomtFeed, stomtTab or stomtCreate)
Instead of using the Javascript snippet you can access the feed page directly in a WebView or Iframe. (For many platforms we did this step for you already and you can grab one of our SDKs.
To embed the form use this url: https://www.stomt.com/widget
To embed the feed use this url: https://www.stomt.com/feedwidget
You can attach all the parameters introduced before (options.appId, ...) to customize the feed for your project:
e.g. `https://www.stomt.com/widget?appId=AfRaltKwqi39T8nSXdzPsmCtx
We would love to see you contributing with your ideas to the STOMT JavaScript-SDK. Please addess all your wishes to the STOMT SDK (JS) on STOMT.


